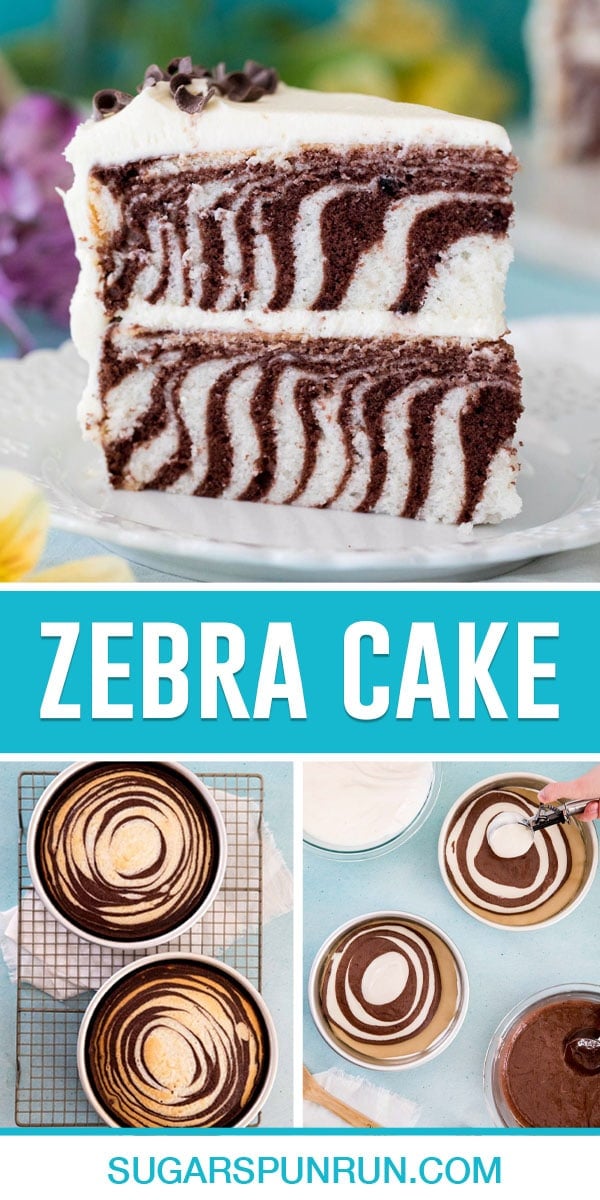
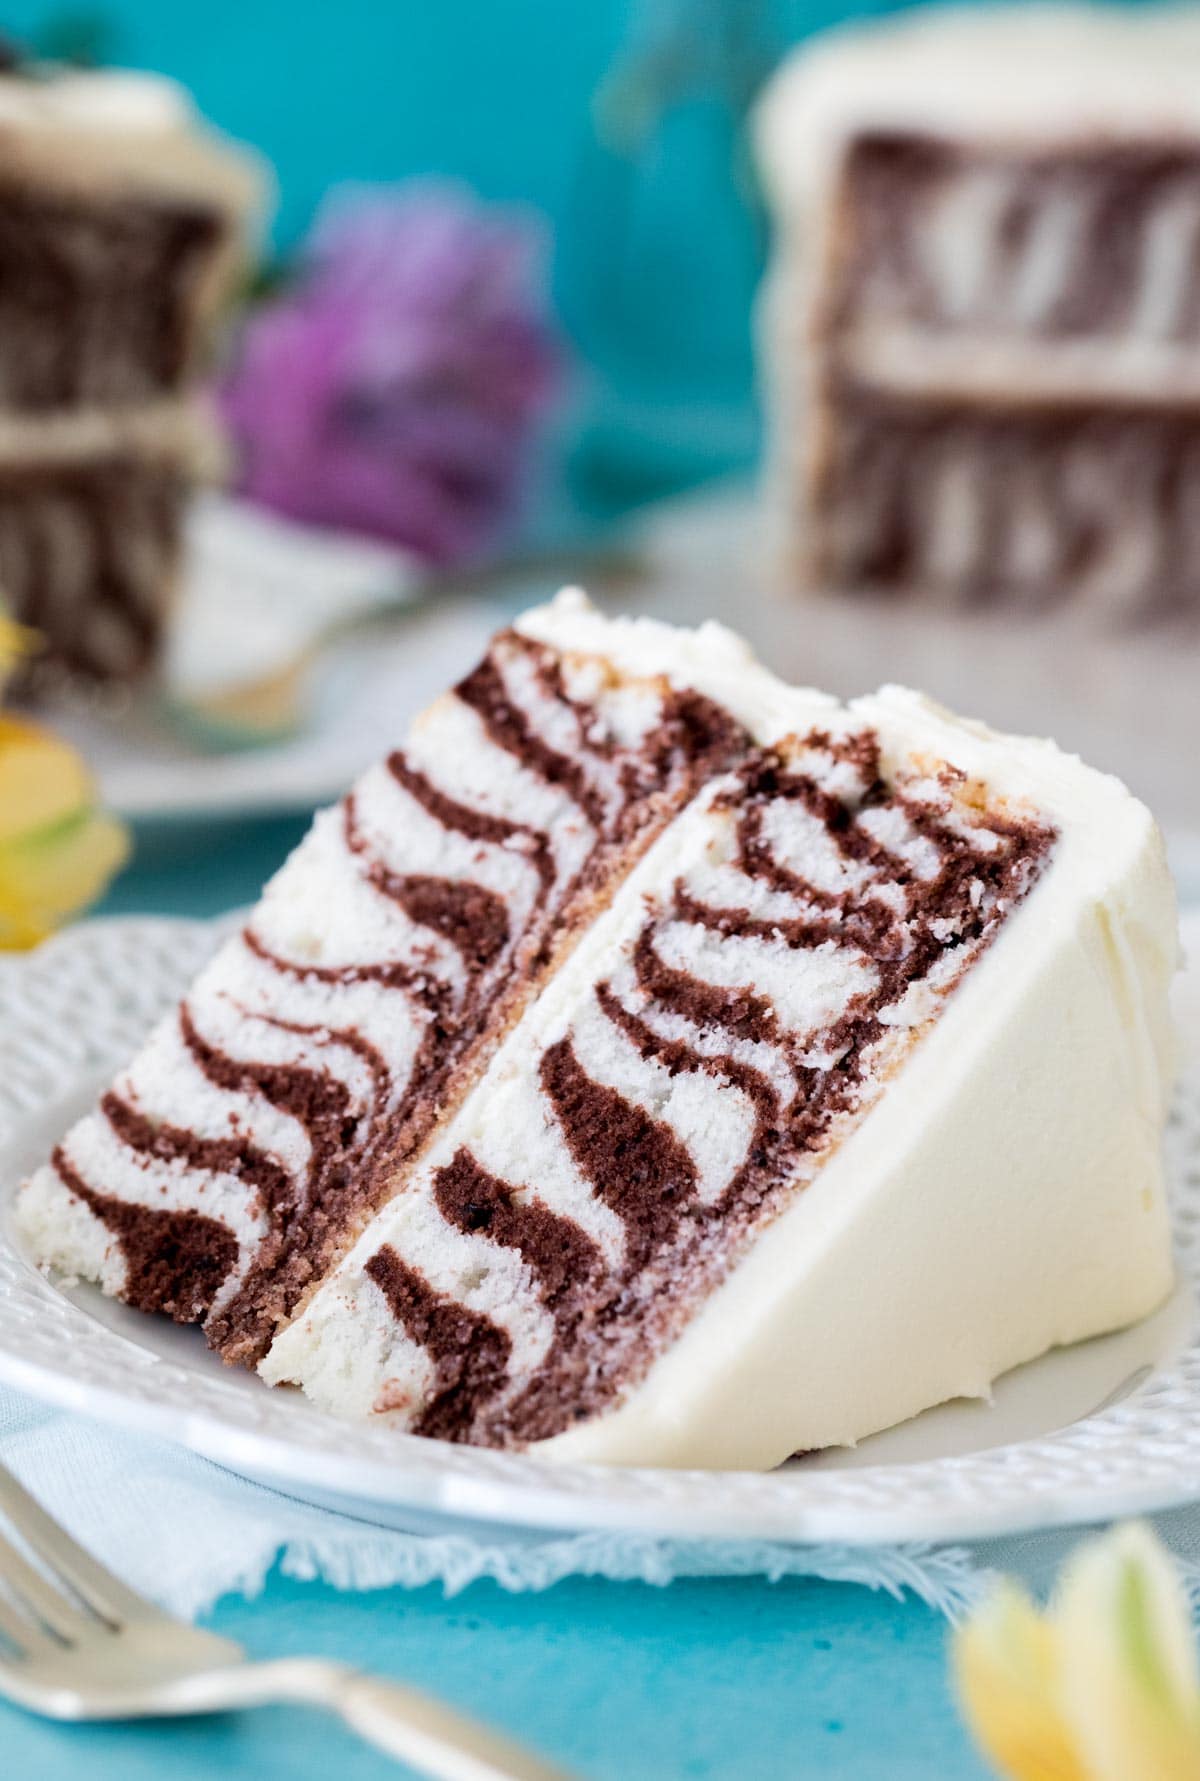
You Can Make a Beautiful Zebra Cake At Home
If today’s cake looks a little intimidating, let me just assure you that you’ve got this! If you’ve made my Funfetti cake or my marble cake (or even if you haven’t, really) you can handle a zebra cake. It does require a few more dishes than your average one-color cake. It does require a little bit of technique as we’ll be whipping egg whites, and it does require a bit of attention to detail as you’re portioning out your batter, but it’s nothing you can’t handle, I’m certain of it. I’ve included plenty of step-by-step photos in the post and there’s a how-to video in the recipe card as well, between the two you should have no problem making a bold, beautiful, perfectly striped zebra cake.
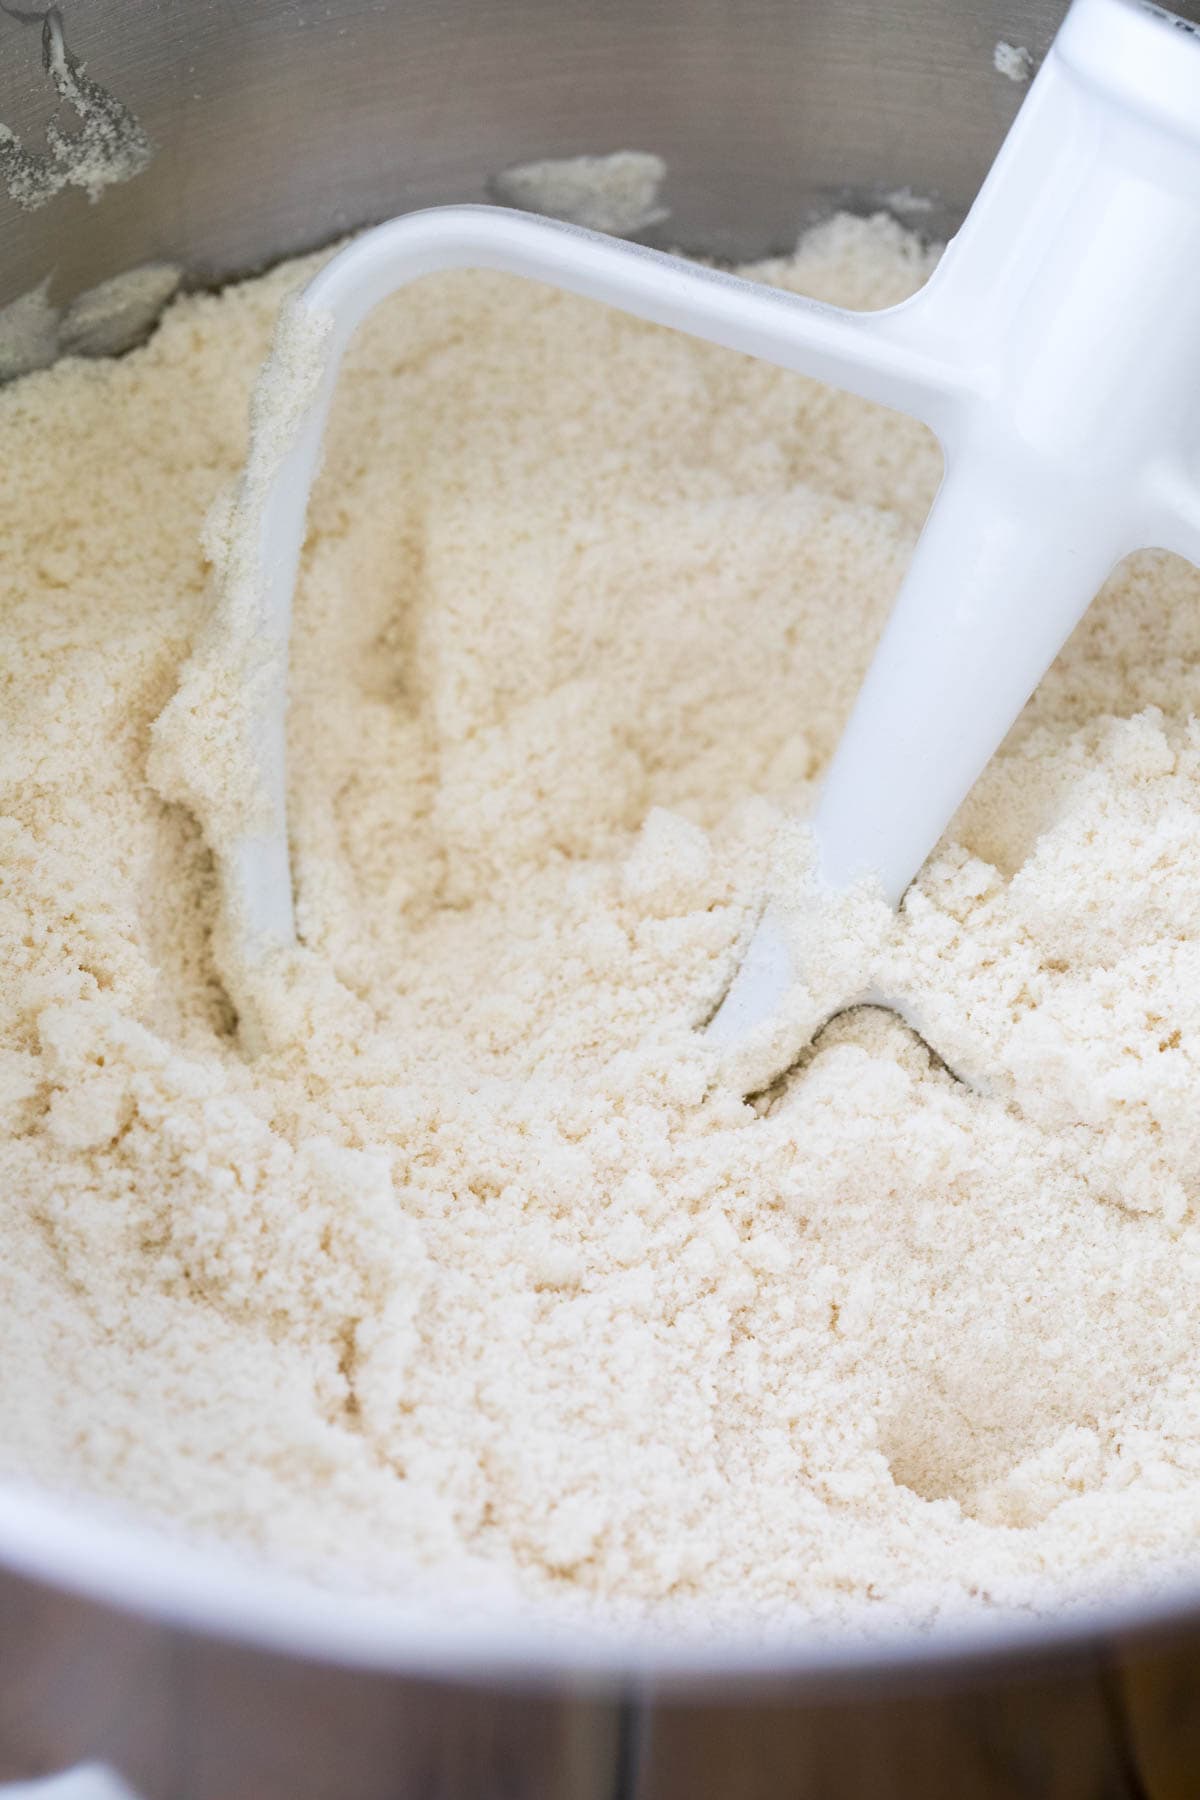
Reverse Creaming
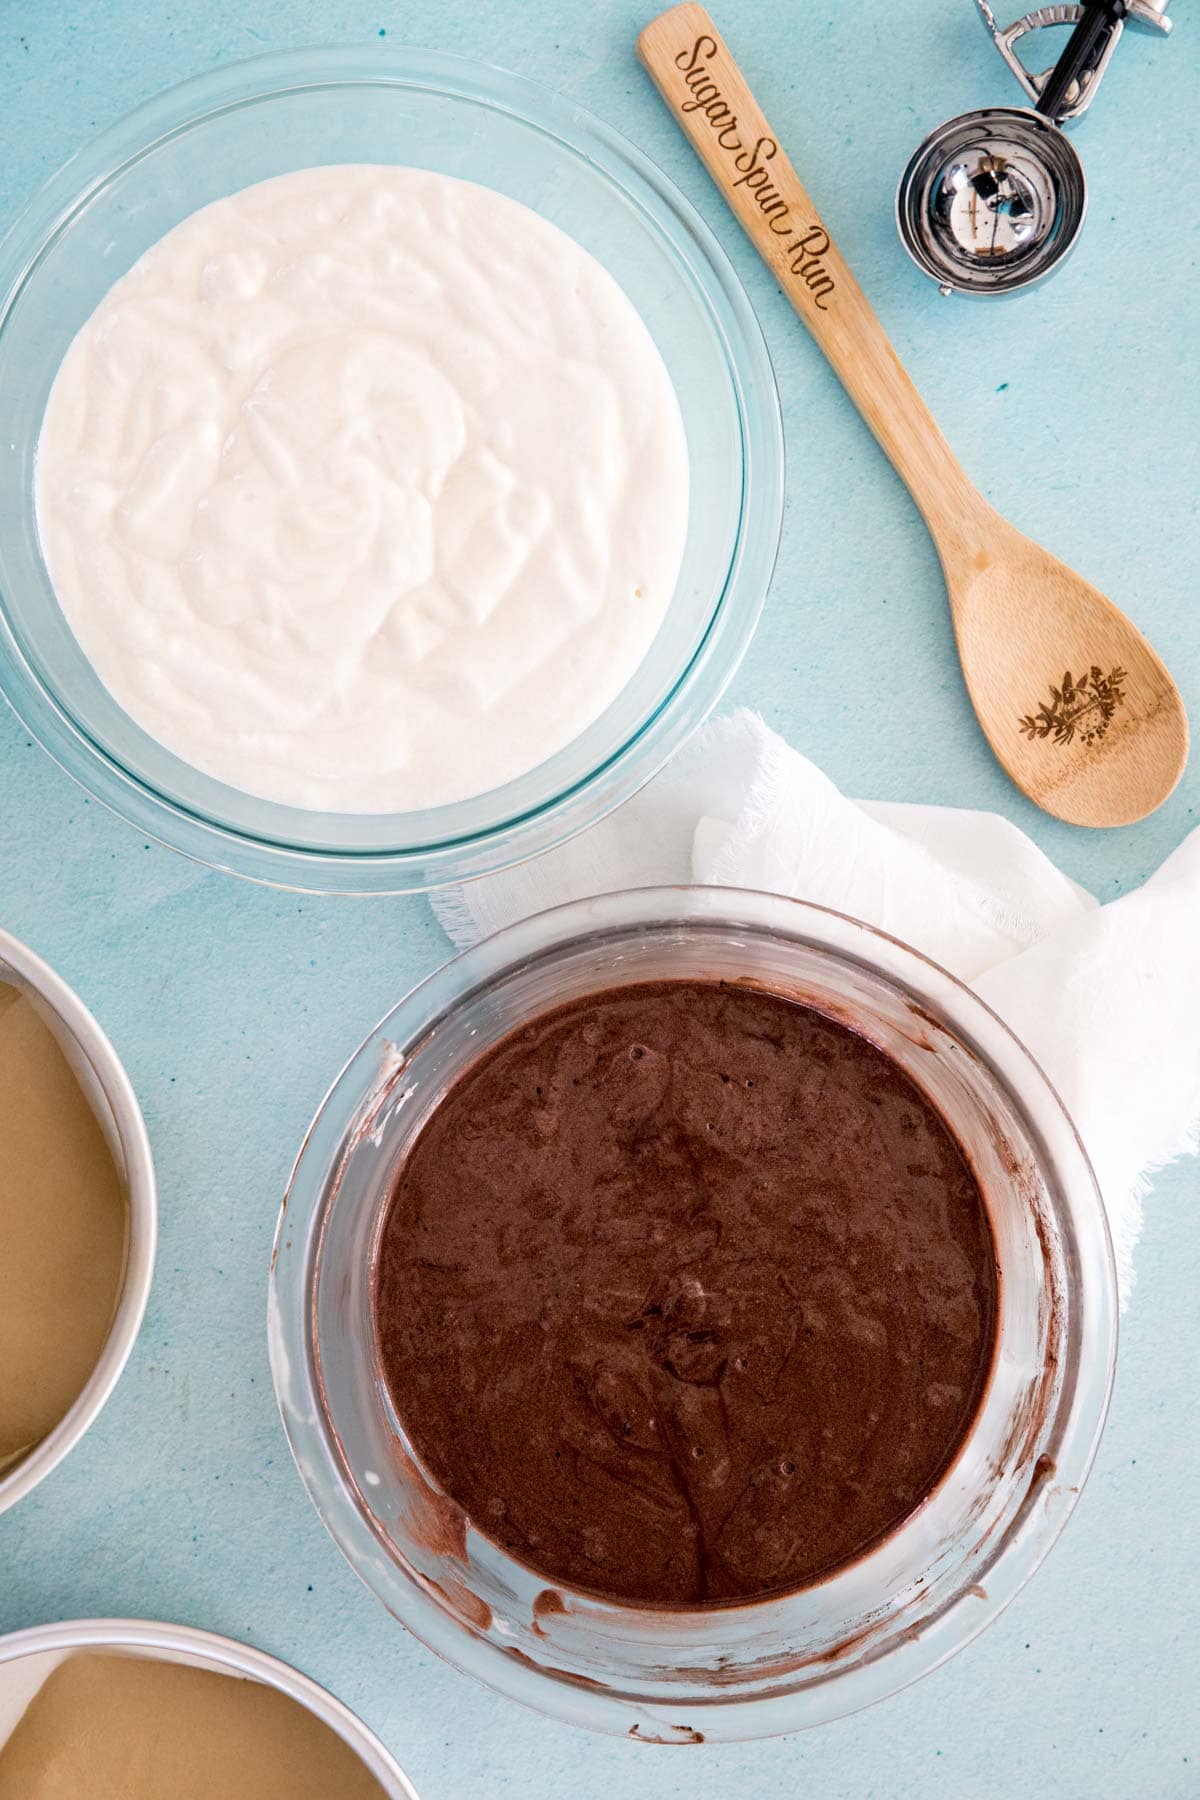
We’re using the reverse creaming method here because I like the tighter crumb that it yields. It helps to make the black and white stripes of the zebra cake more pronounced. If you’ve made my caramel cake, you’ve already used this technique before. This method was popularized by Rose Levy Beranbaum and involves combining all of your dry ingredients (plus sugar, which technically is not considered “dry”) and then gradually mixing in your butter until you end up with a sandy consistency (see photo above). Once you’ve achieved this consistency, you’ll gradually stir in the remainder of your dry ingredients and finally your egg whites. This method is great for producing a tight, plush crumb and, as a bonus, it makes it difficult to over-mix your batter. Accidentally over-mixing cake batter is one of the biggest culprits for dense, dry cake, so I love that reverse creaming makes it a lot less likely for this to happen (until the whipped egg whites come into play, anyway, always be gentle with those!).
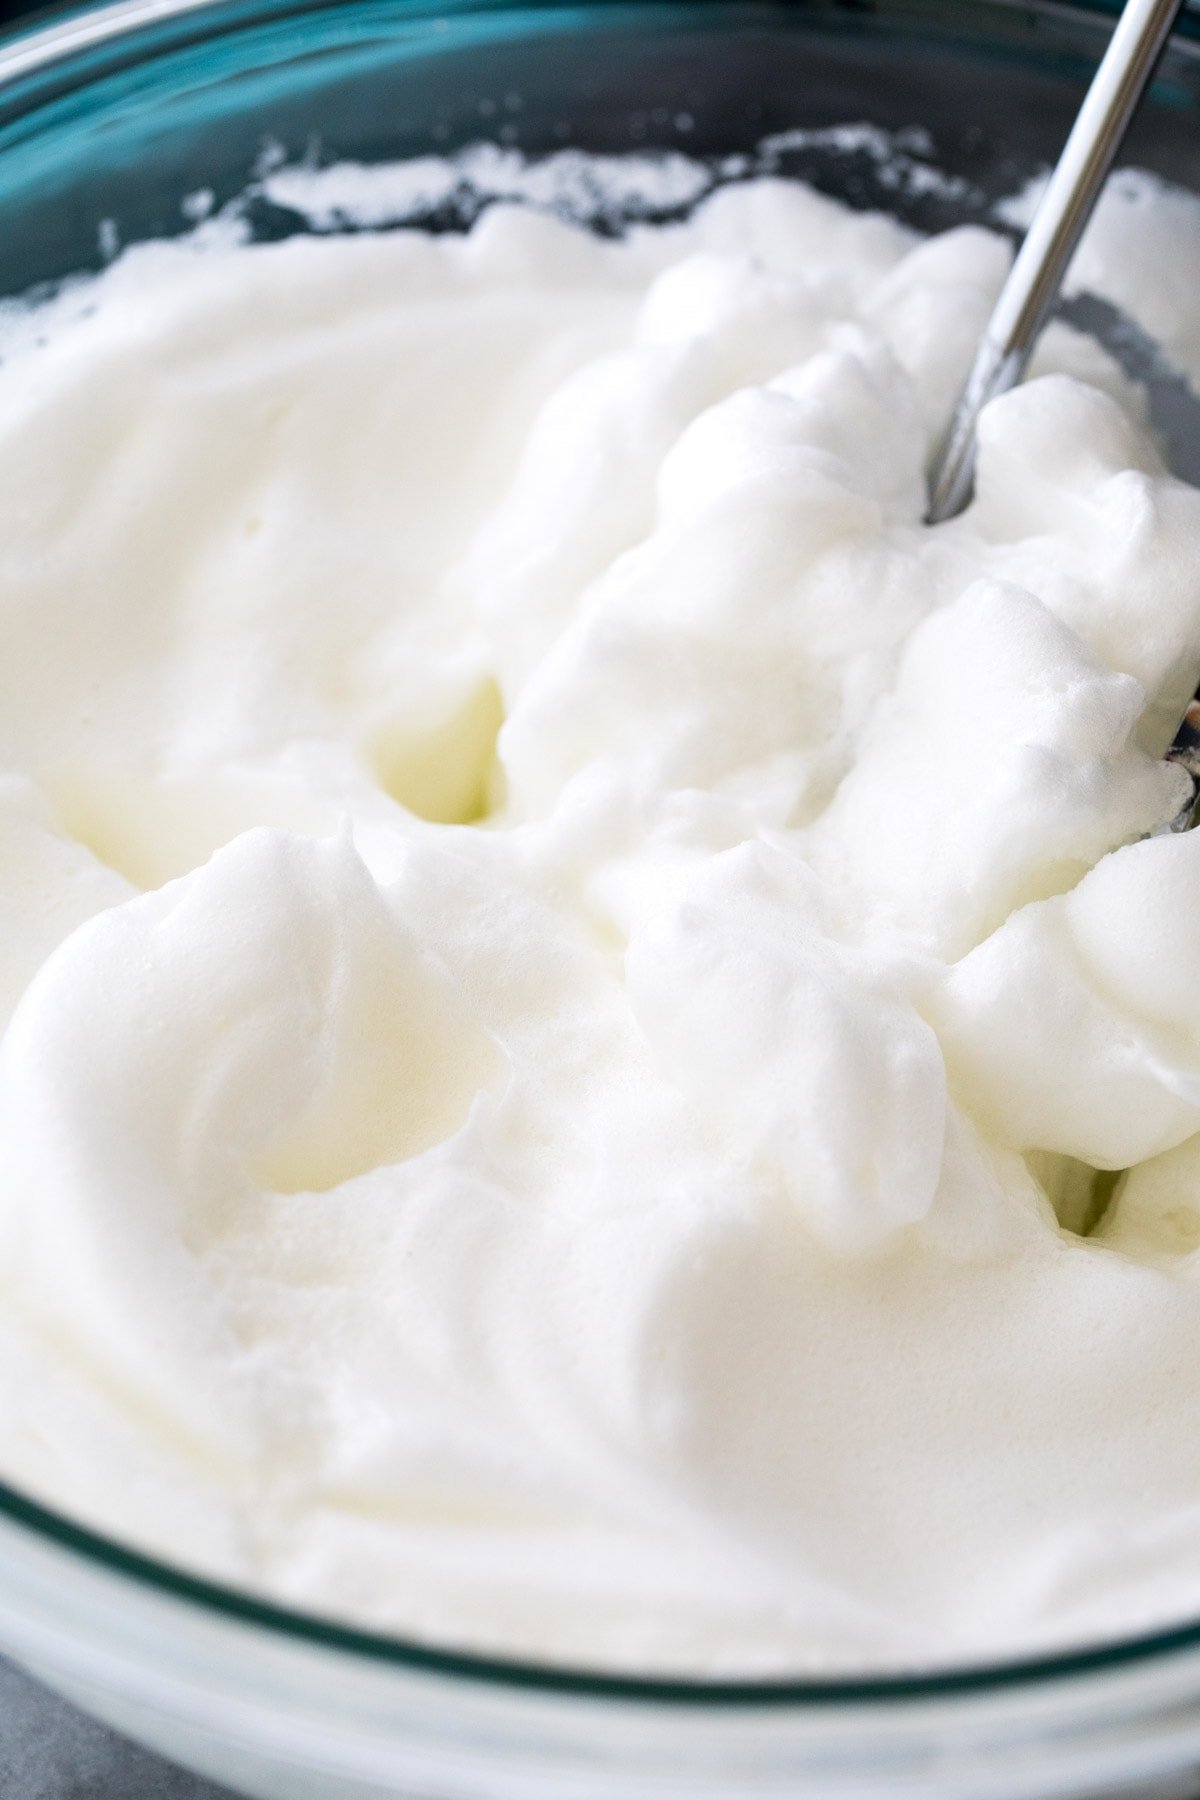
Whipped Egg Whites (& Tips for Stiff Peaks)
I love using whipped egg whites in my cakes because not only do they make the cake moist and fluffy, but they also help the cake maintain a pure white color. It’s why I use them in my white cake, and since a Zebra cake ought to be black and white (not black and yellow!), it works well here, too. The egg whites must be whipped to stiff peaks, which means they will have drastically increased in volume, taken on a fluffy consistency (see below) and when you pull your beaters out of them the peak that forms holds its shape and doesn’t fold over itself or dissolve. While egg whites can be whipped to stiff peaks by hand, I don’t recommend it as it’s quite an arm workout. Use an electric mixer and make sure the beaters and the bowl are completely clean, dry, and grease free, or your eggs won’t ever reach stiff peaks, no matter how long you whisk them.
Can I Use Store-bought Egg Whites to Make Zebra Cake?
Unfortunately, many store-bought/pasteurized egg whites say right on the carton that they are not meant to be whipped. Some people have reported on my other recipes that they’ve tried with mixed results. If it’s all you have on hand, I say give it a try and see if they’ll whip for you, but I can’t guarantee that they will. A few suggestions for your leftover egg yolks: If you don’t want to toss your egg yolks (or feed them to your dogs, like I usually do!), here are some of my favorite recipes to make with egg yolks:
Creme Brûlée (easier than you probably think!) Pound Cake (you need 6 whole eggs and 6 egg yolks for this recipe, so you’re halfway there!) Cream Puffs Eclairs Chocolate Pie
One Batter, Two Colors
When developing this recipe, I did not want you to have to make two entirely different cake batters in order to make a Zebra cake. While it would have been nice to simply stir in some melted chocolate (like I did with my marble cake) that technique just didn’t work very well here and my chocolate stripes ended up much too dry. Creating a moist, delicious chocolate batter out of our white one requires a bit of work. First, divide the batter by portioning 3 cups of batter into a medium-sized bowl (this is less than half of the batter). We’ll be making this smaller (3-cup) portion into our chocolate version. To do this, bloom a bit of cocoa powder by mixing it with some very hot water (doing this helps develop the chocolate flavor, it’s why I add hot water to my chocolate cake batter!). Then, because cocoa powder has a terrible habit of drying out cake, we add some more sour cream and a pinch of sugar (cocoa powder is bitter, too!) and stir this into our lesser half of batter. The result after baking is a moist white and chocolate crumb. Because I wanted the stripes to be as dark as possible (zebras are white and black, not white and brown, after all) I used special dark cocoa, which is darker in color and usually sold in the baking aisle right next to regular cocoa. If you don’t have that on hand or can’t find it, natural cocoa powder will work instead.
Zebra Cake: It’s All About the Technique!
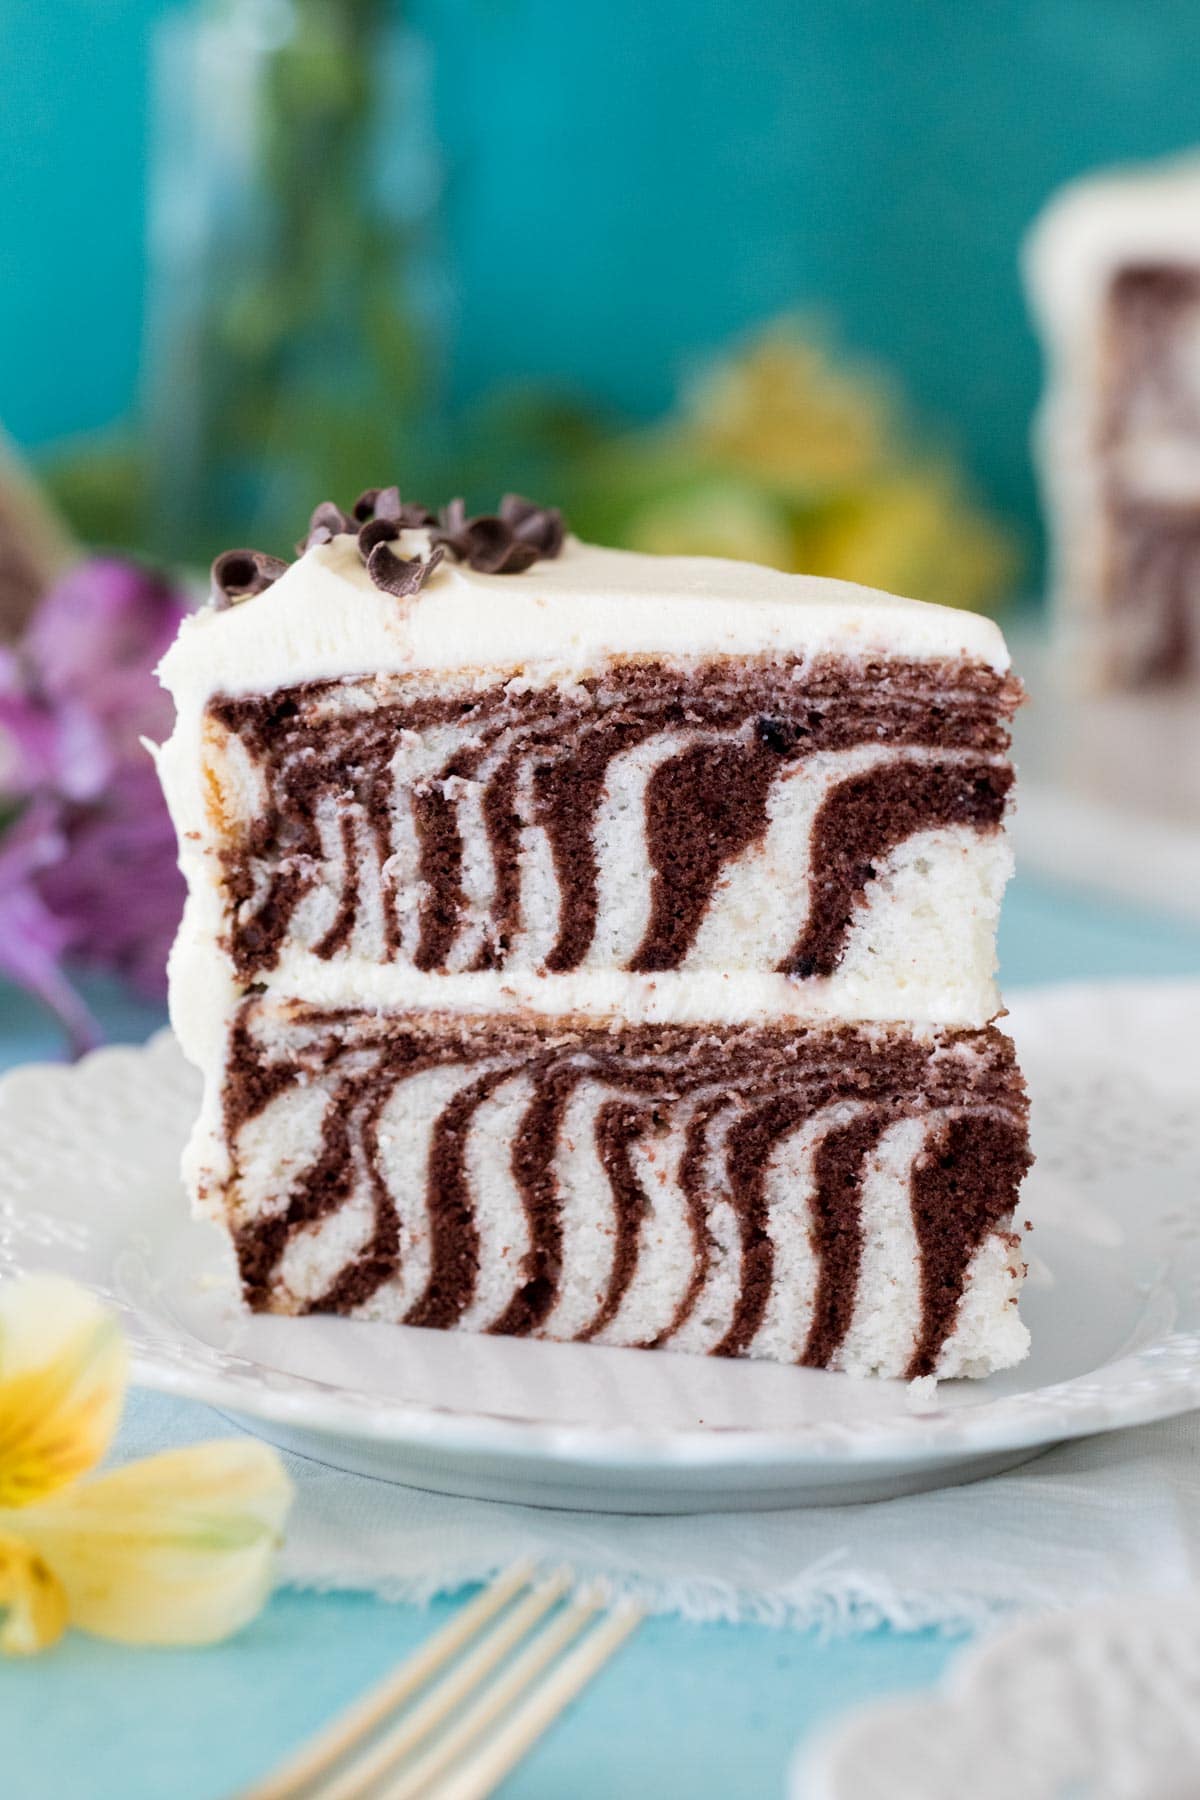
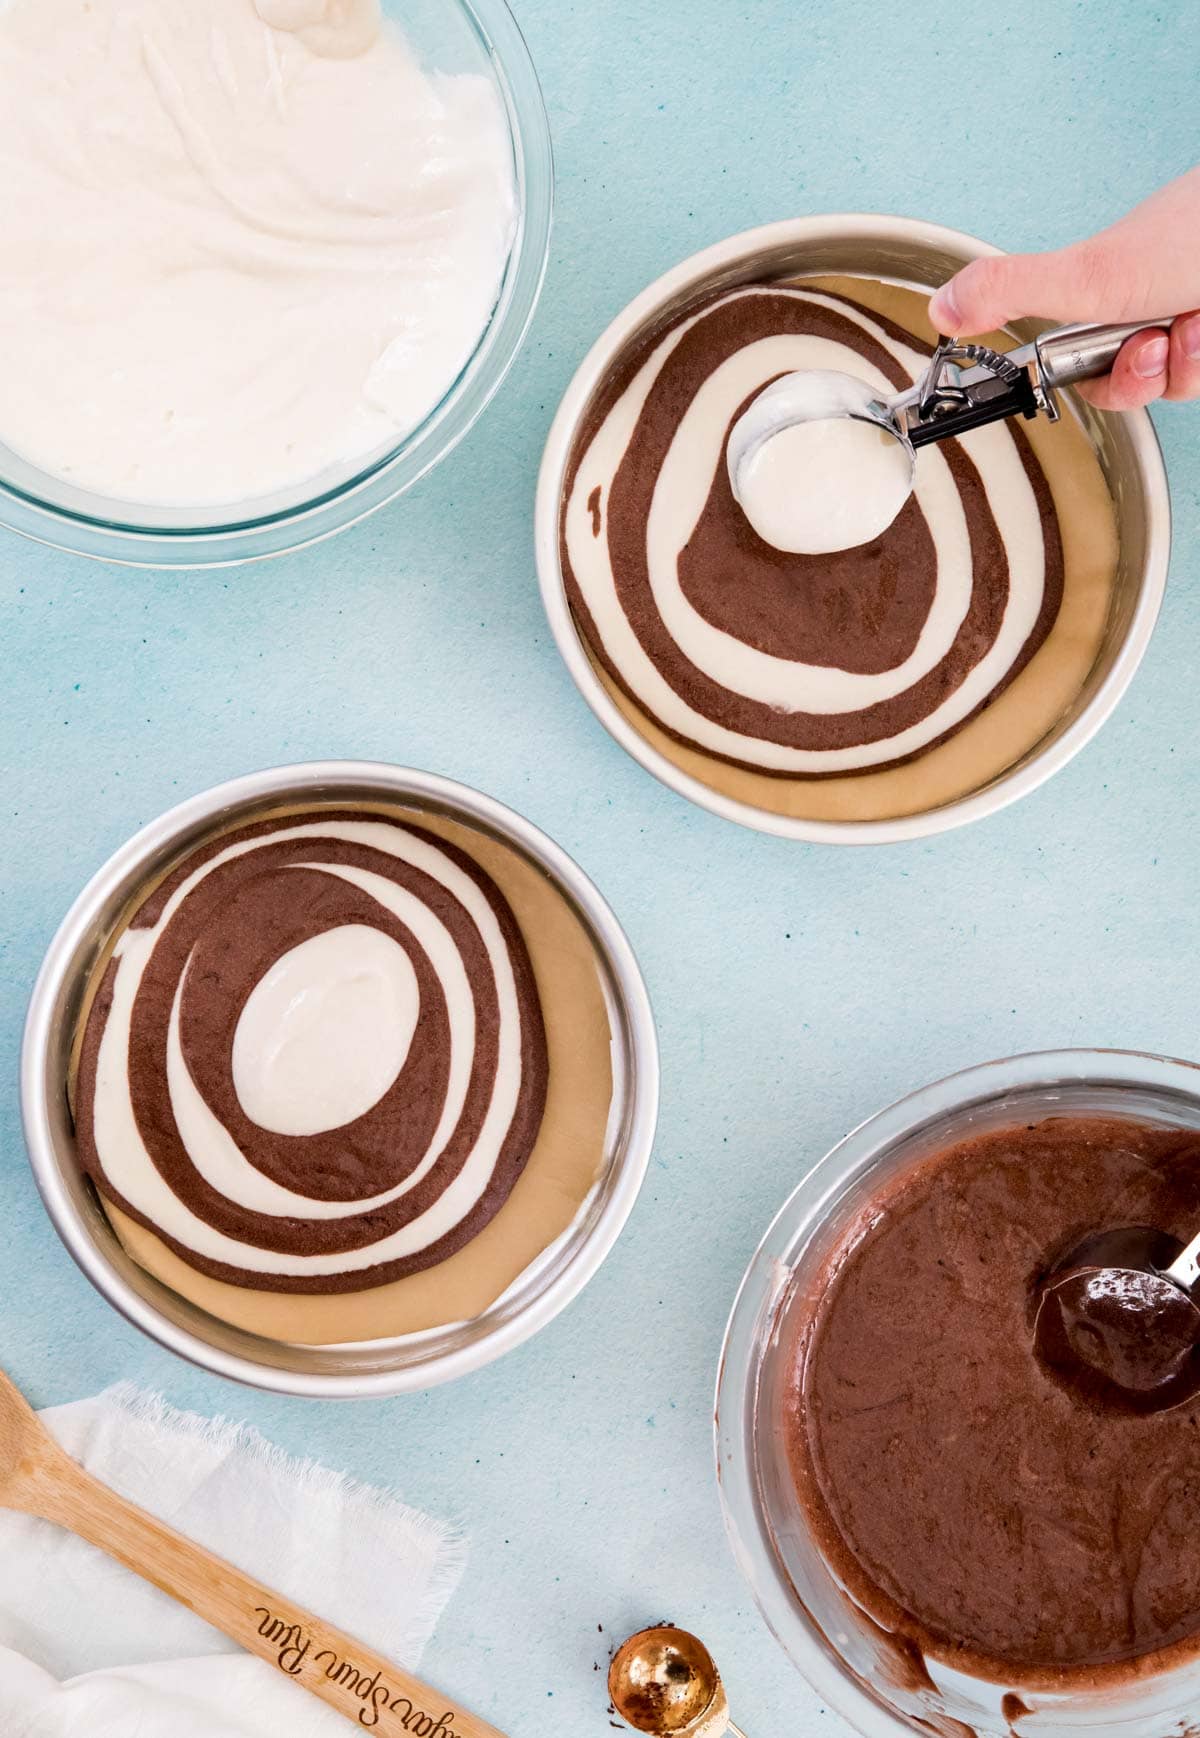
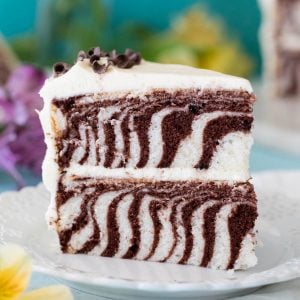
While it may seem like getting those beautiful black and white stripes might be impossible, the technique is surprisingly simple. After dividing your batter, Scoop about ⅓ cup of white batter into the center of your cake pan. Then, scoop slightly less chocolate batter and dollop that right in the center of your white batter. Repeat until you’ve used all of the batter. Two important things to keep in mind when portioning zebra cake batter: For flawless stripes, it helps if one dollop/circle of white batter never touches another dollop of white batter. If it does, the cake takes on more of a marbled appearance. If your batter isn’t spreading enough for you, take a spoon and gently nudge it out, but you should not need to spread it across the whole cake pan. The batter should naturally spread a little bit from the weight of the next dollop of batter. Watching my video may be helpful before you begin. I always start and end with the white batter, because you have slightly more of it.
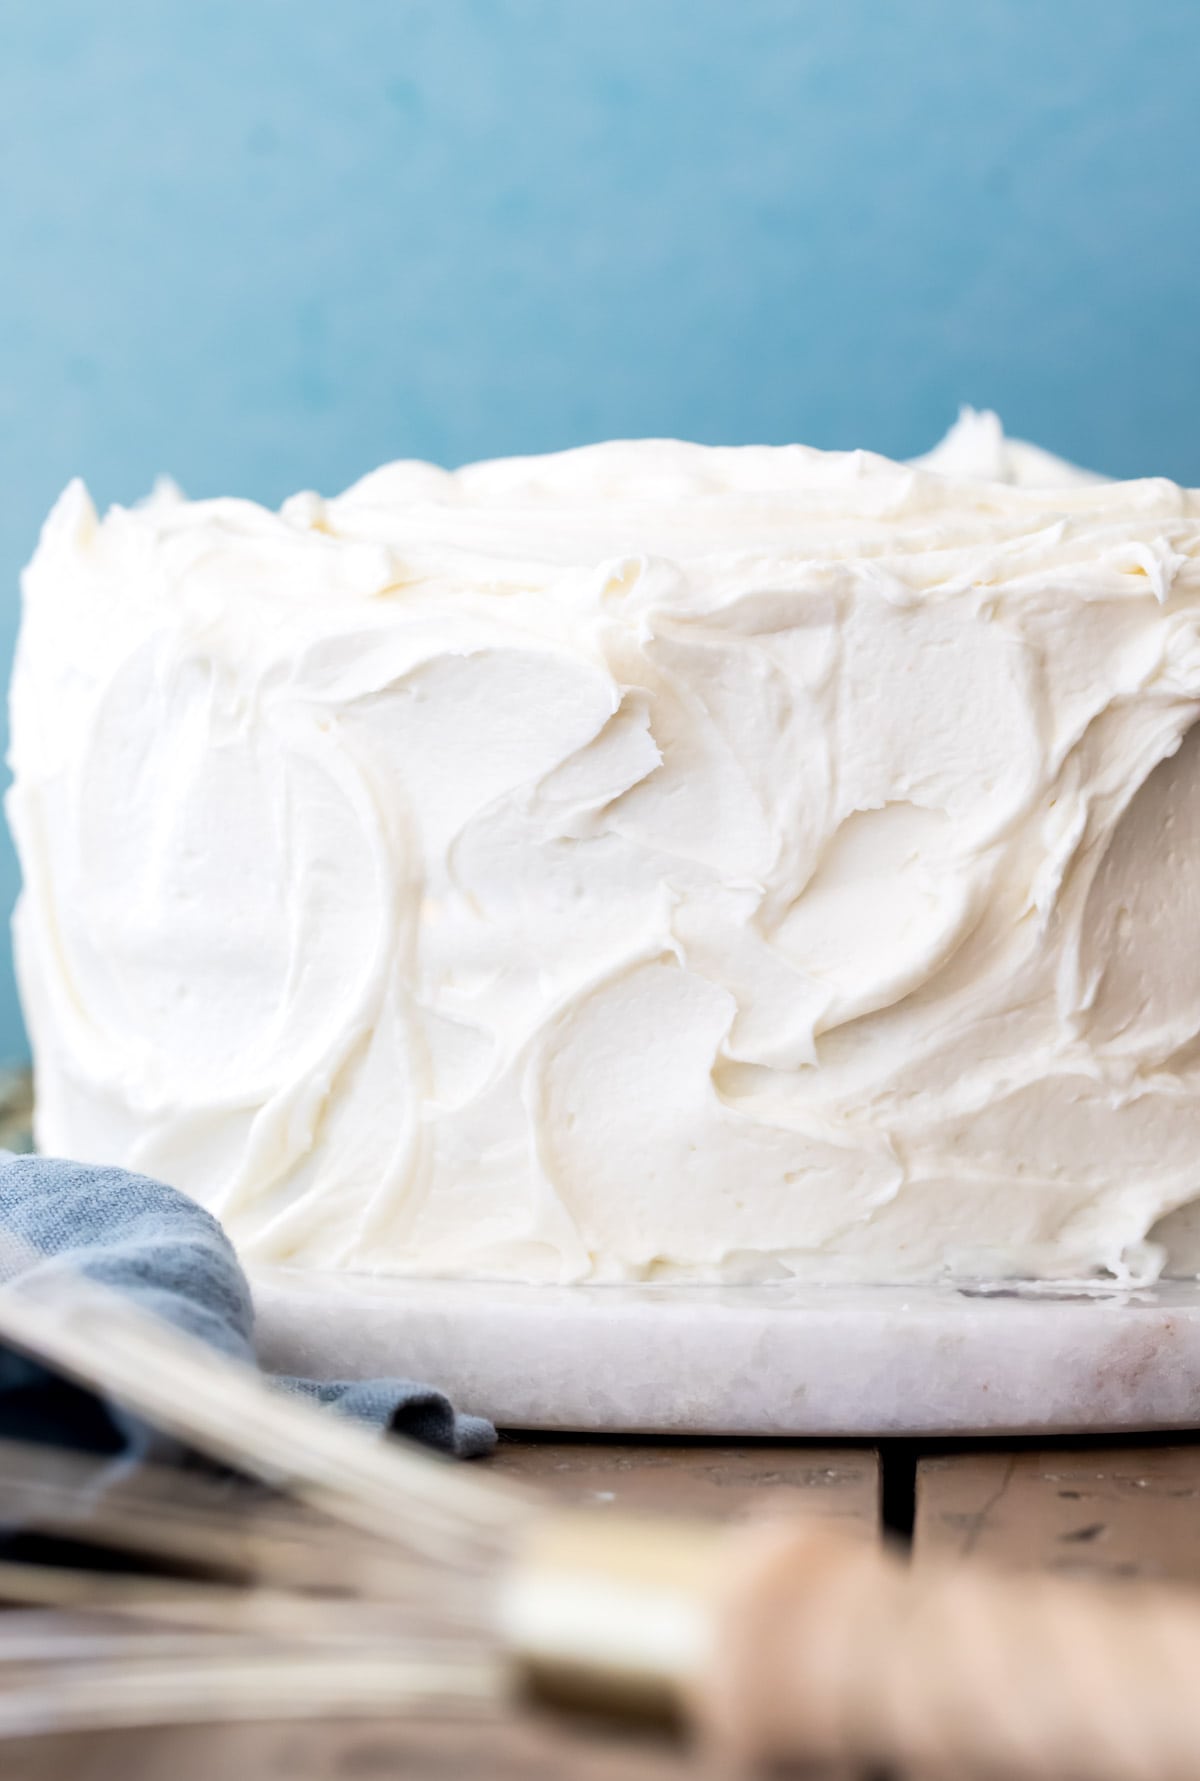
Icing Options
I recommend using my white chocolate buttercream that I just shared. It’s not overly sweet and it complements the zebra cake so nicely. If you don’t care for white chocolate (I actually don’t either but love it on this cake), you could use my favorite chocolate frosting instead. Here are a few other options that would work here:
Cream cheese frosting or chocolate cream cheese frosting Swiss meringue buttercream Buttercream frosting or chocolate buttercream
Storing
Store in an airtight container. At room temperature it will keep for 1-2 days or it may be refrigerated for up to a week (just keep in mind the fridge is liable to dry out your cake). Zebra cake (frosted or unfrosted) may also be frozen and will keep for 2-3 months in the freezer.
Enjoy! Let’s bake together! Be sure to check out my video in the recipe where I’ll show you exactly how I make this in my own kitchen!