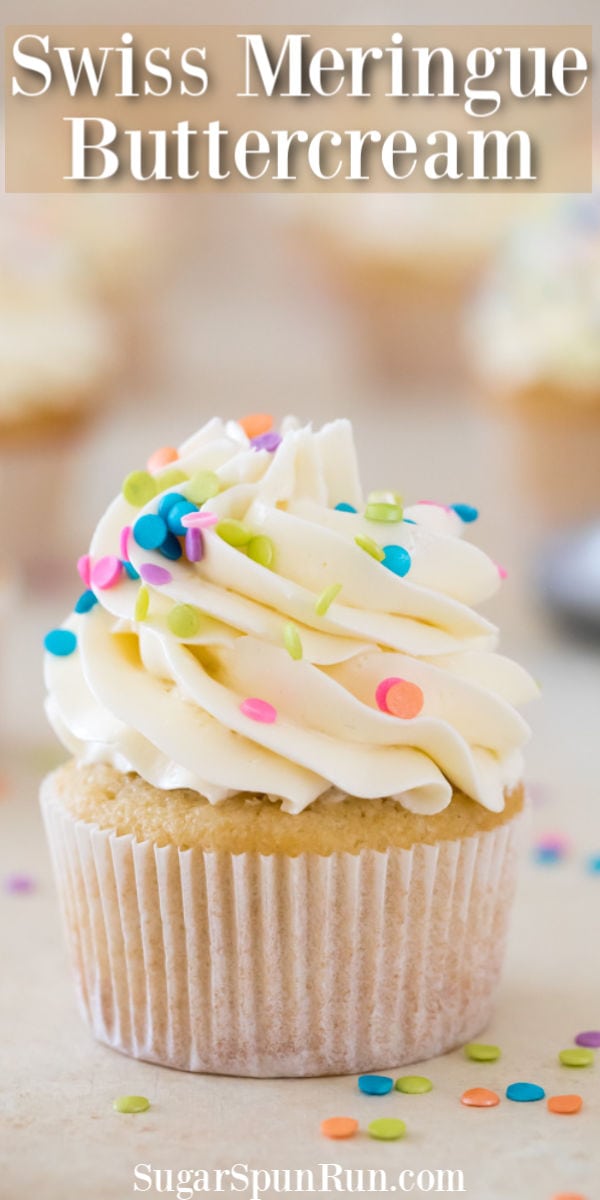
A Perfectly Sweet Buttercream
If you’ve ever been the kind of person to scrape the frosting off your cake because it’s just too sweet, today’s recipe is for you.
Swiss meringue buttercream is one of the most common frosting recipes used by professional bakers, yet most home bakers haven’t heard of it. Instead, they use American buttercream frosting, which is thicker and typically very sweet. Swiss meringue buttercream, on the other hand, is light, buttery, and perfectly sweetened.
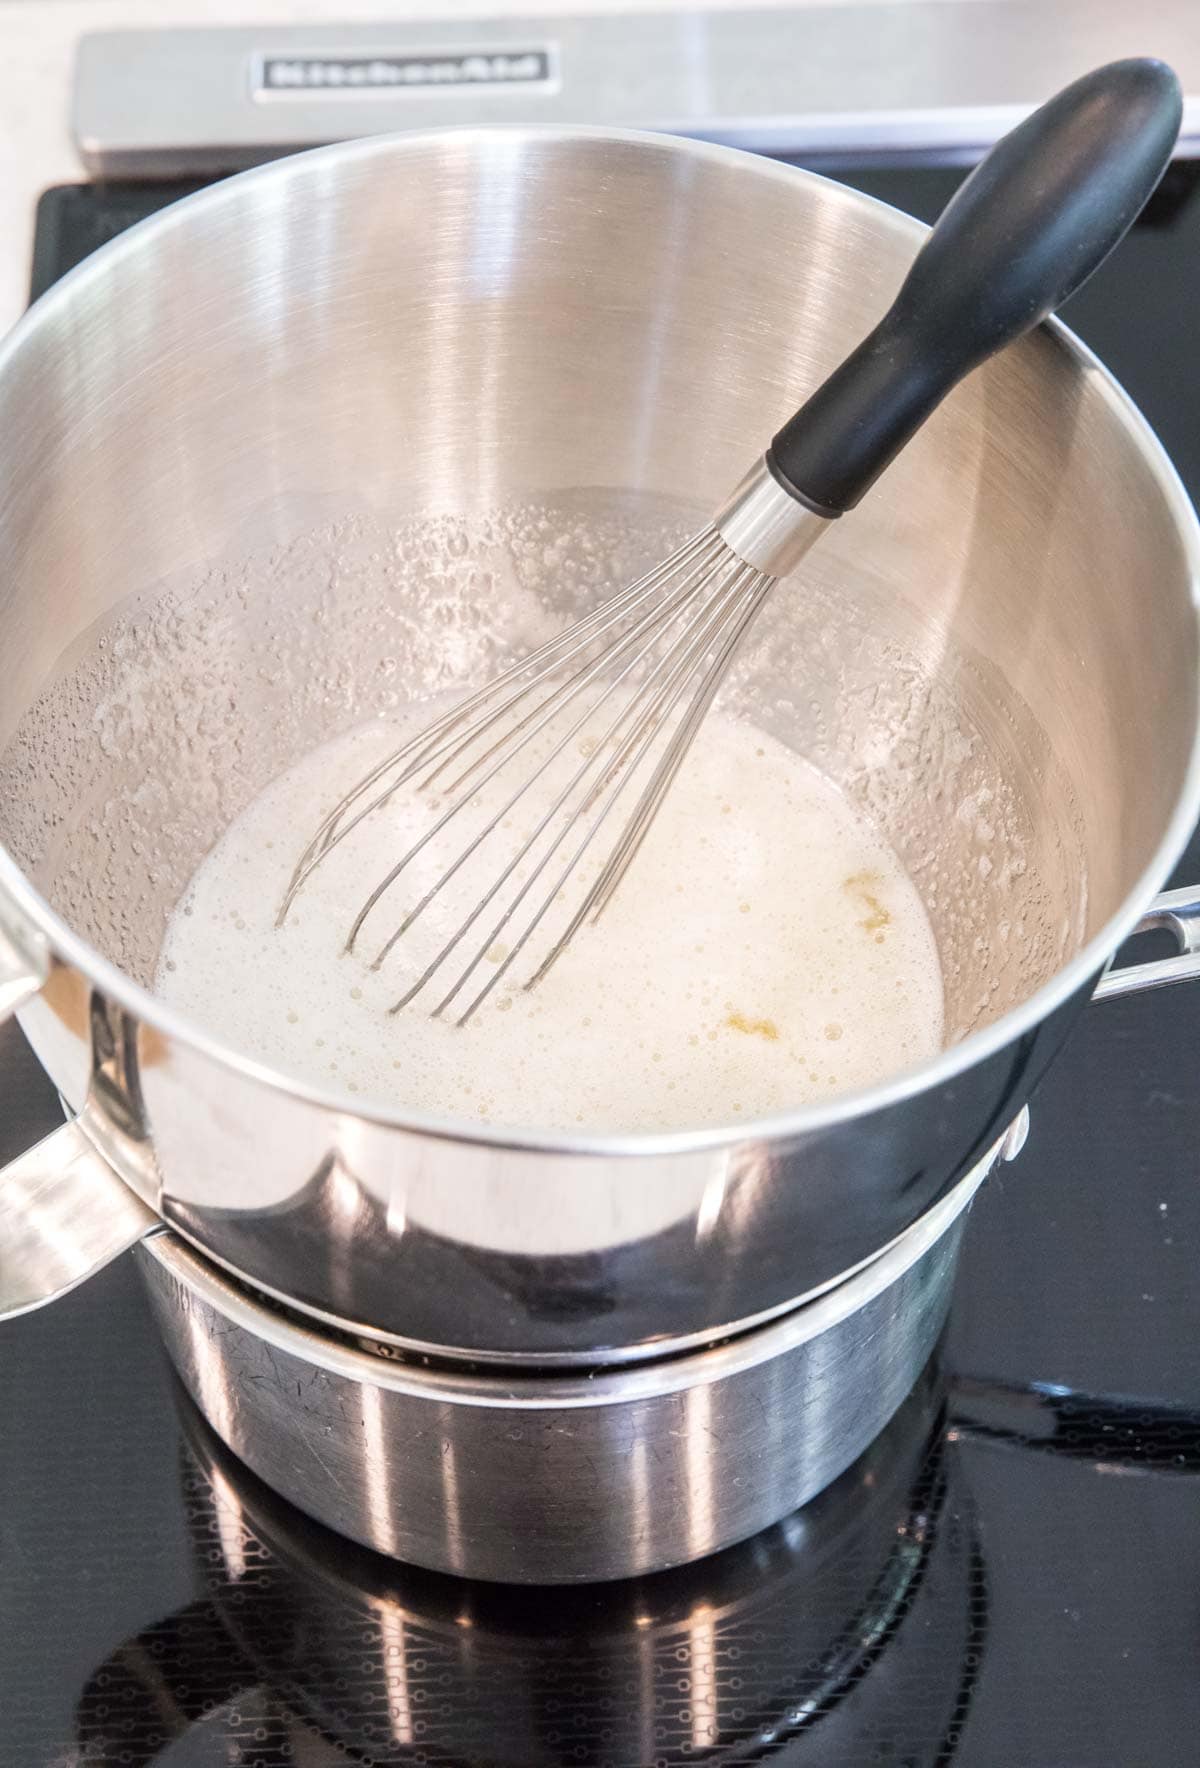
This frosting gets its texture from a meringue base made of granulated (not powdered!) sugar and egg whites. It’s not hard to make, but if you’ve mostly made your frostings away from the stovetop in the past (as I did for decades), this recipe might seem a bit more complicated than what you’re used to. Today we’ll walk together through all the steps in detail so you can make your own flawless batch of buttercream.
What you’ll love about it:
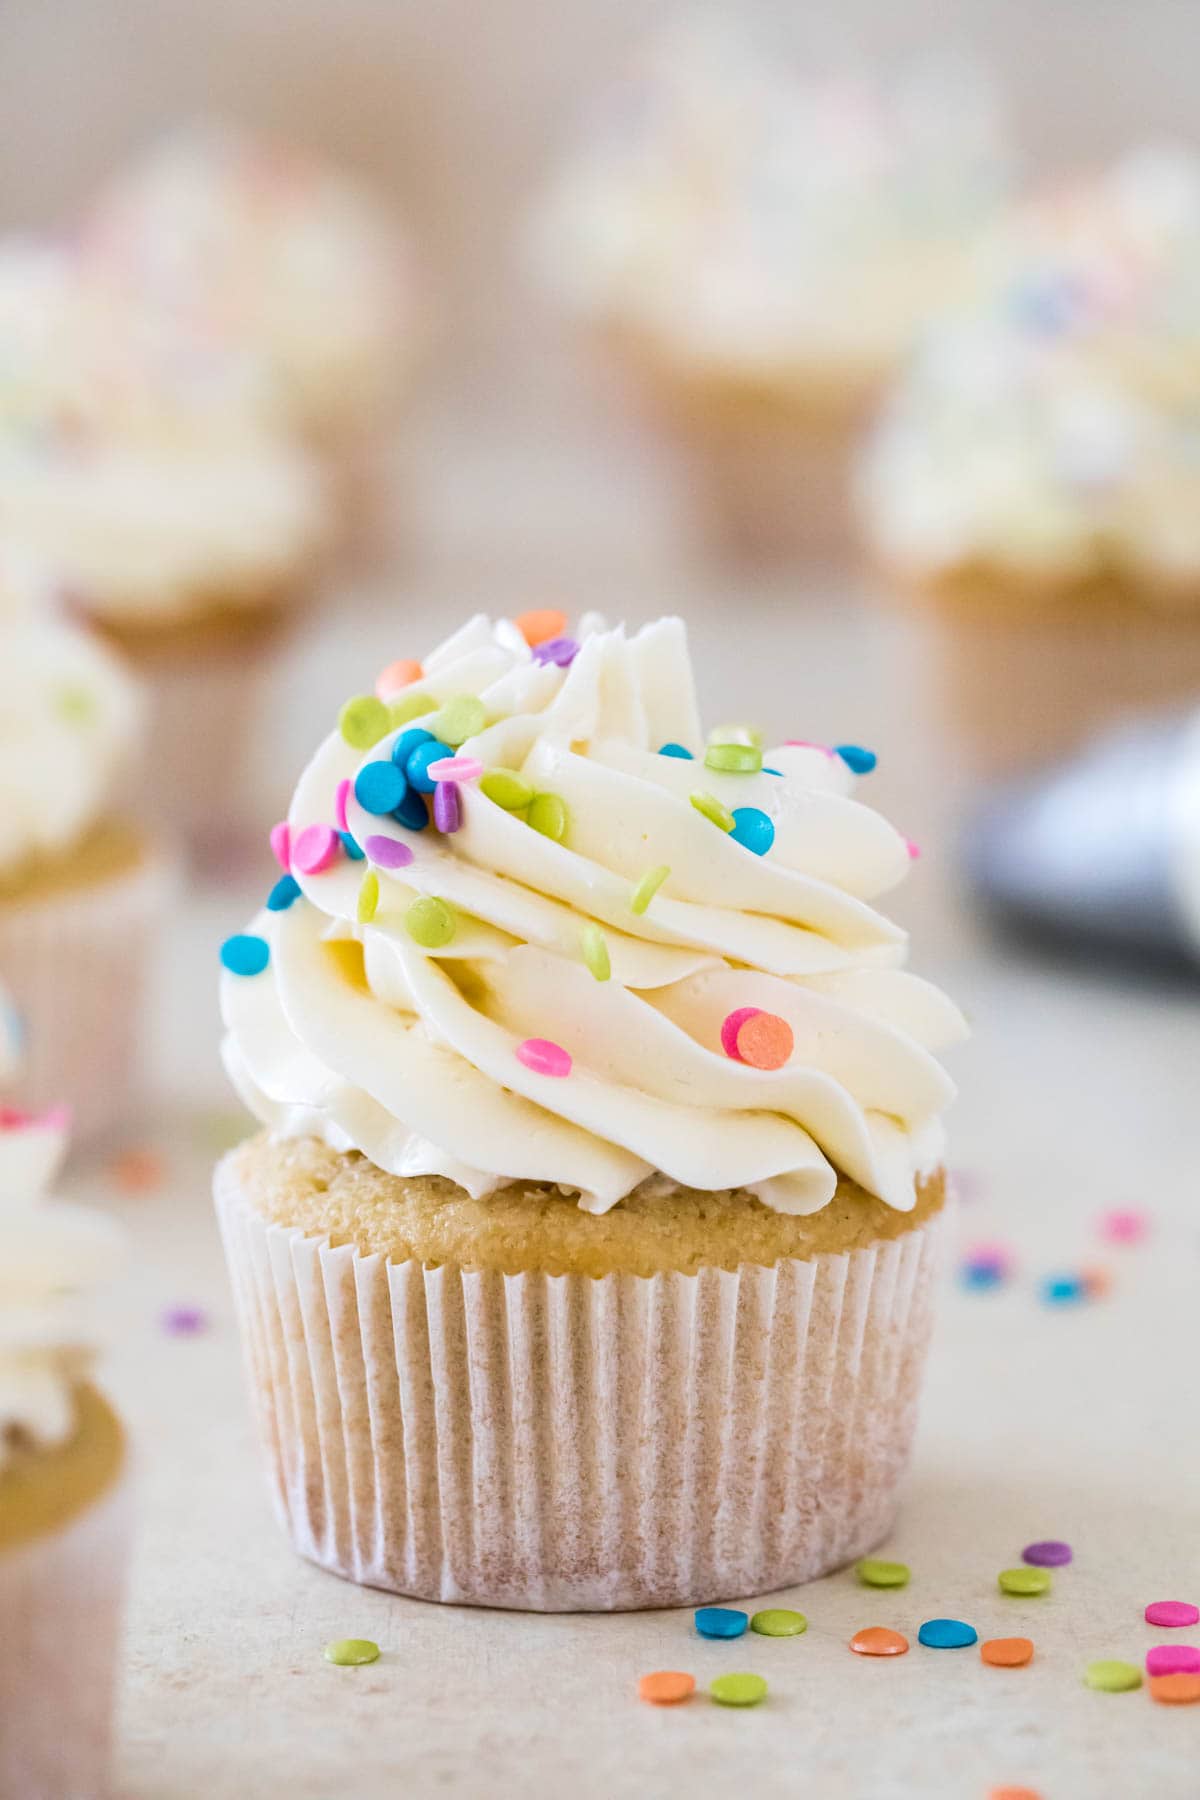
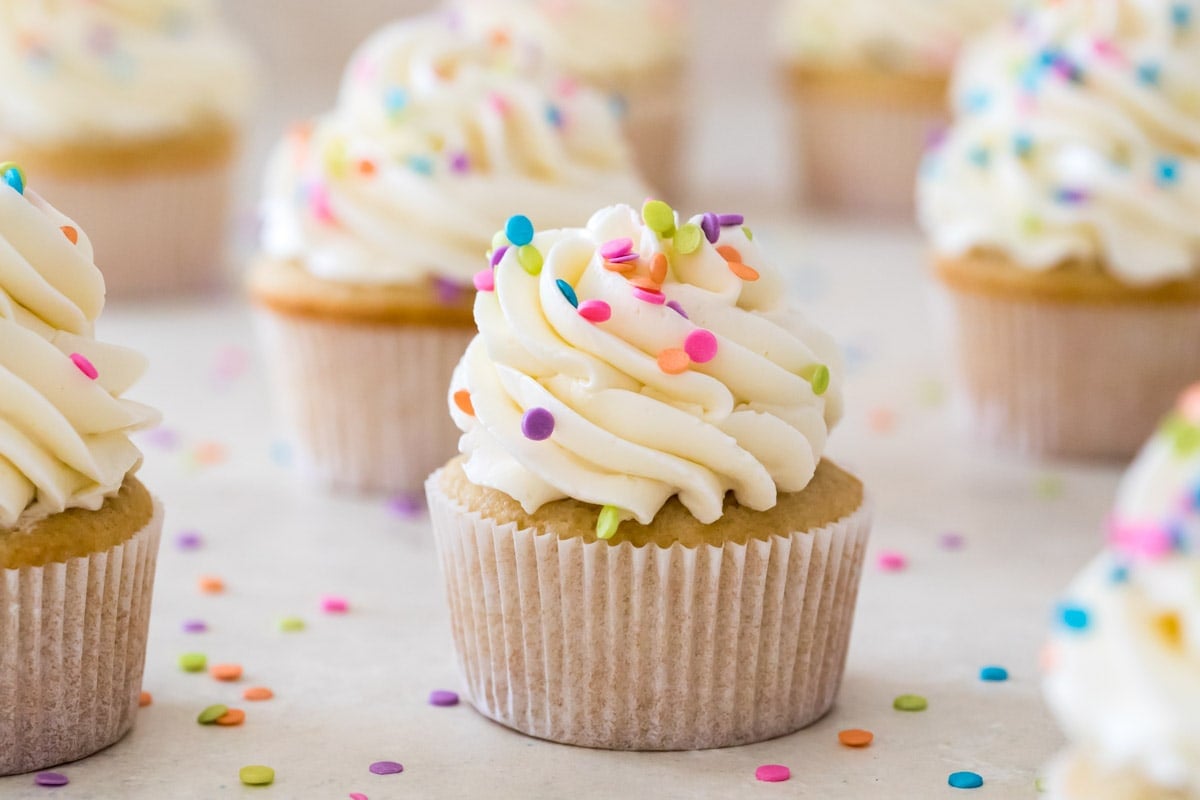
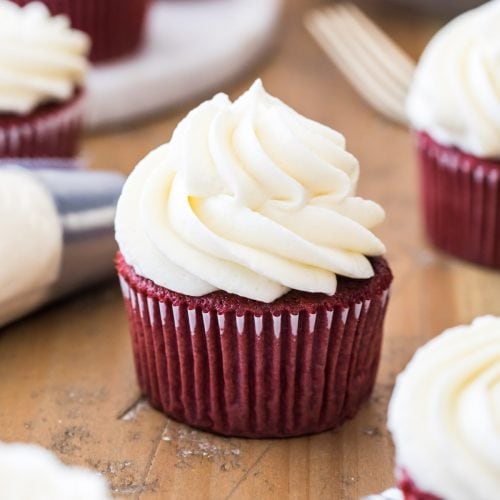
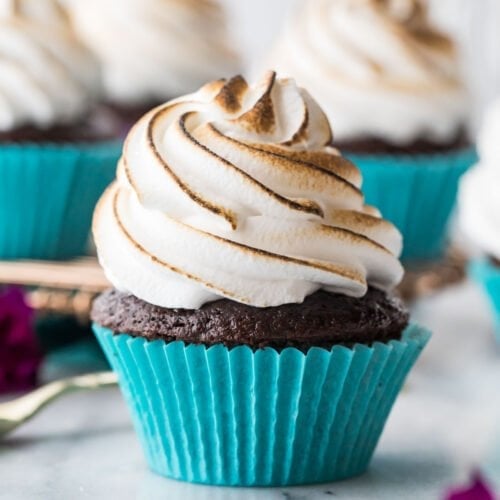
Velvety smooth & creamy (and stays that way–it doesn’t crust!)Has a light, silky & perfectly buttery mouthfeelPerfect for piping, decorating, and using under fondantVersatile; I love to pair it with chocolate cupcakes or vanilla cake, but it would be great with any flavor!
What You Need
Similar to my German buttercream, this recipe starts on the stovetop and ends with lots of butter (but I personally believe the Swiss version is less fussy and easier to get just right!). Here are the key ingredients you’ll need:
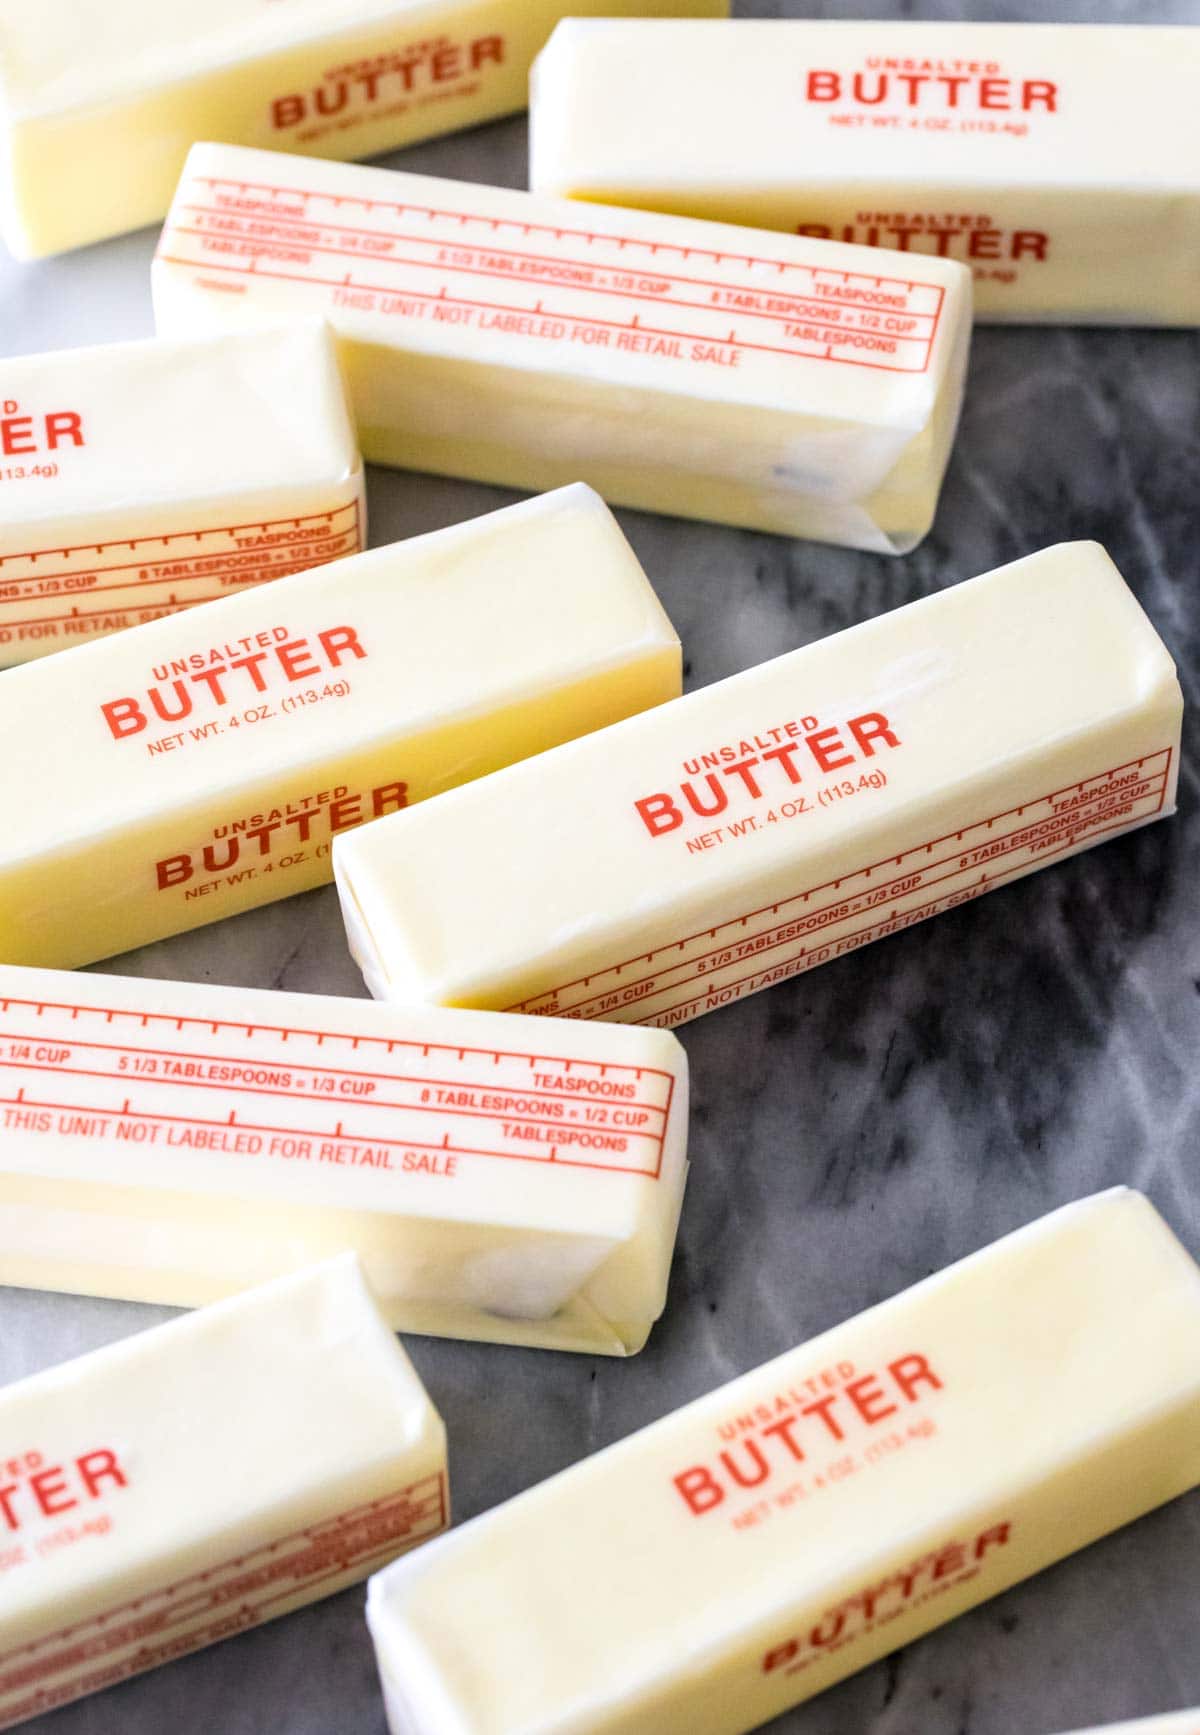
Egg whites. For best results, use room temperature egg whites; I do not recommend using the kind you can find in a carton, as they don’t consistently whip properly (some of you who try will have success, others won’t!). Make sure you don’t have any yolk in your whites! We will be cooking the egg whites, so you won’t be consuming raw eggs in this frosting.Butter. It’s important that your butter is softened, but not so soft that it’s melting out of your butter wrapper or even greasy. I usually set mine out of the fridge about an hour before I begin making my buttercream.Vanilla. I use vanilla extract today, but you can switch up the extract for a different flavor. Note that some extracts, like almond or mint, will be more potent, so you may not need as much as I have listed here.Granulated sugar. Unlike most frostings, this recipe uses granulated sugar instead of powdered sugar. The sugar will need to fully dissolve before you begin whipping your meringue, or it won’t turn out properly.
Remember, this is just an overview of the ingredients I used and why. For the full recipe please scroll down to the bottom of the post!
How to Make Swiss Meringue Buttercream
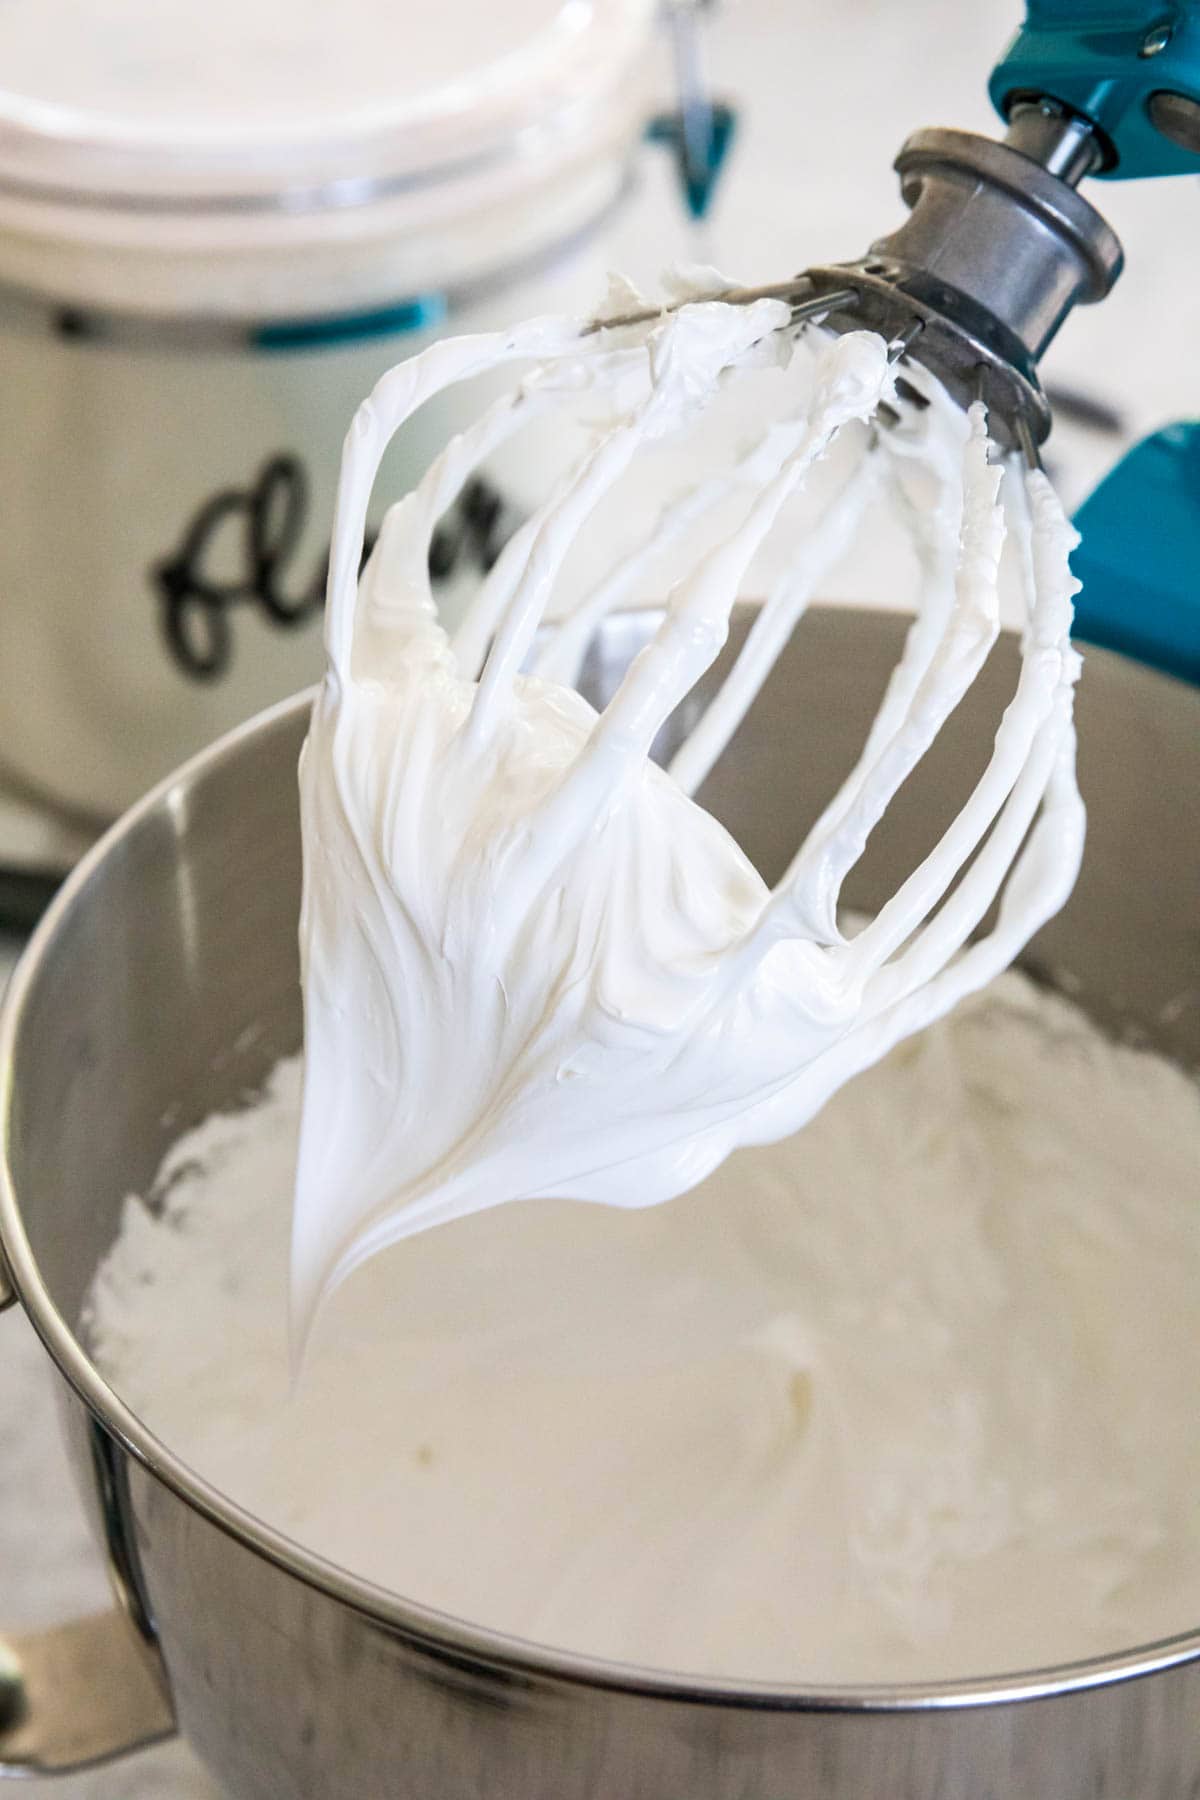
I strongly recommend using a stand mixer for this recipe. Making this frosting by hand or even with an electric mixer would be a workout. I can’t even imagine how long it would take! SAM’S TIP: To test if your sugar has full dissolved, rub a small bit between your fingers before proceeding to the next step. If you can feel any grit or grain at all, your sugar is not fully dissolved and you’ll have a gritty buttercream–so keep whisking until all the sugar is dissolved. SAM’S TIP: “Stiff peaks” means that if you lift the whisk straight out of your meringue, the peak that forms holds its shape and doesn’t melt back into itself or fold over. This will take at least ten minutes or so. If you’d like a visual of this, check out the photo below or watch the video in the recipe card.
Help: My Buttercream Curdled!
Sometimes during the process of adding the butter, your buttercream might break down and take on a curdled appearance. Don’t panic! So long as you’ve followed all of the previous steps correctly, everything is going to be just fine. Just keep mixing, just keep mixing, and by the time all of your butter is added, the buttercream should come back together. If it doesn’t, transfer your bowl to the refrigerator for 10 minutes and then try mixing again. Serious Eats has a great guide on rescuing Swiss Meringue Buttercream if you are convinced you’ve ruined it. SAM’S TIP: Once the meringue reaches stiff peaks, I like to give my mixer a break while the bowl cools completely (some people keep mixing until it cools, but I don’t want to wear out my mixer!). At this point I also like to switch over to my paddle attachment for a smoother whip. Don’t start adding your butter any further until your bowl is completely cool and not even a tiny bit warm to the touch! Enjoy! Let’s bake together! I’ll be walking you through all the steps in my written recipe and video below! If you try this recipe, be sure to tag me on Instagram, and you can also find me on YouTube and Facebook
Related Recipes