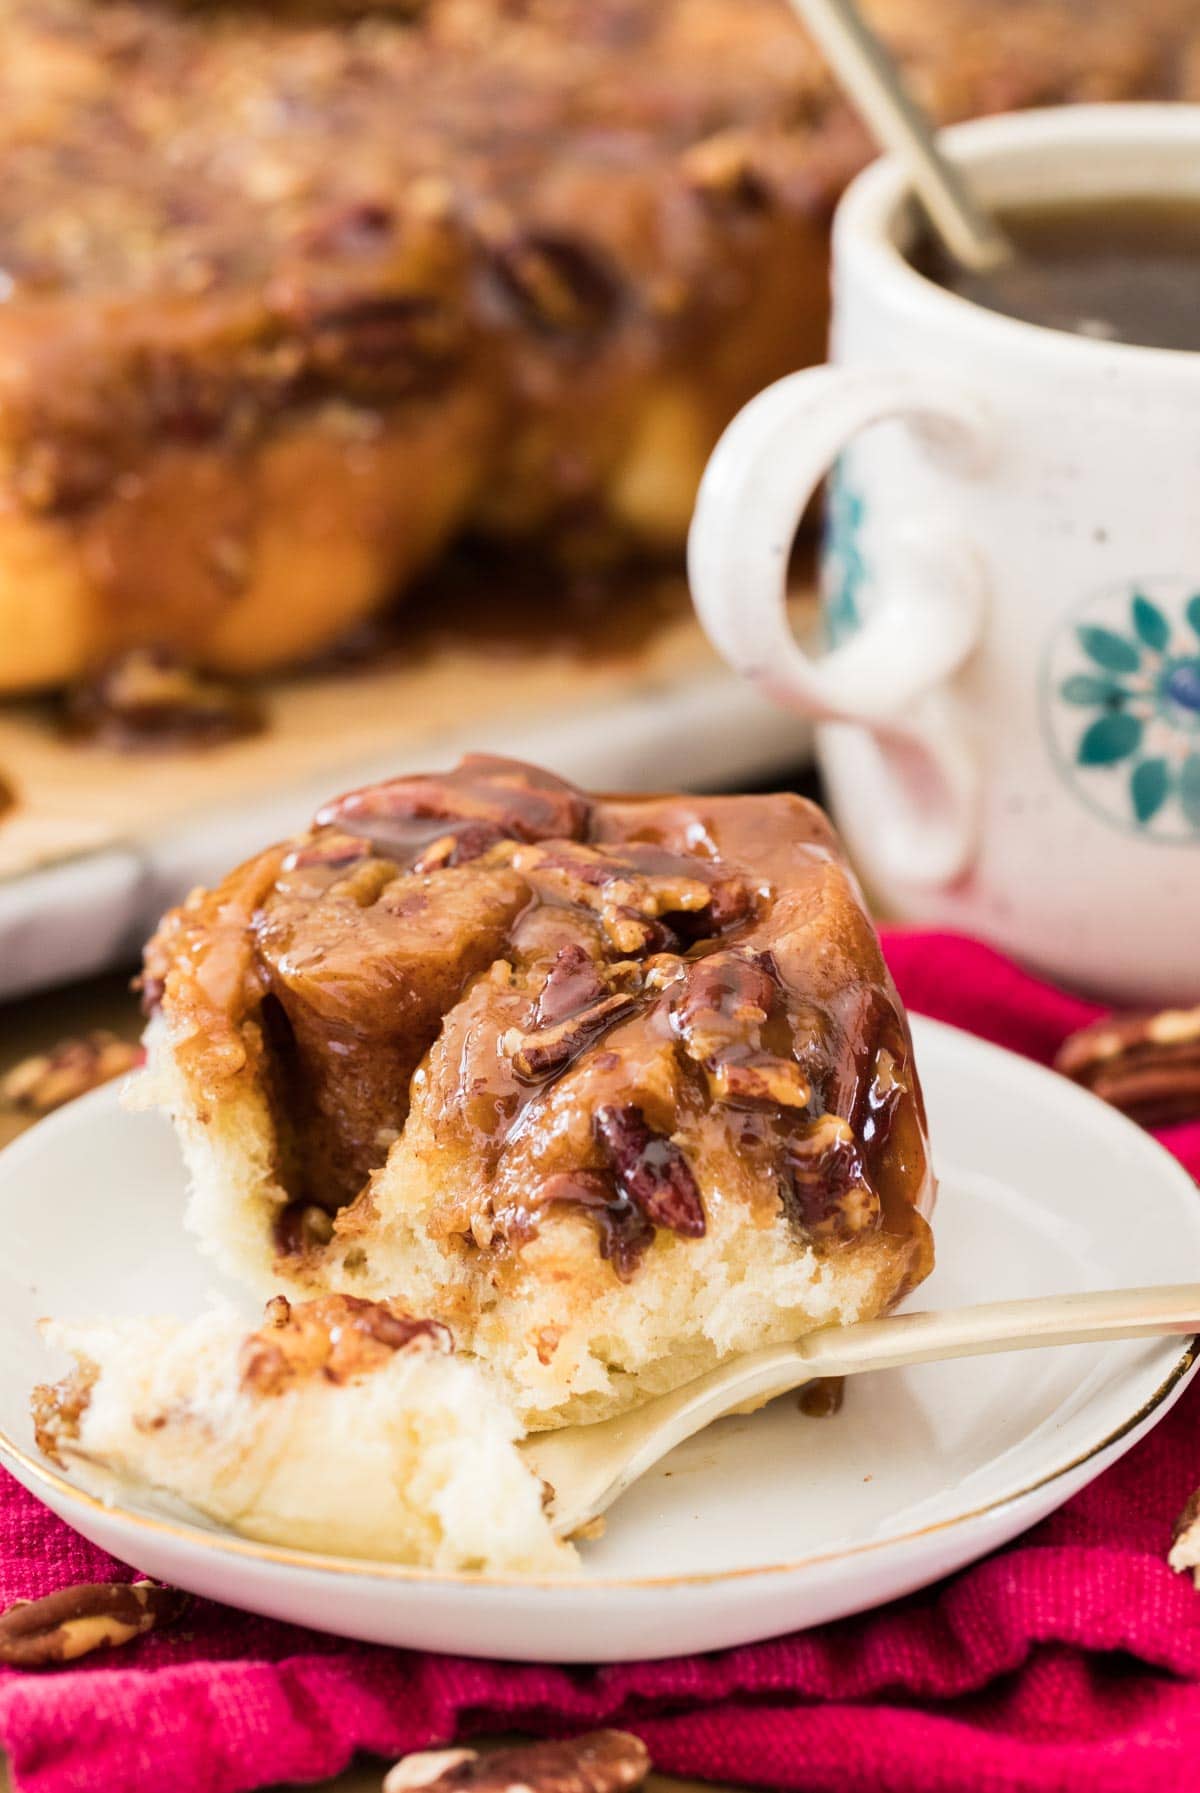
The Coziest Fall Recipe
It’s not pumpkin or apple flavored, but I can’t think of a better, cozier, more comforting treat for a chilly Fall morning than an ooey, gooey, soft and gloriously sticky sticky bun! These sticky buns are the best. It took me a long time to get the recipe just right and I’m so excited for you to try it! The first thing you’re going to love is the rich, buttery, egg-enriched dough. This. dough. is. incredible. It’s going to be the base for many more sweet dough recipes to come. Soft, just the right amount of chewiness, easy to manage… It’s sheer sweet roll perfection. But, besides the dough, what really sets my sticky buns apart is the rich, sticky glaze that I use. While many recipes use honey, I switch things up a little bit… more on that a bit further on!
Perfect Sticky Buns, Even For Beginners
Even if you’ve never baked with yeast before, you can do this! Today I’m walking you through all the steps and sharing all of my favorite tips and tricks. The recipe is detailed and I have plenty of photos and even a detailed how-to video in the recipe card. It’s true that yeast breads are a bit more work and require a bit more technique than your average baked good (like my pumpkin bread). If this is your first time making a yeast dough, make sure to read through the post and watch the video before beginning, then after diving into that golden pool of golden, caramel-y sticky bun perfection come back and let me know how they turned out for you! Now let’s get to it:
Consistency is Key!
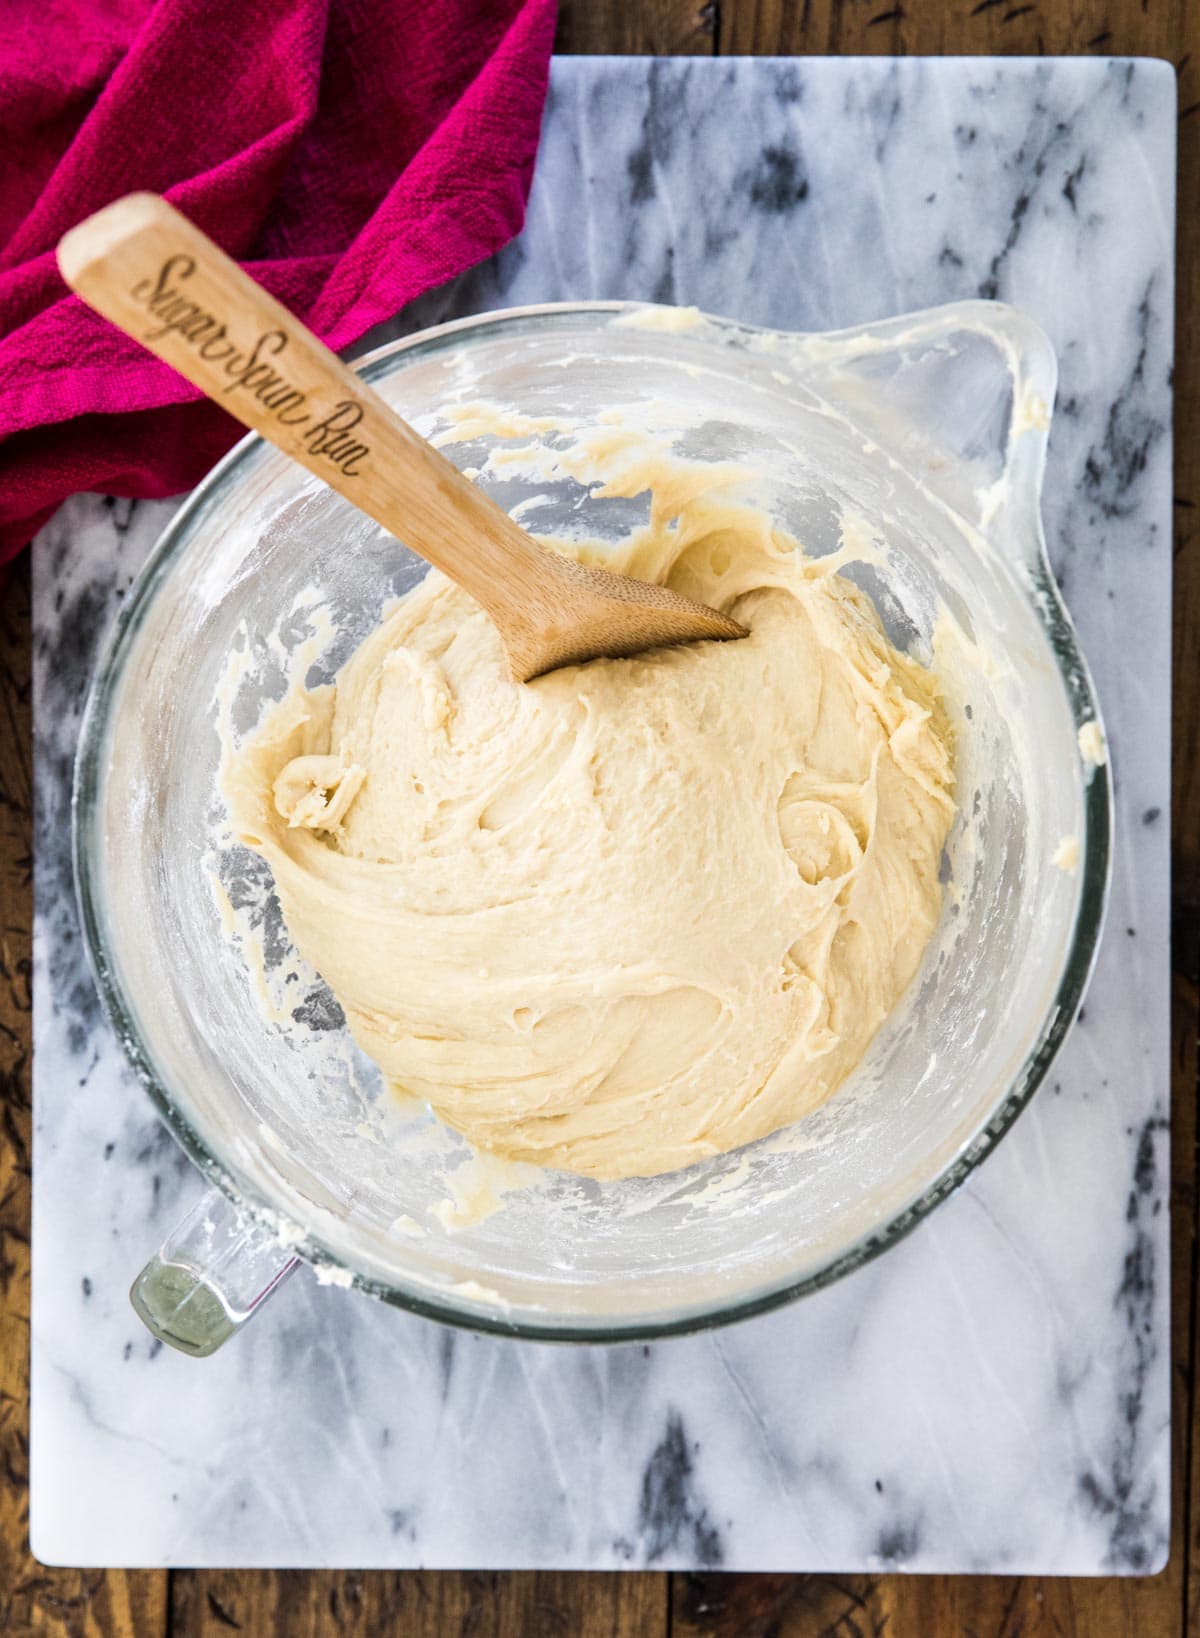
Any time you make a yeast dough, consistency is key. You’ll notice in many of my yeast recipes (like my pizza dough and homemade bread) I list a range for the amount of flour that you’ll need rather than a specific amount. This is because dough reacts differently in different kitchens under different conditions. Some bakers will need more flour and some will need less. It’s all about getting the dough to the right consistency, this will make or break your sticky buns. Different yeast recipes vary in their required dough consistency. For sticky buns, we’re looking for a consistency that is:
Smooth and elastic.Pulling away from the sides of the bowl and clinging to itself when mixing (either by hand or with a stand mixer)Slightly tacky to the touch. The dough may stick slightly to your fingertips, but it should not be so sticky that it is unmanageable.
See the photo above or the video in the recipe card for a good visual! While it’s rising, you can prepare your sticky bun glaze.
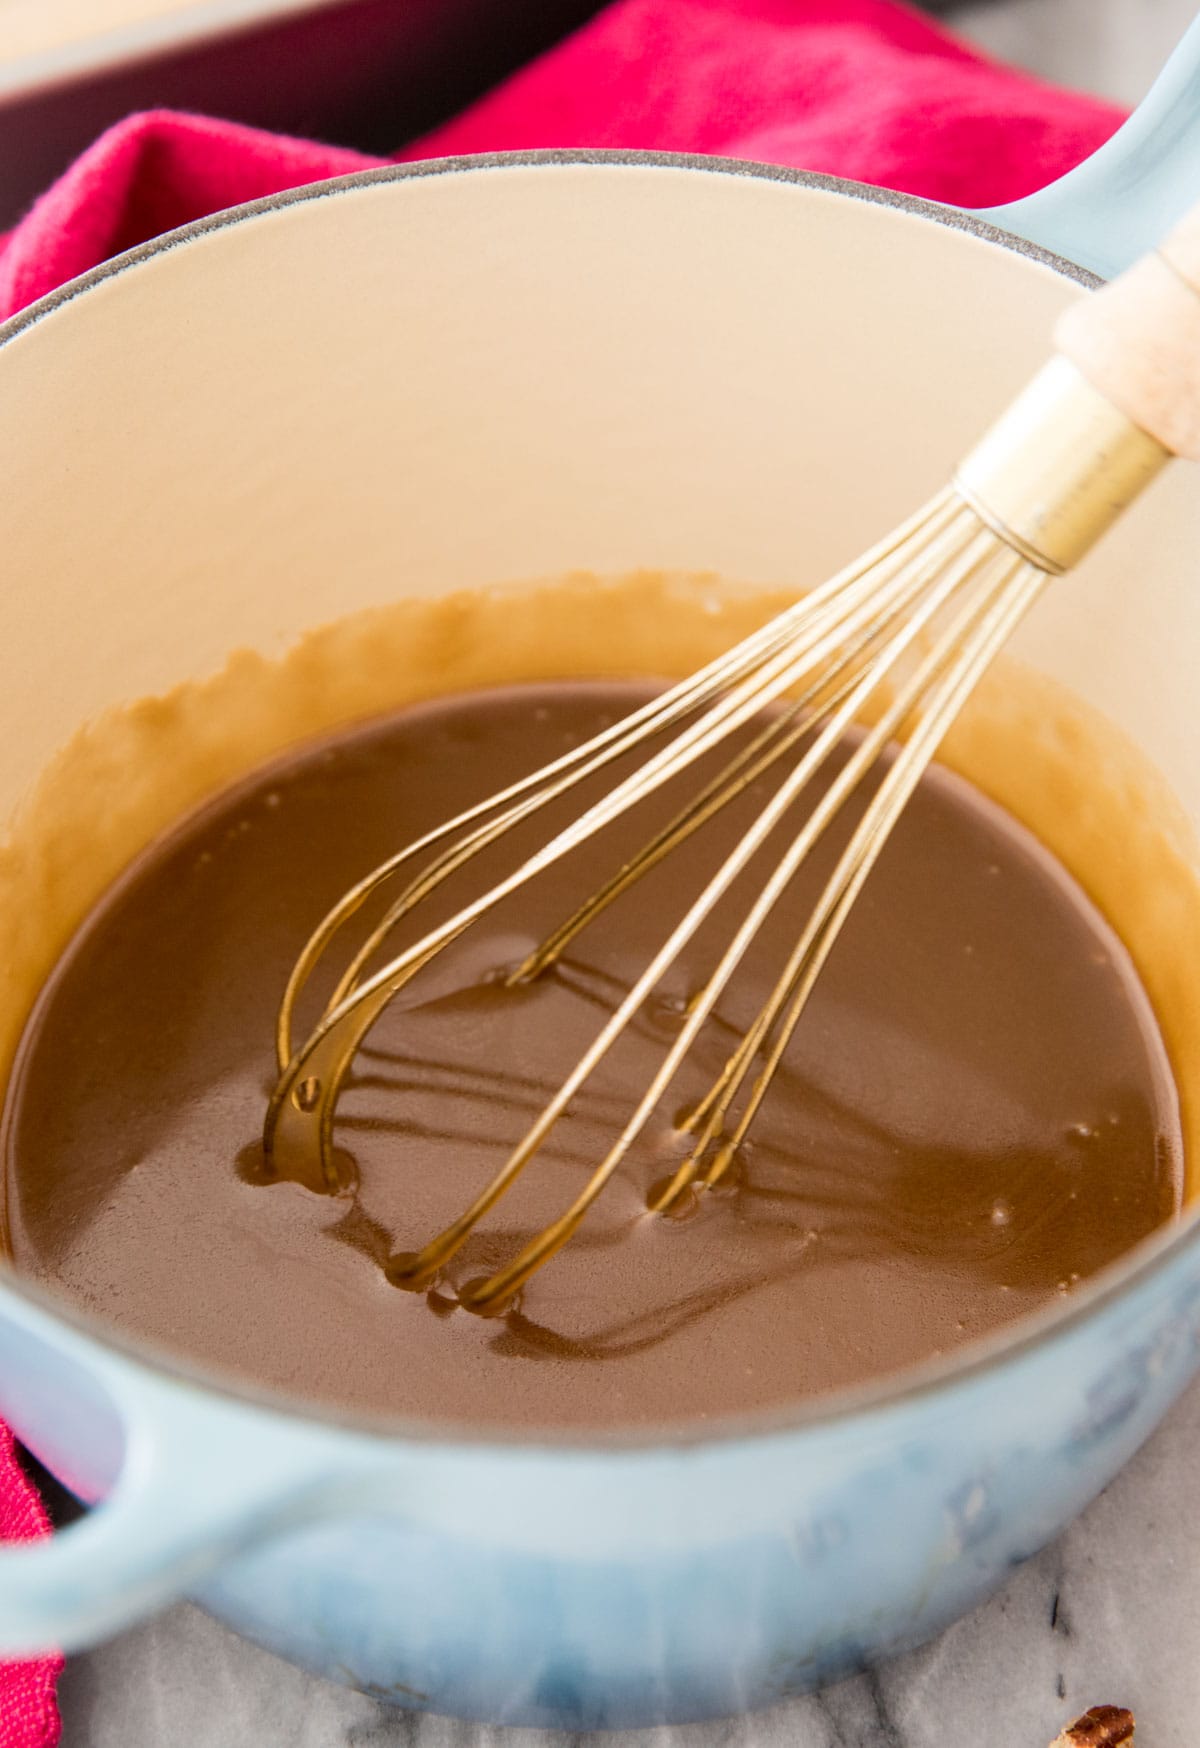
The BEST Sticky Bun Topping
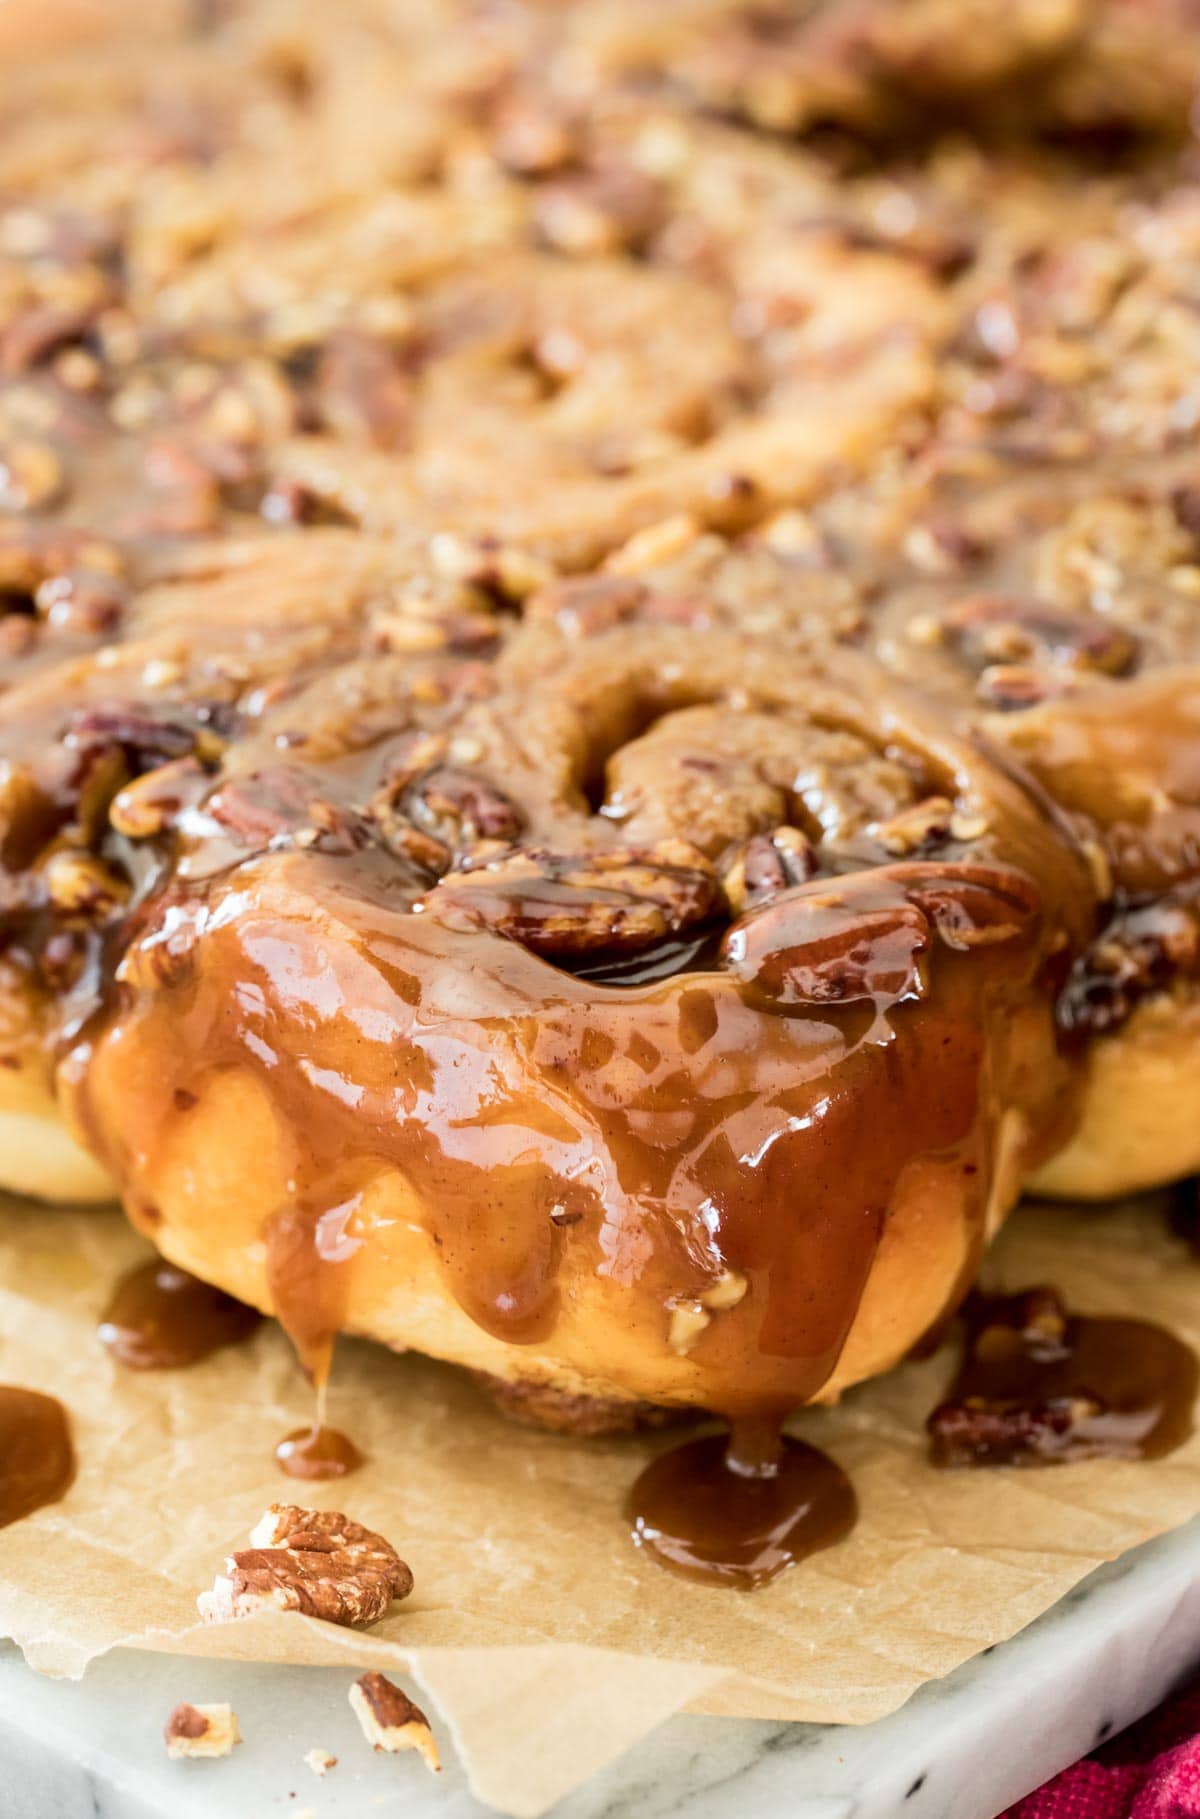
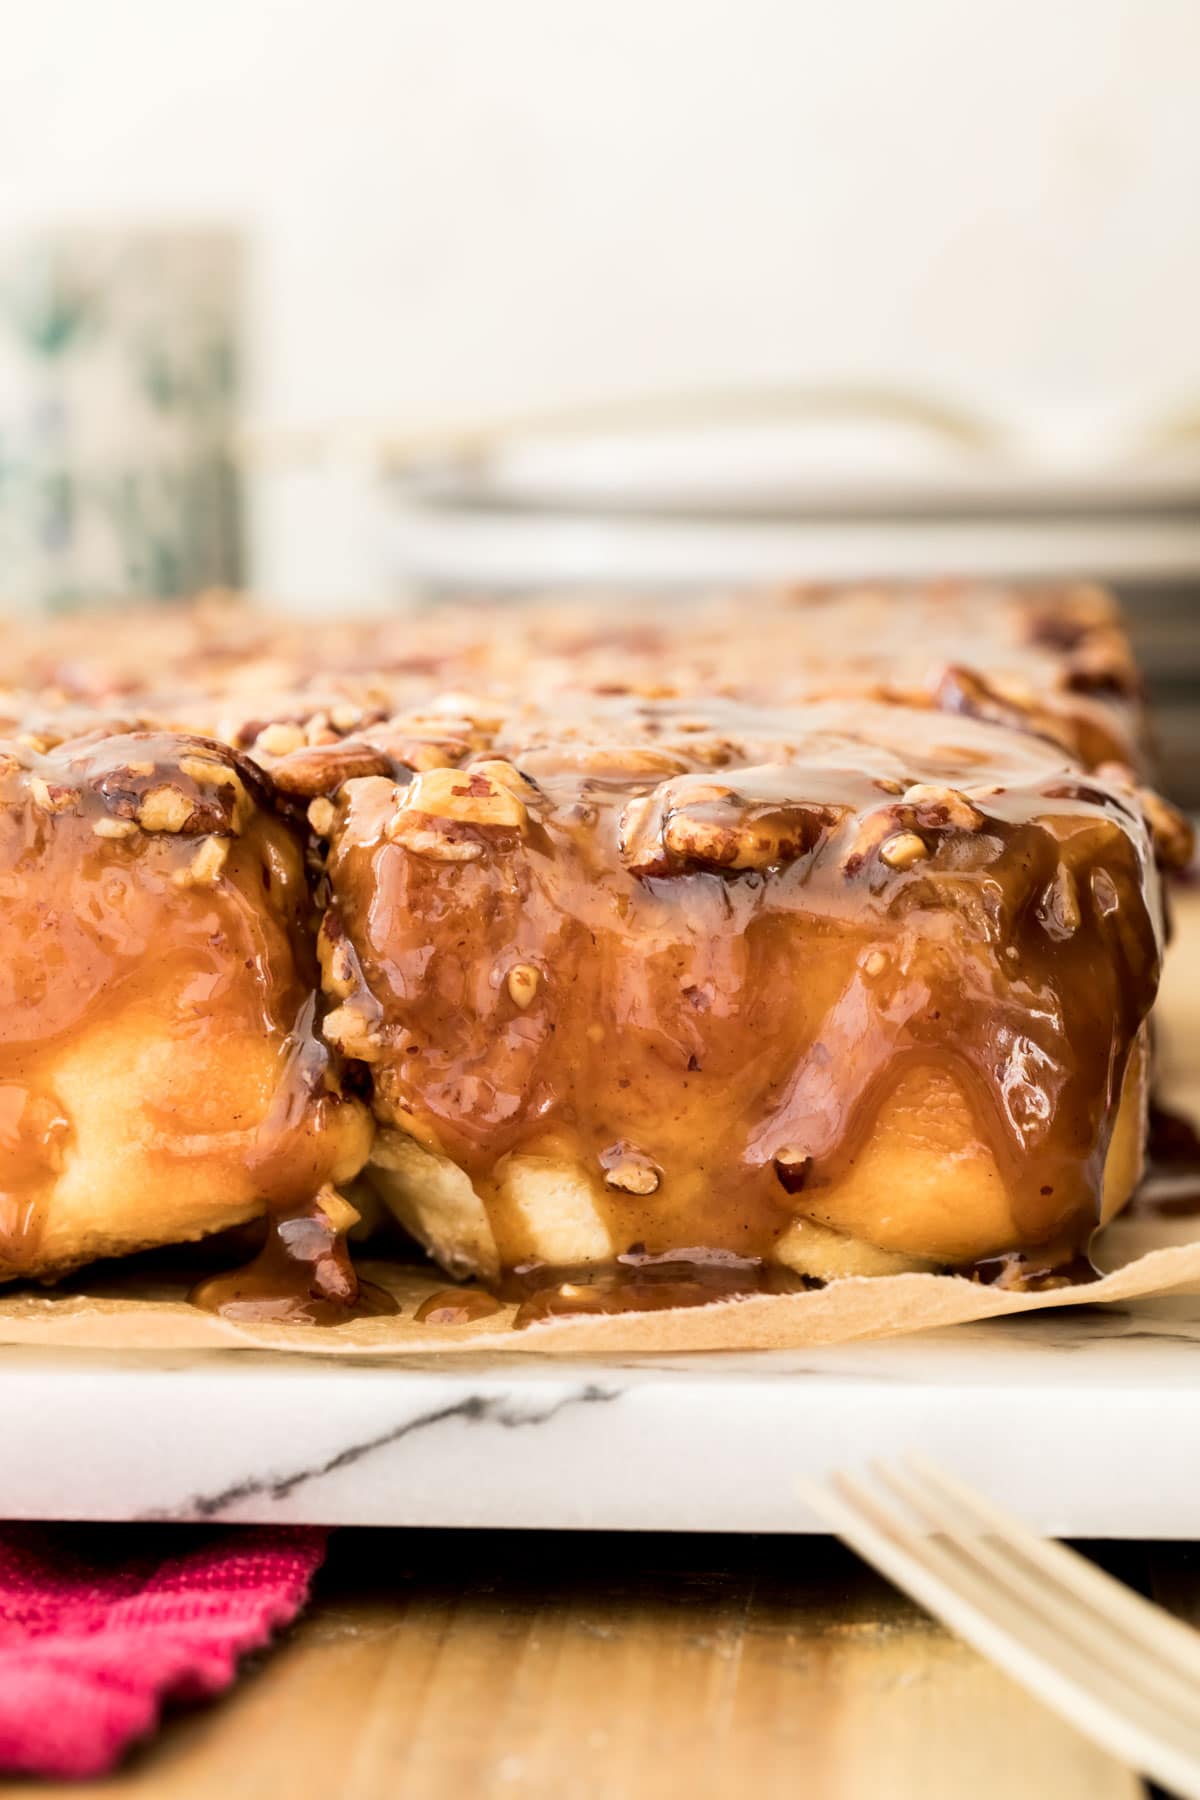
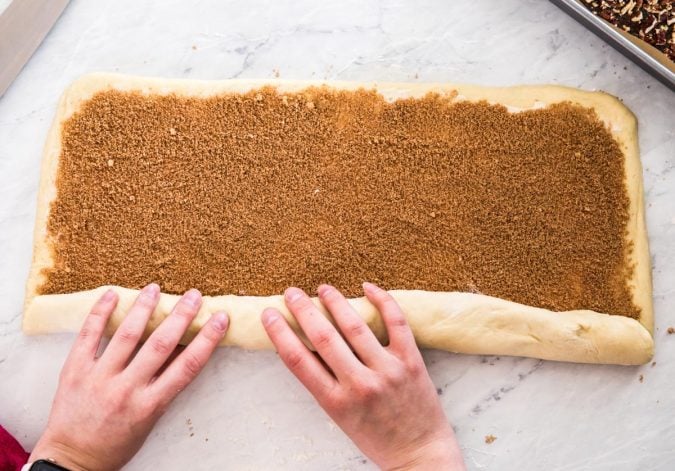
Much like with my pineapple upside down cake, the sticky buns also start a bit upside-down. We make the topping and pour it into the bottom of the pan before adding our rolls. After baking we’ll flip everything upside down so the bottom becomes the top, and my sticky, gooey, caramel-ly topping is to die for. I do things a little bit differently than your average recipe. While most recipes use honey, I think the flavor is enhanced and infinitely improved by using pure maple syrup instead. If you’ve tried my “worst” chocolate chip cookies, this probably won’t be a surprise to you. Tip: If you don’t have maple syrup you can substitute honey, but try it my way at least once, it’s so good! I do not recommend pancake syrup for this recipe, the taste just isn’t quite as good. If you want to be even more extra, lightly toast your pecans (as I do in my pecan pie) before scattering them over your syrup/sticky glaze mixture. Make this glaze while your dough is rising, then pour it into your pan and scatter chopped pecans or walnuts overtop. During this time you’ll also whisk together a cinnamon/sugar mixture that will be the filling for your sticky buns.
Assembly
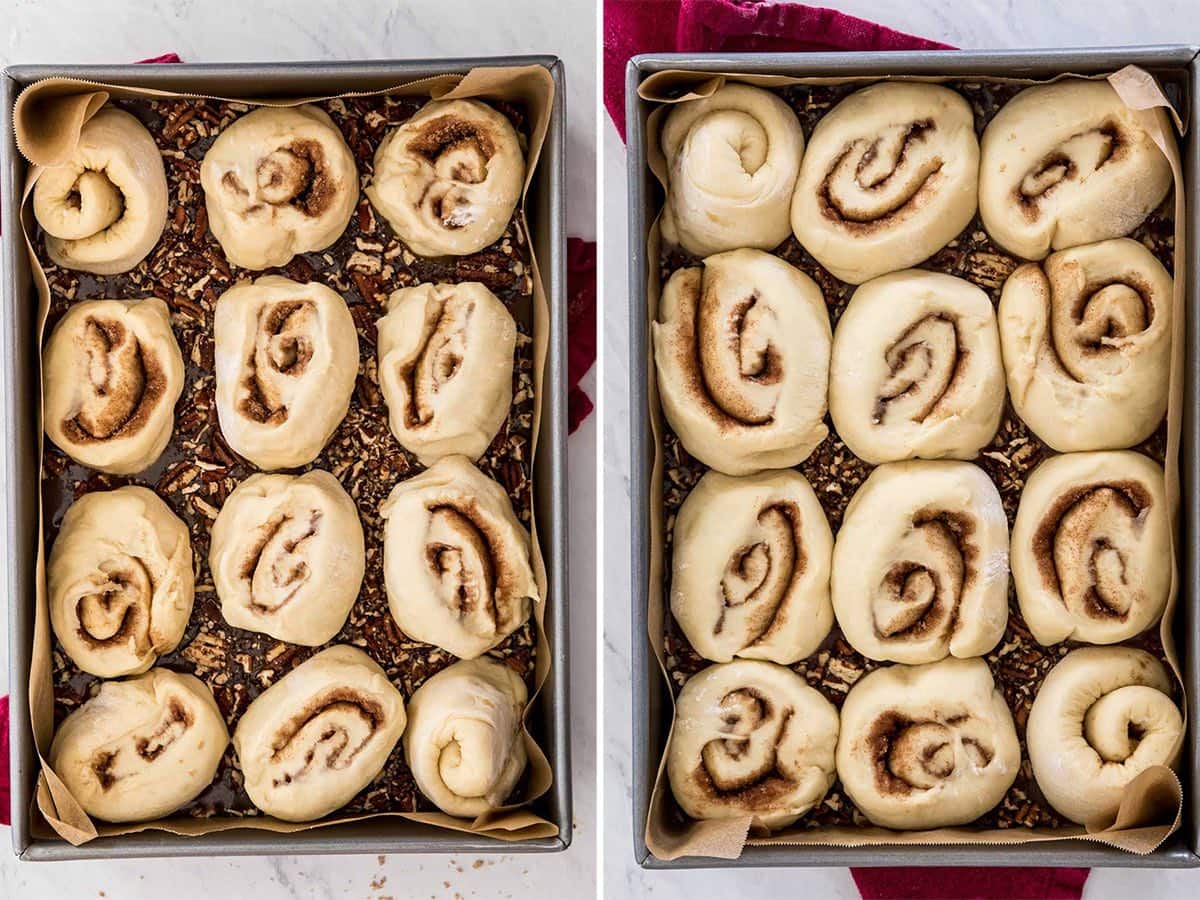
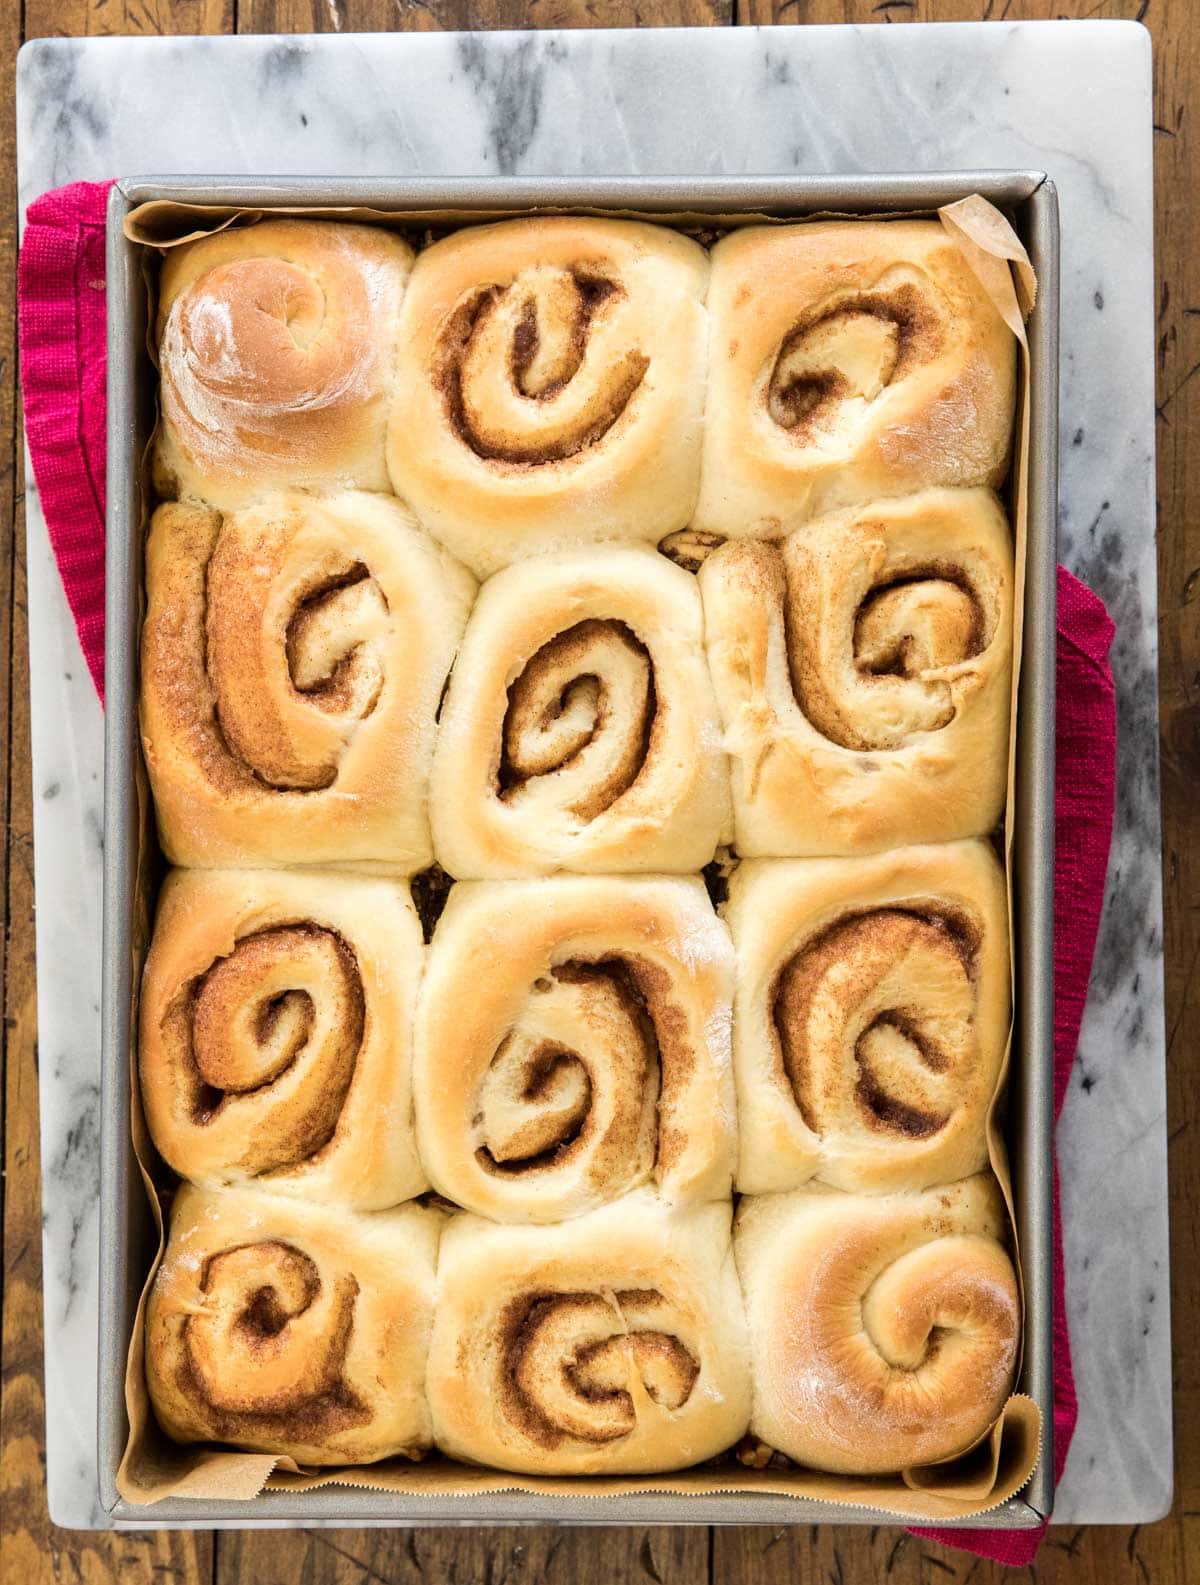
Once your dough has risen, it’s time to assemble. Tip: Some people like to use un-flavored dental floss to cleanly cut their log into neat rolls. I just use a sharp knife. My rolls get a little misshapen doing it this way, but as they rise they round back out nicely.
Making in Advance
You can do all the prep-work for these sticky buns a day or even a month in advance, that way the next morning all you have to do is pop them in the oven (how great would that be for Christmas morning?). To do this, prepare the sticky buns according to the recipe: make the dough, roll it out, fill it, roll it up, cut into slices and place the slices it in your sticky-glaze filled baking dish. Then, cover the baking dish very tightly with plastic wrap. You can then either freeze the rolls or refrigerate them. If refrigerating, just before baking, pull the pan out of your fridge and preheat your oven. Remove the plastic wrap, cover with a clean towel, and let the dish come to room temperature, then bake according to the recipe instructions. If freezing, freeze the rolls in the pan for up to a month and then remove the rolls from the freezer, and allow them to come to room temperature overnight, then bake according to recipe instructions.
More Recipes You Might Like
Chocolate Sweet Rolls Easy Cinnamon Rolls (No Yeast!)Coffee CakeFrench Toast Casserole
Enjoy! Let’s bake together! Make sure to check out the how-to VIDEO in the recipe card!