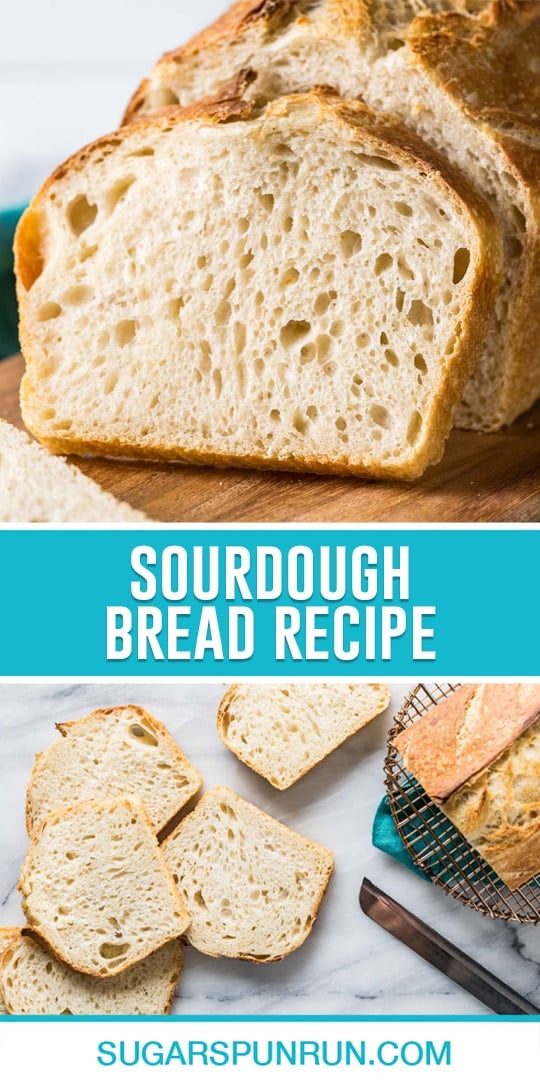
The Best Sourdough Bread Recipe
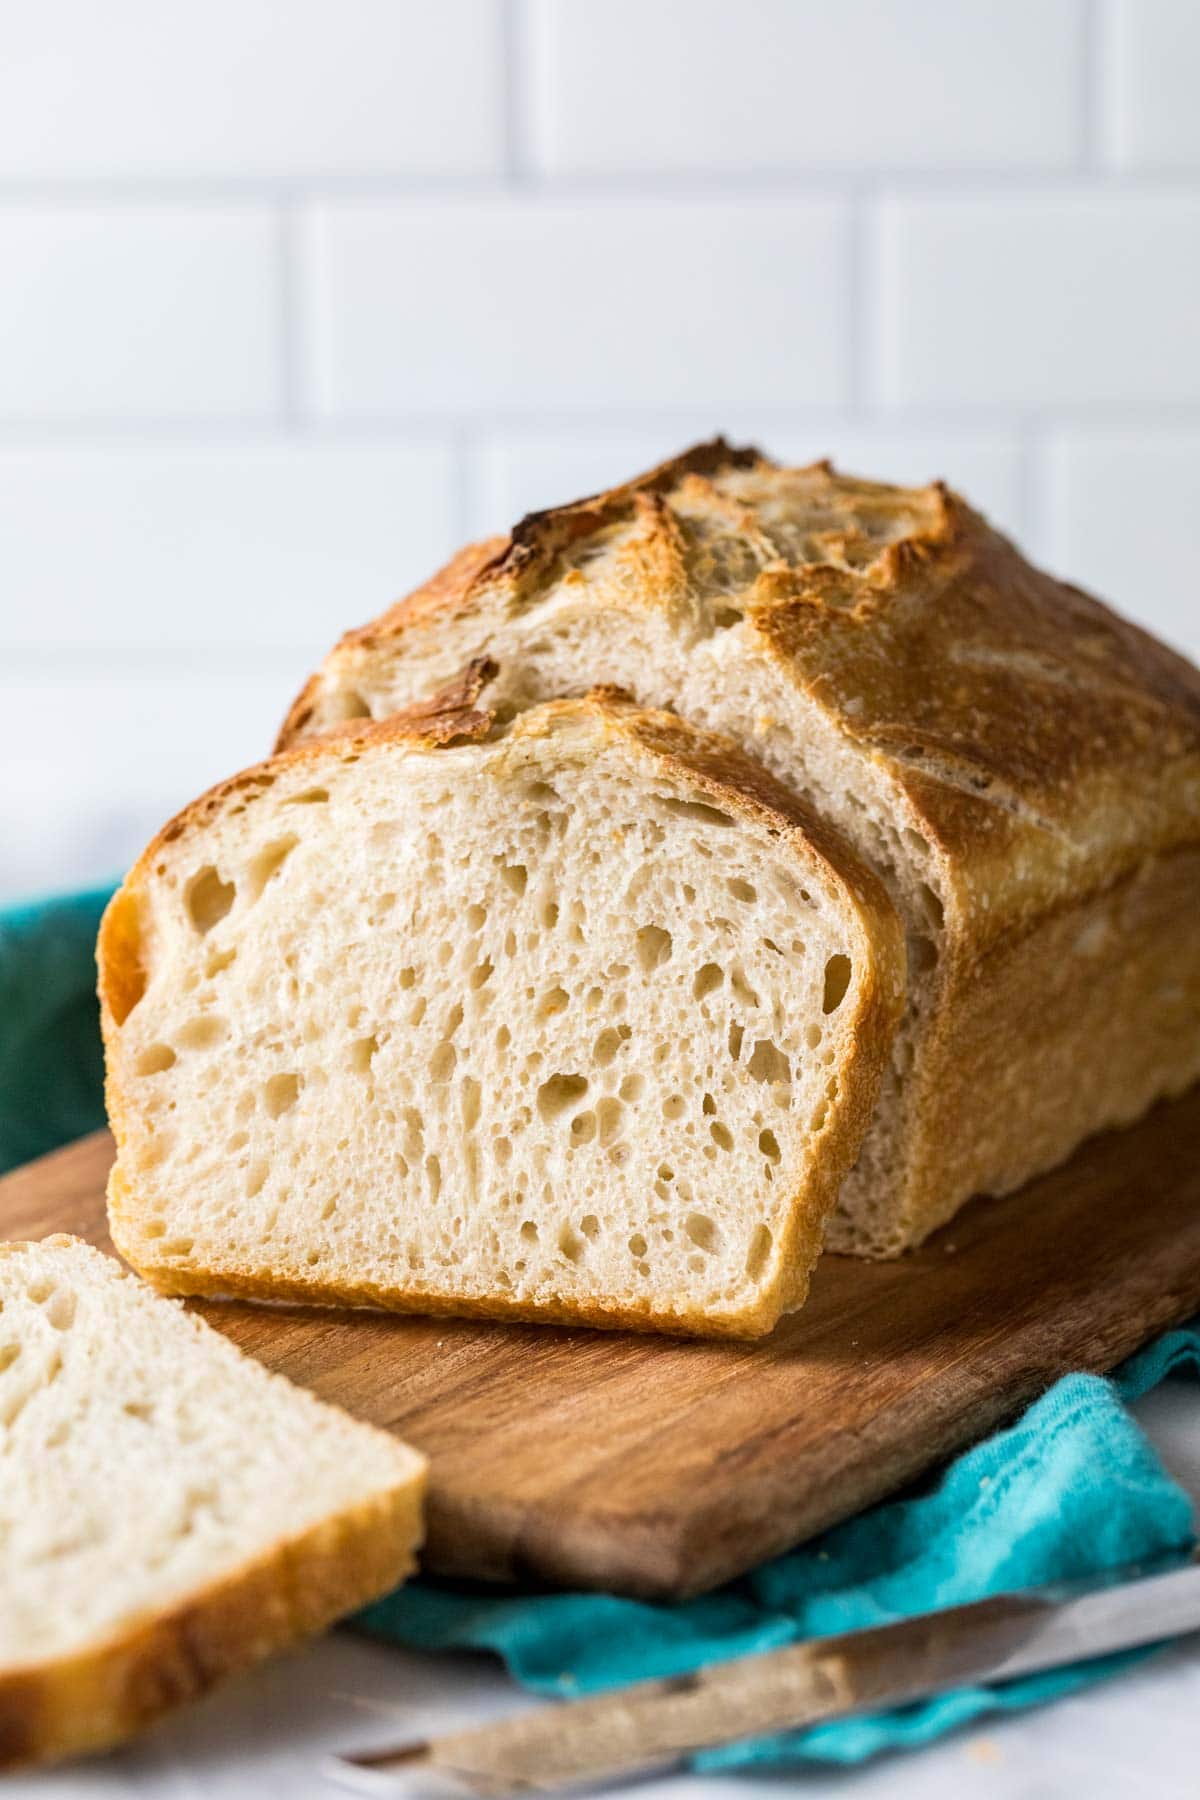
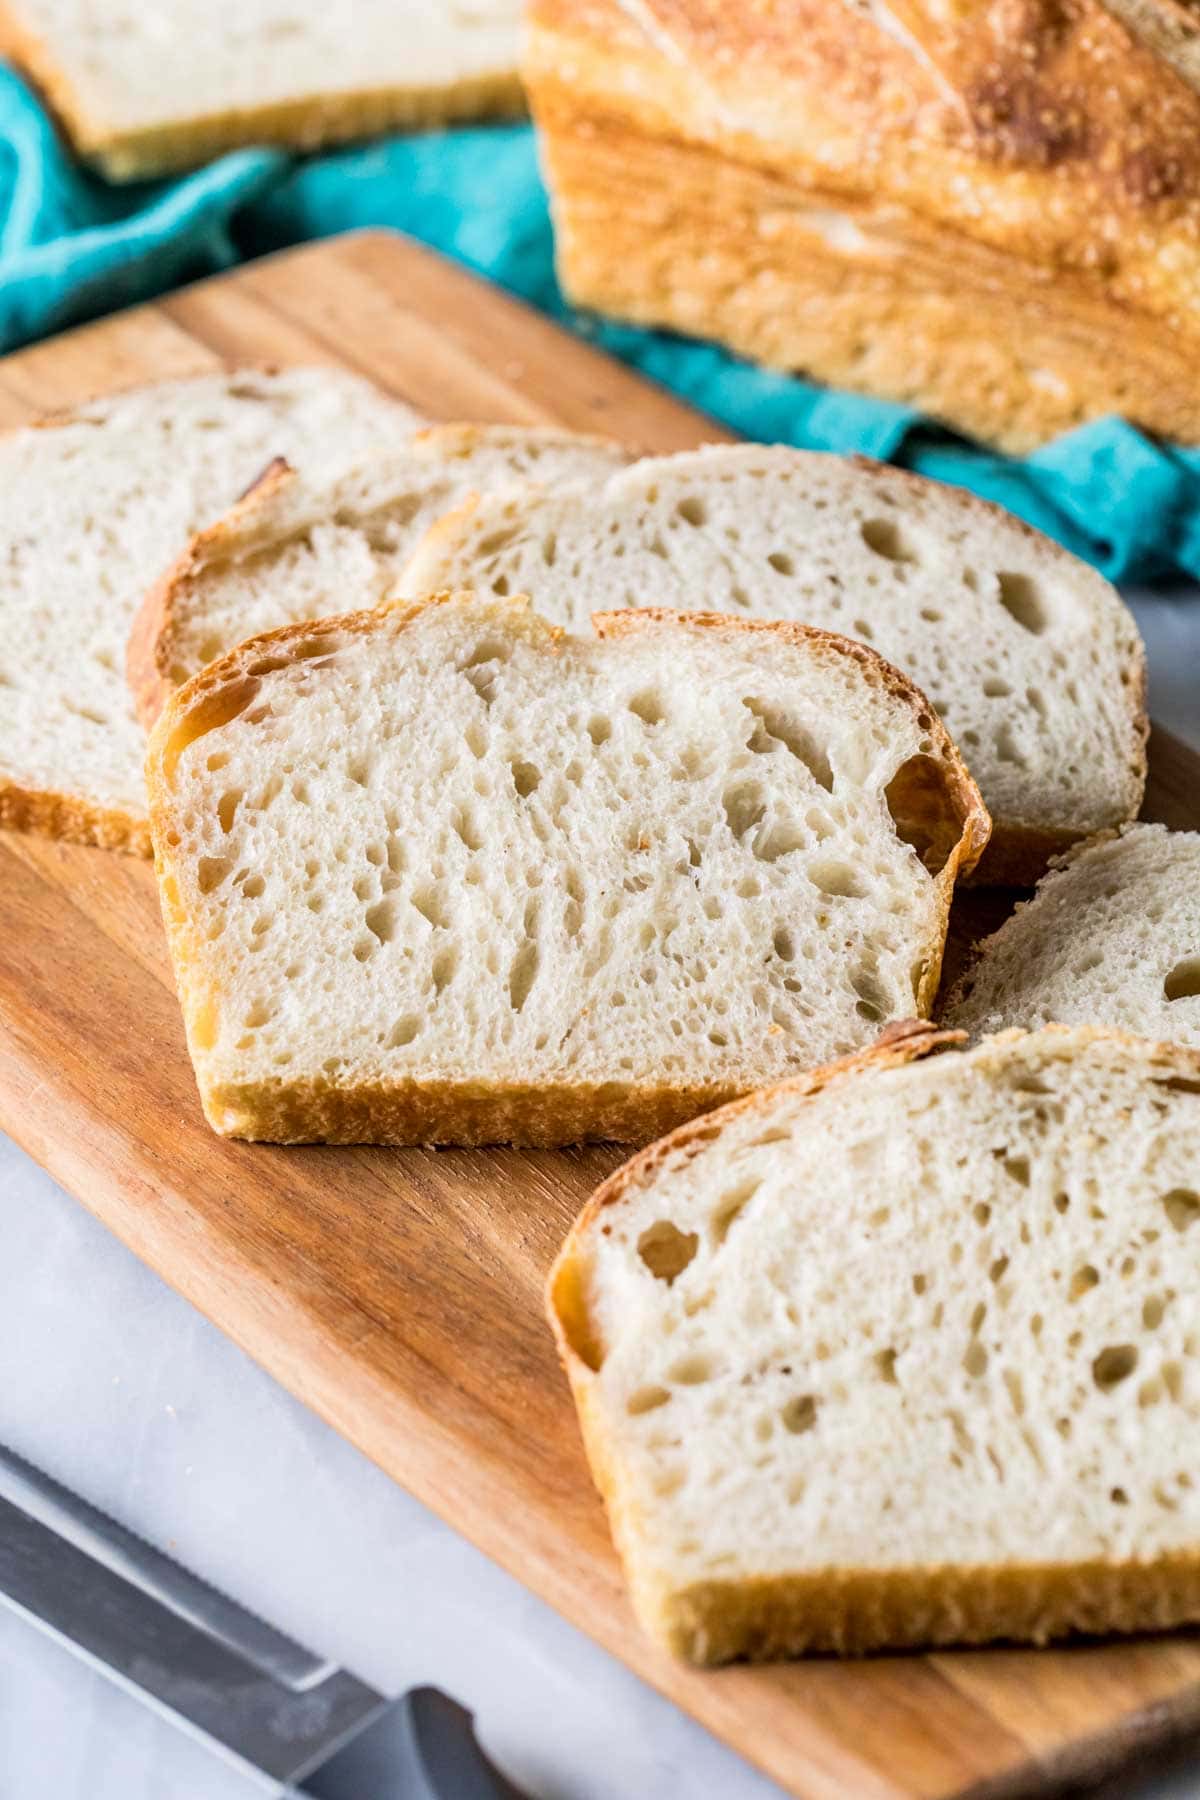
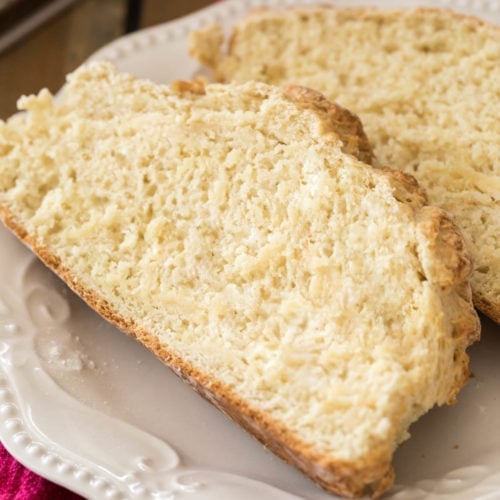
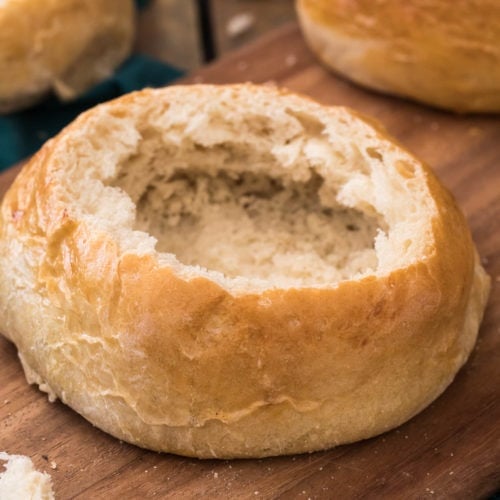
This homemade sourdough bread is the only bread we eat in my household anymore. In fact, I make 2-3 loaves a week and keep a stockpile in my freezer at all times! And once you try it… well, I think you will, too. That’s because there’s a lot to love about sourdough bread. First and foremost, it has a high nutritional value and none of the additives (no added sugar, either) you’ll find in most store-bought breads. It also tastes amazing: classic, hearty bread (that’s not overly sour) with a thick, crusty exterior and a soft, springy interior. But what I think you’ll love most about my recipe is how wonderfully versatile it is. It’s ideal both for dipping in soup, serving as a side with a salad, or using as a sandwich; it also makes an awesome grilled cheese that pairs beautifully with my tomato soup!
Homemade Bread is Easier Than You Think!
Making sourdough bread at home is shockingly easy, especially if you use the sourdough starter I shared last week. It is time consuming and you must have patience, but the work itself is very approachable. There’s no kneading involved; instead, we’ll use an easy process known as stretching and folding, which develops the gluten much like kneading would, but is better suited for higher hydration dough like sourdough. There’s also no mixer or fancy equipment needed with my recipe — you don’t even need a banneton or a Dutch oven, just a pair of bread pans! I’m so excited to share this one with you (and I’ve been teasing it long enough on Instagram, haven’t I?!), so let’s get started.
What You Need
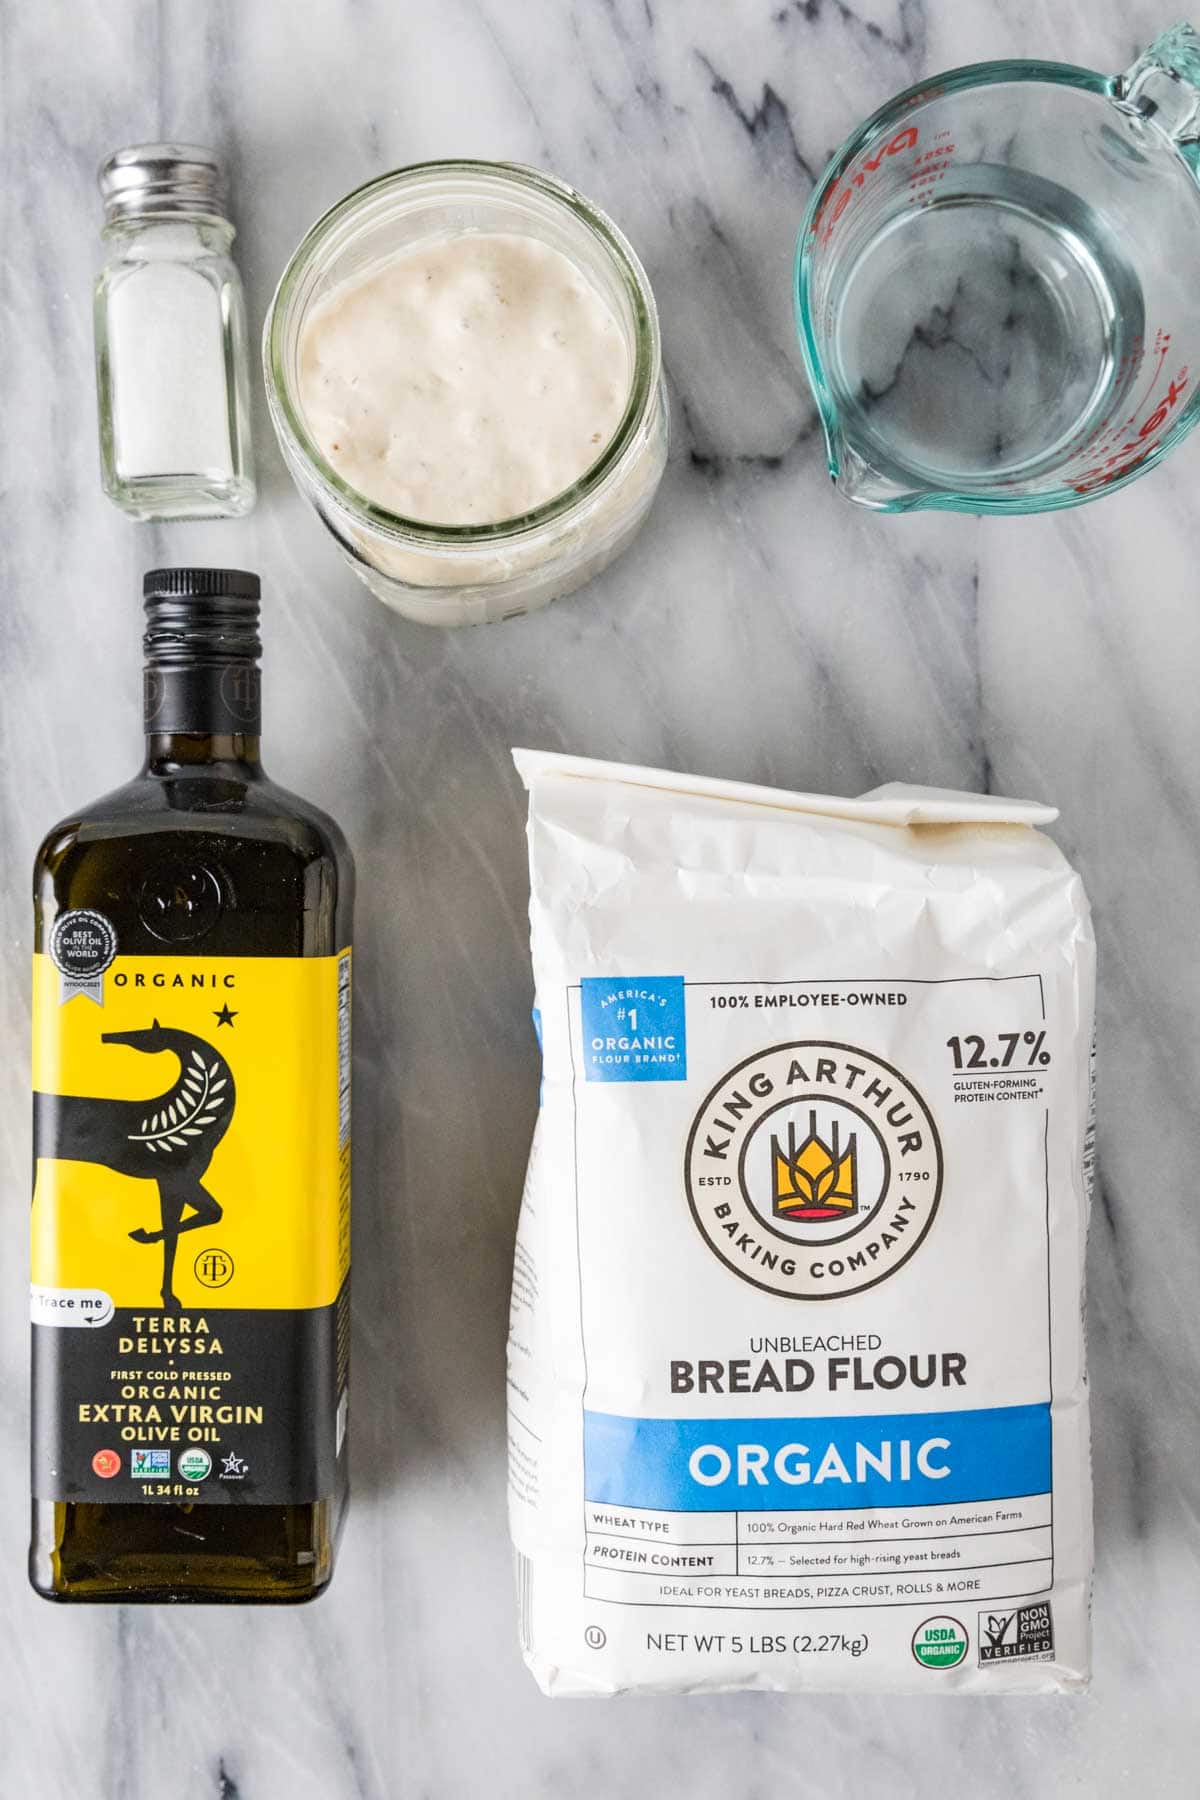
My sourdough bread recipe has perfect flavor, especially considering there are so few ingredients. You will need:
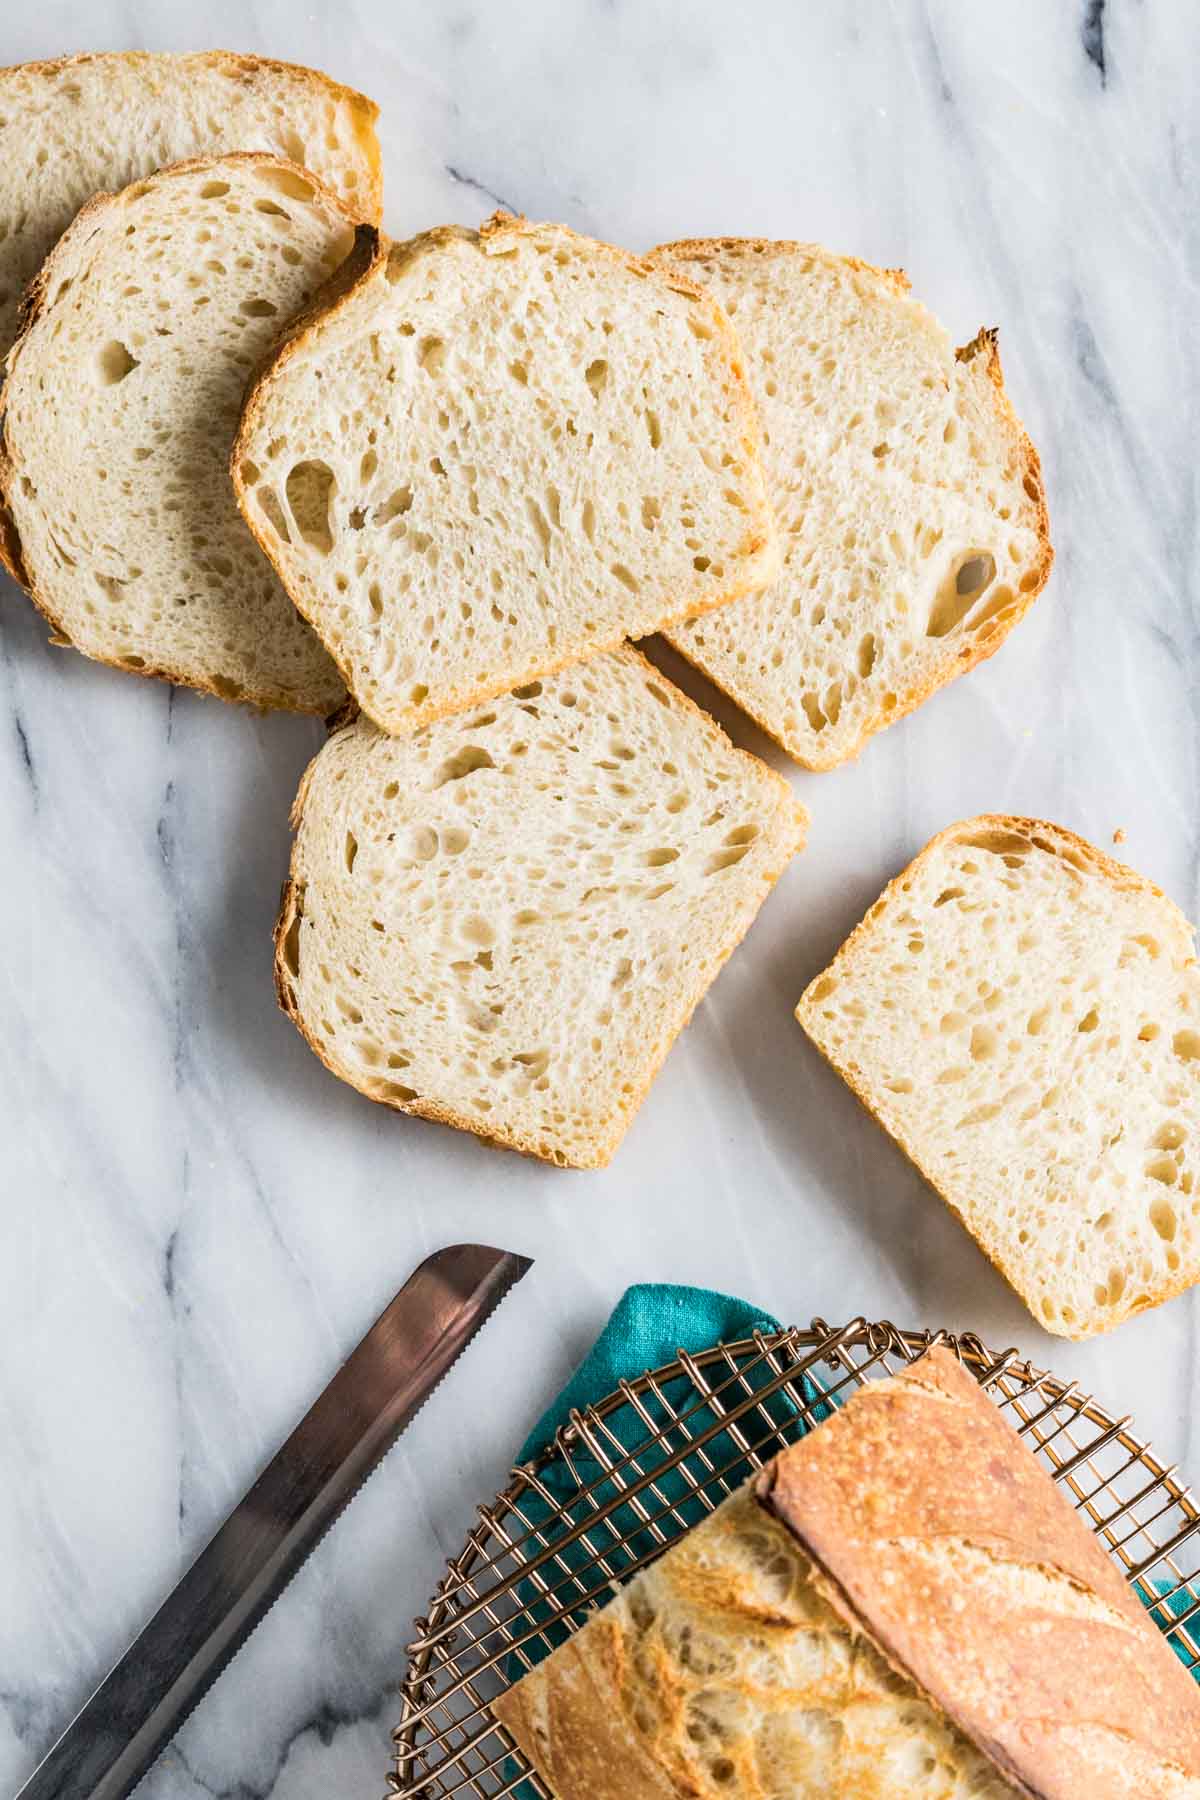
Sourdough starter. This can be homemade or store-bought. Obviously, I recommend making your own by using my sourdough starter recipe (this does take over a week to prepare, but it’s worth it!).Bread flour. I really recommend bread flour over all purpose for this recipe. Bread flour has a higher protein content and produces a better-crumbed sourdough bread, in my opinion.Olive oil. A bit of olive oil helps make the bread perfectly chewy and soft. I also find it keeps my sourdough softer longer. Salt. Salt is critical for flavor (unsurprisingly) but it also plays some other important roles in sourdough bread. It helps balance the acidity from our starter, strengthens the gluten in the dough (important for shape and texture), and it even helps extend the shelf life of the bread by acting as a natural preservative. Water. The water called for in my recipe will yield a sourdough loaf that is about 70% hydration. I love this hydration level; it produces a crumb that’s neither too dense nor too open, that’s not too sour but is still flavorful, and that is easy to shape and extremely versatile — we use it for everything from dipping in pot pie soup to eating sandwiches. Once you’re comfortable baking a bread at this hydration level, you can experiment with increasing the water if you’d like. More water usually yields a bread with a more open crumb, a more tangy flavor, and a crumb that’s less suitable for sandwiches but good for dipping.
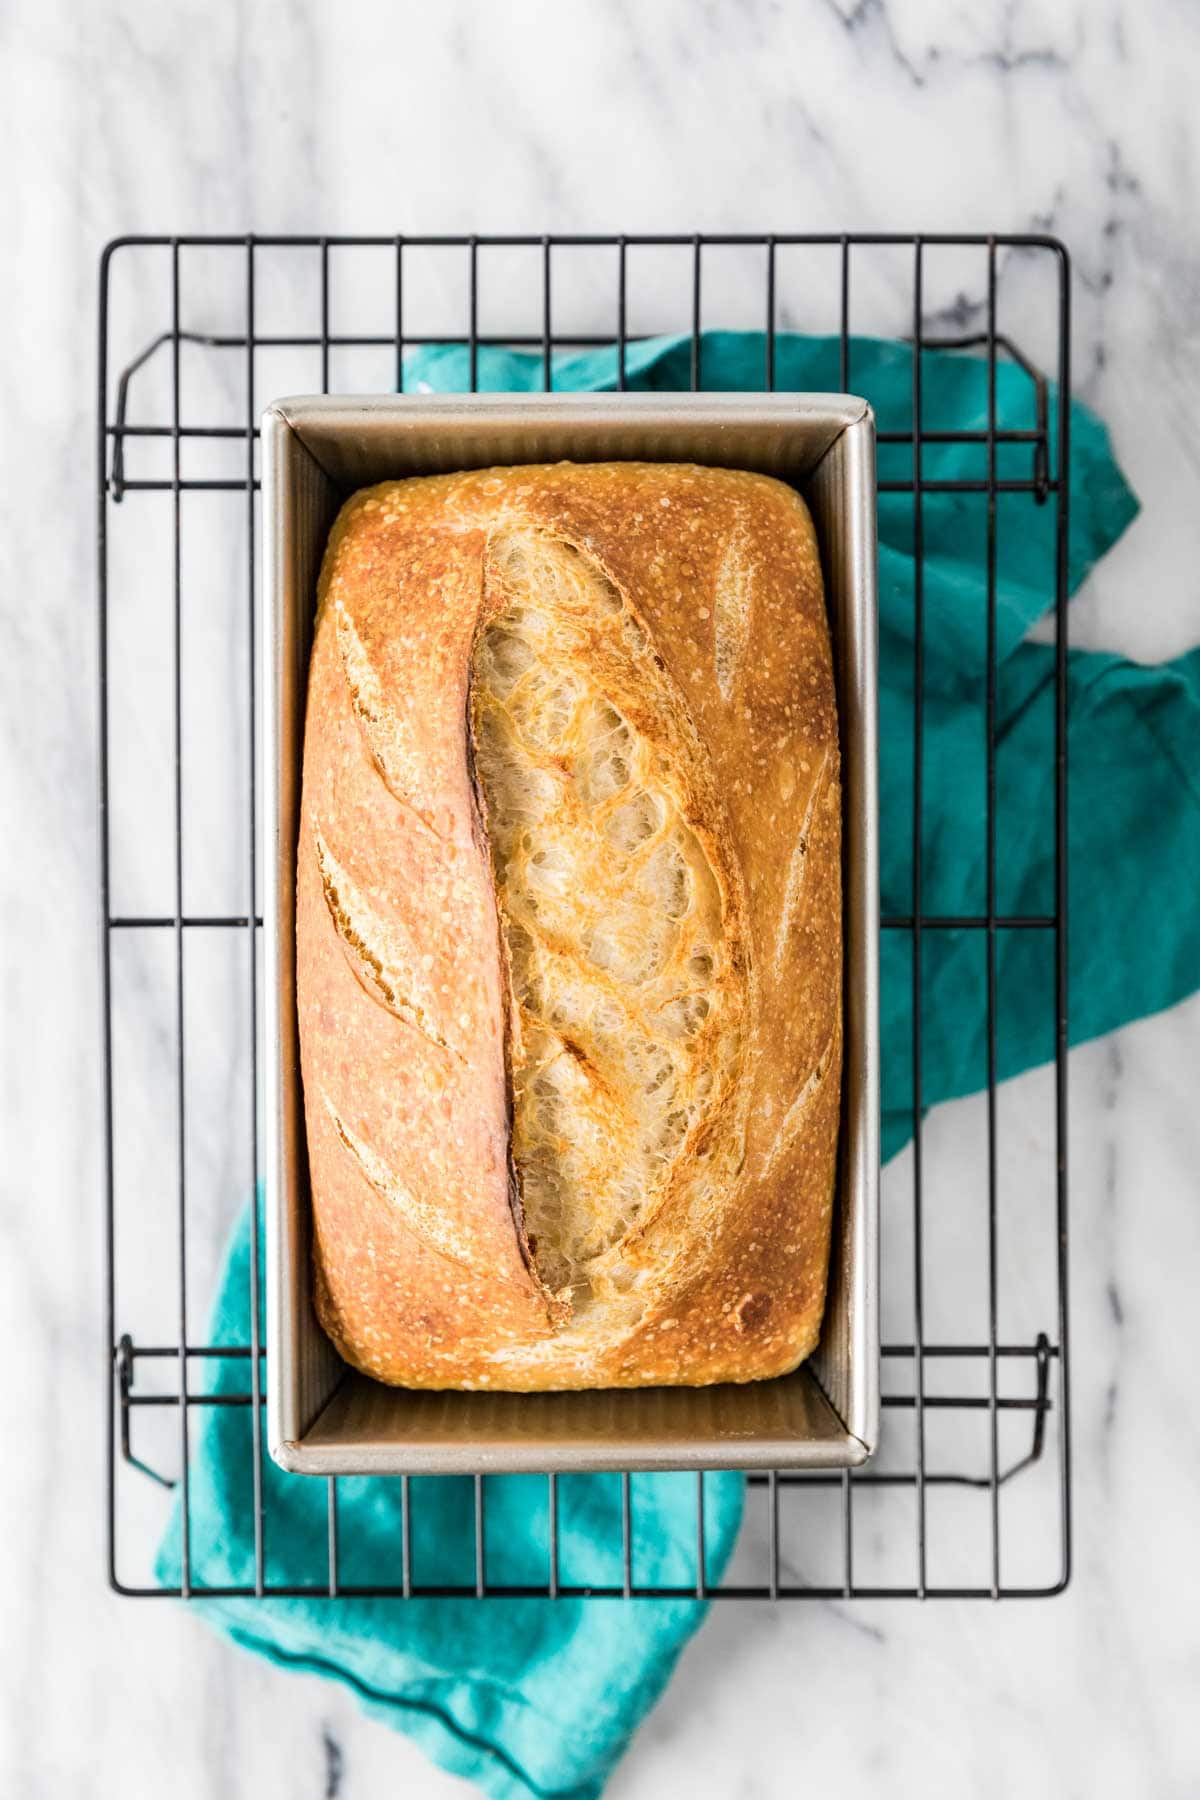
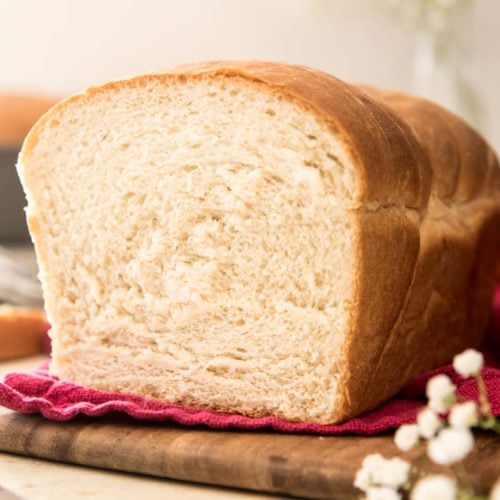
I wrote this sourdough bread recipe with weights because I find it’s the easiest way to make it (just like with my macaron recipe); however, I have included cup measurements as well. SAM’S TIP: While some people like to bake their sourdough bread in a dutch oven, I like to use a pair of bread pans. It doesn’t look as rustic this way, but it’s much more practical for my family to have a loaf of bread rather than a round of it. If you’re team Dutch oven, don’t worry–I provide instructions for how to make sourdough bread in a Dutch oven below. Remember, this is just an overview of the ingredients I used and why. For the full recipe please scroll down to the bottom of the post!
How to Make Sourdough Bread
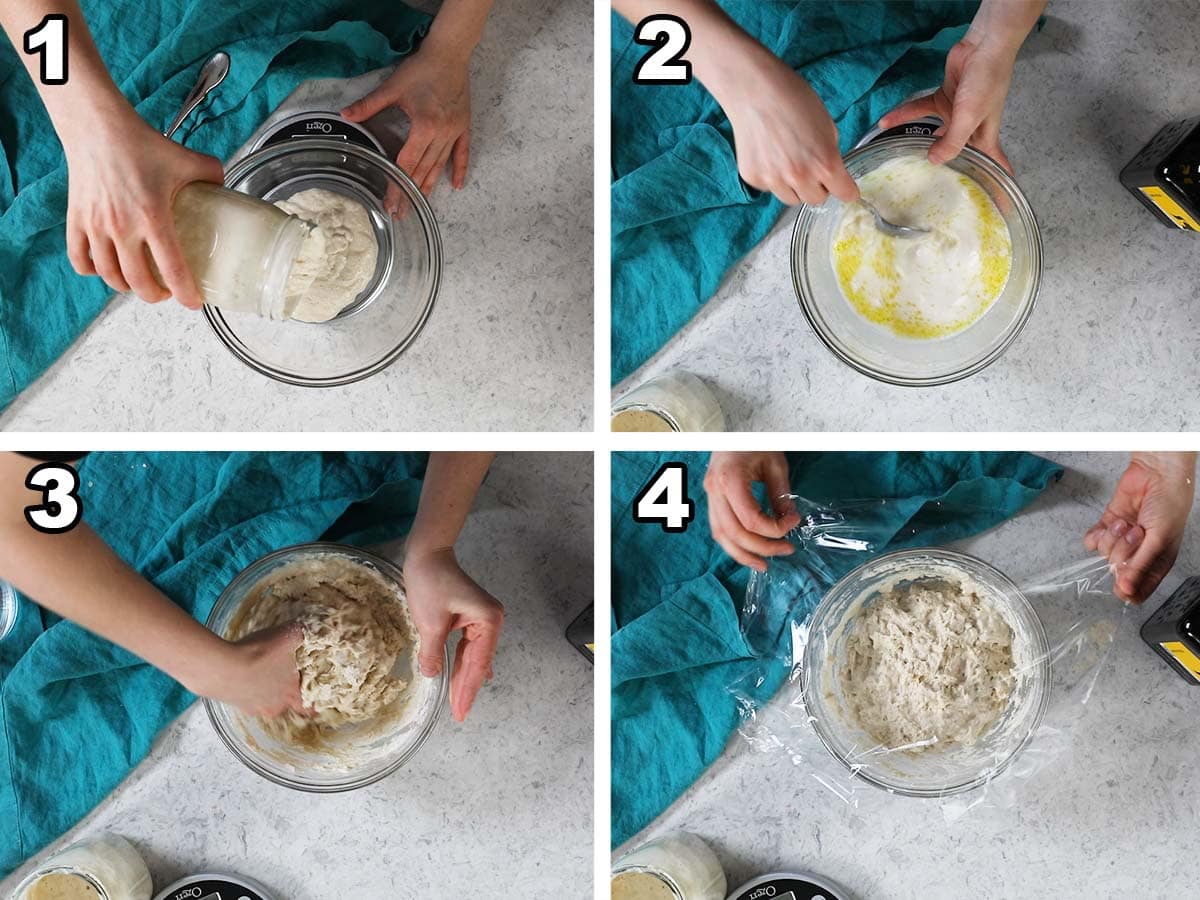
Make the Dough
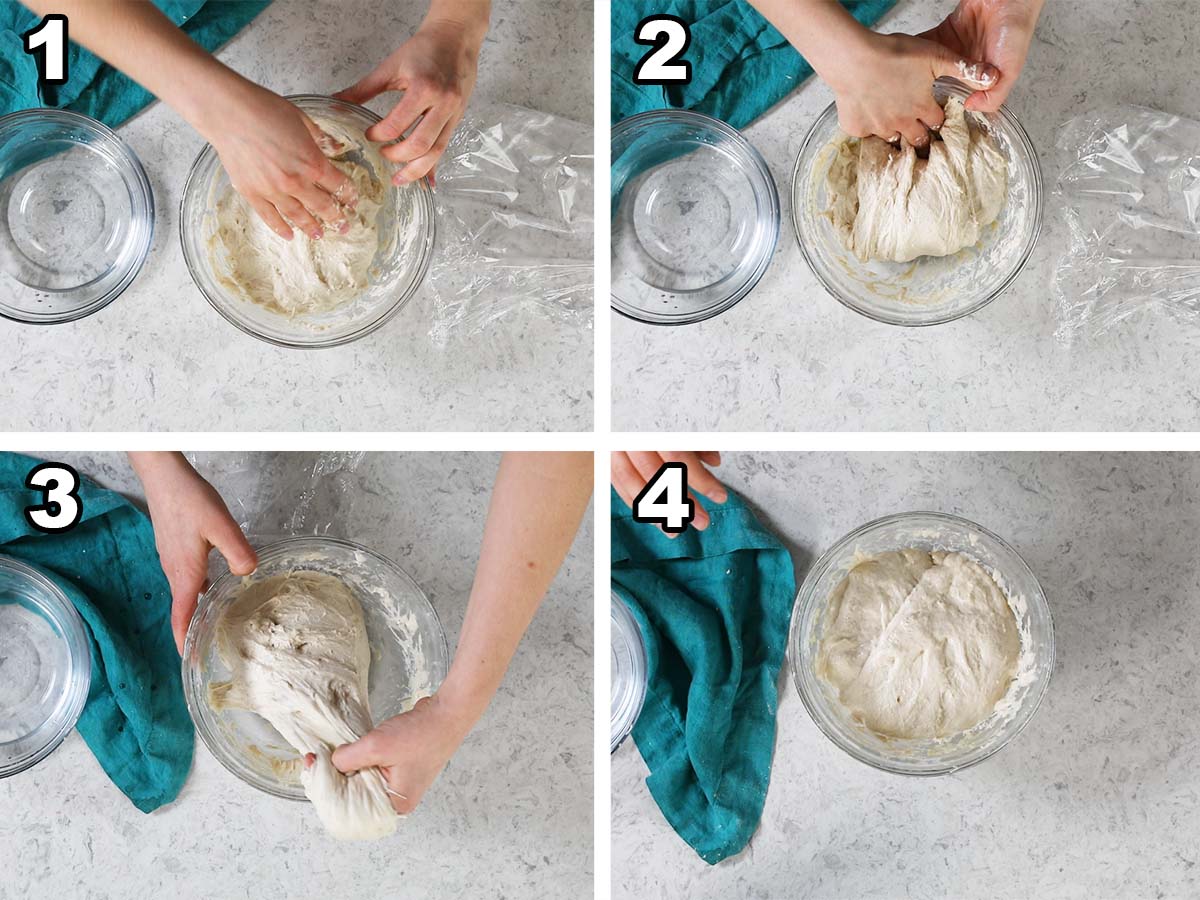
Stretching & Folding
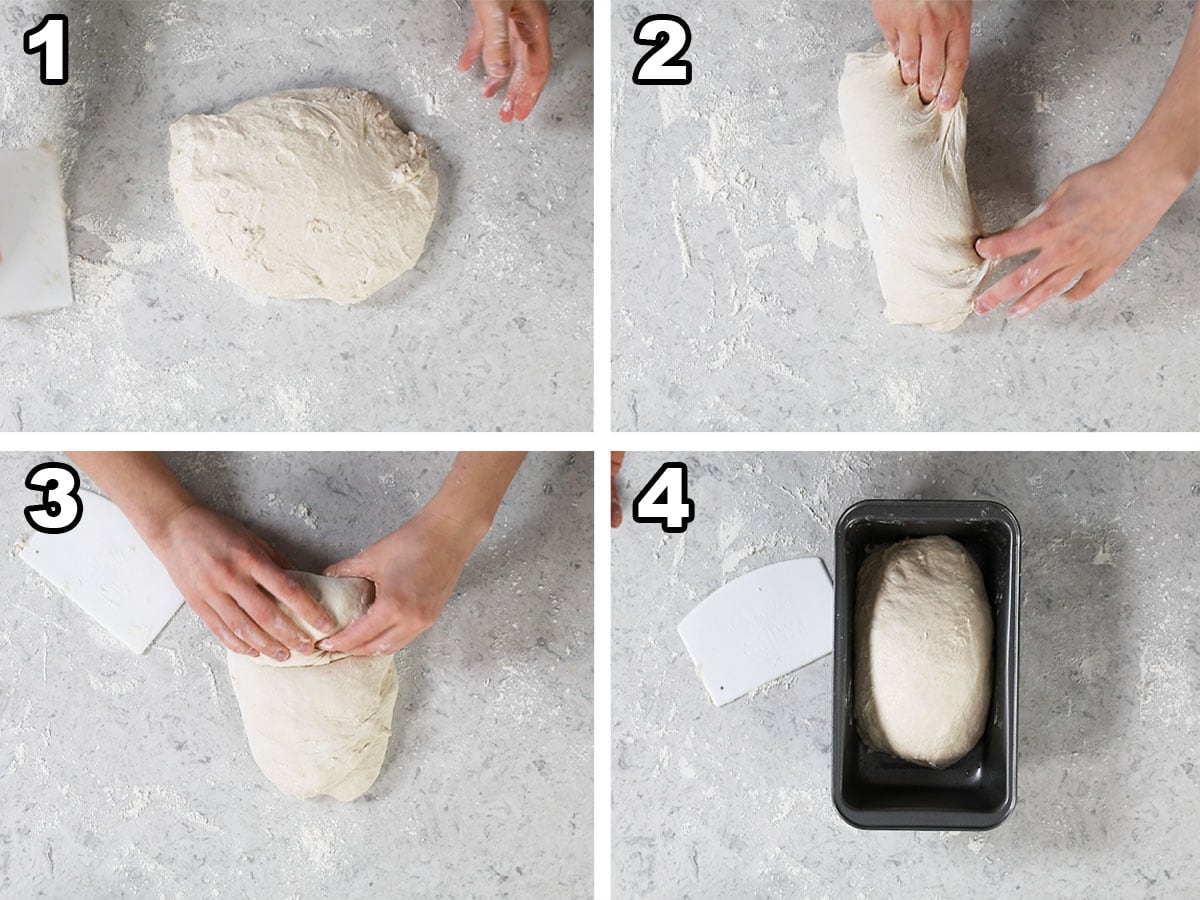
Assembling
SAM’S TIP: I recommend proofing your dough in the refrigerator overnight rather than baking right away (I also provide instructions for baking right away, though). Proofing overnight will help develop the flavor, help the bread rise better, and encourage more fermentation. That being said, I don’t like to let my dough sit in the fridge for longer than 48 hours (absolute max) before baking. Letting it sit too long can cause over-proofing and can compromise the final texture of your sourdough bread. I also don’t freeze my dough before baking, so I can’t advise on that.
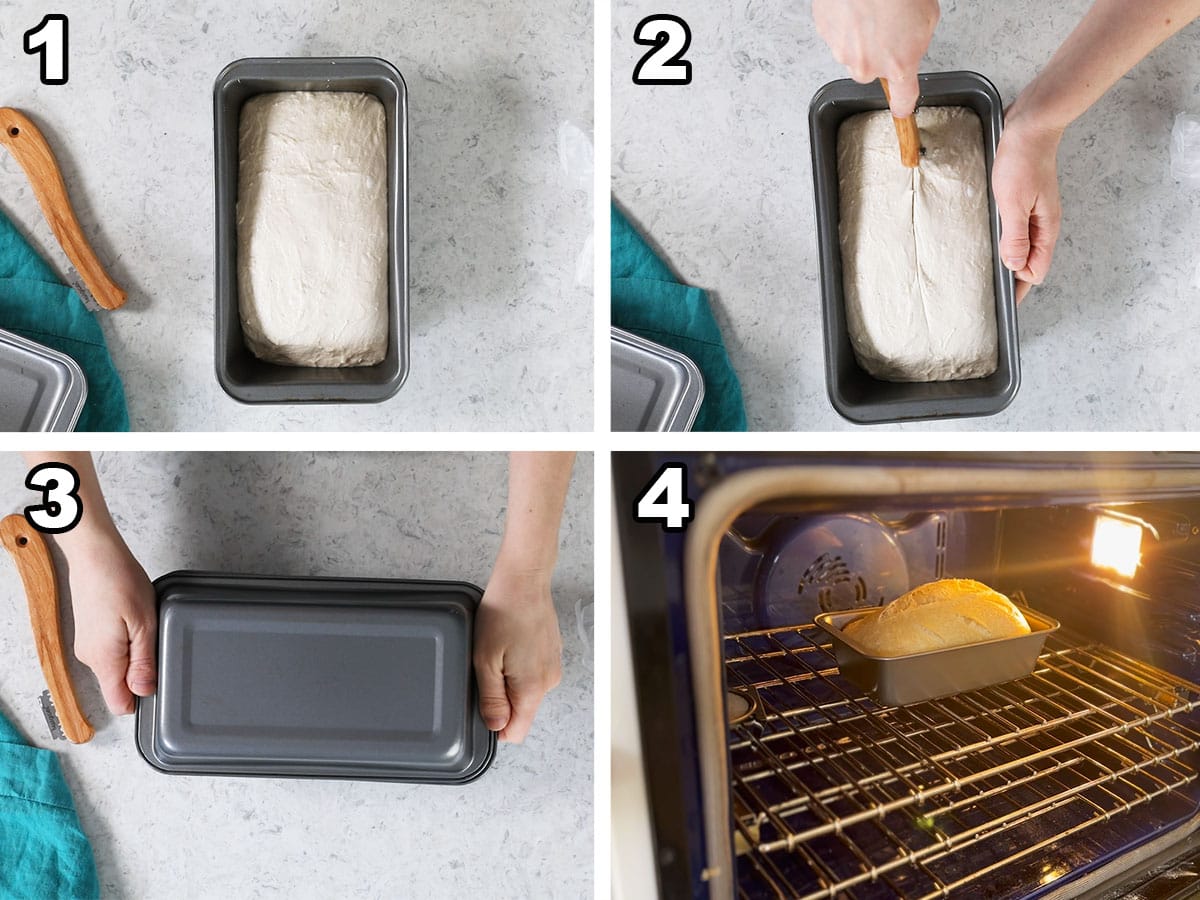
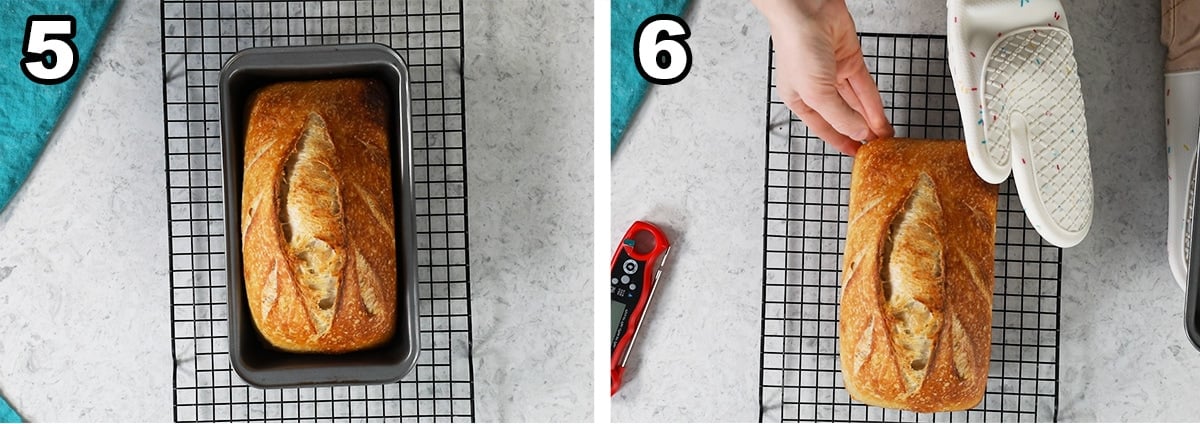
Baking
SAM’S TIP: Don’t cut into the bread while it’s still warm (I know, so hard, so tempting!). Doing this can make your loaf gummy and dense. I know that there are many sourdough bread recipes out there and so many different ways to make it, but this is my personal favorite version that I’ve carefully developed over the past year. I can’t wait to hear how you like it, I hope you’ll always want to keep a loaf in your house, too! ❤️ Enjoy! Let’s bake together! I’ll be walking you through all the steps in my written recipe and video below! If you try this recipe, be sure to tag me on Instagram, and you can also find me on YouTube and Facebook
Related Recipes