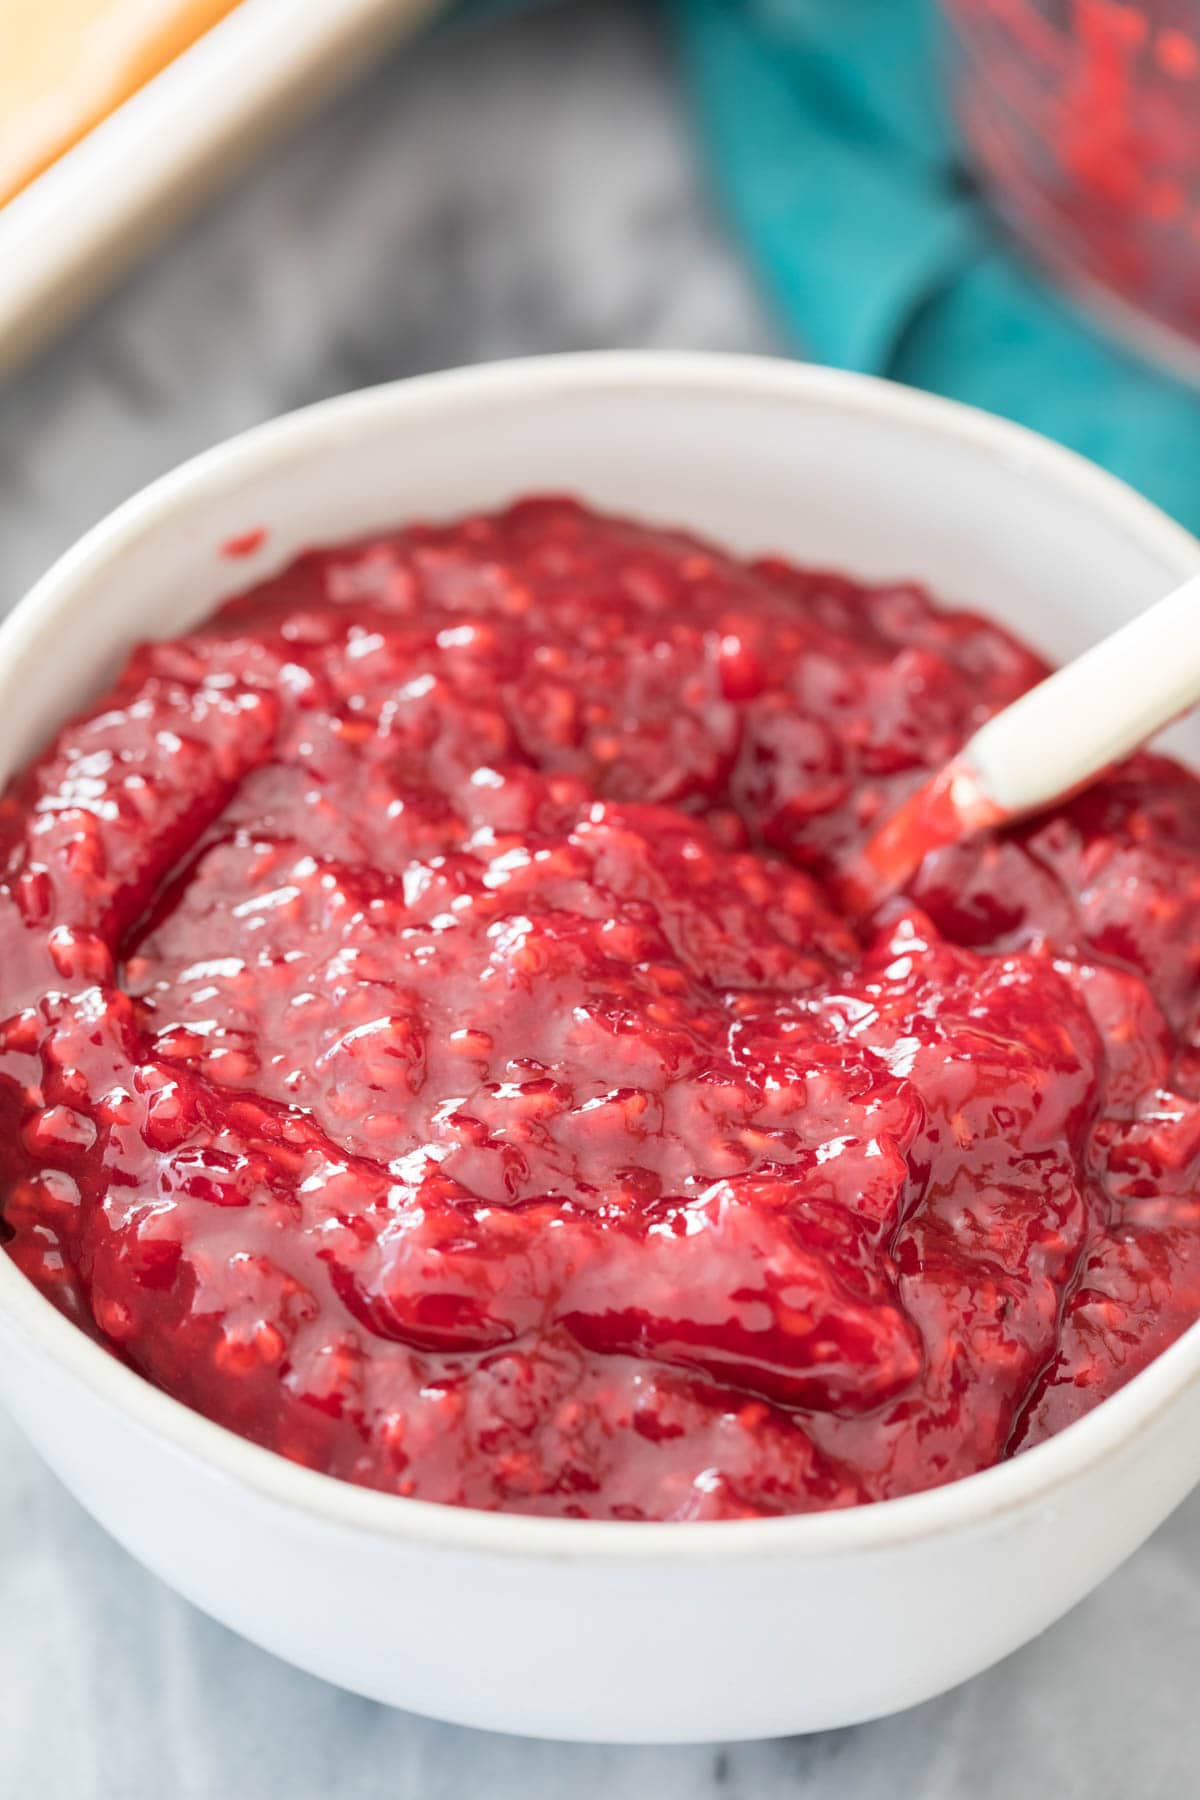
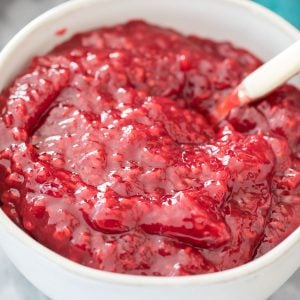
A quick and easy recipe to start off the week. I wasn’t originally going to make a standalone post for raspberry cake filling, I actually developed it as part of Thursday’s recipe. But enough people have asked me for cake fillings that I thought it might make the most sense to give this recipe its own post, and here we are. Sweet, tart, and simple, you can prepare your own filling in 15 minutes (just keep in mind you’ll need about an hour to let it cool completely). This recipe is great for filling a standard 2-layer cake or 12 of your favorite cupcakes.
What You Need
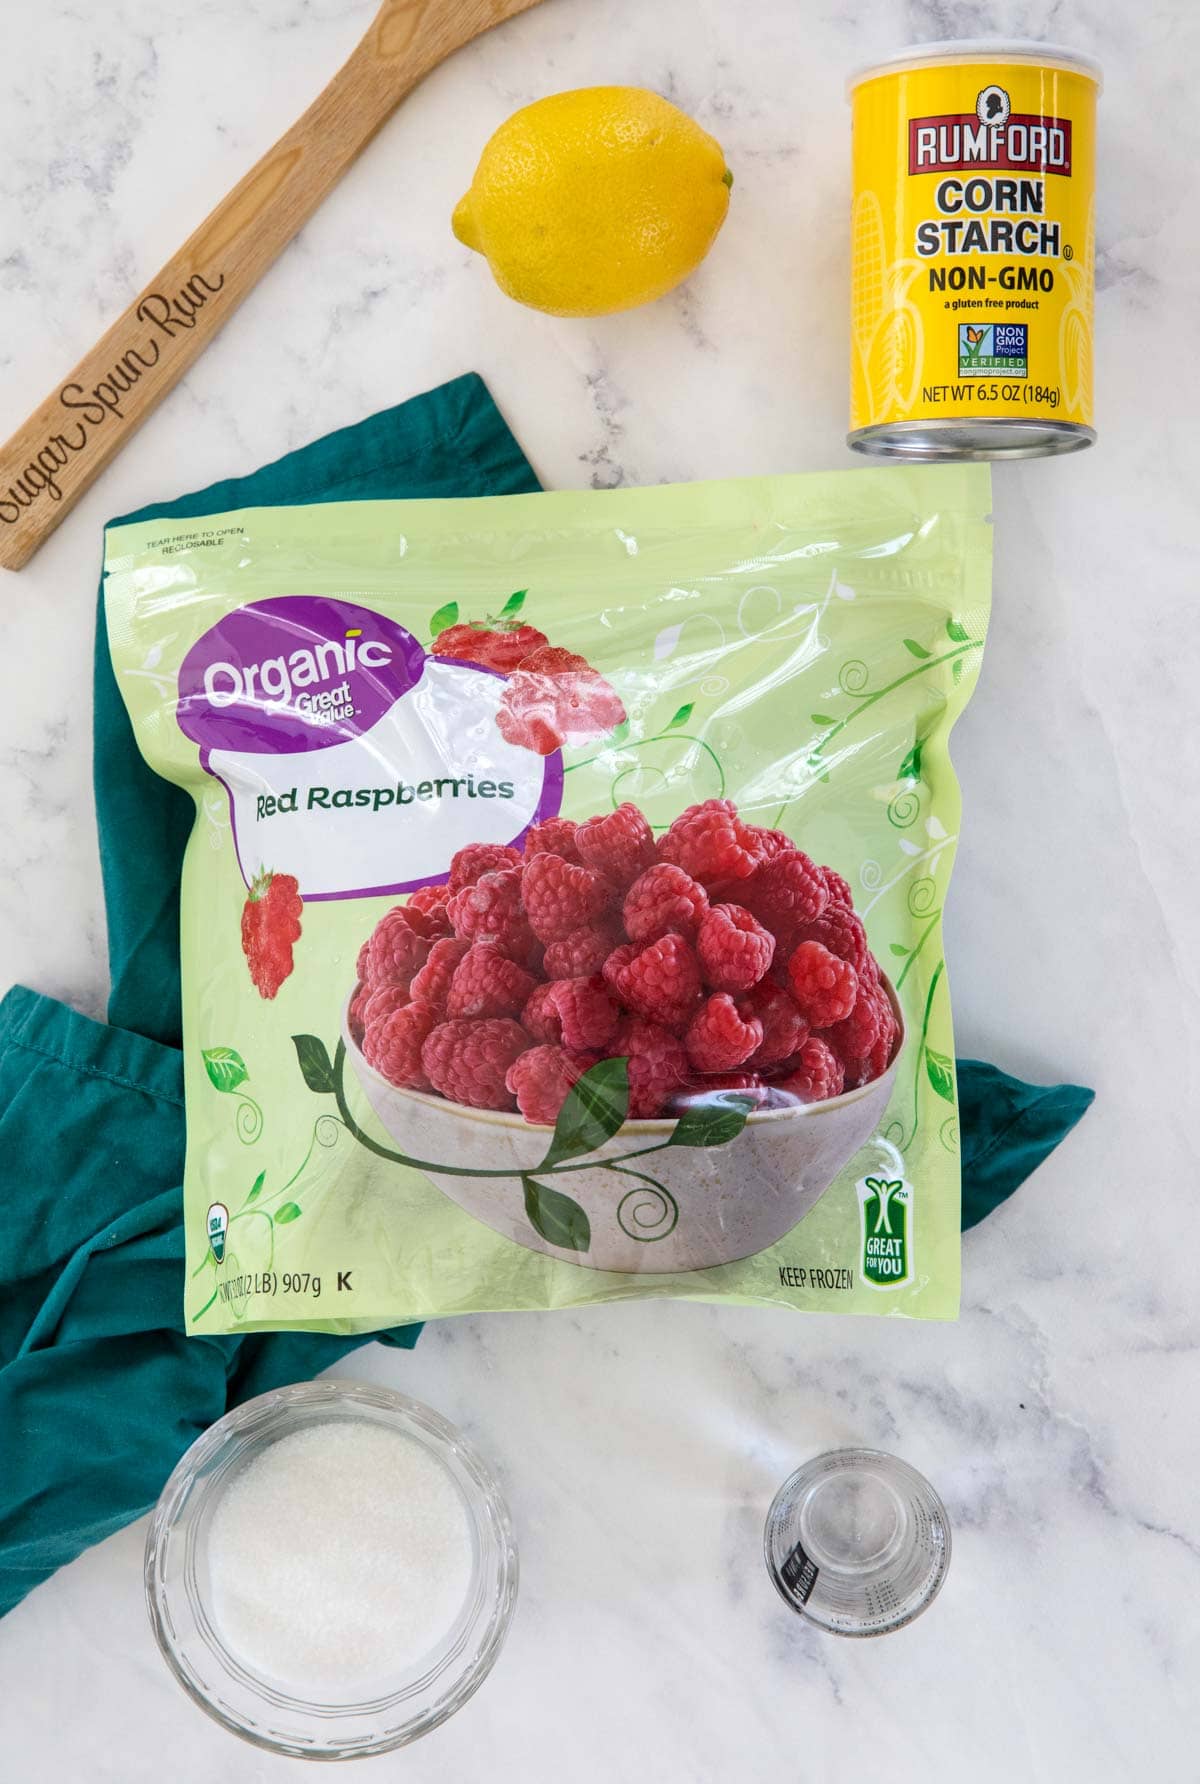
Raspberries. Fresh or frozen will work. I generally tend to prefer frozen when making raspberry cake filling because they’re never out of season and they’re often less expensive. Sugar. Necessary to properly thicken the filling and to keep it from being too tart. Regular granulated or caster sugar will work. Corn Starch. Also key for a filling that’s not too runny. Water. Just a splash helps everything to combine nicely and keeps the berries from burning on the bottom of your pan before they have a chance to release their juices. Lemon juice. Optional, but I like it for the best flavor. Fresh is great, but bottled will work just fine.
Quick Tips:
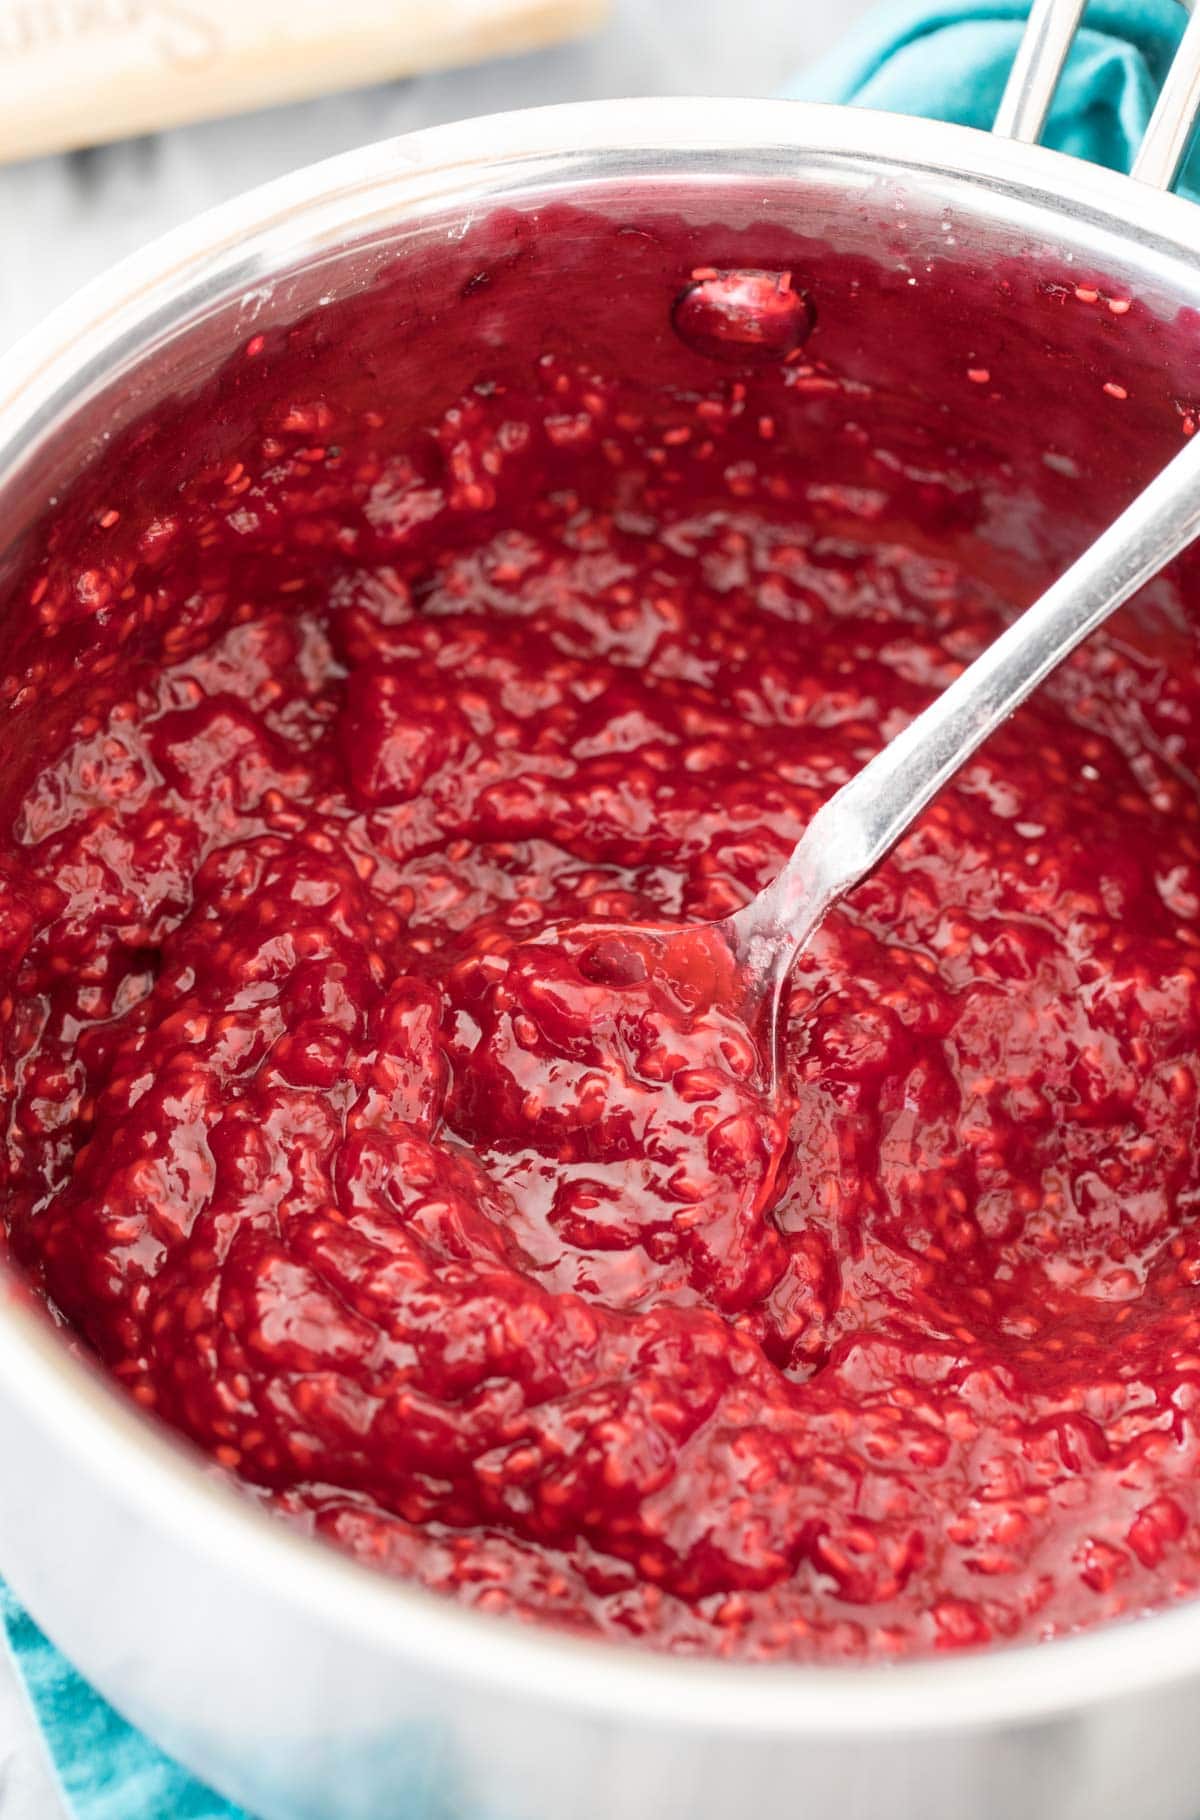
Whisk together your sugar and cornstarch first, before adding any other ingredients. Whisk well. This will prevent any cornstarch clumps in your raspberry cake filling. Keep stovetop heat on medium. If you start out with heat that’s too high, the berries will burn and you’ll have a thick paste OR the sugar won’t melt properly and your filling won’t achieve the proper consistency. Why no vanilla? I don’t like to add vanilla extract to my filling because I find it takes away from the tart, fresh taste of the raspberries and gives the whole thing a sort of… candied? flavor. If you’re desperate to add vanilla, a small splash (¼ teaspoon) after cooking the mixture would be my most generous recommendation.
How to Store
Store in an airtight container in the refrigerator for up to a week. If the filling is too firm to easily spread when you go to use it, you can briefly (5 seconds at a time) stir it until the consistency is spreadable. Don’t heat it so much that it’s runny!
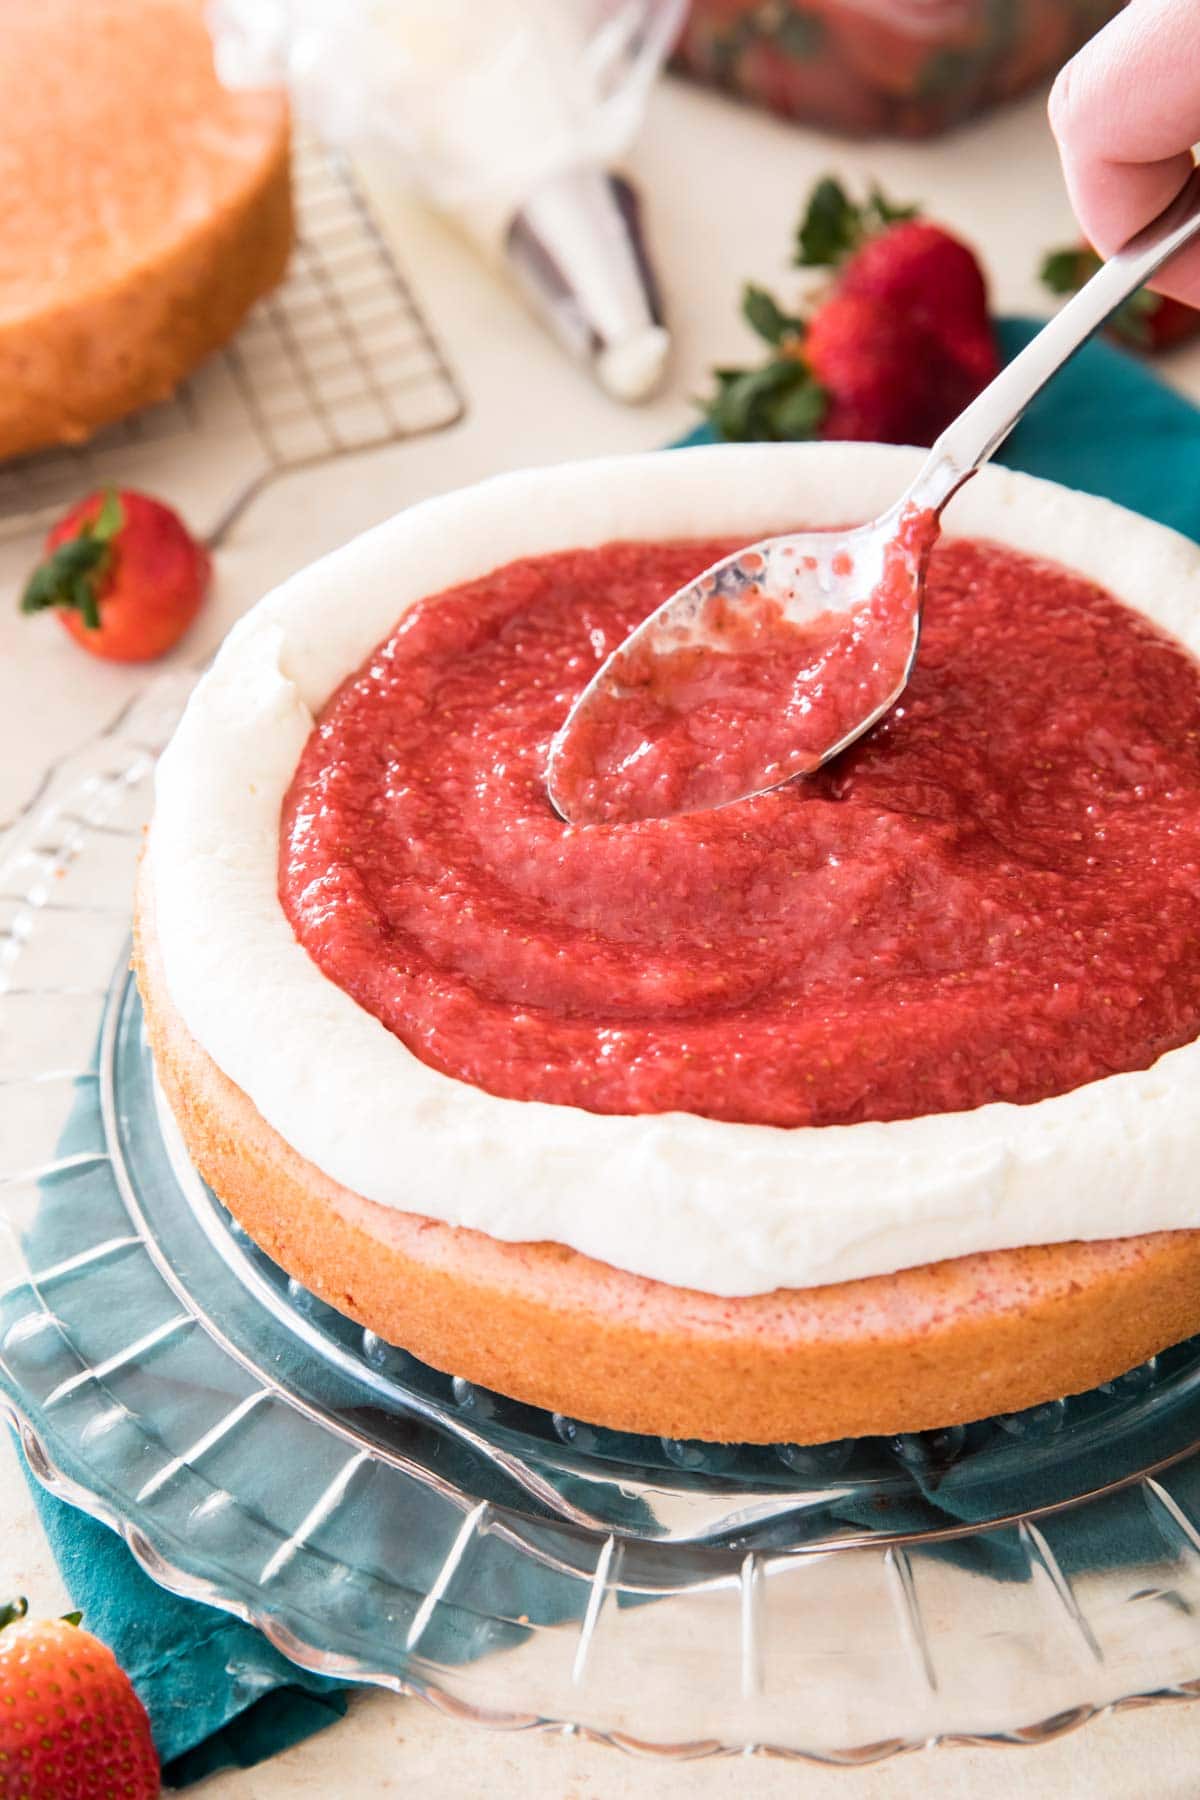
How to Use For Filling a Cake
This recipe will fill a standard 2 layer 8″ or 9″ round cake. It can be doubled or even tripled for larger cakes or cakes with more layers, though sometimes I find I need to add a bit more water when cooking more berries. Always allow your cake and your filling to cool completely before assembling. I strongly recommend using a sturdy frosting dam around the border of your first layer of cake (Swiss meringue buttercream, buttercream frosting, and my cream cheese frosting are all great sturdy decorating options). This will keep your cake from sliding and will keep the filling from oozing out the sides. The photo below is actually a photo from my strawberry cake but the same exact technique applies and I thought the visual might be helpful. I’ll be using today’s recipe to make petit fours for Thursday’s post, so if you want to whip up a batch today you can store it in the refrigerator until then! Hint: you’ll also need a batch of my lemon curd!
How to Use For Cupcakes:
My preferred method for filling cupcakes with raspberry cake filling is to carve a 1″ wide, 1″ deep hole into the surface of a completely cooled cupcake. Remove the core you just carved, slice off the bottom saving a ¼″ thick surface. Fill your cupcakes and then replace the reserved surface before piping. I use this technique in my pinata cupcakes and gender reveal cupcakes (and you can watch me carve the gender reveal cupcakes in the video in the recipe card, it starts around 6:26). The filling I use there is different but the same concept for carving applies.
How Many Cupcakes will this fill?
You can fill 12 cupcakes with this recipe.
What If I Don’t Like Seeds?
Good news for you! You can eliminate some or all of the seeds from your raspberry cake filling. To do so, immediately after cooking the filling on the saucepan, press all of the filling (or only part of the filling, if you don’t mind some seeds) through a fine mesh strainer. Use a spatula and you will want to repeatedly press, stir, and press again to squeeze as much of that precious juice through the strainer as possible. Keep in mind that if you strain out the seeds you will have much less filling than the recipe indicates, so if you intend to do this I recommend doubling the recipe.
Use in Any Of These Recipes:
White Cake Dark Chocolate Cupcakes (I’d go with a different frosting other than the peanut butter that’s listed, maybe chocolate cream cheese frosting instead!) Chocolate Cake Vanilla Cake Coconut Cake
Be sure to watch the video in the recipe card before beginning, and please leave me a comment if you try the recipe!