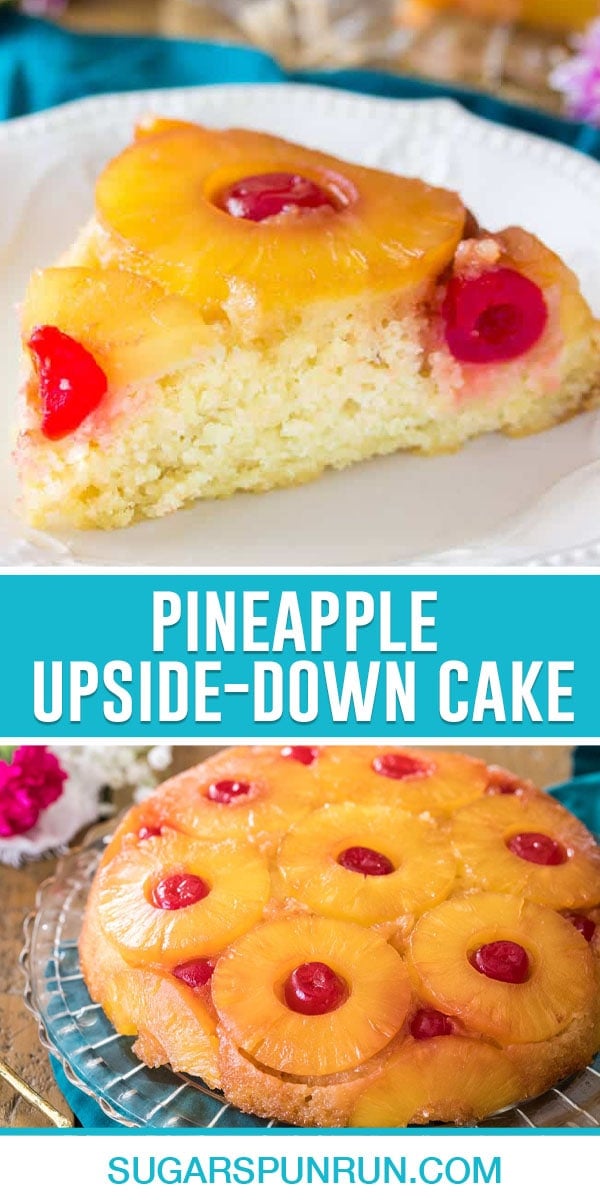
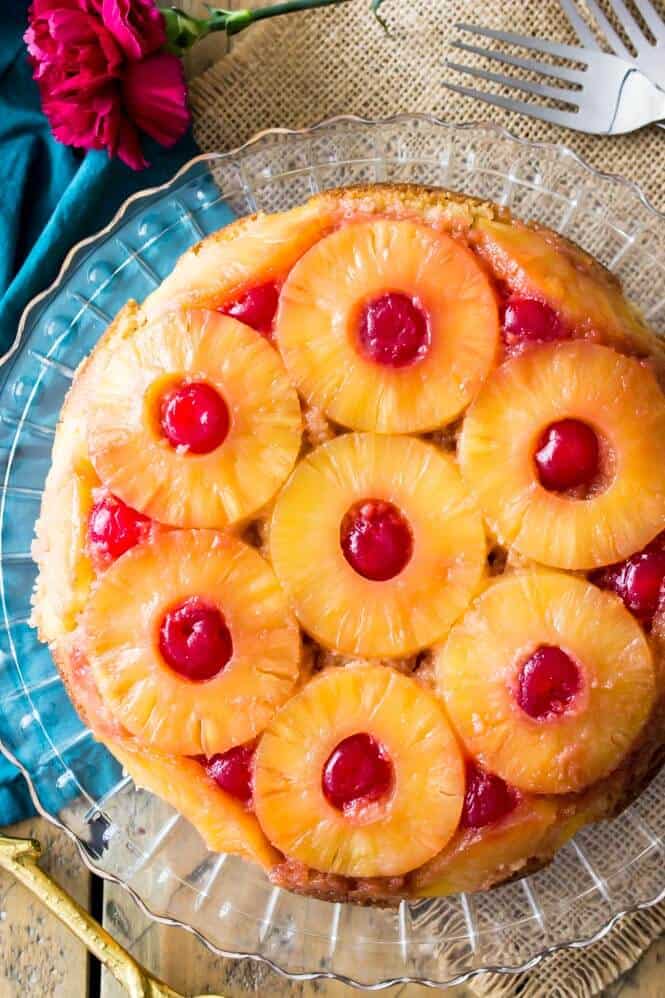
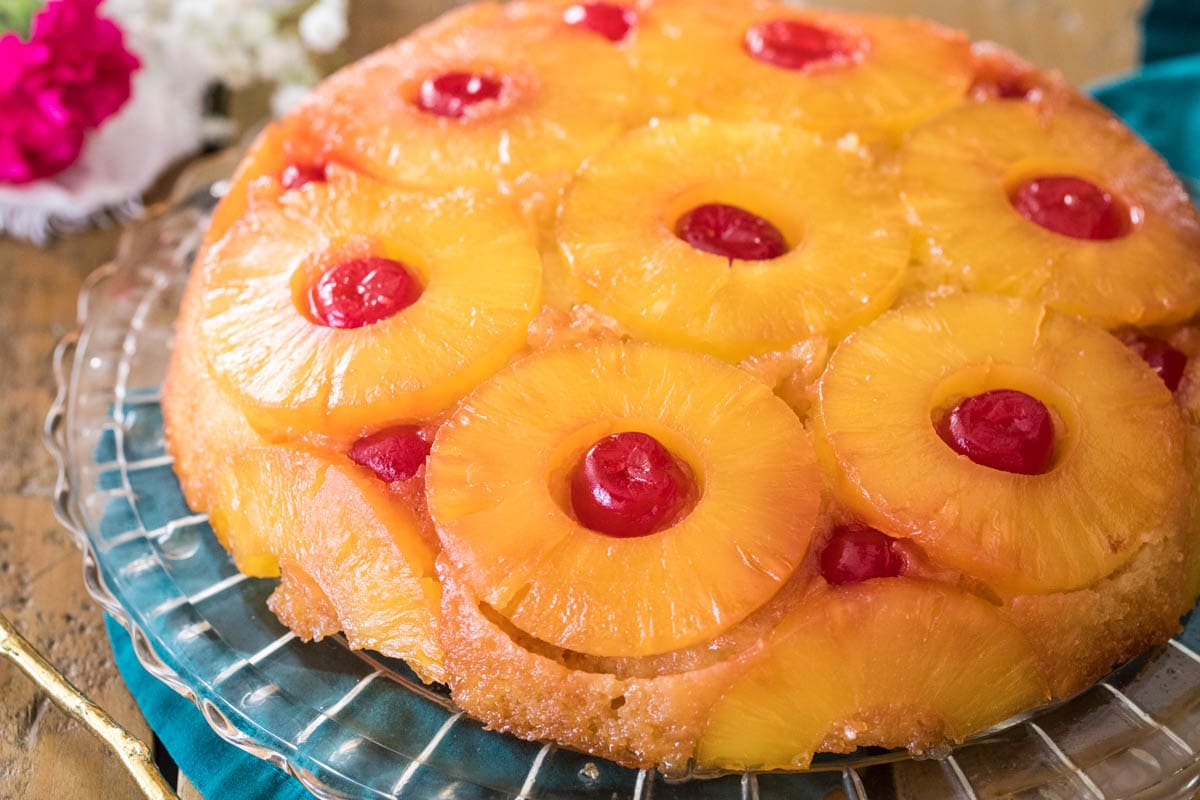
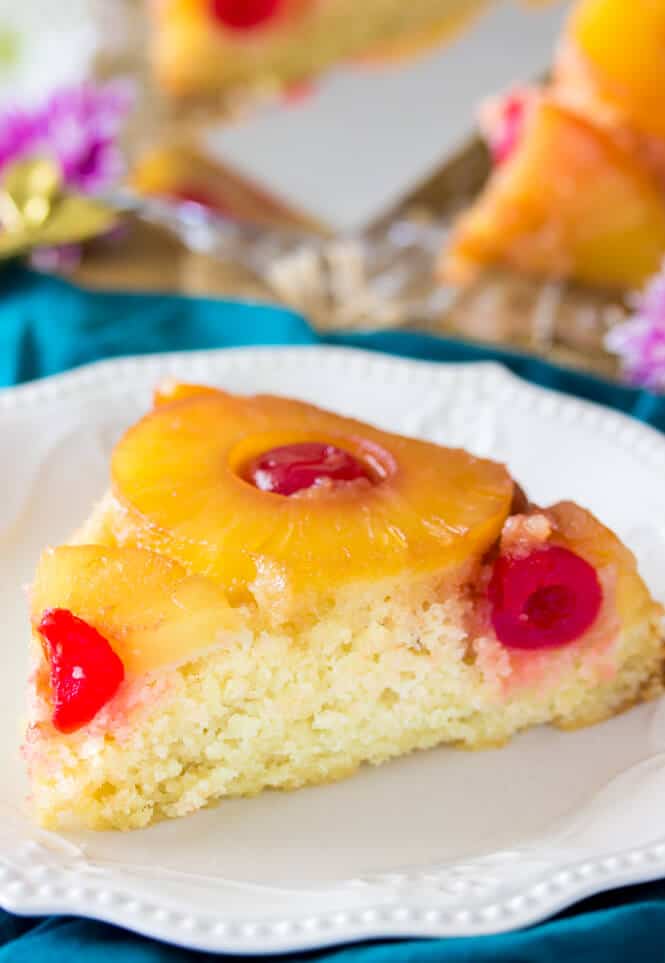
The Perfect Easy Pineapple Upside Down Cake
There are a lot of cake recipes on this blog, and a fair share of unique cake recipes as well (zebra cake and my ice cream cake certainly come to mind). However, I’m not sure any is quite as unique and demanding of attention as this pineapple upside down cake. A true showstopper, it’s a moist and flavorful vanilla cake crowned with golden, caramelized pineapple rings and cherry jewels. It’s also surprisingly simple to make and you don’t have to bother with frosting or decorating the same way you would a classic layer cake.
Why You’ll Love This Recipe
Easy to make. No fussy techniques, no fancy ingredients, this recipe is a good one for beginners and well-seasoned bakers alike.A true classic. This is the classic dessert you might remember from your childhood. It’s beautiful! There’s no denying a freshly flipped upside-down cake is a sight to behold; both its beauty and taste make it a showstopper for any dessert table.Unique. From the unique way in which it’s baked (upside-down!) to the caramelized crown of tropical fruits, this recipe stands out from your basic cake recipe.
I think you’re going to love this one, so let’s get to it.
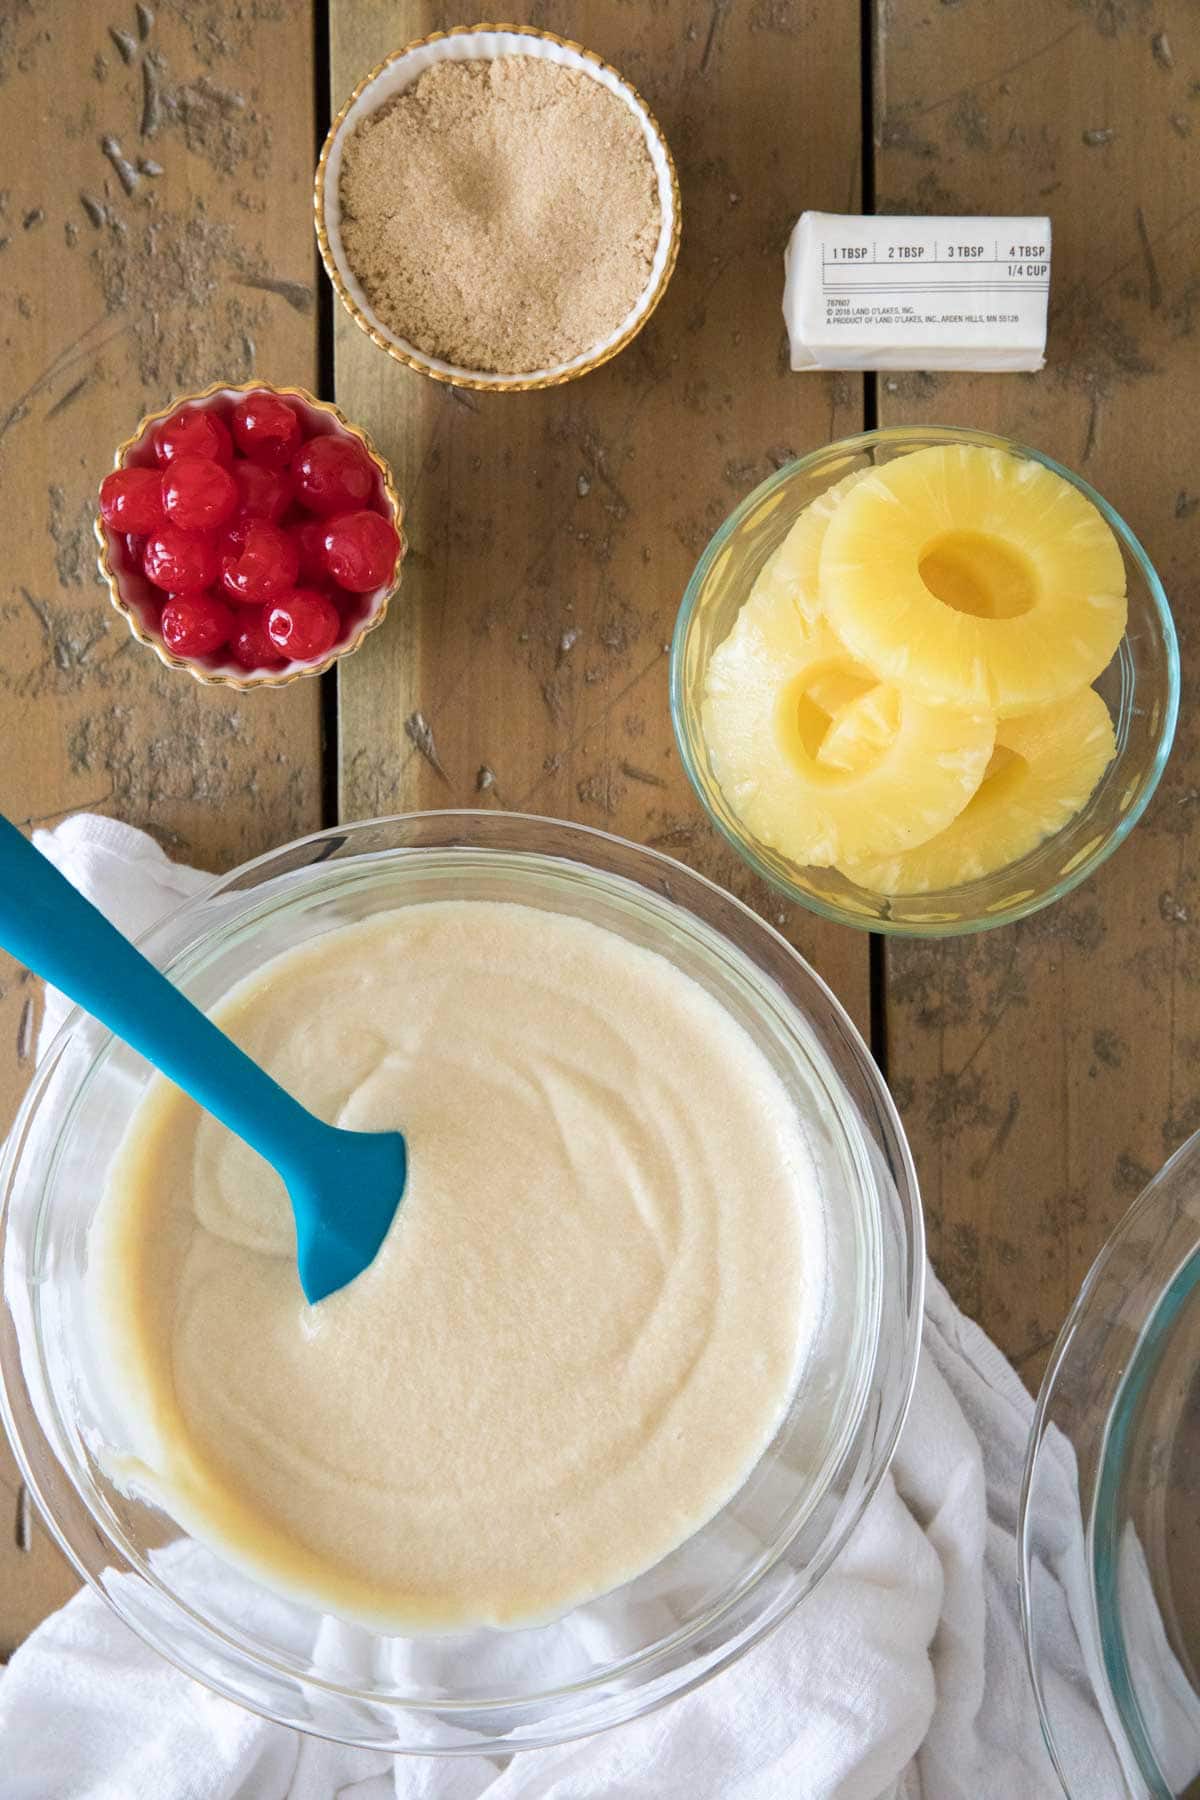
What You Need
The cake is made of basic pantry staples, nothing fussy, fancy, or difficult to find, and the beautiful bottom-turned-top is a stunning crown of caramelized fruit. You’ll recognize most of the ingredients, but as you know I like to discuss them a bit before we get to the baking.
Pineapple Rings. You can use fresh or canned rings. Canned are the traditional and easier choice, and are what I use here. Maraschino cherries. Don’t substitute fresh cherries. Maraschino cherries add classic are essential as they’re soaked in a syrup that lends much flavor to the surface of the cake. If you do opt to substitute a fresh cherry, just expect a different flavor. Sugar. The topping is made with light brown sugar, which lends a subtle rich flavor to the caramelized topping (thanks to the small amount of molasses in the sugar). The cake uses only granulated sugar. Flour. I use all-purpose flour, but you may substitute cake flour. If doing so, how you substitute depends on how you weigh your ingredients. If you use a scale, the weight will be the same for cake flour, but if you are using a measuring cup, you will need a bit more cake flour than the recipe calls for. Here is a helpful resource for substituting cake flour for all-purpose flour.Milk. My preference is to use milk in the cake batter. I’ve tried the recipe with pineapple juice (leftover juice from the can of pineapple slices) and did not enjoy the cake as much when made this way. However, a number of readers have written that they’ve substituted all or half of the milk with pineapple juice and enjoyed it that way, so feel free to experiment!
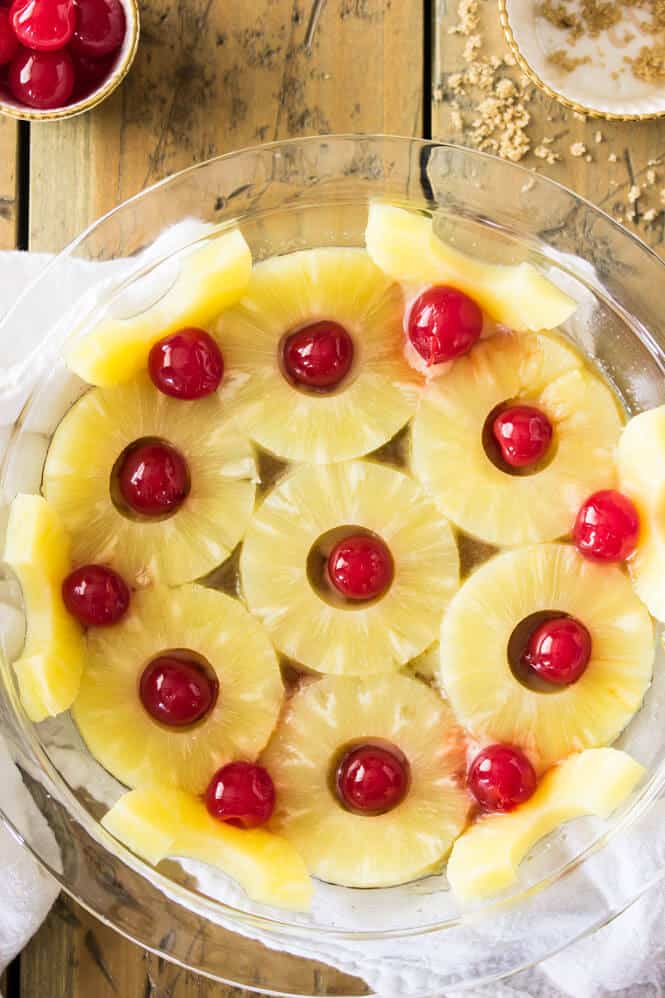
SAM’S TIP: Make sure to blot your pineapple slices well with paper towels before placing them in your pie plate. This will absorb any excess liquid. If you skip this step it could make your cake soggy. This section is just an overview of the ingredients I used and why (for those of you who are as nerdy about what goes into making a cake as I am!). For the full recipe please scroll down to the bottom of the post!
How to Make the Best Pineapple Upside Down Cake
The steps are simple and straightforward and I don’t think you’ll struggle, but let’s go over them before we begin:
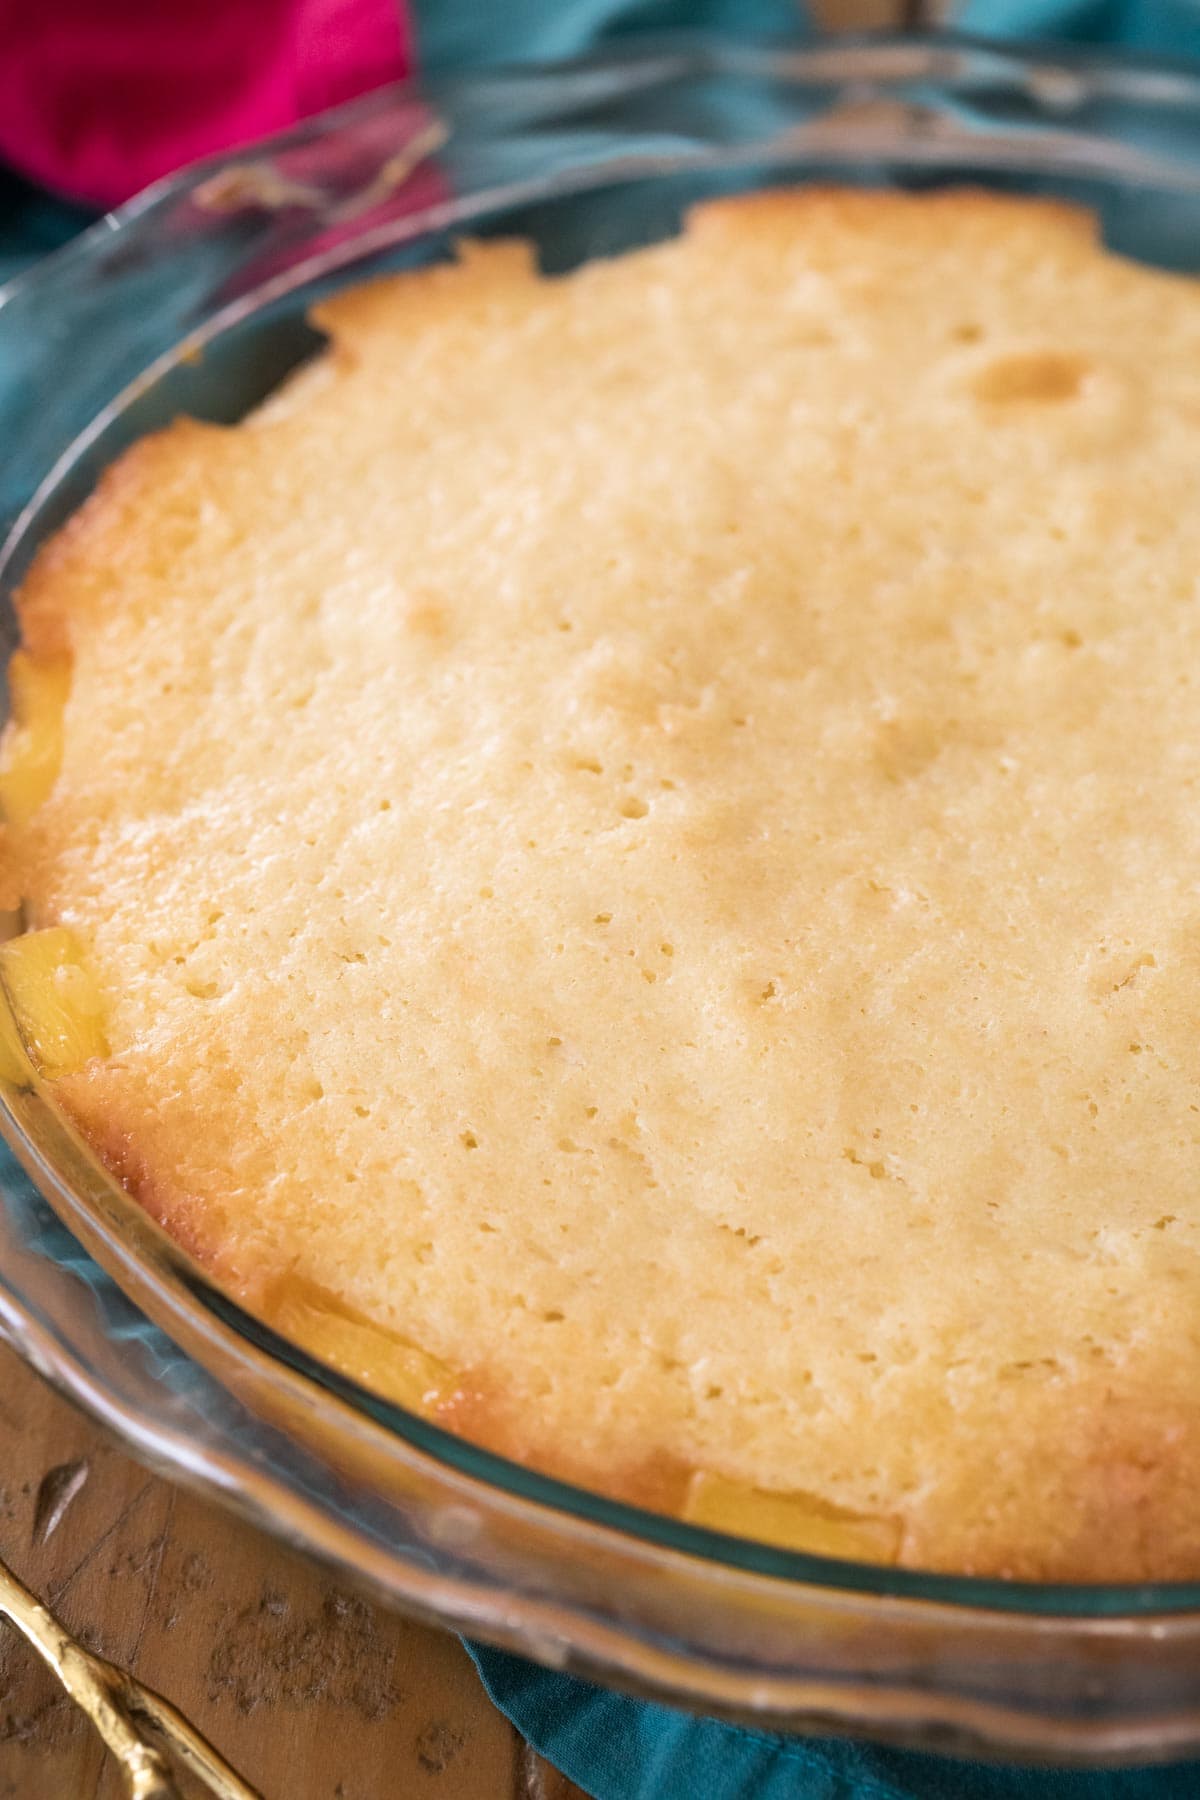
Prepare your pan. Pour melted butter into the pie plate and make sure you spoon or brush a bit up the sides of the plate as well. Sprinkle brown sugar evenly overtop the butter.Layer the fruit. Arrange the pineapple rings and cherries over the pie plate and around the edge, too. Make the cake batter. This is a simple but sturdy vanilla cake batter (the same one used for my marble cake) that you’ll make by creaming the sugar and butter, adding eggs and vanilla, then gradually alternating adding the dry ingredients and milk until the batter is combined. Bake. To avoid the cake over-browning, you’ll want to check it at the 30 minute mark and loosely tent with foil (I also use this technique in my banana cake). Flip & serve. Let the cake cool for just 10-15 minutes before inverting onto a serving platter (more on that below). Don’t let the cake cool too long, or it may stick to the pie plate.
Avoid a too-dense, dry cake: This recipe is a bit denser than your average cake (it must be to not collapse under the weight of the fruit once flipped) but it should not feel too dense or dry. There are two culprits to watch for that could cause your cake to turn out this way: 1) Over-mixing the dry ingredients (just stir until the wet and dry ingredients are combined, don’t overdo it!) and 2) over-baking the cake. Even a few minutes too long in the oven can make your cake dense and dry. Some ovens also run hotter than they say they are, so watch for that too as this can cause your cake to cook too fast and dry out!
How to Flip this Cake
This was a popular question when I first published this cake and I want to address it here (though I also show how to flip the cake in my video). The biggest takeaways should be to make sure you use oven mitts and use a plate that’s larger than your cake so that any juices don’t run off the side! And that is it! This cake tastes best warm, so while you still want it to cool a bit, I don’t recommend waiting too long to dig in or making it very far in advance of serving! This cake really does taste best warm and it’s one of a few recipes where I personally don’t enjoy the leftovers. If you must store it, keep it covered in the fridge where it will keep for several days, but it is a moist cake and will become a bit soggier as it sits. Such is life! Enjoy! Let’s bake together! I’ll be walking you through all the steps in my written recipe and video below! If you try this recipe, be sure to tag me on Instagram, and you can also find me on YouTube and Facebook I originally shared this recipe in 2017. It has been updated to include more helpful photos, notes, and information and a new video, but the recipe remains the same.
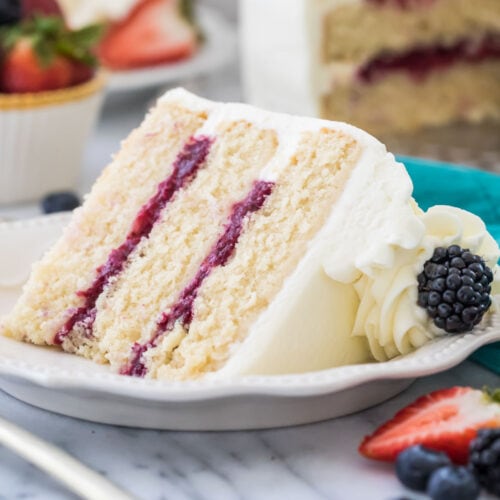
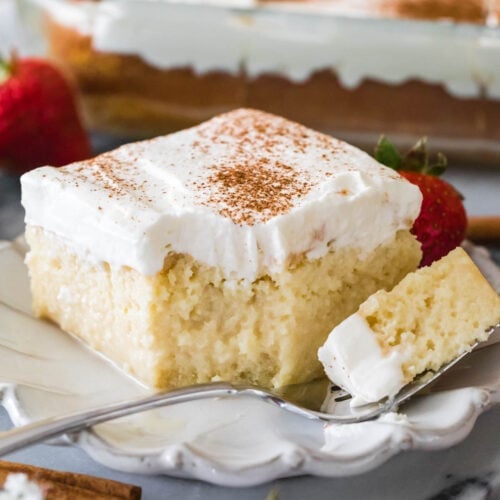
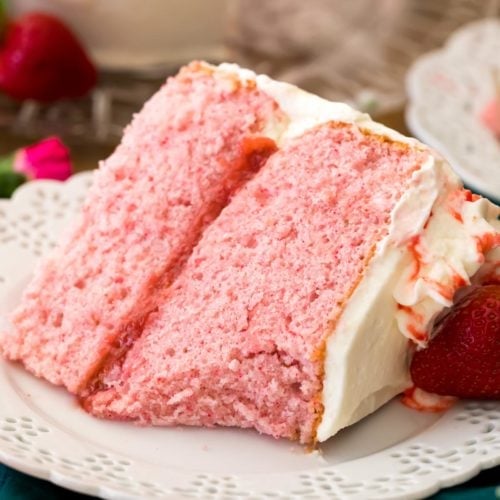
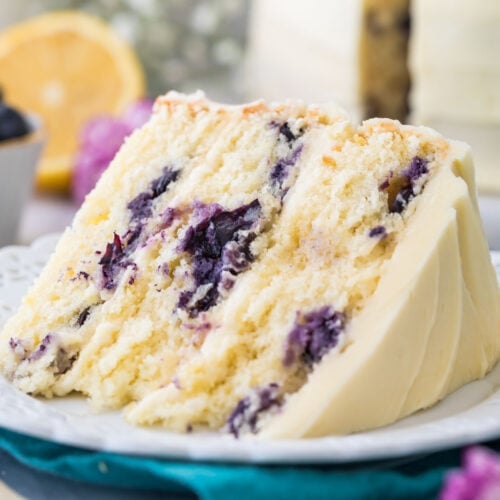
More Cakes You Might Like