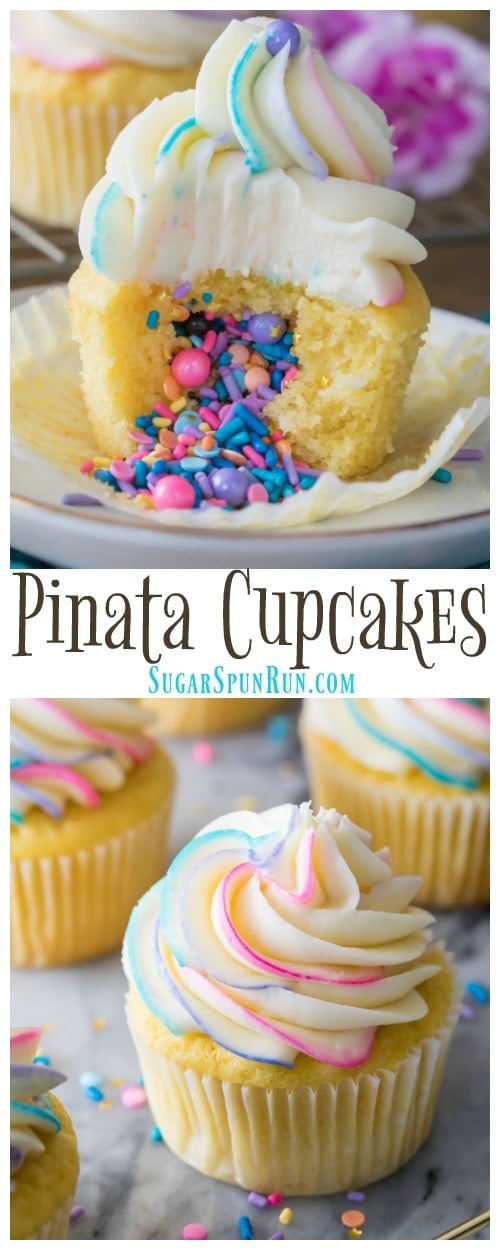
Today’s Pinata Cupcakes are exactly what I need after mother nature dropped over half a foot of snow on me on the first day of Spring! They’re light, cheery, colorful, and the perfect way to add some brightness to your day, which is especially helpful if your day is otherwise blinding white from this springtime snowstorm!. The best part is that these Pinata Cupcakes are so simple to make! Making them is as simple as baking a batch of vanilla cupcakes (you can, of course, substitute any flavor, but you can’t go wrong with these), making a minor incision, filling with sprinkles, and topping with frosting! Let’s get into the details and break down exactly how you can make your own Pinata Cupcakes.
How to Make Pinata Cupcakes
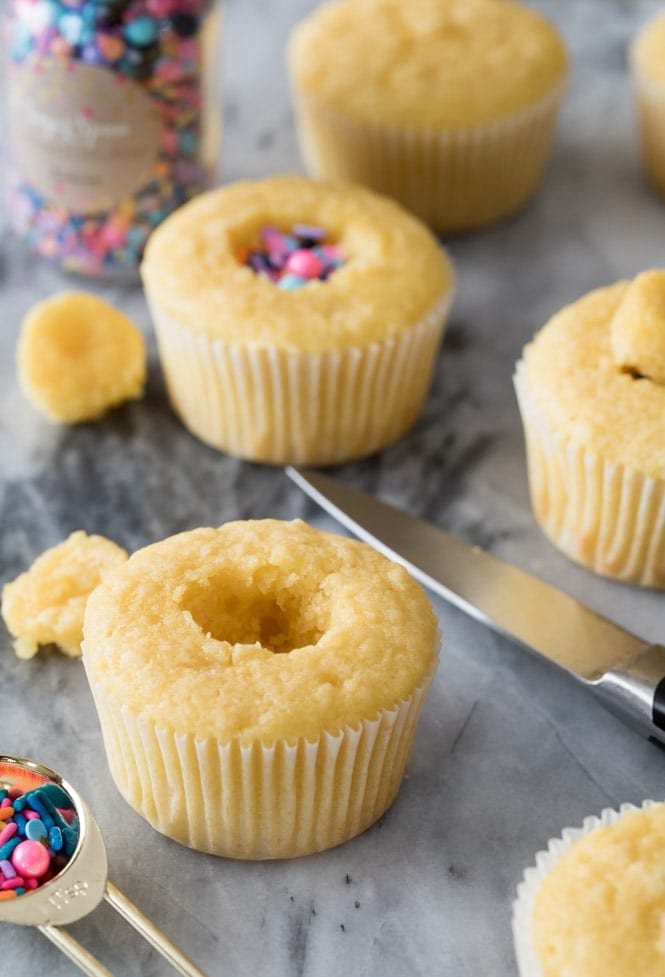
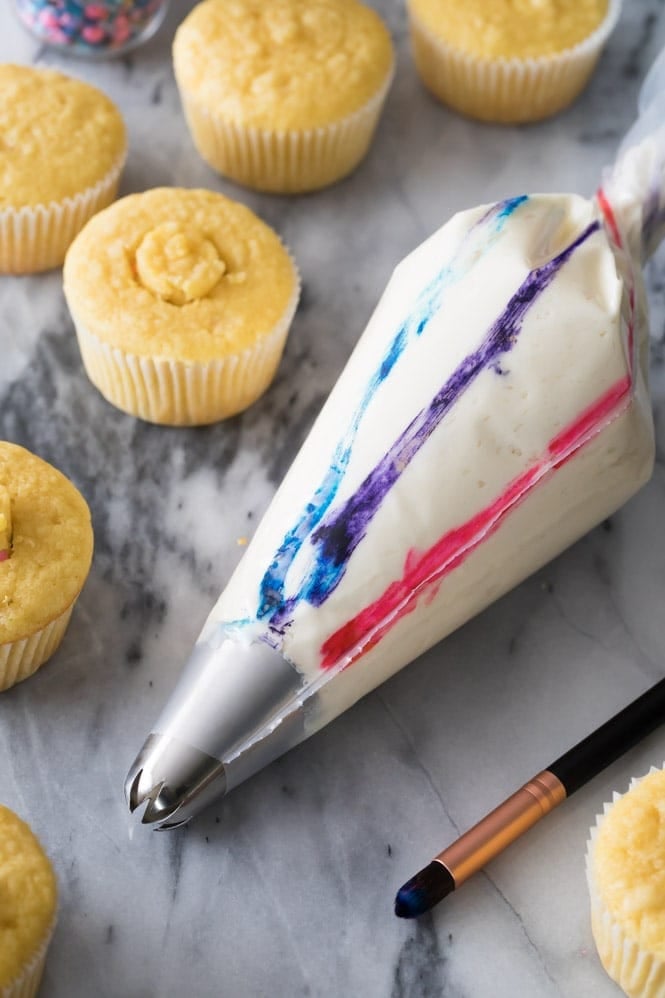
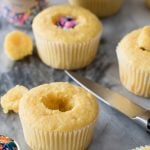
You’ll want to start with a solid cupcake recipe, one that’s not too light and delicate as you need it to be sturdy enough to withstand being carved. I used my vanilla cake recipe for the base of these pinata cupcakes, if you haven’t tried that recipe yet this is a great excuse to do so. Let the cupcakes cool completely before carving into them, and once they’ve cooled use a knife to cut a hole about ¾-1″ in diameter into the center of the cupcake, cutting about 1″ deep. Remove the core that you’ve just cut out and slice off the bottom, reserving about ¼″ of the top. You’ll use this use as your plug to cover your sprinkle filling and to give you a level surface on which to pipe your frosting.
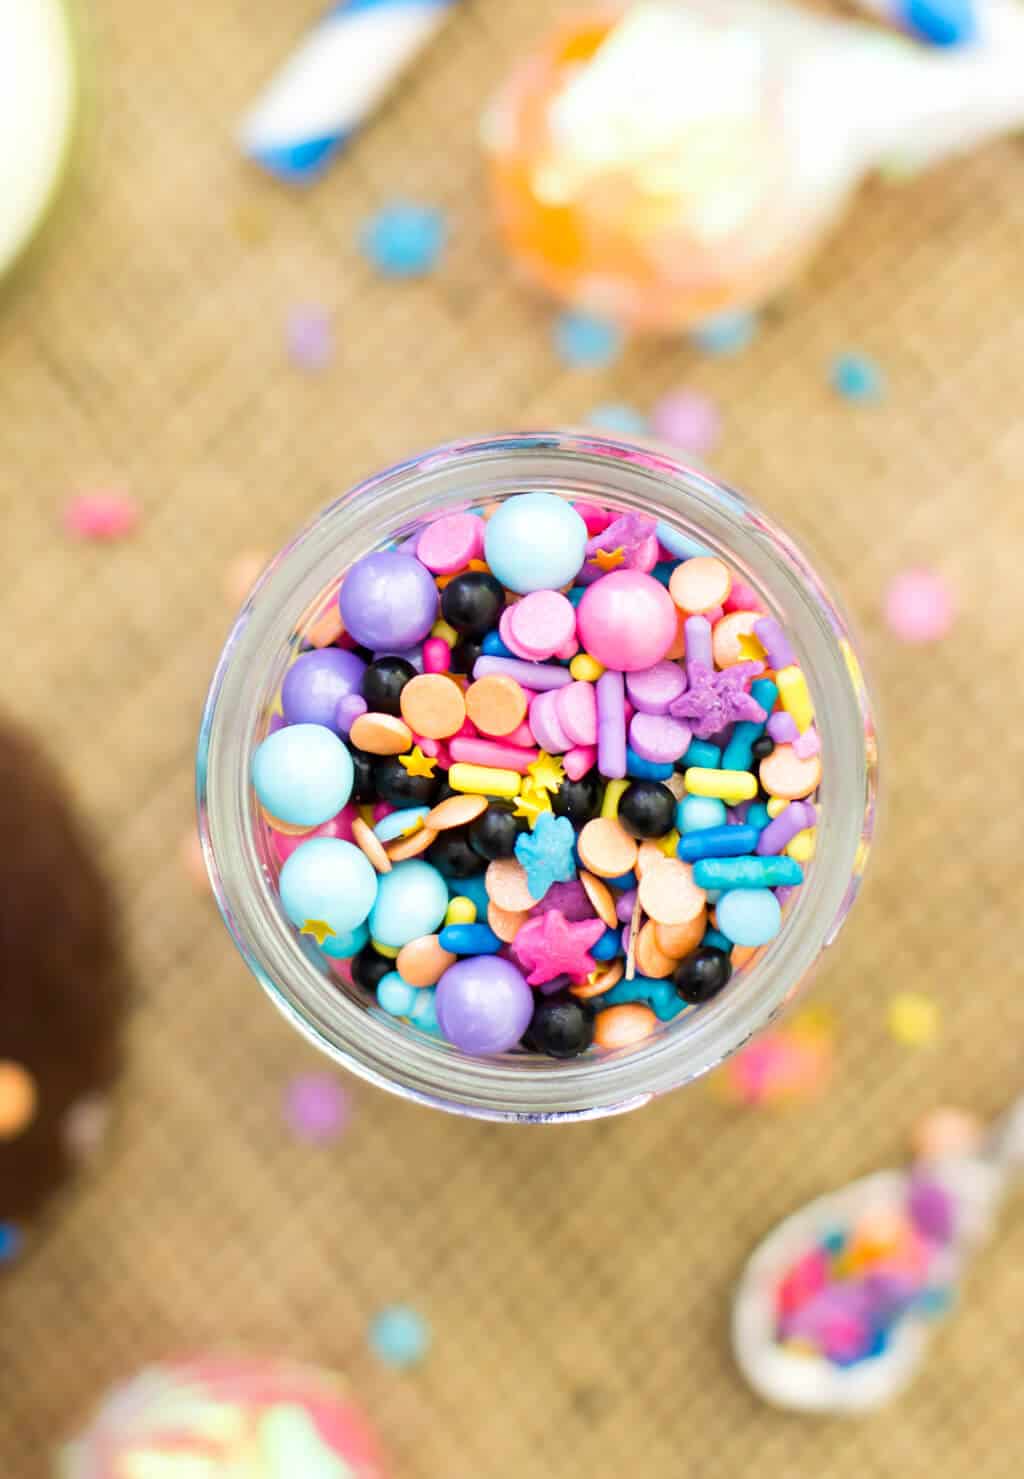
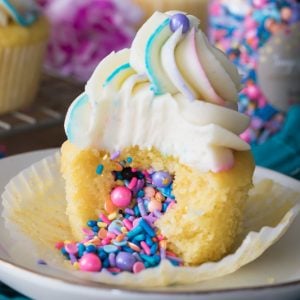
Now comes the fun part: the sprinkles! You can use your favorite variety of sprinkles in your favorite colors. I like to make my own sprinkle blends that I use for most of my decorations.
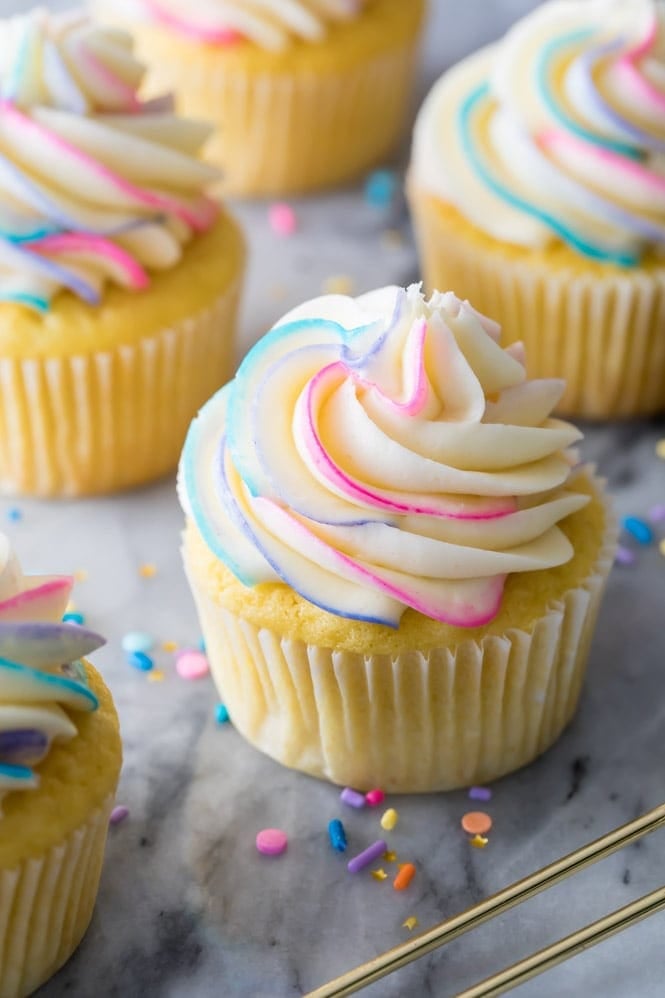
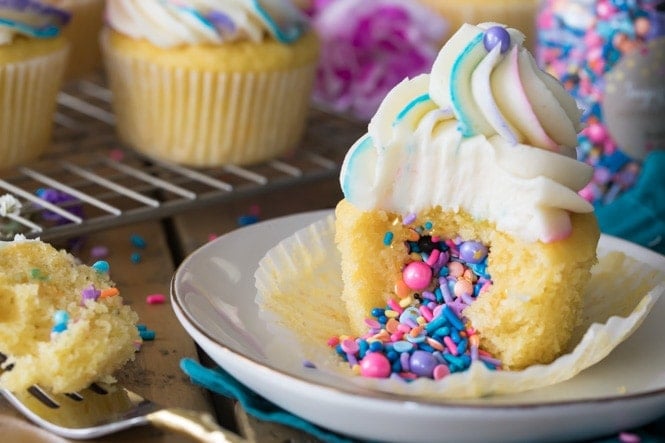
Each Pinata Cupcake center should hold about 1 Tablespoon of sprinkles, but add as many as you need, filling each cavity to just below the top of the cupcake. Return your reserved cupcake “plug” and gently press it down over the sprinkles so that it is level with the rest of the cupcake. Now our Pinata Cupcakes are ready for their frosting! You can, of course, use your favorite variety of frosting (I have a cream cheese frosting and a chocolate frosting you may want to check out), but for today’s recipe I’m using my vanilla frosting that I recently shared. It’s easy to make, great for piping, and colors beautifully.
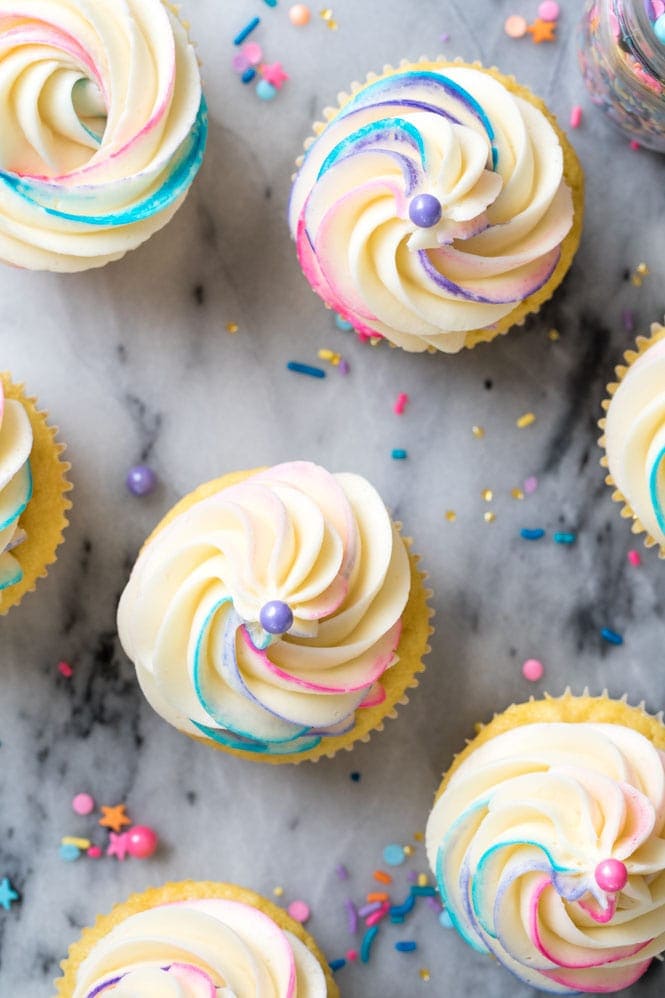
How to add a colorful swirl to my cupcake frosting:
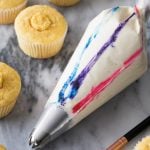
To decorate your cupcakes as you seen in these photos, you’ll need a large piping bag fitted with an open star tip (I used an Ateco 848), your favorite food coloring colors (I recommend choosing no more than 3 for the effect shown here), and a clean, never-before-used paintbrush. Coloring the frosting is simple, all you need to do is dab a small amount of food coloring onto your paint brush and then use it to draw a straight line (as straight as possible, as you can see in the photo above, mine are a bit crooked, but it still turned out fine!) up the inside of the piping bag. Repeat with the same color on the opposite side of the bag. Clean and dry your paintbrush, and then repeat with your second and then third color. Make sure to space each line evenly across the piping bag.
While I really love filling my cupcakes with sprinkles, you can of course use mini M&Ms or other small candies that you think would be appropriate! Enjoy!