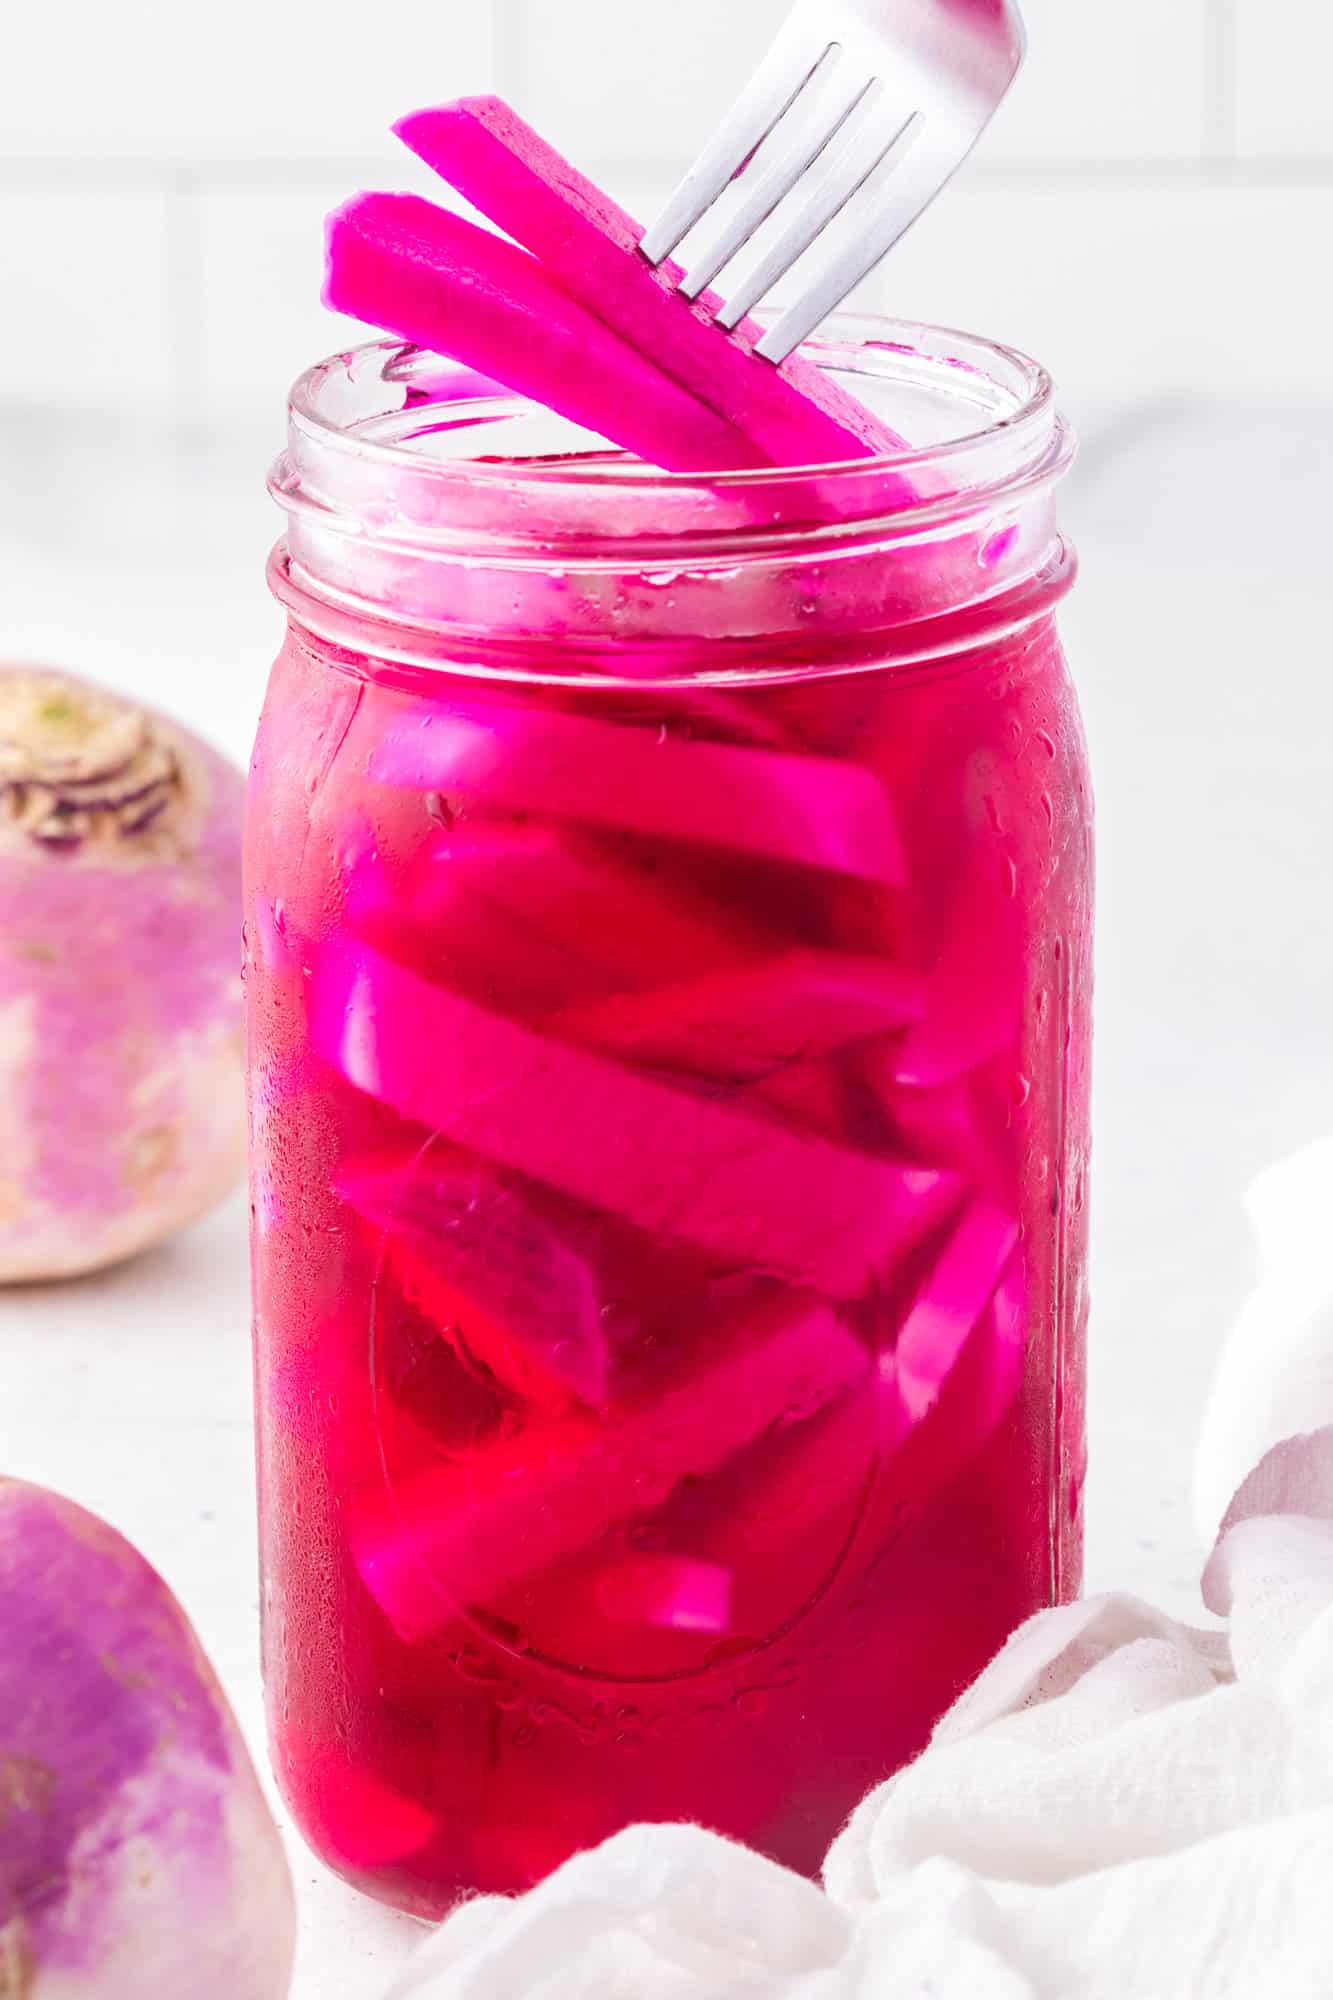
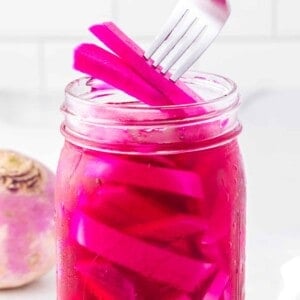
If you’ve ever gotten a falafel pita from a Middle Eastern restaurant and wondered about the pinkish-red pickles tucked inside with the lettuce and tahini sauce, they’re pickled turnips. How long it takes: 20 minutes, plus chilling time Equipment you’ll need: saucepan, quart jar Servings: 8 (And if you’ve ever wondered how white-fleshed turnips turn pink when pickled, you’re going to want to keep reading. You might be surprised when you get to the ingredient list!) Also known as pink pickles—because: pink!—pickled turnips are a condiment served on their own or used in salads and sandwiches. They have a tart-and-tangy taste, with the signature mild bitterness of turnips mellowed by the pickling process. As with any type of pickle, you can make pickled turnips spicy, sweet, or garlicky, but the version I’m sharing here is similar to the kind you find in some Middle Eastern restaurants, and how we like our pickled turnips. (Love turnips? Try roasting them for my warm kale salad with roasted root vegetables!)
About this Pickled Turnips Recipe
No canning needed. These pickled turnips are a refrigerator pickle recipe, which means the process is simple and there’s no special equipment needed, just a Mason jar or airtight container. Quick and easy to make. The pickles take about 15 minutes of active time, plus 5 minutes of cooking. The hardest part is waiting to eat them because they need chilling time (at least 24 hours). Versatile. You can use these pickles on sandwiches, tacos, salads, or as a topping for burgers and hot dogs. Crunchy, tangy, and just a little bit sweet. Pickled turnips really have it all in terms of flavor! The turnips are naturally peppery, and the pickling brine adds sweetness, tanginess, and a kick of garlic too.
Ingredients You’ll need
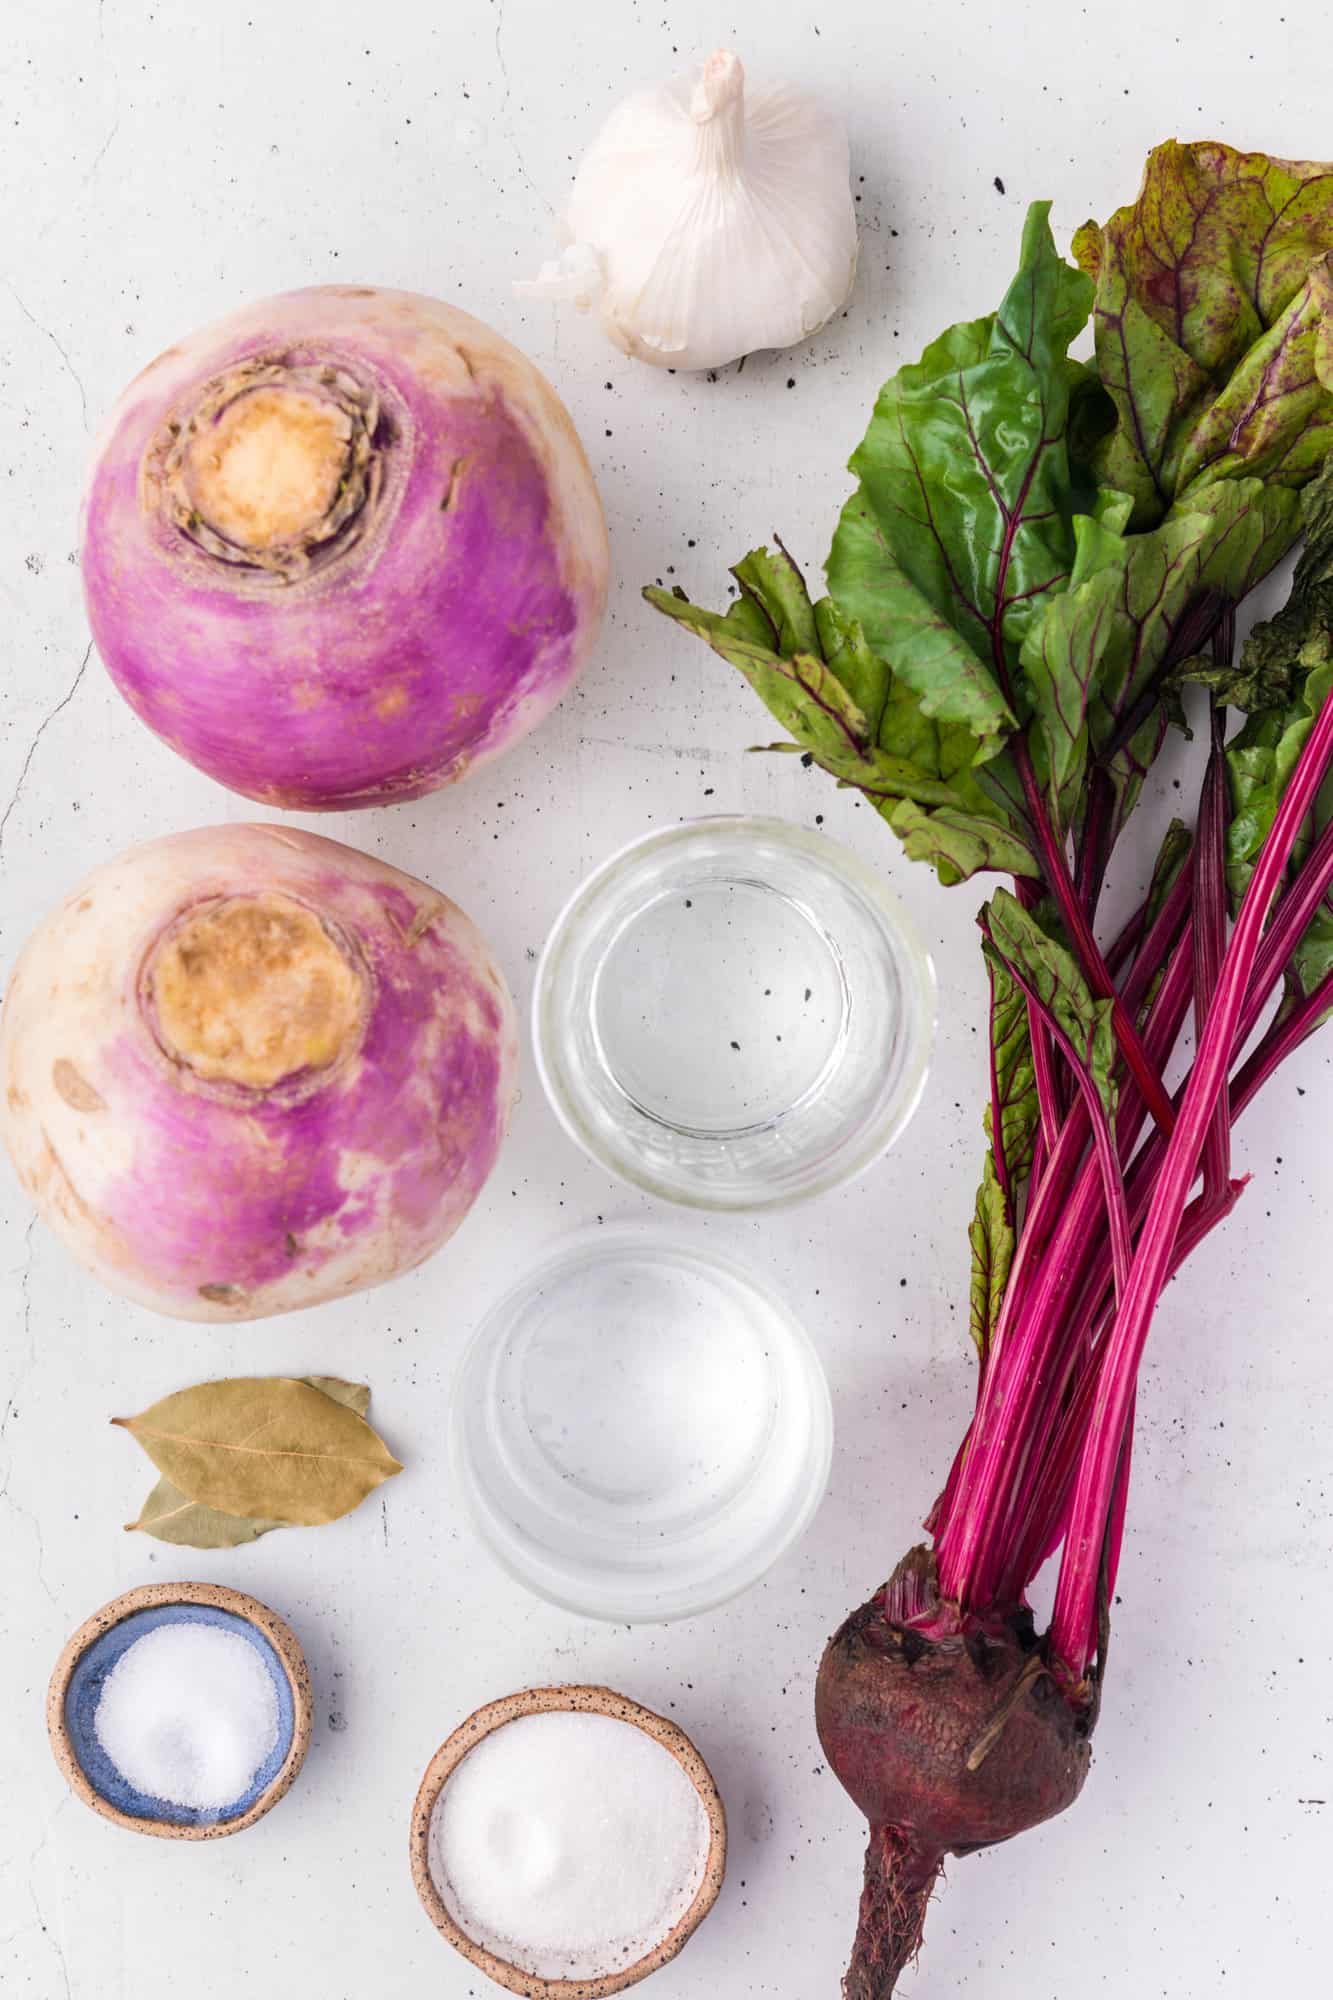
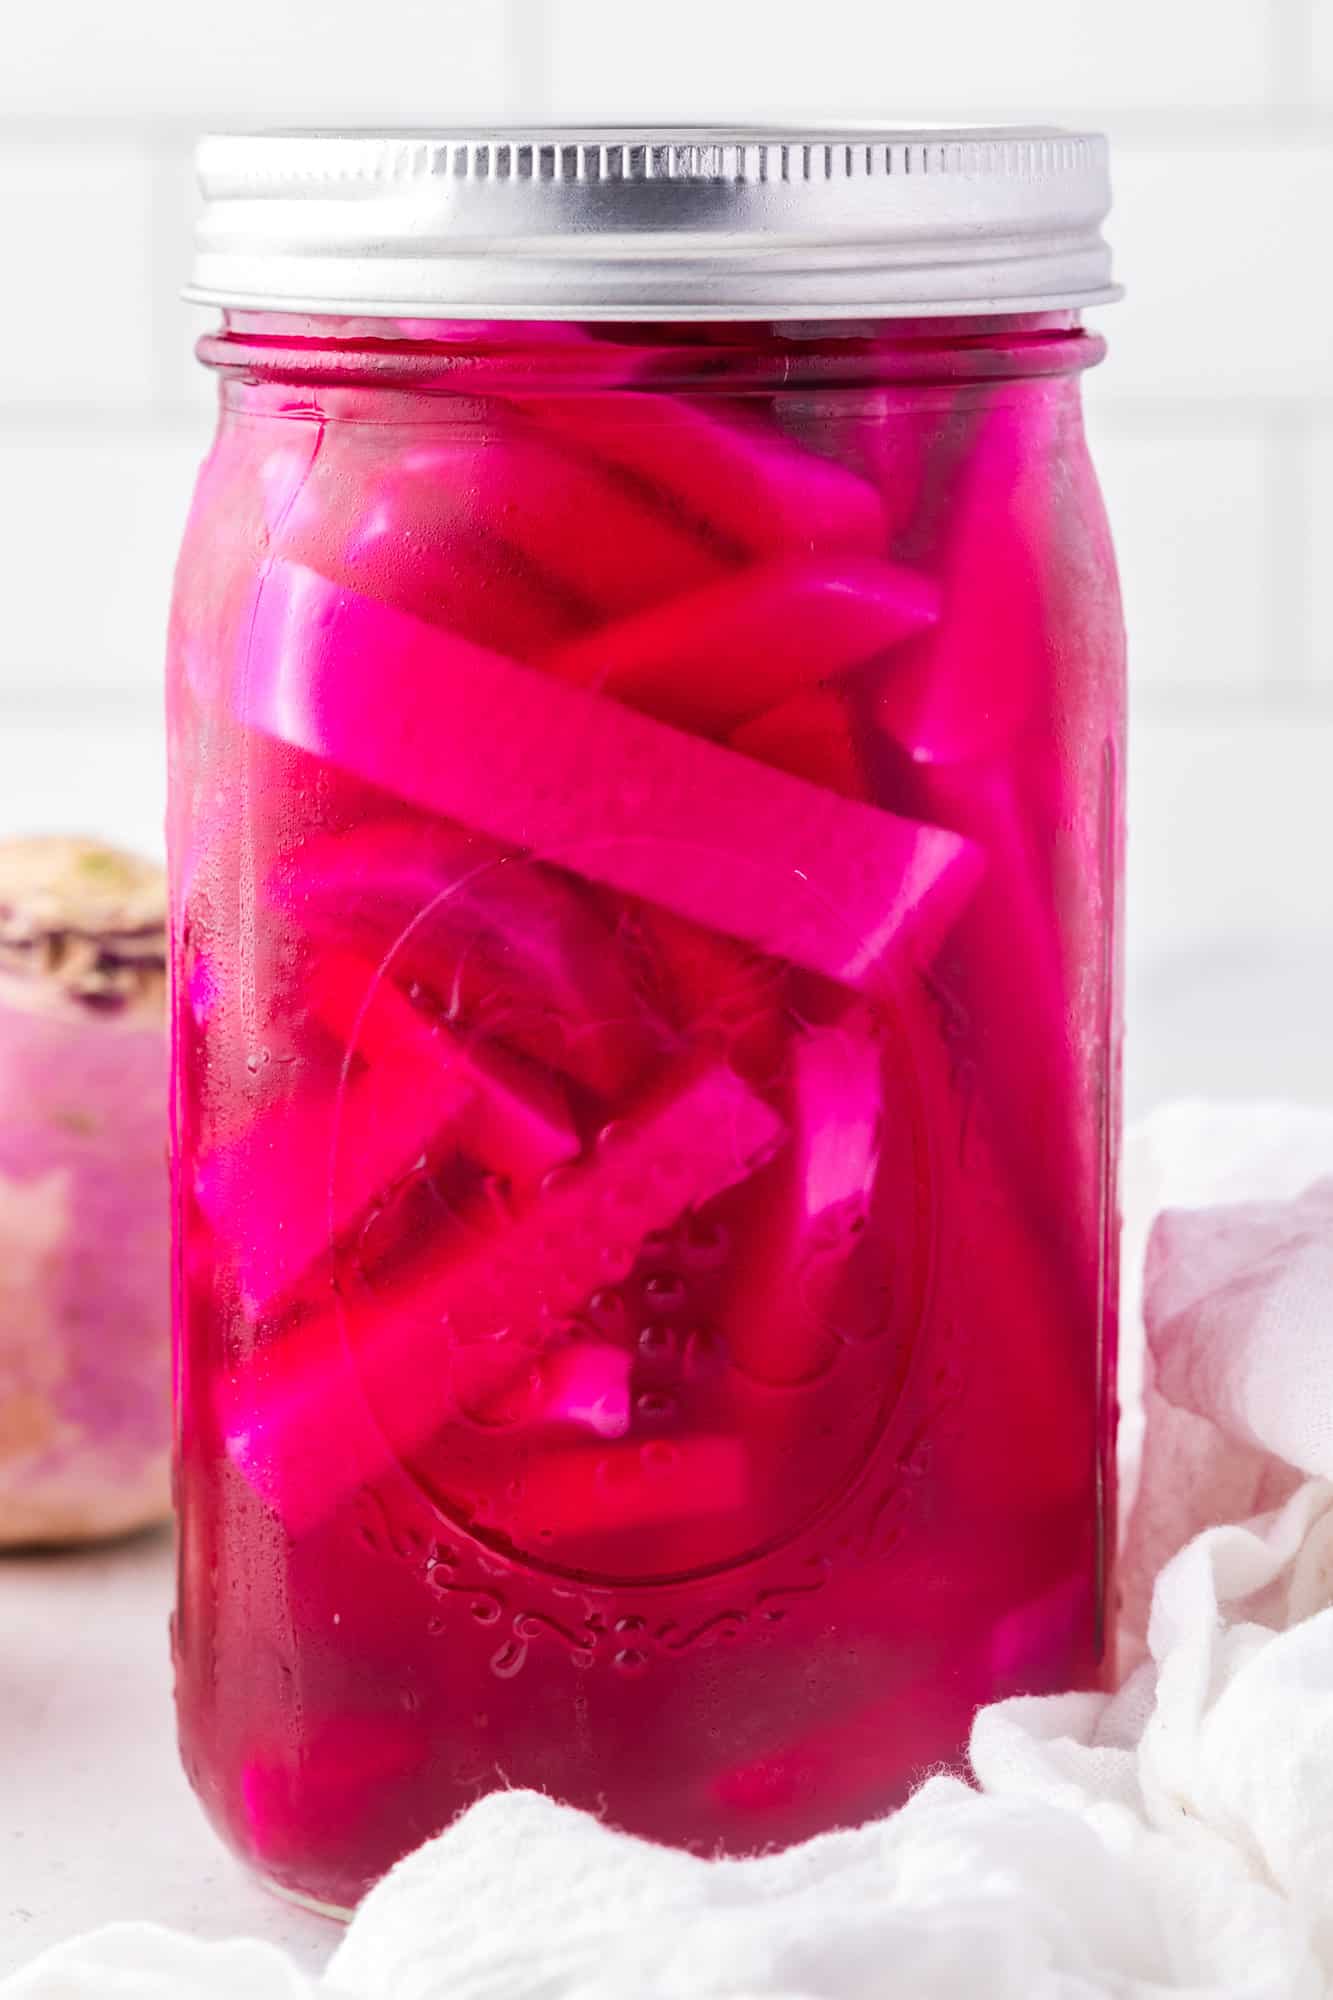
Turnips – Make sure they are firm when you give them a squeeze. You’ll need two large turnips, or about 14 oz. total. Beet – This is what gives pink pickles their color! Pickled turnips have a beet added to the jar, which tints the brine and also the turnips. The beet adds a bit of sweetness, too. Garlic – Another addition that brings lots of flavor to the table. If you slice the garlic cloves, you can eat them with the pickled turnips. White Vinegar – While you can use other types of vinegar for making pickles, inexpensive all-purpose white vinegar will give you that classic pickled turnip flavor. Granulated Sugar – Sugar balances the flavor in our pickled turnips, cutting some of the acidic bite of the vinegar. Water – Use filtered water for the best results; tap water sometimes has off-flavors. Kosher Salt – Salt is an essential ingredient for pickling! While there are varieties of salt made specifically for pickling vegetables, I simply use kosher salt because I already have it on hand. Bay Leaves – I always add a bay leaf or two whenever I’m making pickles. While people joke about whether bay leaves really do anything, they actually do add another layer of flavor to the brining liquid.
How to make Pickled Turnips
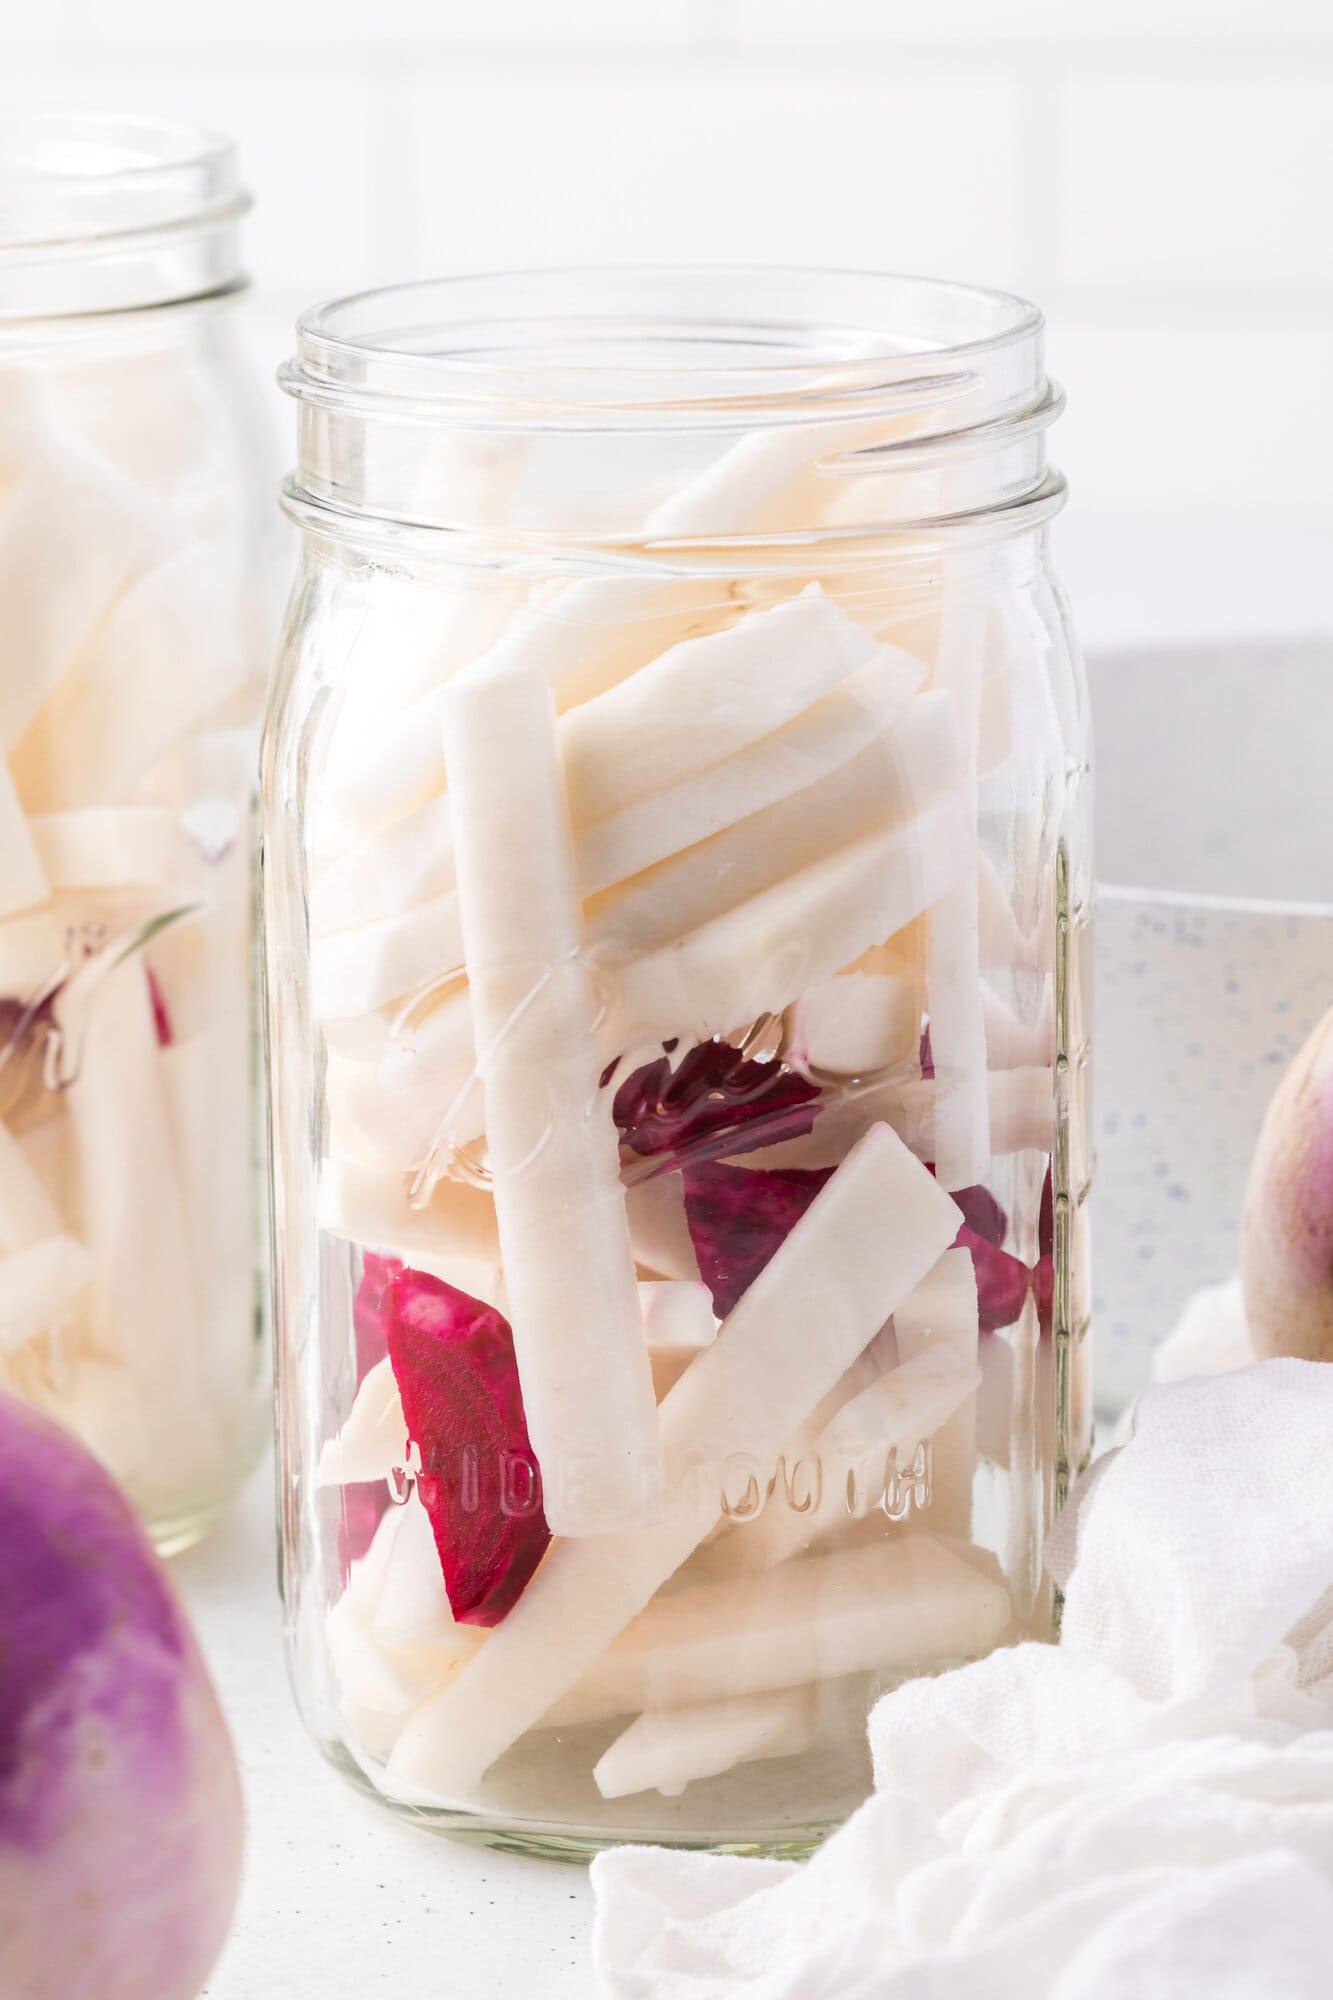
Combine the brine ingredients in a saucepan and bring them to a boil over medium heat, stirring occasionally. Once the sugar and salt dissolve, remove the saucepan from the heat and cool the liquid to room temperature. While the brine cools, scrub and peel the turnips. A vegetable peeler works well. Cut the turnips into evenly-sized thin strips, about ½ inch thick. Do the same with the beet. Peel the garlic cloves. Either smash them with the flat of the blade or slice them. If you prefer, the garlic can be omitted. Place the turnips, beets, and garlic in a clean glass quart jar. Pour the brine over the top, submerging the turnip and beet strips. Seal the jar and refrigerate for at least 24 hours, but ideally 3 to 5 days. The flavor is best after a few days of pickling time in the fridge!
How to make these Pickled Turnips your own
Add an herbal note: Sprigs of fresh herbs can be tucked into the jar to vary the flavor. Try dill, thyme, or oregano. Make it spicy: Peppercorns, a dried chili pepper, or red pepper flakes will add heat to your turnip pickles; you can also add a sliced jalapeño pepper for a kick. Omit the beet: Make the rest of the recipe as is (the pickles won’t be pink), or if you want pink pickles without the beet, use a few drops of natural food coloring in the brine.
What to Serve With This Recipe
You can snack on pickled turnips, or add them to a cheese or charcuterie board for a pop of color. They’re great in salads (try my chopped Greek salad with pickled turnips!), sandwiches, burgers, and tacos (mushroom tacos or slow cooker pork tacos would be fantastic). Add finely diced pickled turnips to egg salad or curried chicken salad. For a healthy lunch idea, serve the pickled turnips with a warm grain salad, or add them as a garnish to a meal bowl. Grilled chicken shawarma drumsticks, fattoush salad, and other Middle Eastern dishes are natural pairings as well. Hummus is often garnished with a bright pink pickled turnip.
Storage Tips
Quick pickles are not shelf-stable and should always be refrigerated. Store pickled turnips in the refrigerator in a tightly covered jar. They last for several weeks although their texture may soften slightly over time. If the brine turns cloudy or has a bad smell, discard the pickles.