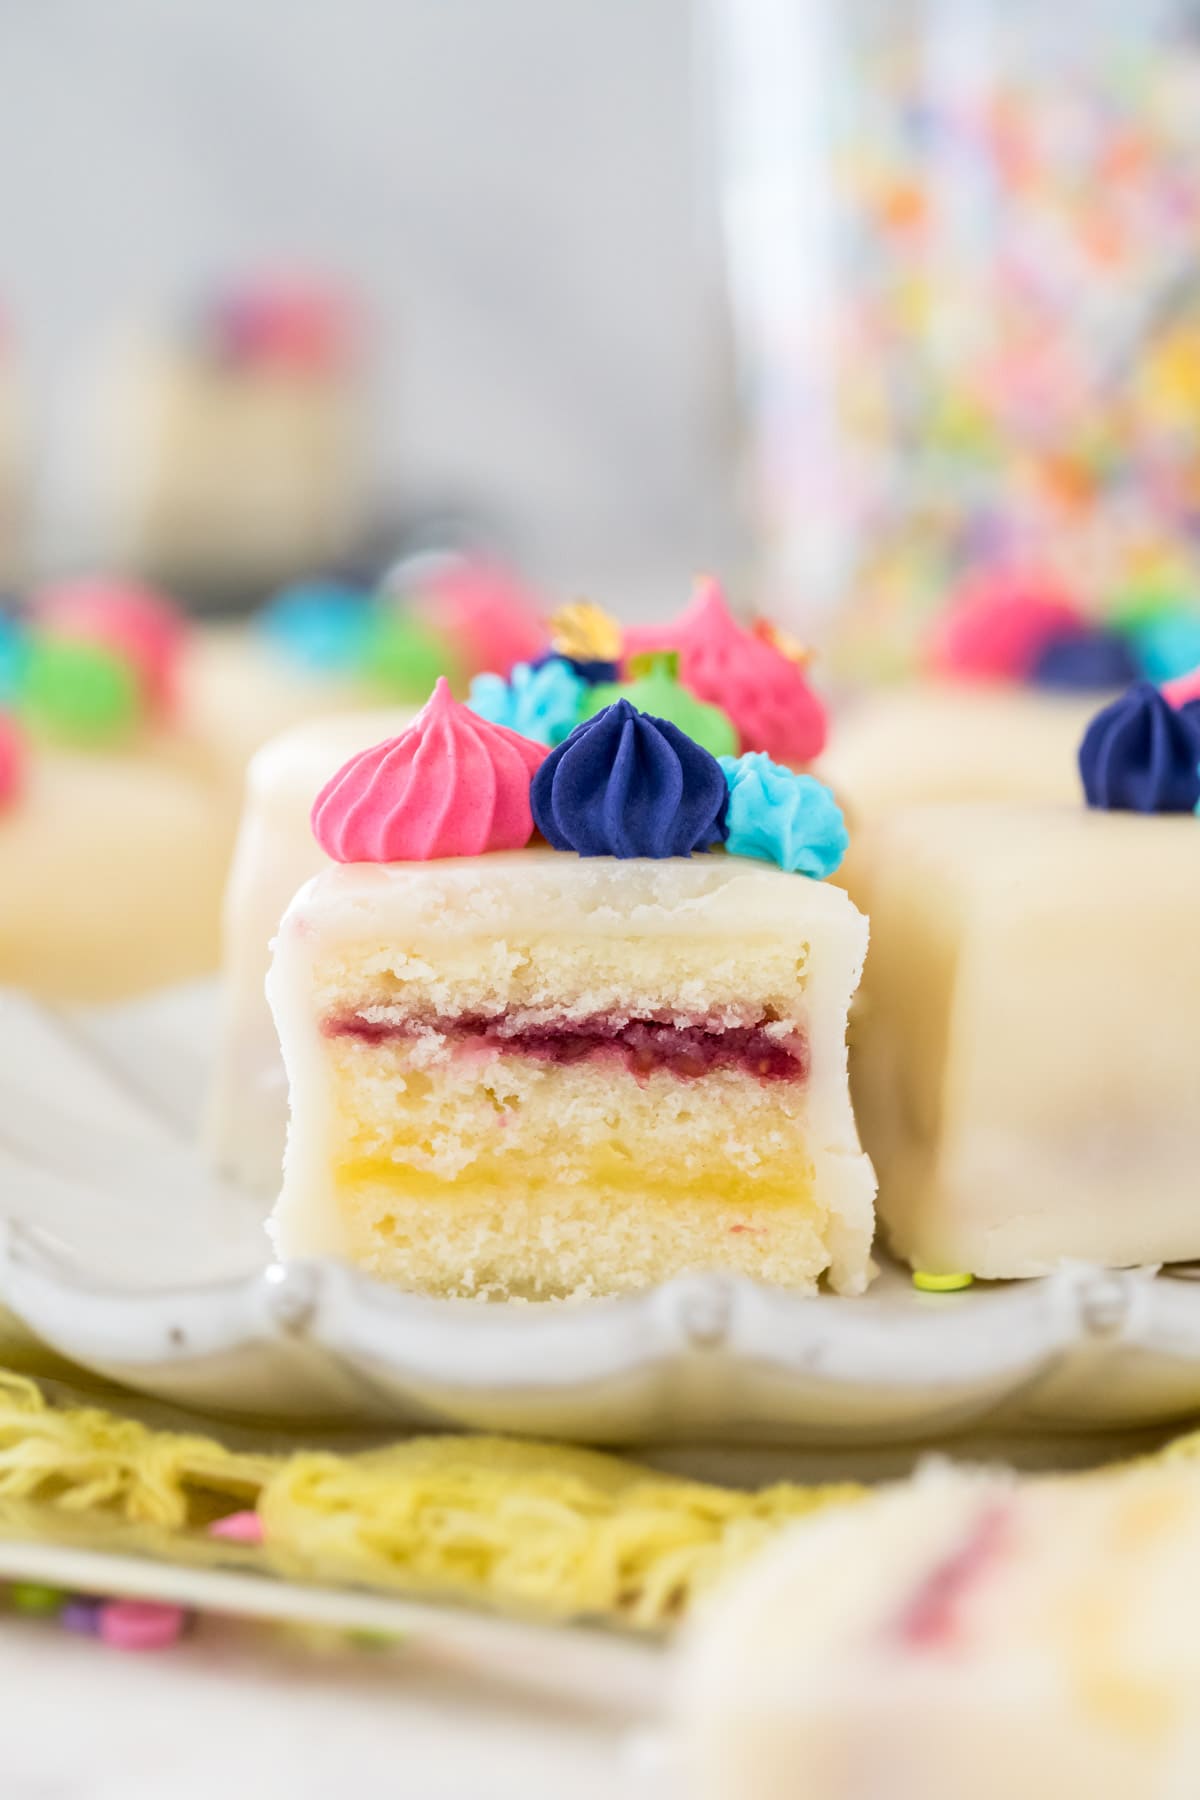
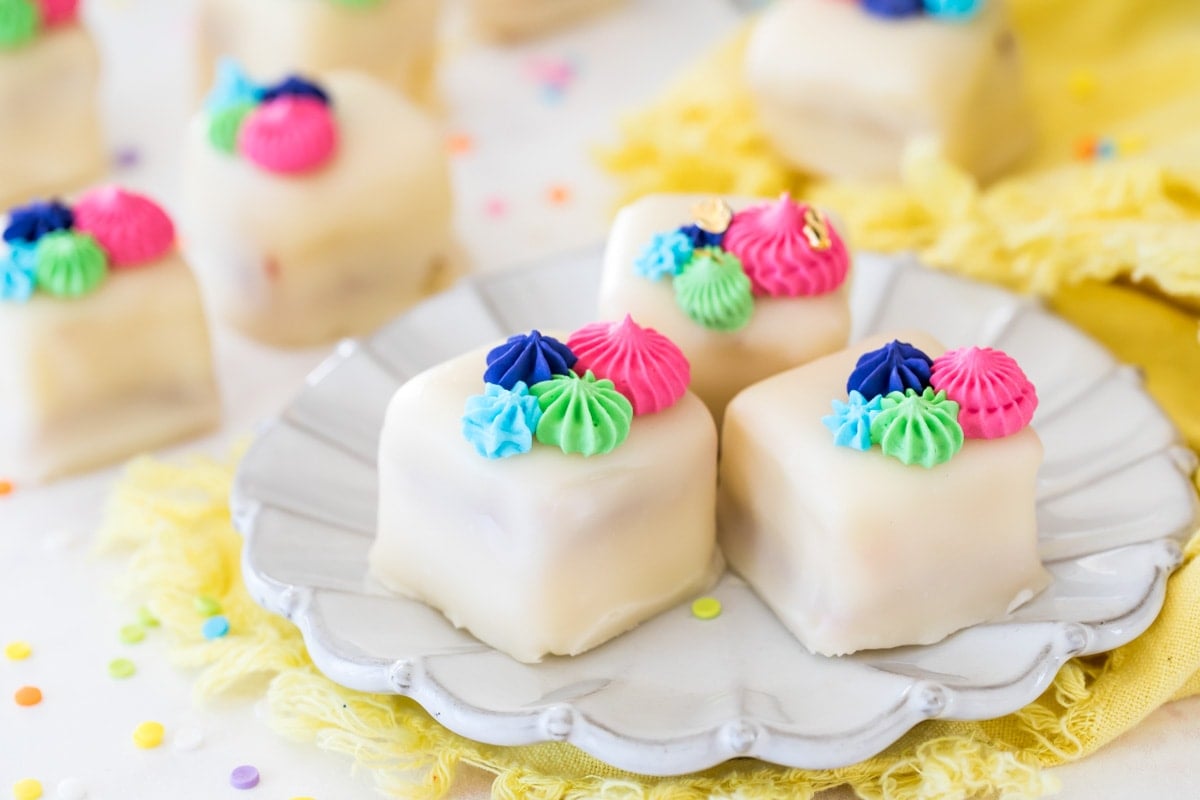
Precise and Pretty Petit Fours, Made Easy
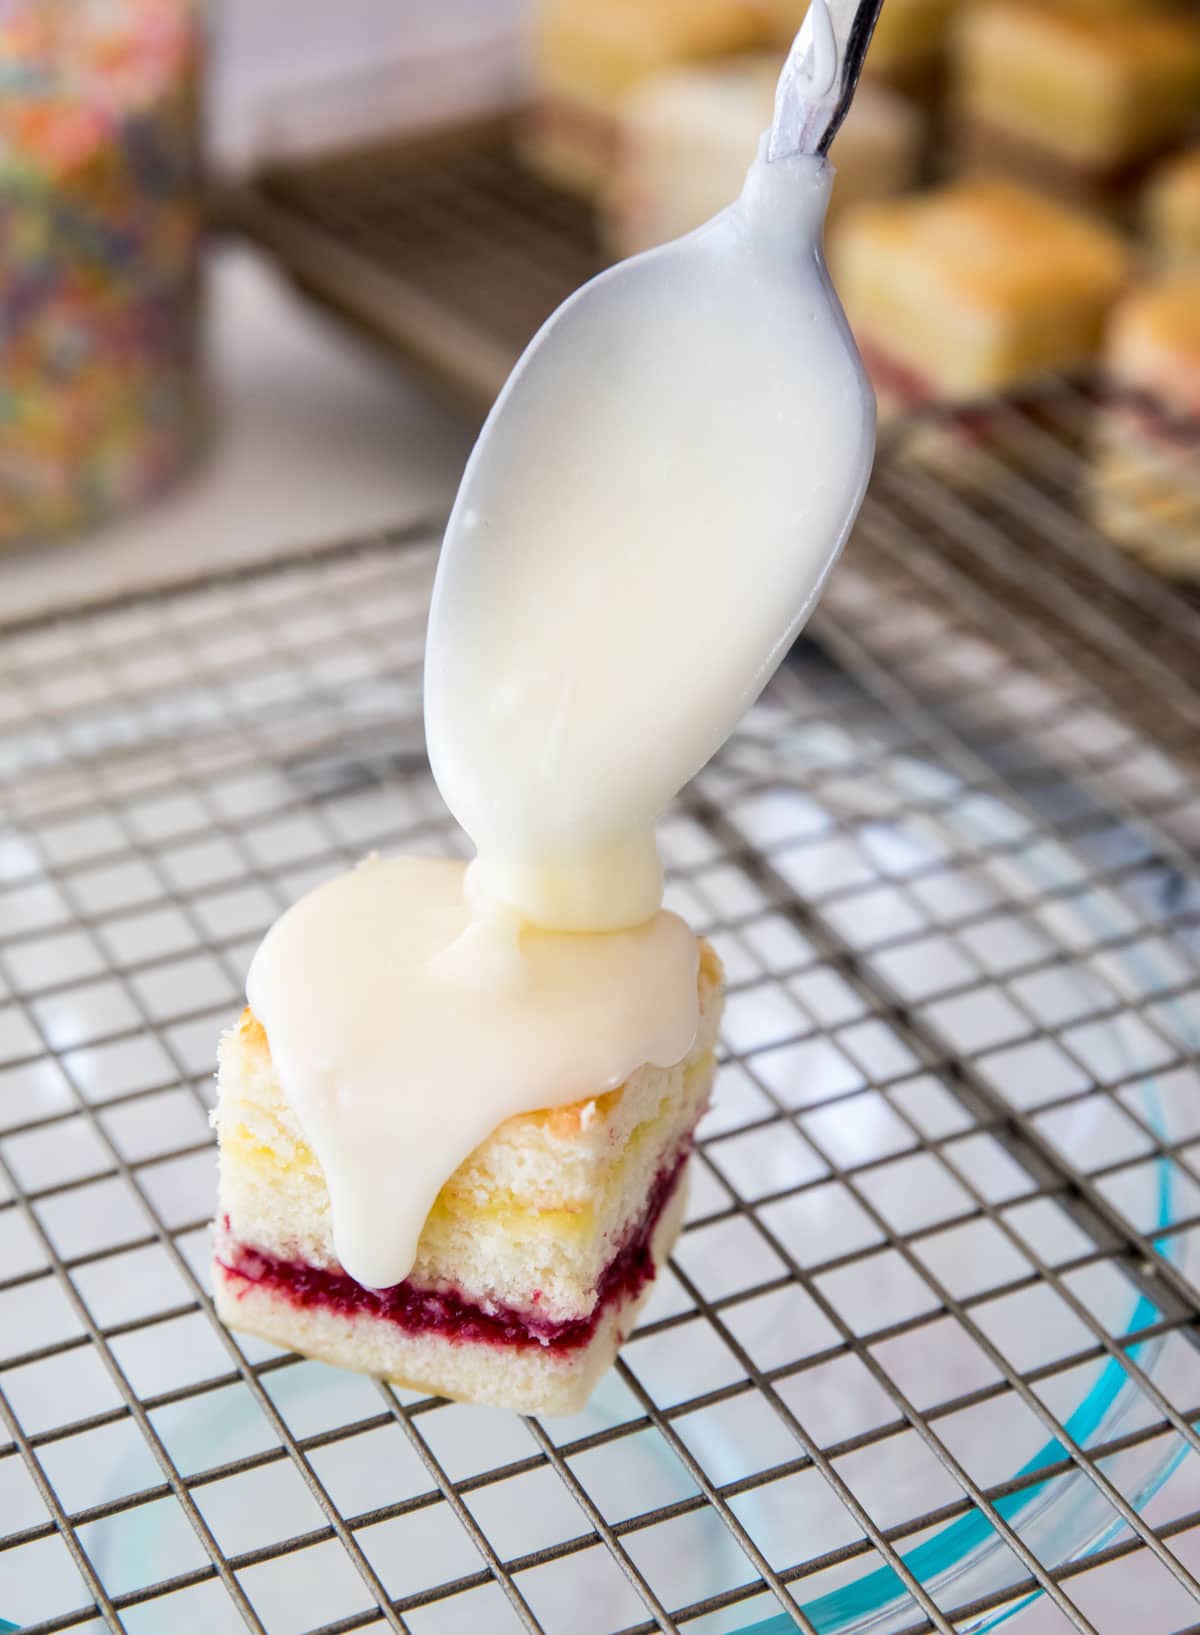
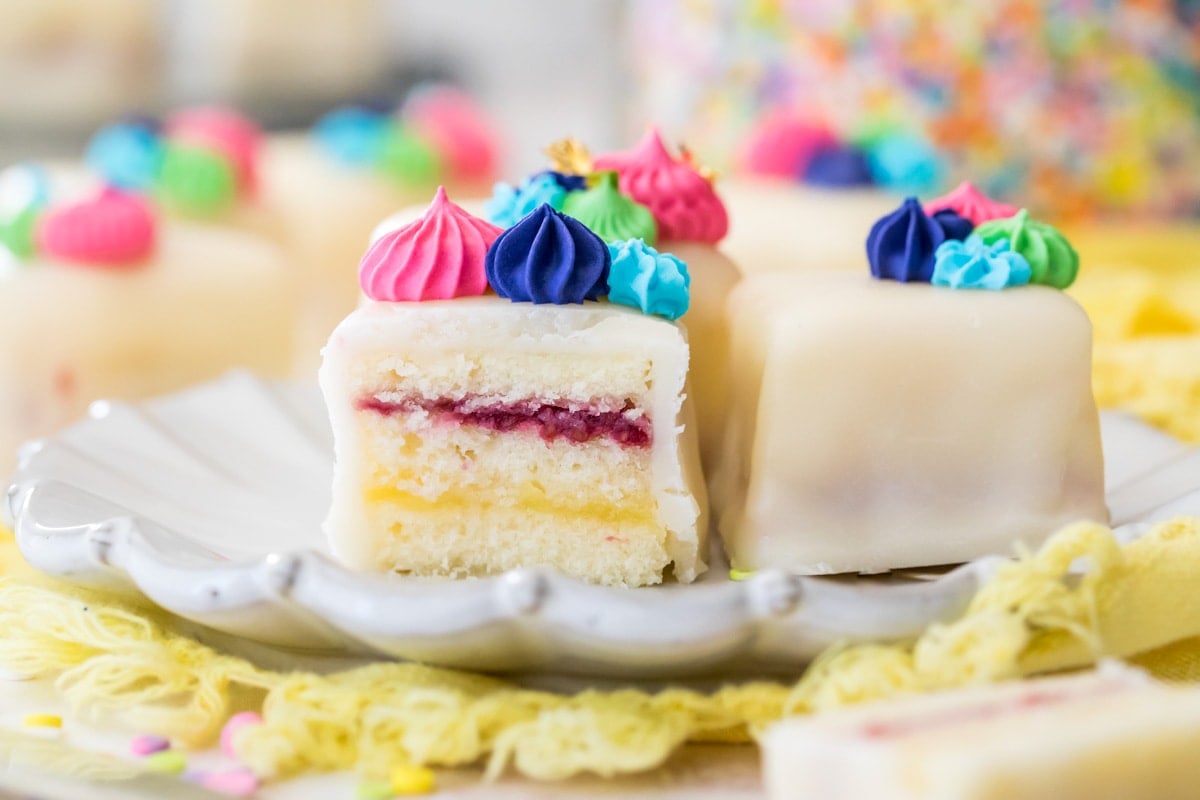
Petit Fours (translates to “little oven” in French) are quintessential tea party and bridal shower treats. While they have a reputation for being fussy and difficult, I’ve developed my recipe to be as simple as possible. We’ll use a sturdy, but soft, cream cheese version of my favorite pound cake (it’s actually a bit closer to my well-loved bundt cake) to create beautifully stacked, melt-in-your-mouth cakes filled and coated in an amazing, albeit non-traditional, icing you’ll love. Typically, petit fours have a poured fondant or a white chocolate coating, but I found these to be either too sweet, too difficult to use, or simply not very tasty. I instead dedicated quite a bit of time to developing my own solution and instead use what is essentially a melted buttercream frosting. It drapes the petit fours smoothly and evenly, dries firm, colors well, and, most importantly, tastes excellent! It took me many attempts to get it right, but I am so happy with the final result, and I know you will be too ❤
What You Need
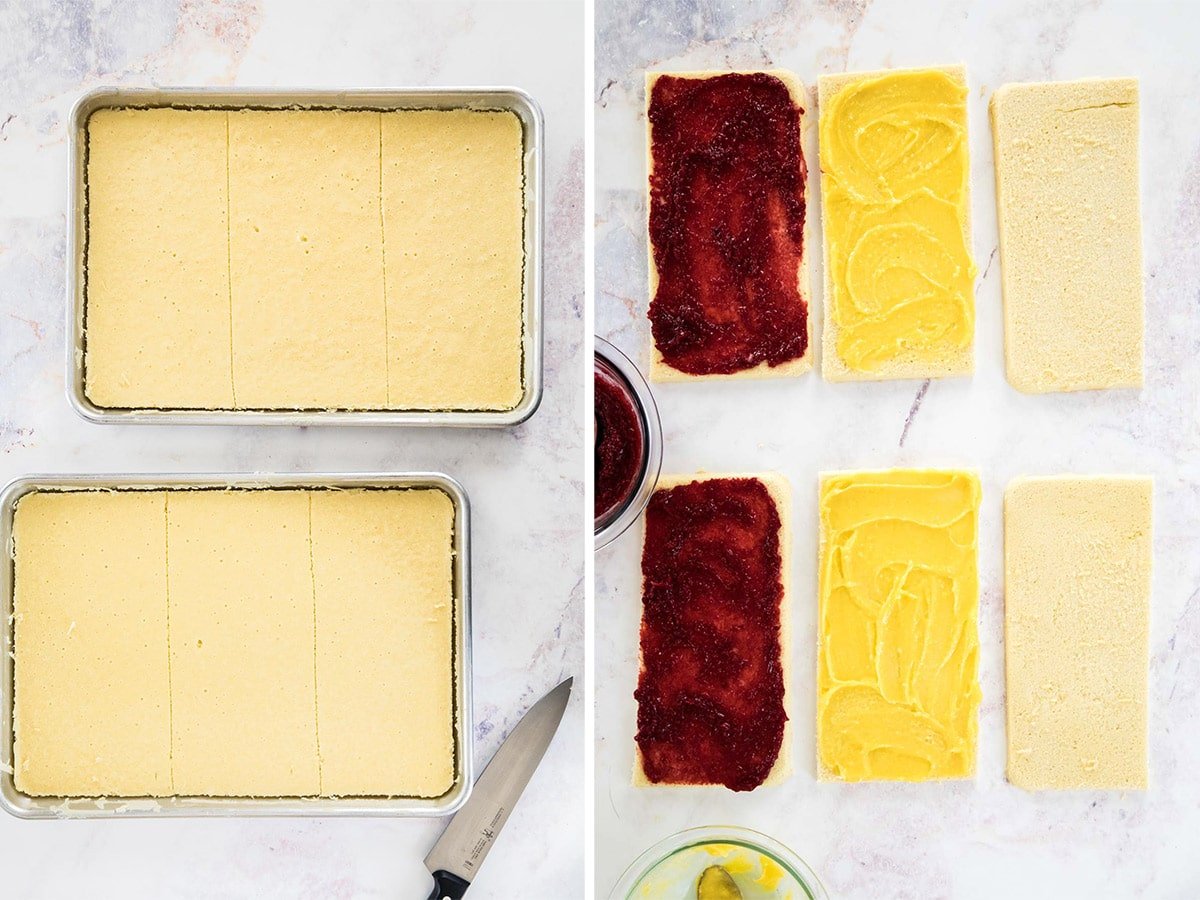
I prefer to make two separate cakes not only because it produces perfectly level, thin cakes, because also because it gives us the options to make two flavors of petit fours! Today I’m making just one flavor. Here’s an overview of what you need:
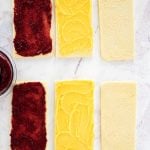
Softened cream cheese. Adding this to our pound cake gives it a beautifully plush (but still sturdy!) and crumb. Please don’t use the tub-style cream cheese! Milk. I recommend whole milk, and it’s best if it’s room-temperature. Fillings. I used fresh lemon curd and homemade raspberry cake filling for fresh, summery petit fours; however, you can use just about any sturdy filling. You’ll need about two cups total (so if you’re going for two different flavors, one cup of each).Corn syrup. This is not the same as high fructose corn syrup. Adding this to our icing gives it a sleek, firm finish that you can easily pick up once cooled.
SAM’S TIP: The cakes will most likely still look very pale (see above) even once they’re finished baking. Don’t over-bake or the layers will be dry! Remember, this is just an overview of the ingredients I used and why. For the full recipe please scroll down to the bottom of the post!
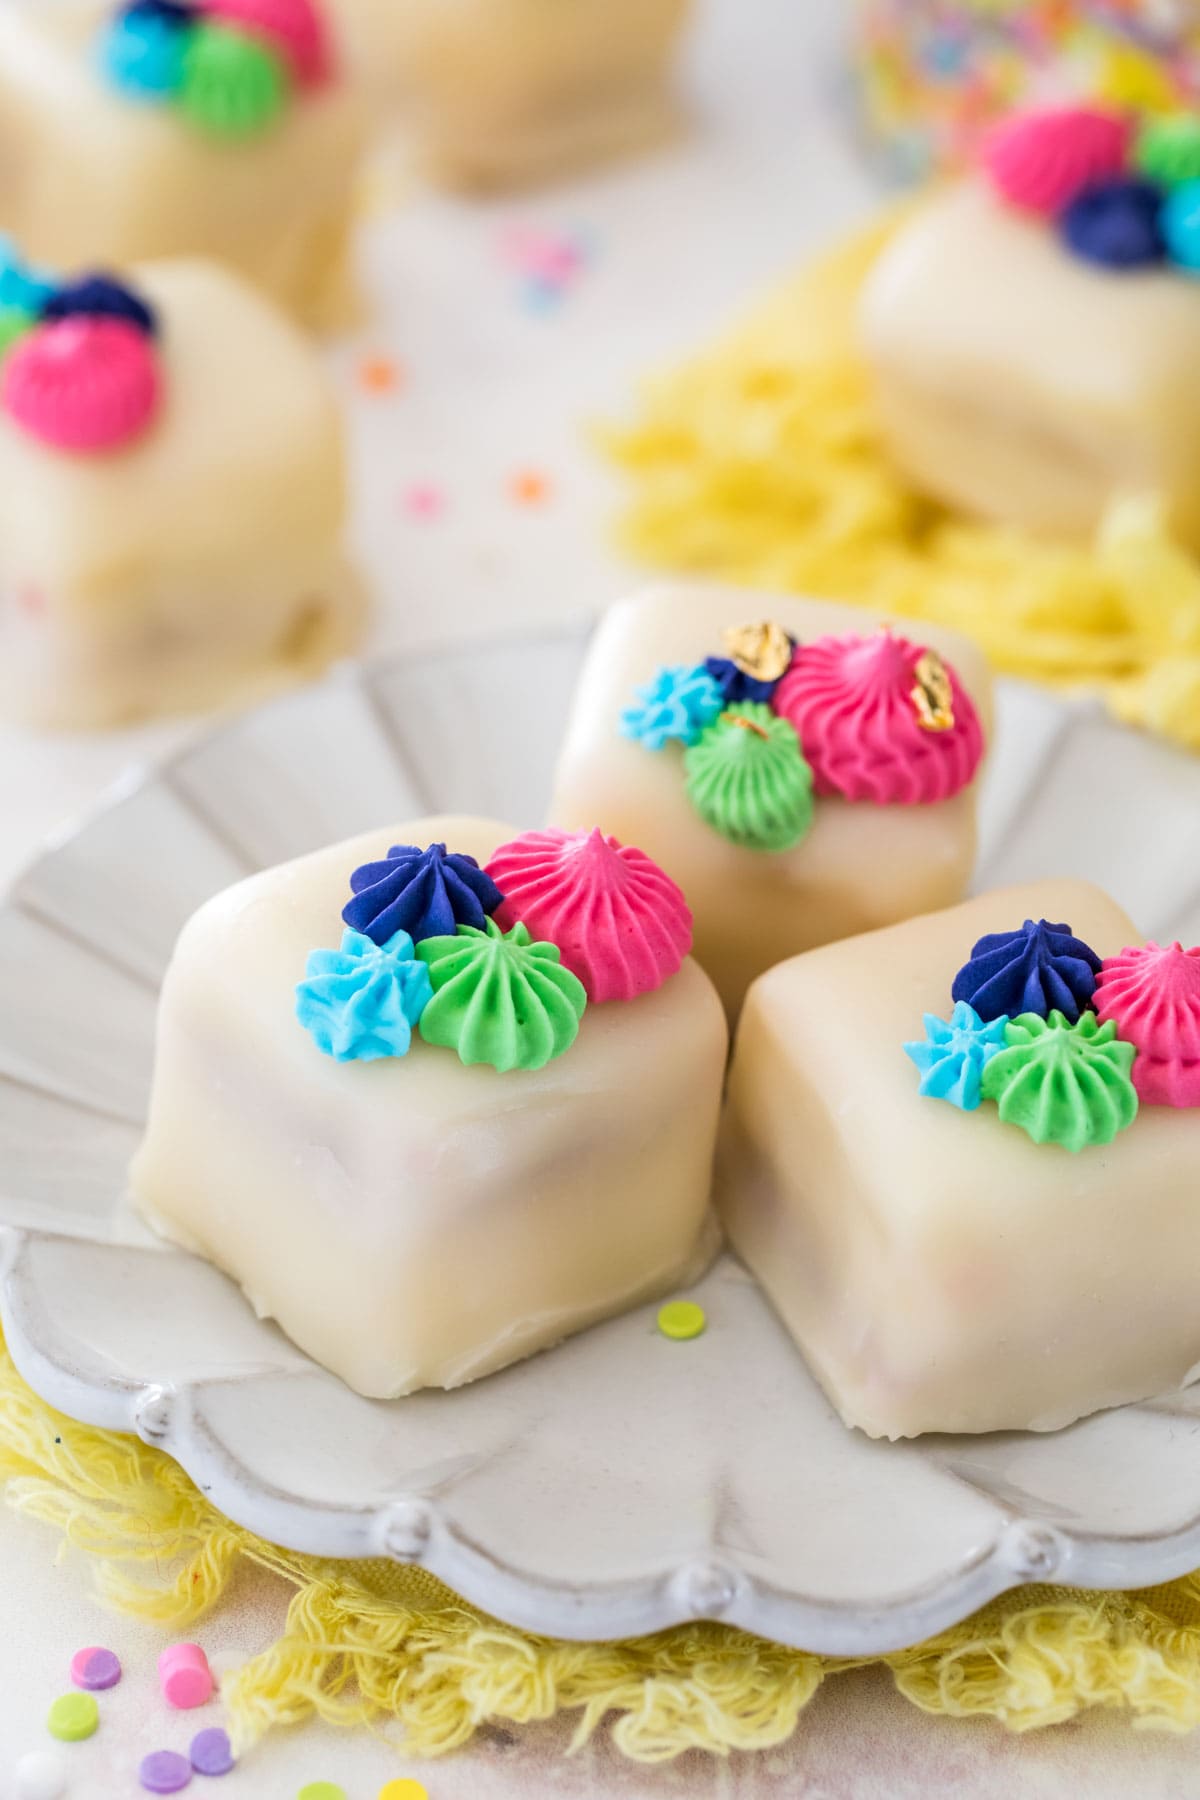
How to Make Petit Fours
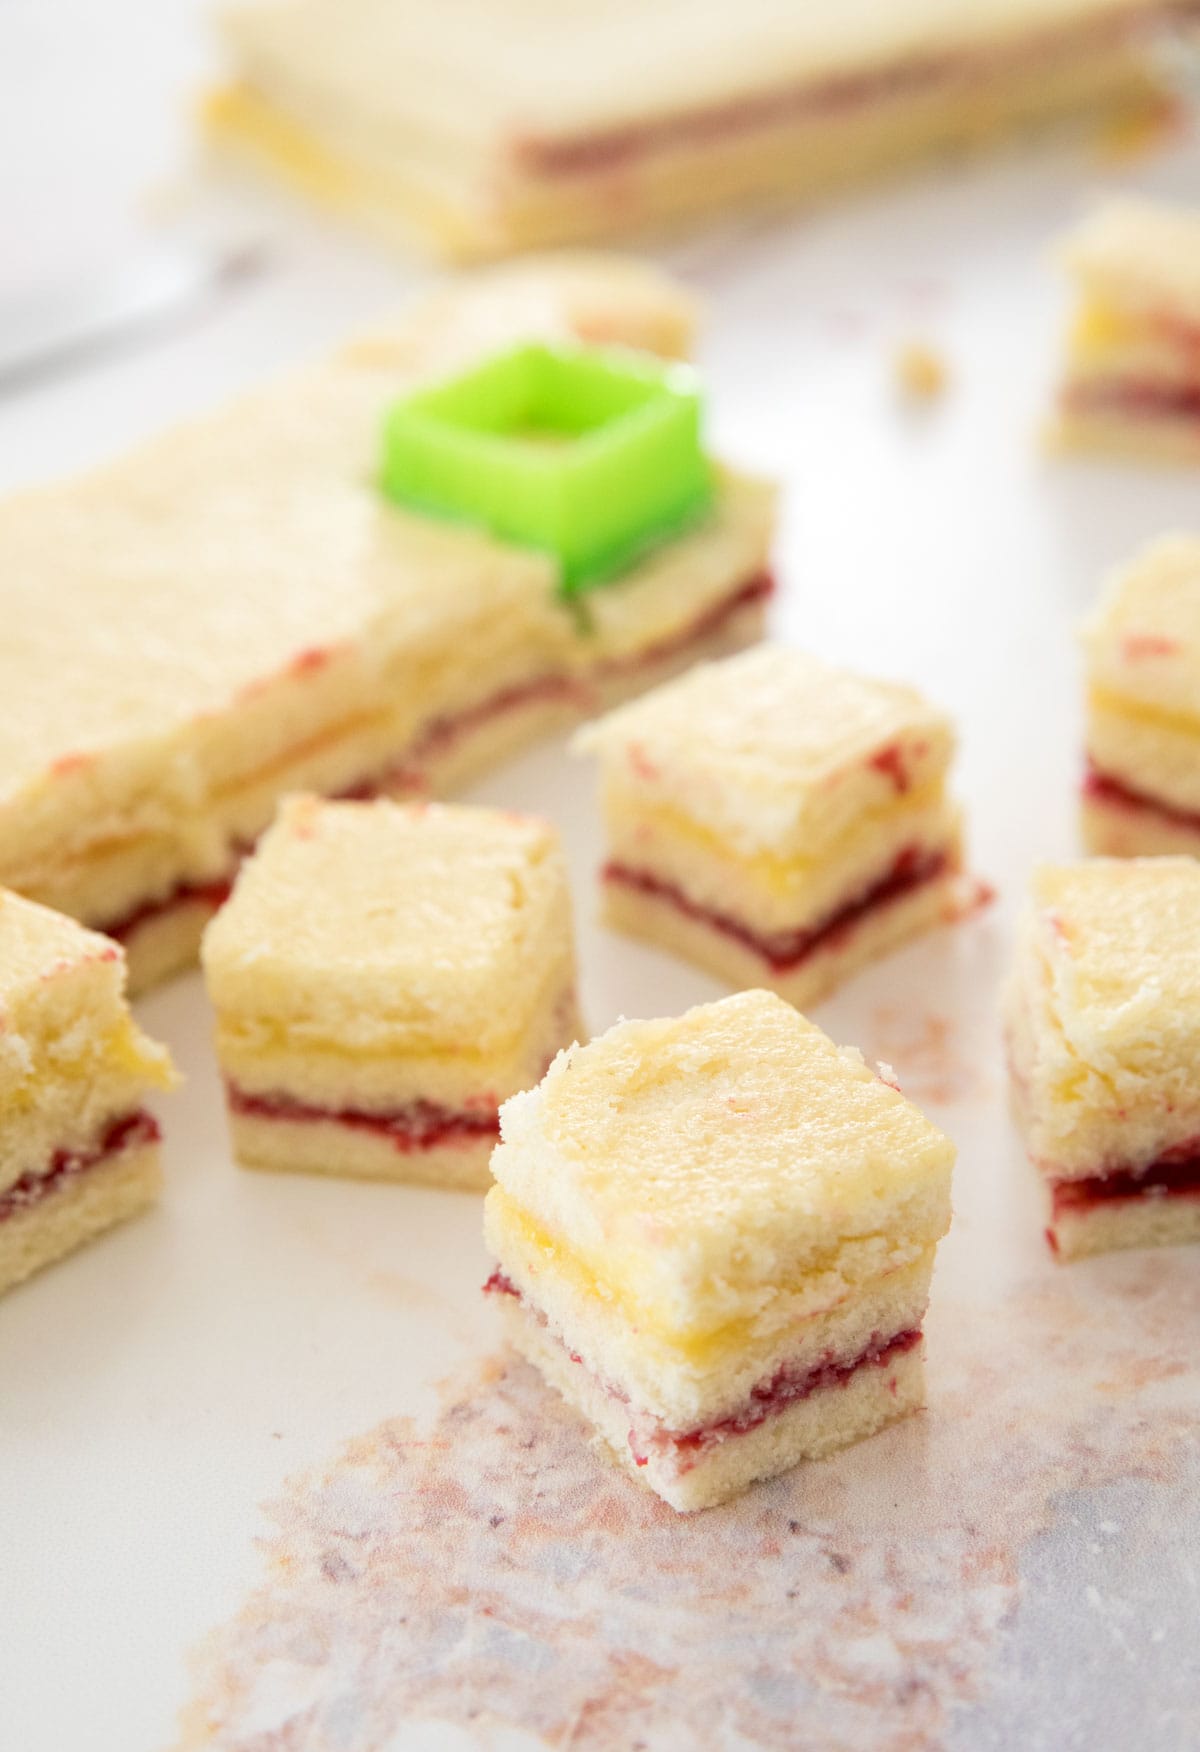
SAM’S TIP: Before cutting into the cakes, gently but firmly press your hands over the surface to squeeze out any extra filling so that your layers don’t slide! You can cut the petit fours into shapes with a large knife or with small cookie cutters. I used a 1 ½″ square cookie cutter for uniform cakes (see above). SAM’S TIP: You can make this icing in the microwave or on a double boiler. I highly recommend a double boiler for best results; it keeps the icing fluid and allows you to easily adjust the consistency as needed. If you use the microwave, you will frequently have to reheat your icing to keep the proper consistency. After the icing dries completely, you can decorate your petit fours using my royal icing recipe, as I did here. I modeled the decorations here after my funfetti cake and used several small open star tips to decorate. This is completely optional, but don’t they look pretty!? While my recipe is more simple than most, I still recommend you watch the video in the recipe card before beginning. Enjoy! Let’s bake together! I’ll be walking you through all the steps in my written recipe and video below! If you try this recipe, be sure to tag me on Instagram, and you can also find me on YouTube and Facebook
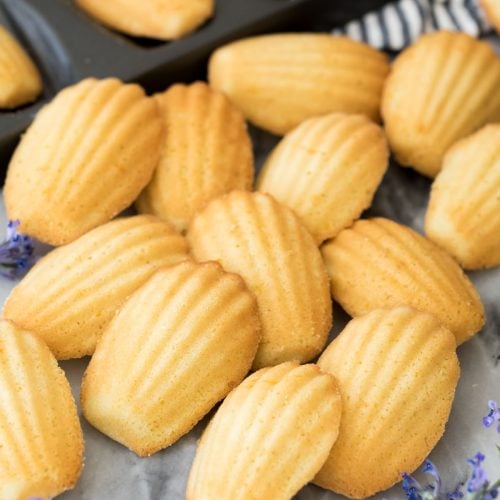
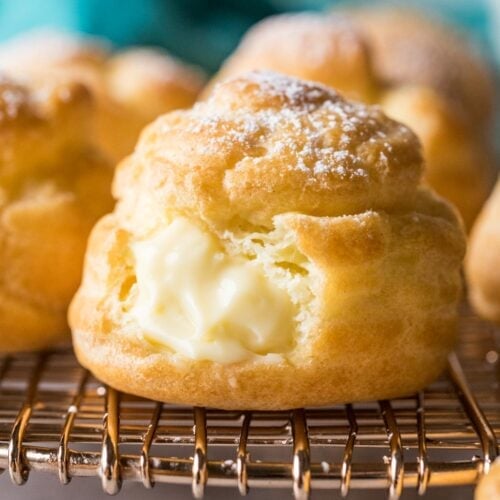
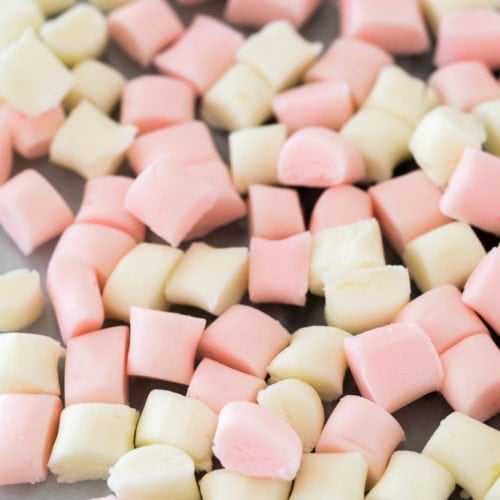
Related Recipes