Homemade Orange Sweet Rolls
Adding to my collection of sweet rolls today with this sweet and citrus-y variation. It joins the ranks alongside my chocolate rolls, no yeast cinnamon rolls, and sticky buns. While I understand that working with yeast can sometimes feel intimidating, especially to the beginner baker (been there myself), I just want to reassure you that you can do this. I’ll be walking you through all the steps with plenty of pictures, notes, and a how-to video. As always, I’ve included plenty of notes for my fellow recipe nerds so you can see what it is that really makes this orange roll recipe work. Let’s get to it, starting with the ingredients…
What You Need
If you’ve made my sticky buns or sweet bread before, you’ve basically already made this dough and shouldn’t have any problems, but let’s go over a few of the key ingredients.
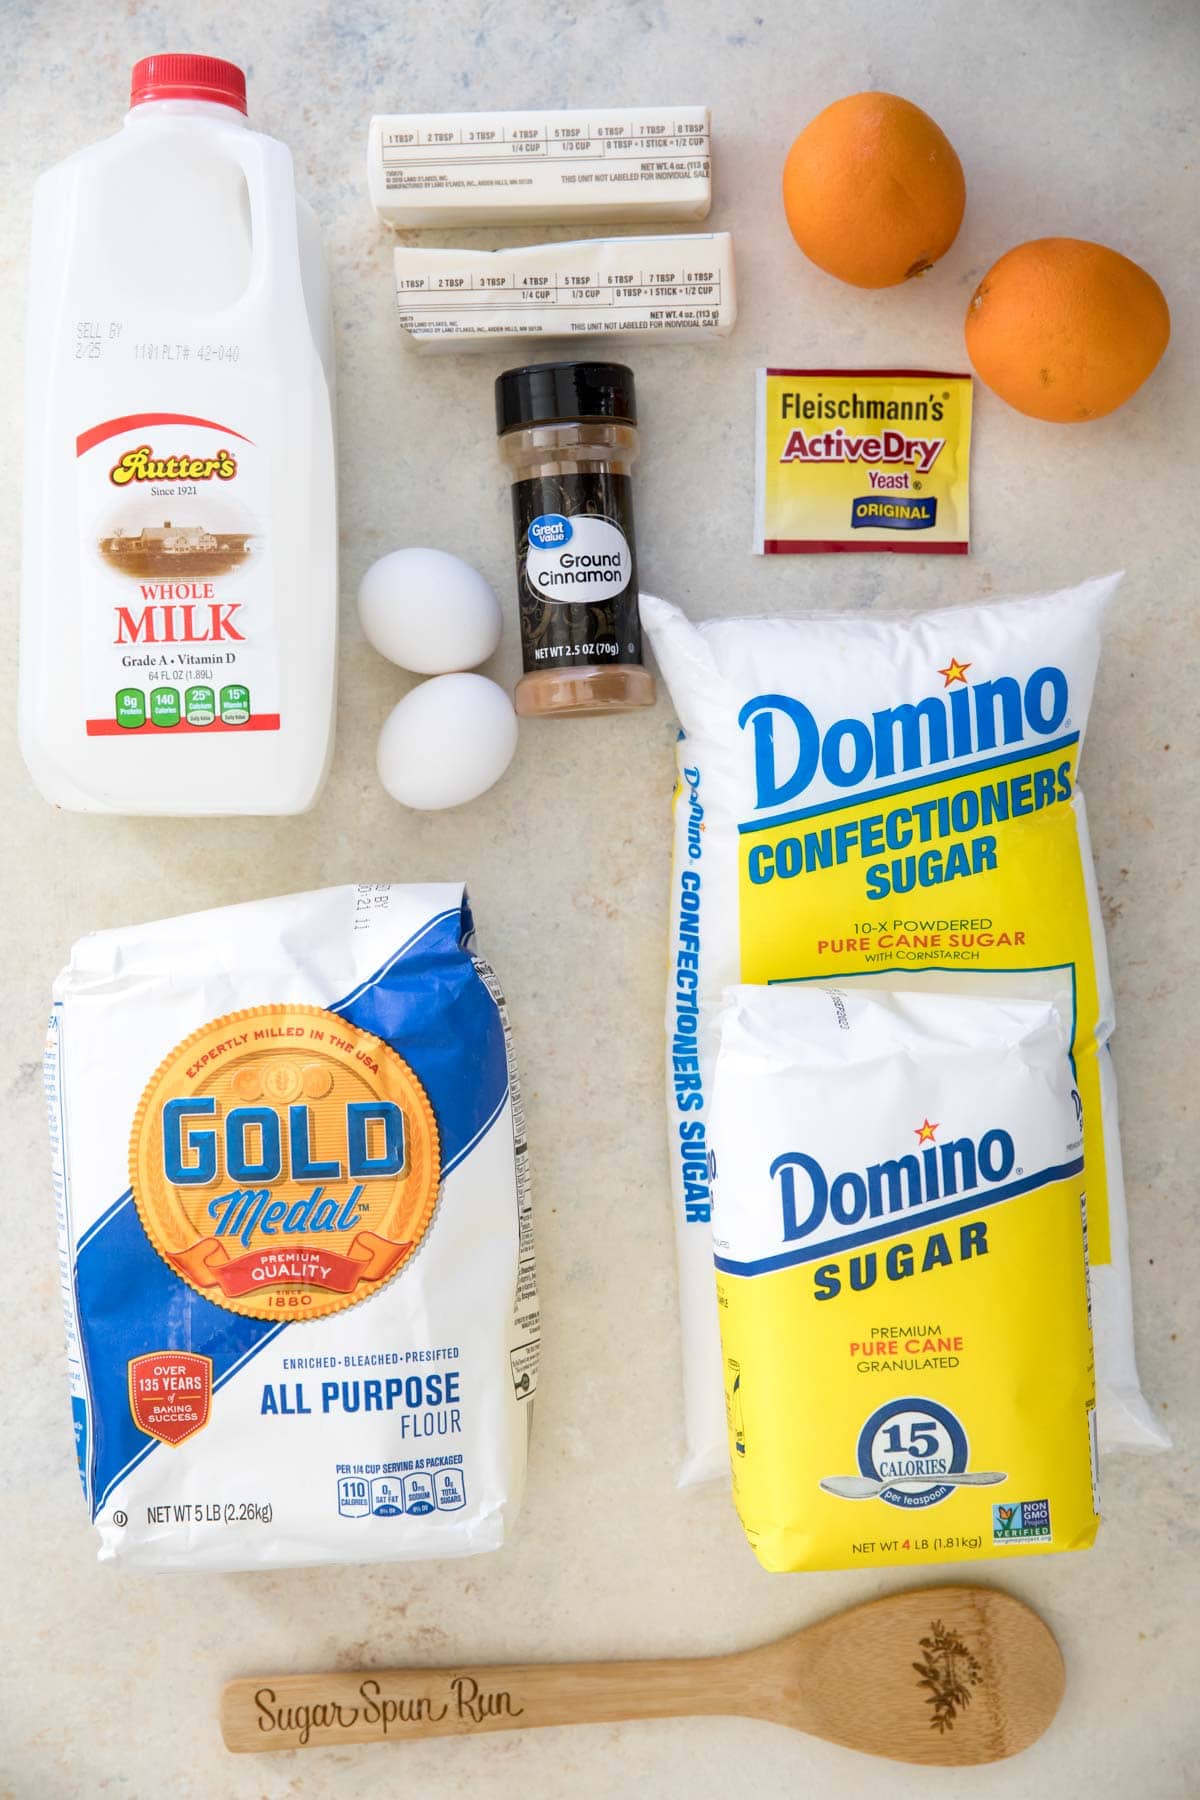
Yeast. I prefer to use active dry and recommend this, but have included notes in the recipe if you would like to use rapid rise/instant yeast.Flour. You can use bread flour (which yields a slightly chewier roll) or all-purpose flour.Sugar. Granulated sugar sweetens and flavors the dough, while powdered is used to make the citrusy glaze on top.Oranges. The zest of an orange (or two) is what gives the orange rolls their distinct flavor. After zesting, save the orange to squeeze fresh juice from it for the glaze. All of the citrus flavor comes from the zest you use and the juice used in the glaze. It’s subtle, but present. If you’d like a more distinct flavor you can add a splash of orange extract when you add the butter to the dough. I purposely do not use orange juice in the dough as it can inhibit the growth of your yeast (and therefore inhibit a soft and fluffy texture).Unsalted butter. If you only have salted butter on hand, reduce the salt in the recipe to 1 ½ teaspoon.
SAM’S TIP: Make sure when zesting your oranges you avoid the papery white layer, or “pith”. The pith is bitter and doesn’t have the same orange flavor the bumpy orange surface does. Remember, this is just an overview of the ingredients I used and why. For the full recipe please scroll down to the bottom of the post!
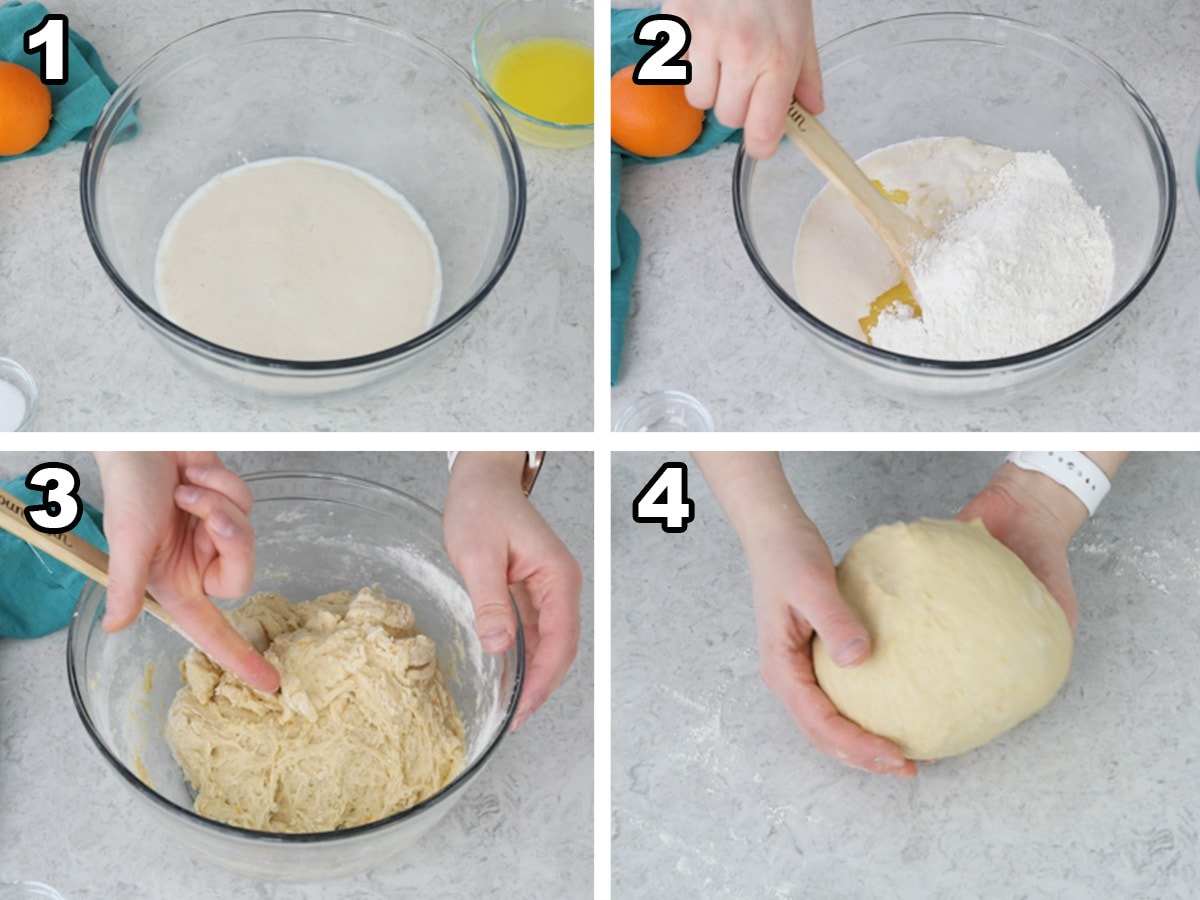
How to Make Dough for Orange Rolls
At this point you need to let the orange rolls dough rise until doubled in size. Place it in a lightly oiled bowl (I use olive, canola, or vegetable oil and just smear a small bit all over the inside) and turn to coat. Cover tightly. In my kitchen, doubling usually takes about 1 hour, but it may take as long as 2 hours or even longer.
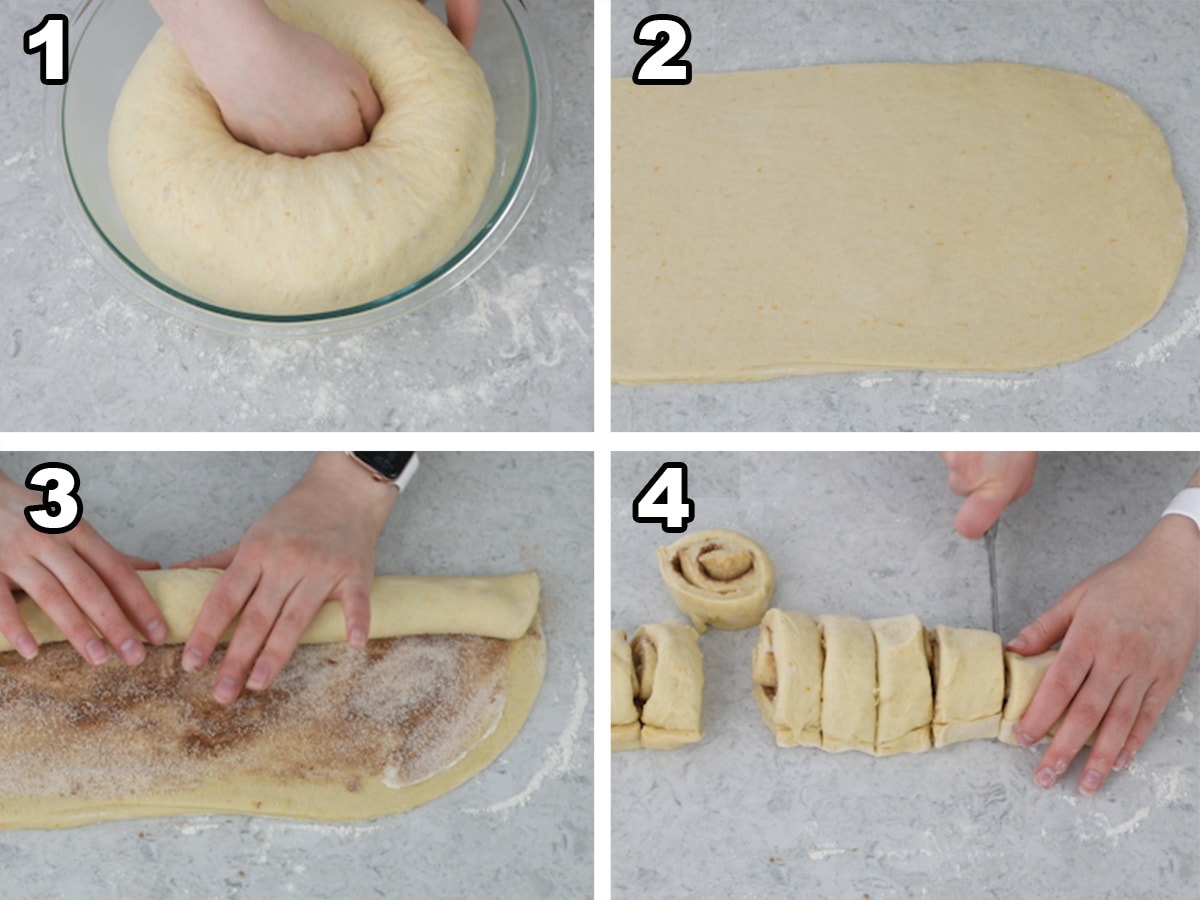
Assembling Orange Rolls
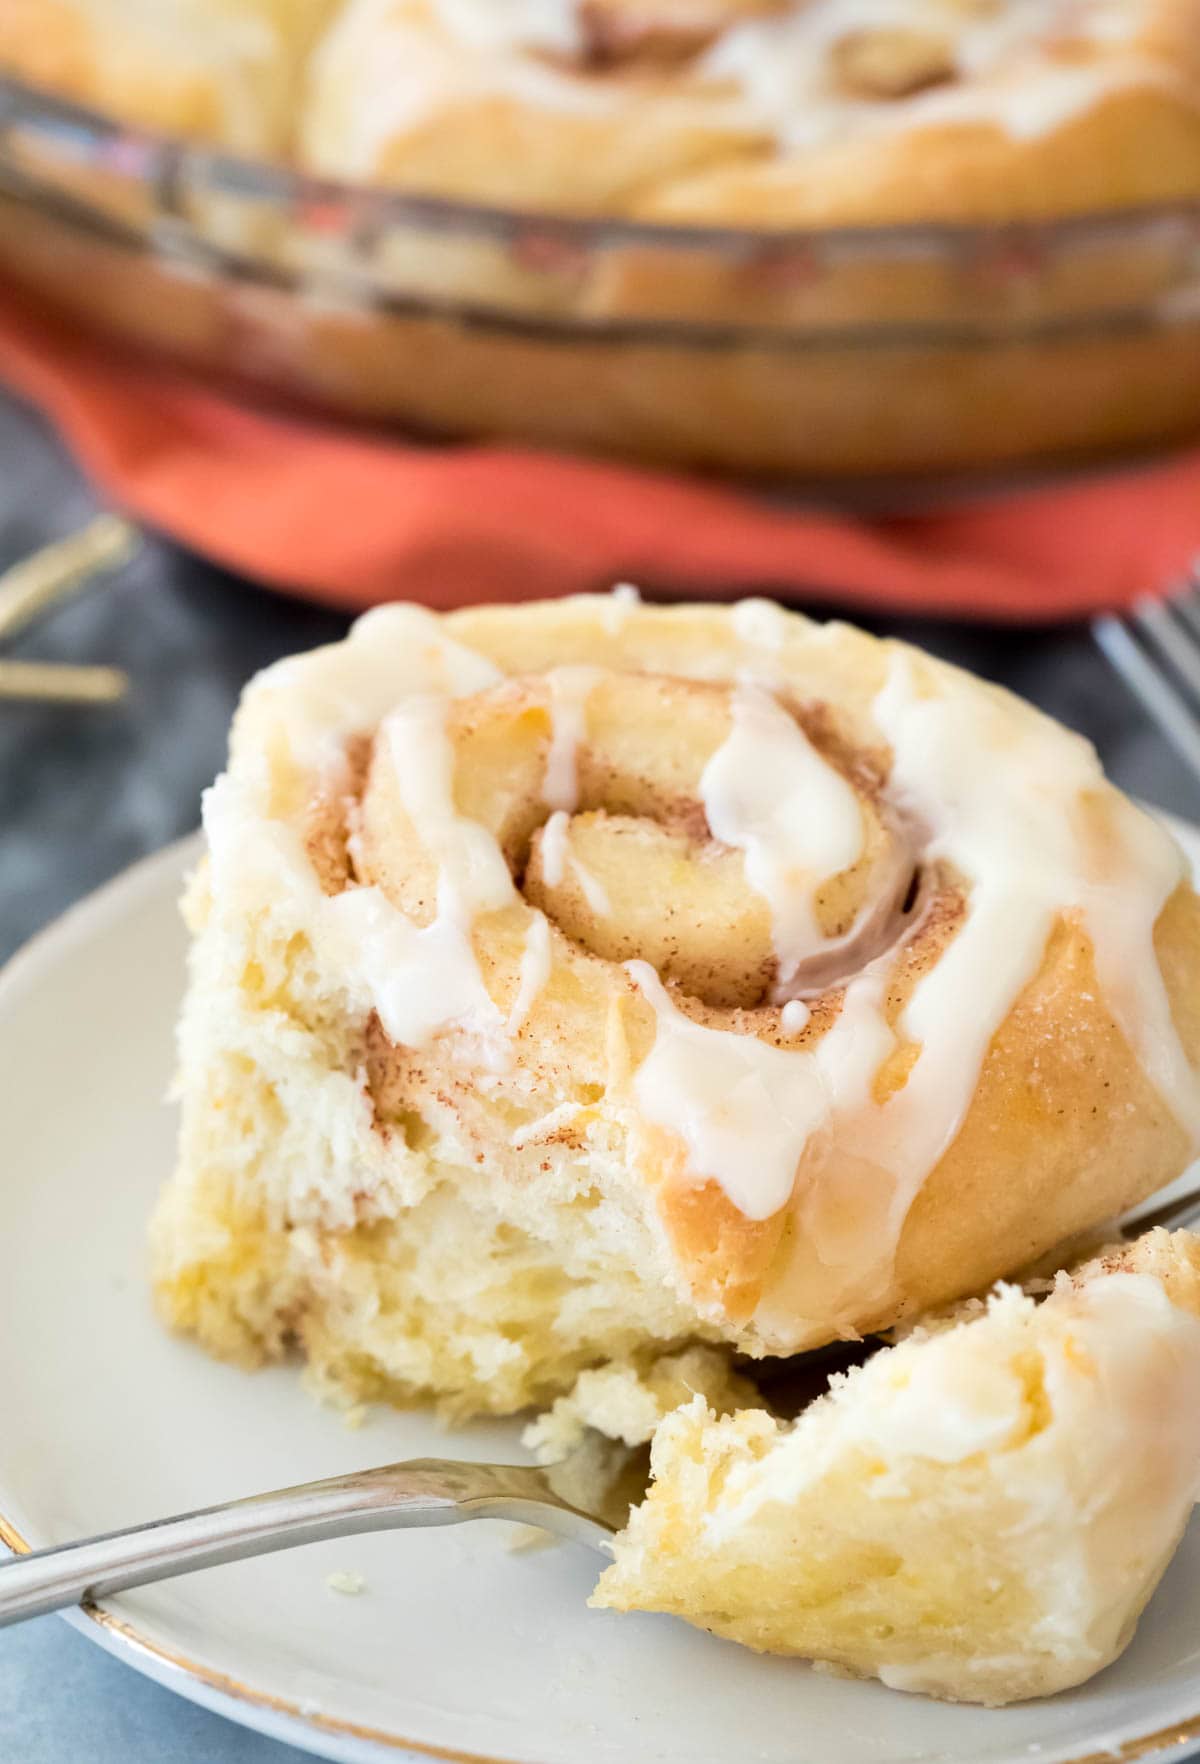
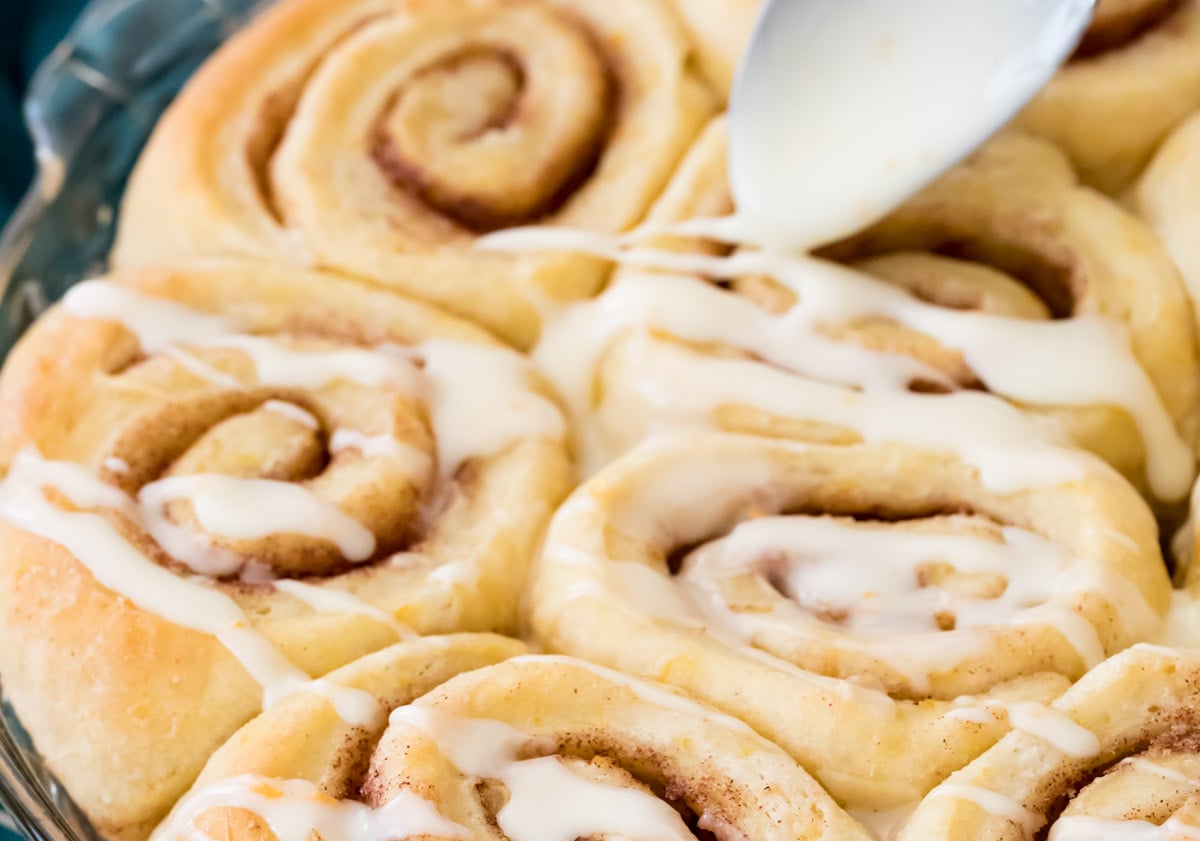
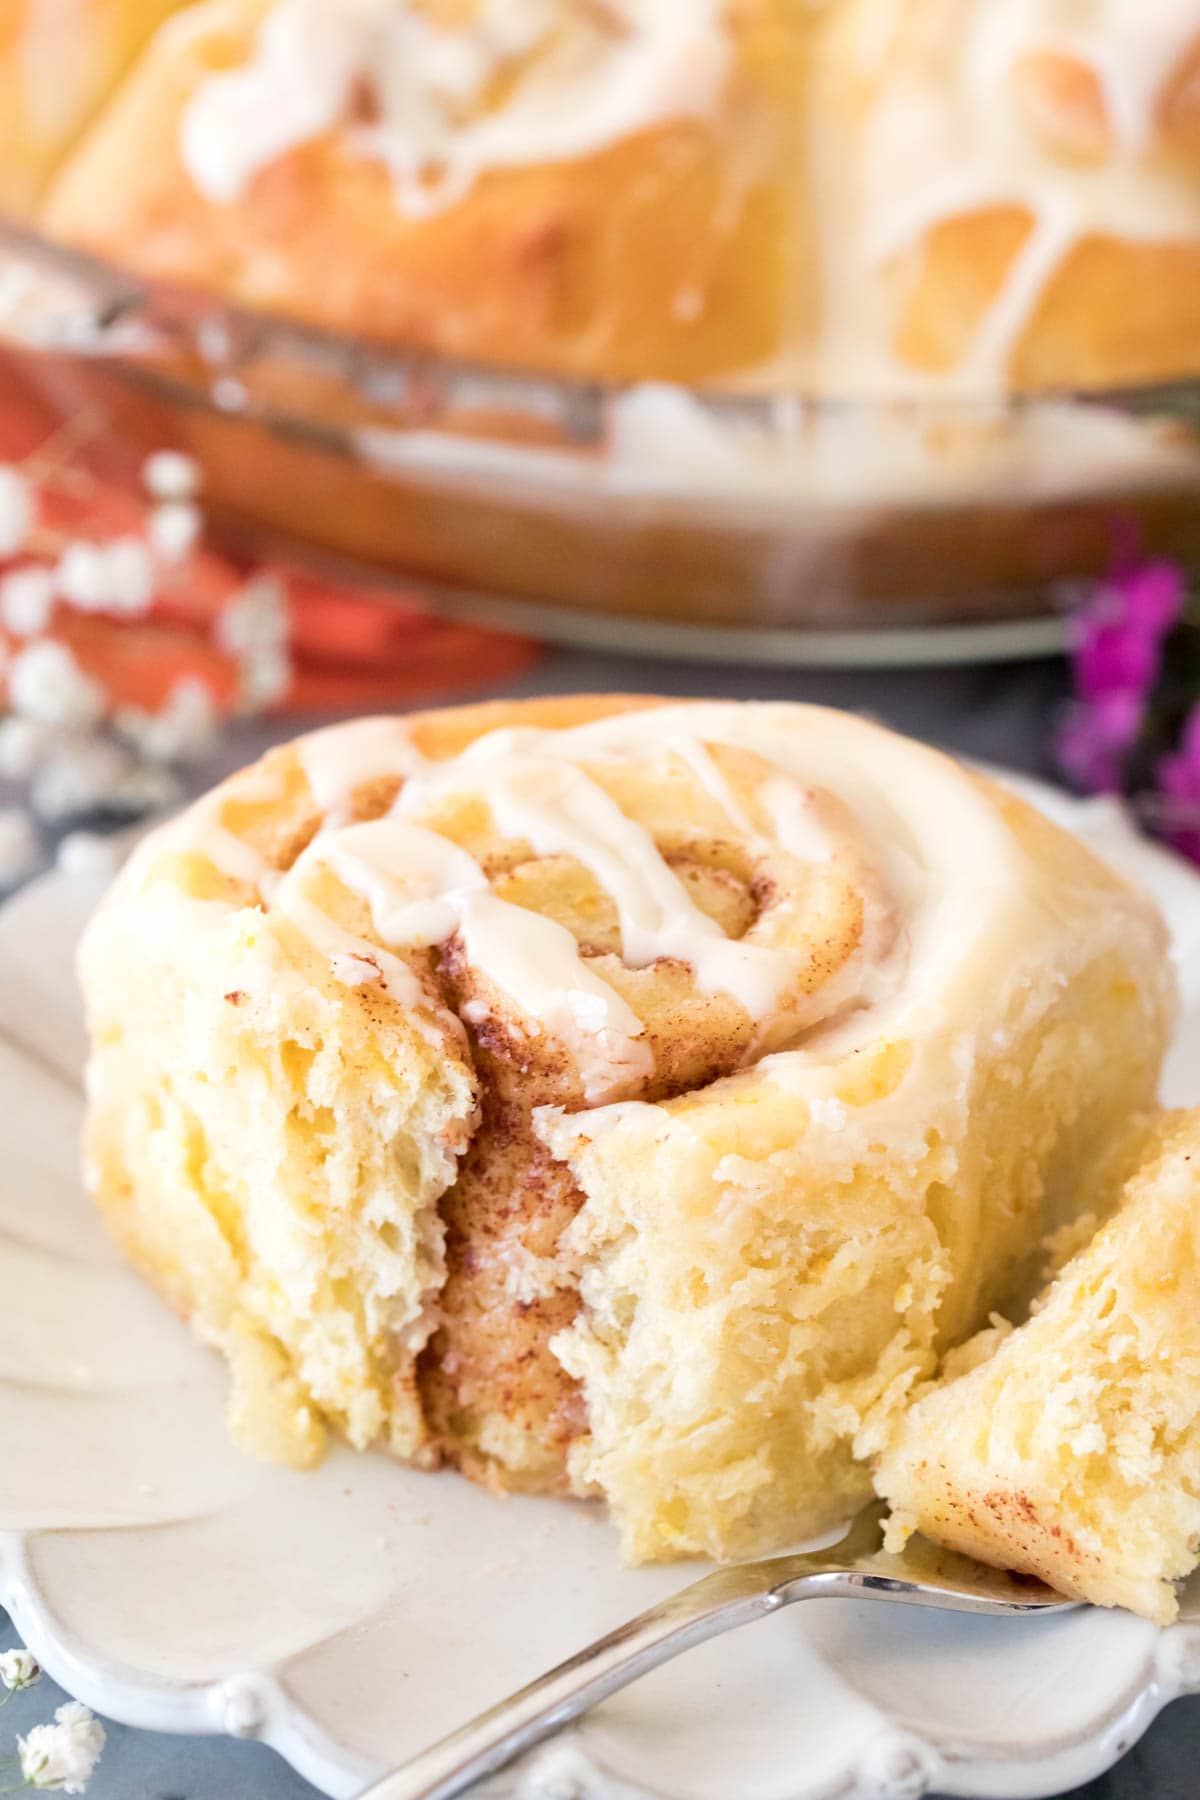
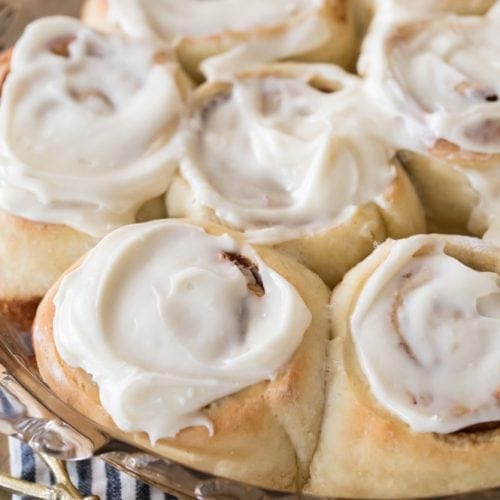
Once the orange rolls have risen for a second time, bake them until golden brown. Always take care to not over-bake orange rolls (or any bread of any kind) or they will be dense and dry rather than fluffy and moist. SAM’S TIPS: The best way to tell if any bread is baked to perfection is to use an instant read thermometer (I use a meat thermometer). Insert it into the thickest part of a center roll and look for a temperature no higher than 190F (88C) Finally, don’t forget the glaze. You can make this thin enough to drizzle over the orange rolls or you can leave it thicker and spread it over the tops. For the photos I used a thin glaze (it showcases the beautiful swirls better) but in reality (and in the video below) I like to spread a thick layer on top. If you’re a fan of cream cheese frosting, try making these with the cream cheese icing I use in my 60-minute cinnamon rolls.
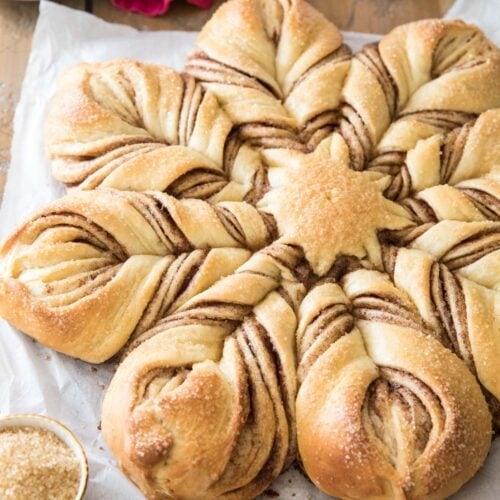
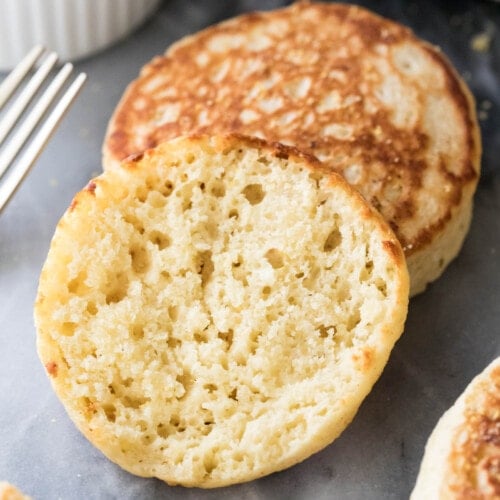
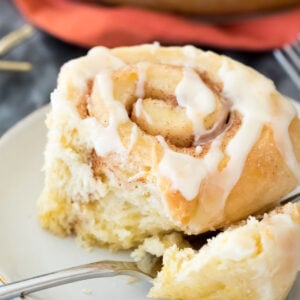
More Recipes To Try:
Enjoy! Let’s bake together! Make sure to check out the how-to VIDEO in the recipe card! Originally published March 25th, 2014