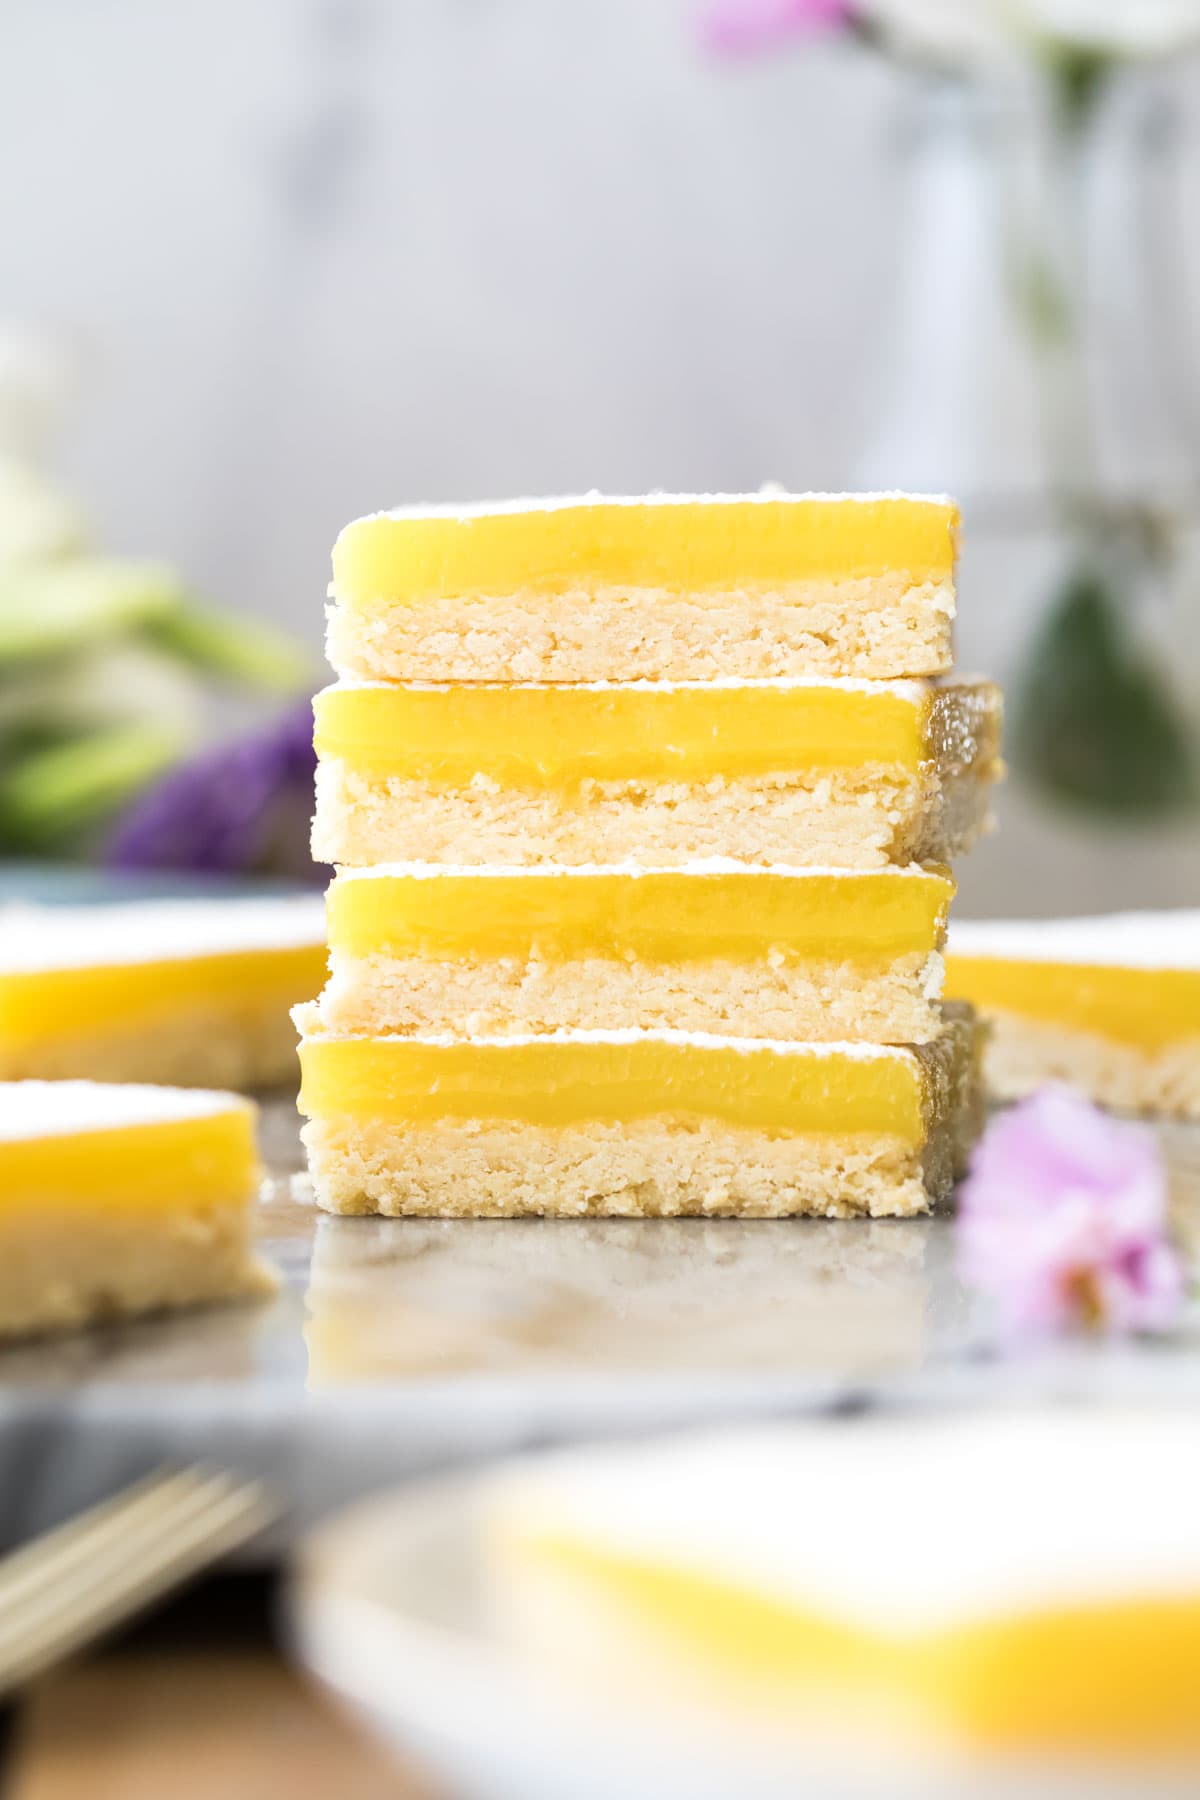
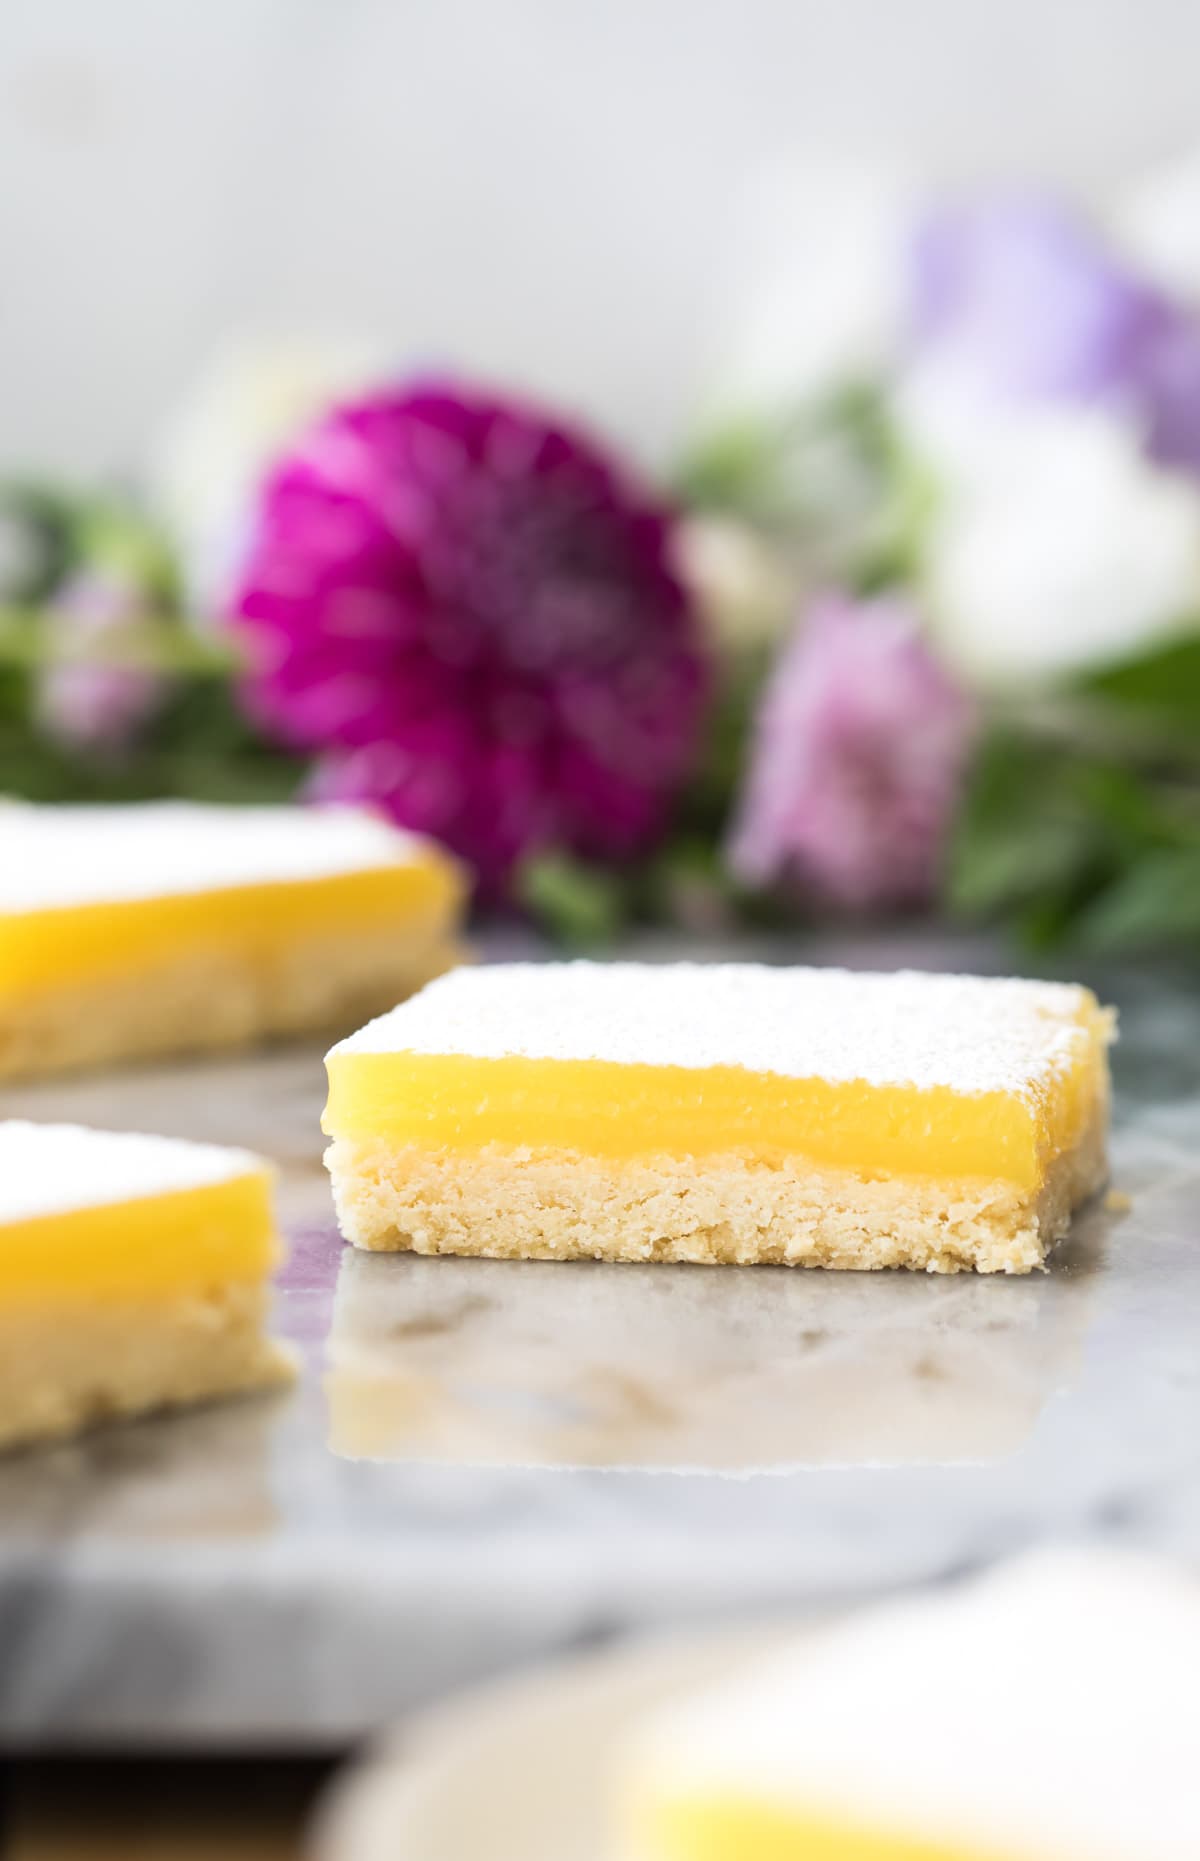
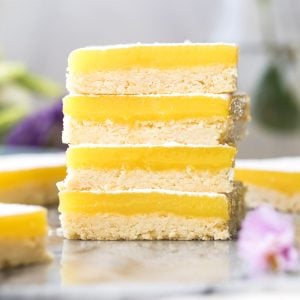
I avoided lemon bars for the longest time because I just never really enjoyed them. Too often they have a not-so-pretty, dimpled top (which can at least be covered with a dusting of powdered sugar) and a much too-soft, almost soggy “crust”. If that’s what you’re looking for, I’m afraid you’re going to be disappointed with the recipe that I have today. My lemon bars have a firm, crisp, buttery crust and a gloriously smooth lemon curd topping . They’re beautiful with or without powdered sugar on top, just tart enough to make your mouth pucker before the first bite, and so addictive you can’t possibly eat just one. They’re a little bit more work than your average recipe, which I’m not exactly bragging about because who really wants to do more work than they have to? But as I told you with my super easy Madeleines, I promise not to make you do any steps that aren’t really worth it, but I will make you do the work when it means better results. Here it does. The lemon curd is cooked separately, and I’ll talk more about why later on.
What You Need
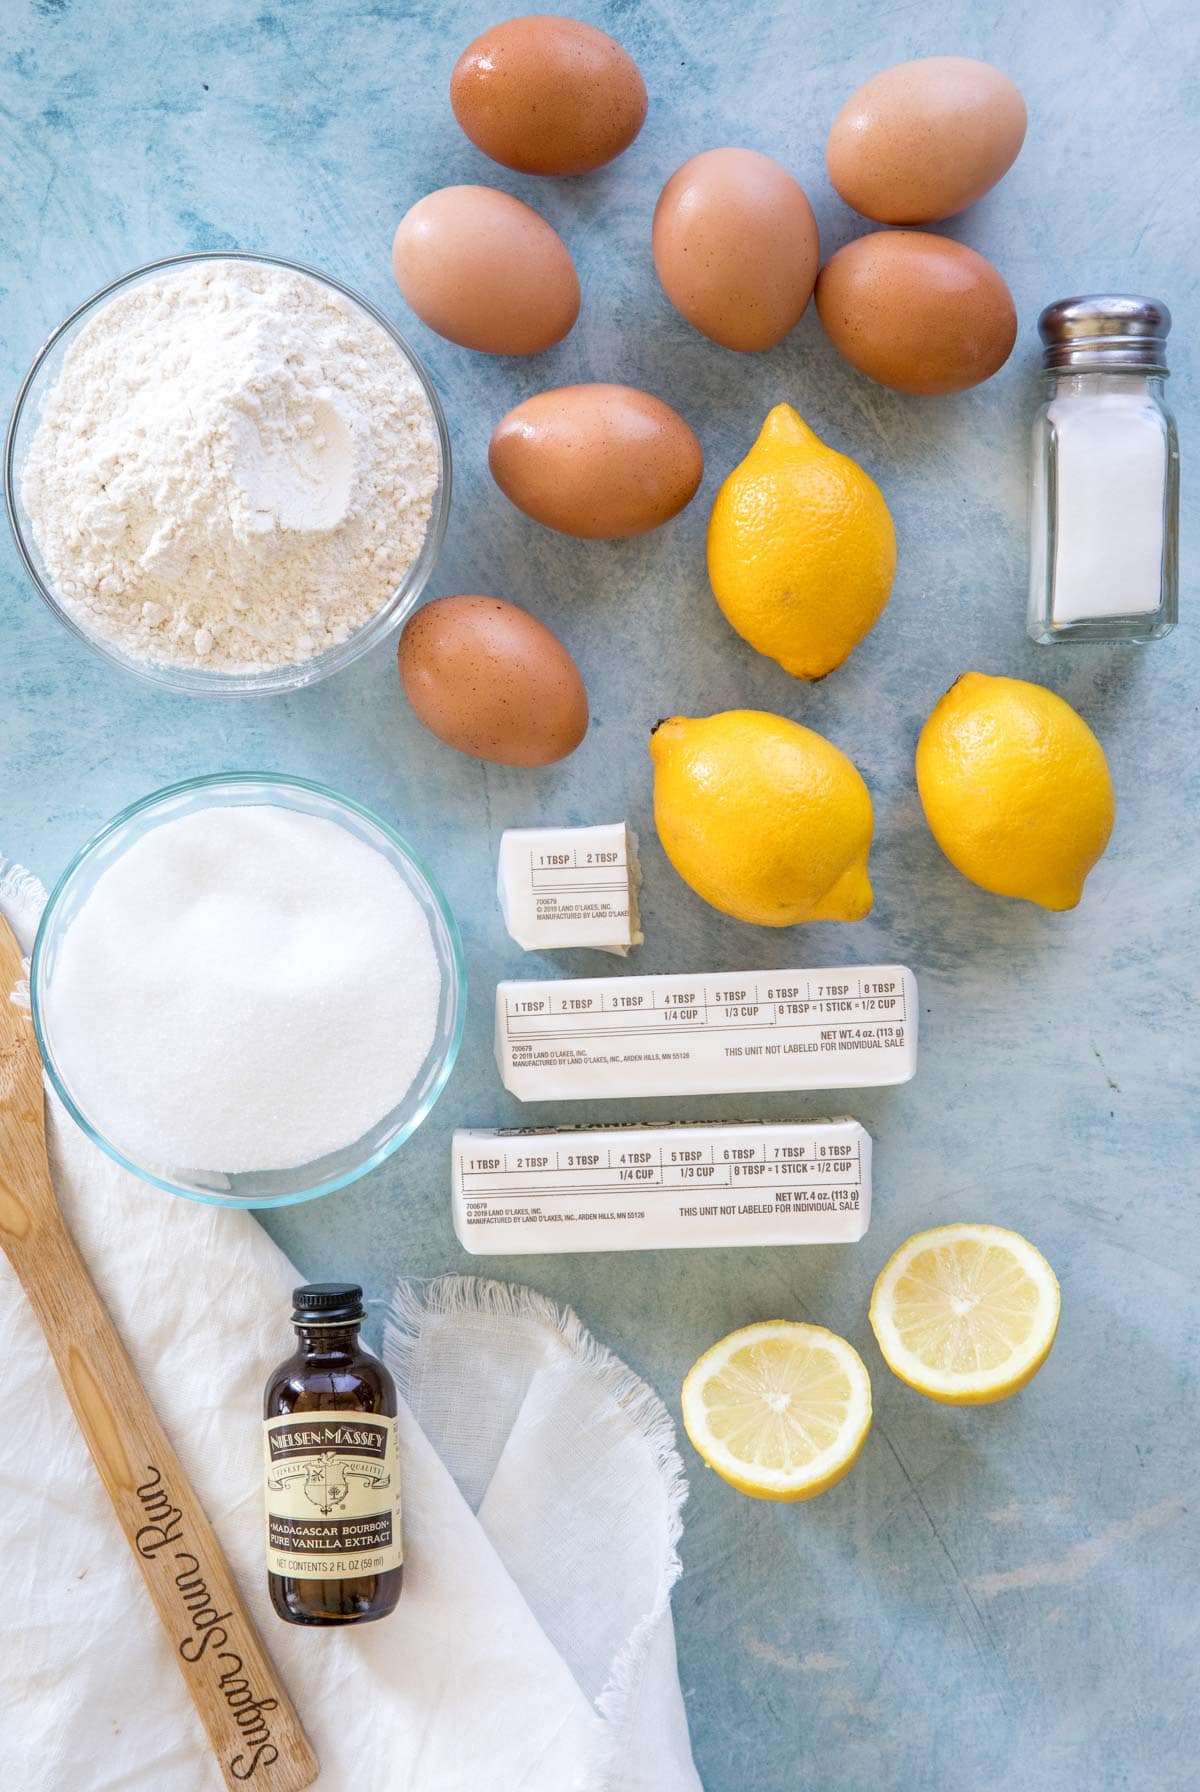
Lemon bars use simple, basic ingredients that you probably already have on hand:
Butter. Unsalted is best. This is used in both our shortbread crust and to make our lemon curd silky smooth with a rich mouthfeel. Flour. For the crust. Many lemon bar recipes thicken their topping with flour as well, but because of the technique I’m using of cooking ours separately, we’re able to thicken it without flour, keeping it extra tart. Eggs. Quite a few, as you can see! For the most part we will only be using the yolks. One goes into the crust to tenderize and enrich it, while the rest are for the curd. Save your egg whites to make meringues, zebra cake, or several batches of candied pecans or candied walnuts! Salt. A pinch for flavor. Vanilla Extract. A splash of vanilla is mixed with the egg yolk and blitzed into the crust to enhance the flavor and sweetness. It does not go in the lemon curd where it would bully and subdue our otherwise bright lemon flavor. Lemon Juice. Fresh-squeezed is always best, but I’ve successfully made these using bottled 🤫
As always, this is just an overview of the ingredients chosen and why. Please scroll to the recipe for amounts and full instructions.
A Crisp Shortbread Crust
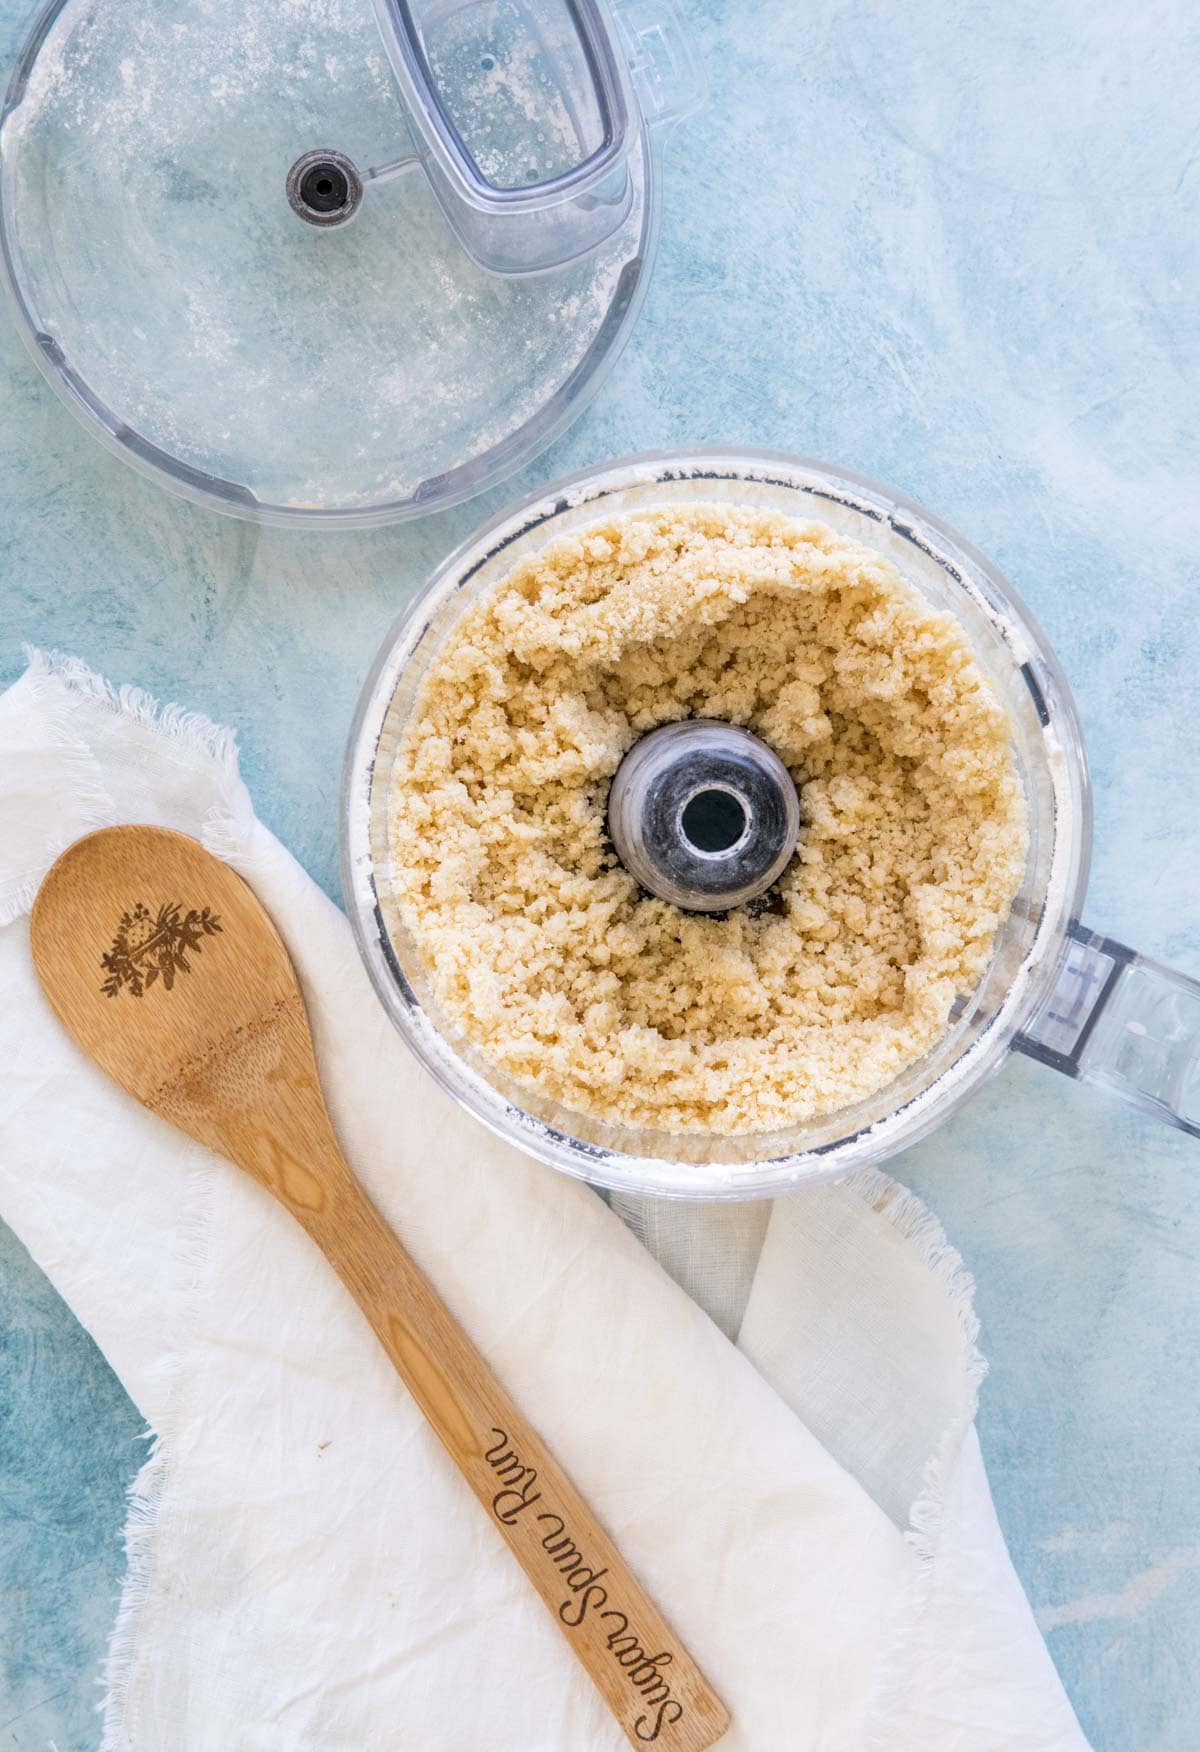
To keep things simple, I make my crust in the food processor. If you don’t have one, you can use a pastry cutter instead and cut the butter into your flour (but really, get a food processor, I link to the one I use in the recipe card and use it in so many staple recipes, like my pie crust and scones!). Your shortbread crust dough will be really crumbly (see photo above) but should hold together if a spoonful of it is pressed between your thumb and forefinger. If you process it too much it makes it harder to spread the crust into the pan (especially if you’re trying to spread over parchment). While the method that I use to make the crust is important and does contribute to its crisp texture, what really keeps it from becoming soggy is the lemon bar topping that I use…
Lemon Curd: An Extra Step for Best Results
For a crisp, buttery, not-at-all-soggy shortbread crust, we have to do things a bit differently. With many recipes, the eggs are mixed up with the lemon juice and some sugar and flour and poured directly over the crust. It’s a very thin, wet mixture and the liquid is absorbed by the crust, making it very soft. To remedy this, I cook my lemon curd before pouring it over the crust. I essentially used a sweeter version of my lemon curd recipe, cooking it until thickened on the stovetop. If you’re like me and want a crisp crust, then this extra step of cooking the curd separately is worth it for buttery, crisp-bottomed lemon bars. After thickening, pour it over the crust and bake again briefly. You only need a few more minutes in the oven, which will cause the egg yolks to re-bind and keeps the topping from being runny. Note: If your curd was too loose when you poured it over your crust, you may need more time in the oven than indicated. When finished baking, the lemon layer should be set and just barely jiggly if the pan is jostled.
Key Tips
Don’t bake in aluminum foil or directly in an aluminum pan. Aluminum will react with the acidic lemon juice and give the bars a metallic taste and can even affect the color. For a softer (but still not soggy!) crust, bake for only 15 minutes and edges are not golden brown. Always strain your lemon curd before using! This will catch any lumps or tiny bits of cooked egg. If you use a glass pan the lemon bars will need more time in the oven to bake completely.
Storing
Keep refrigerated in an airtight container and enjoy within one week. I actually prefer my lemon bars to be at room temperature rather than cold (the crust just tastes better that way!) so I like to set one or two out for about an hour before enjoying. They may be frozen for up to several months.
More Recipes You Might Enjoy:
Lemon Cake Lemon Brownies Lemonade Lemon Poppy Seed Muffins
Enjoy! Let’s bake together! Be sure to check out my video in the recipe where I’ll show you exactly how I make this recipe in my own kitchen!