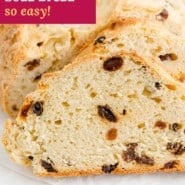
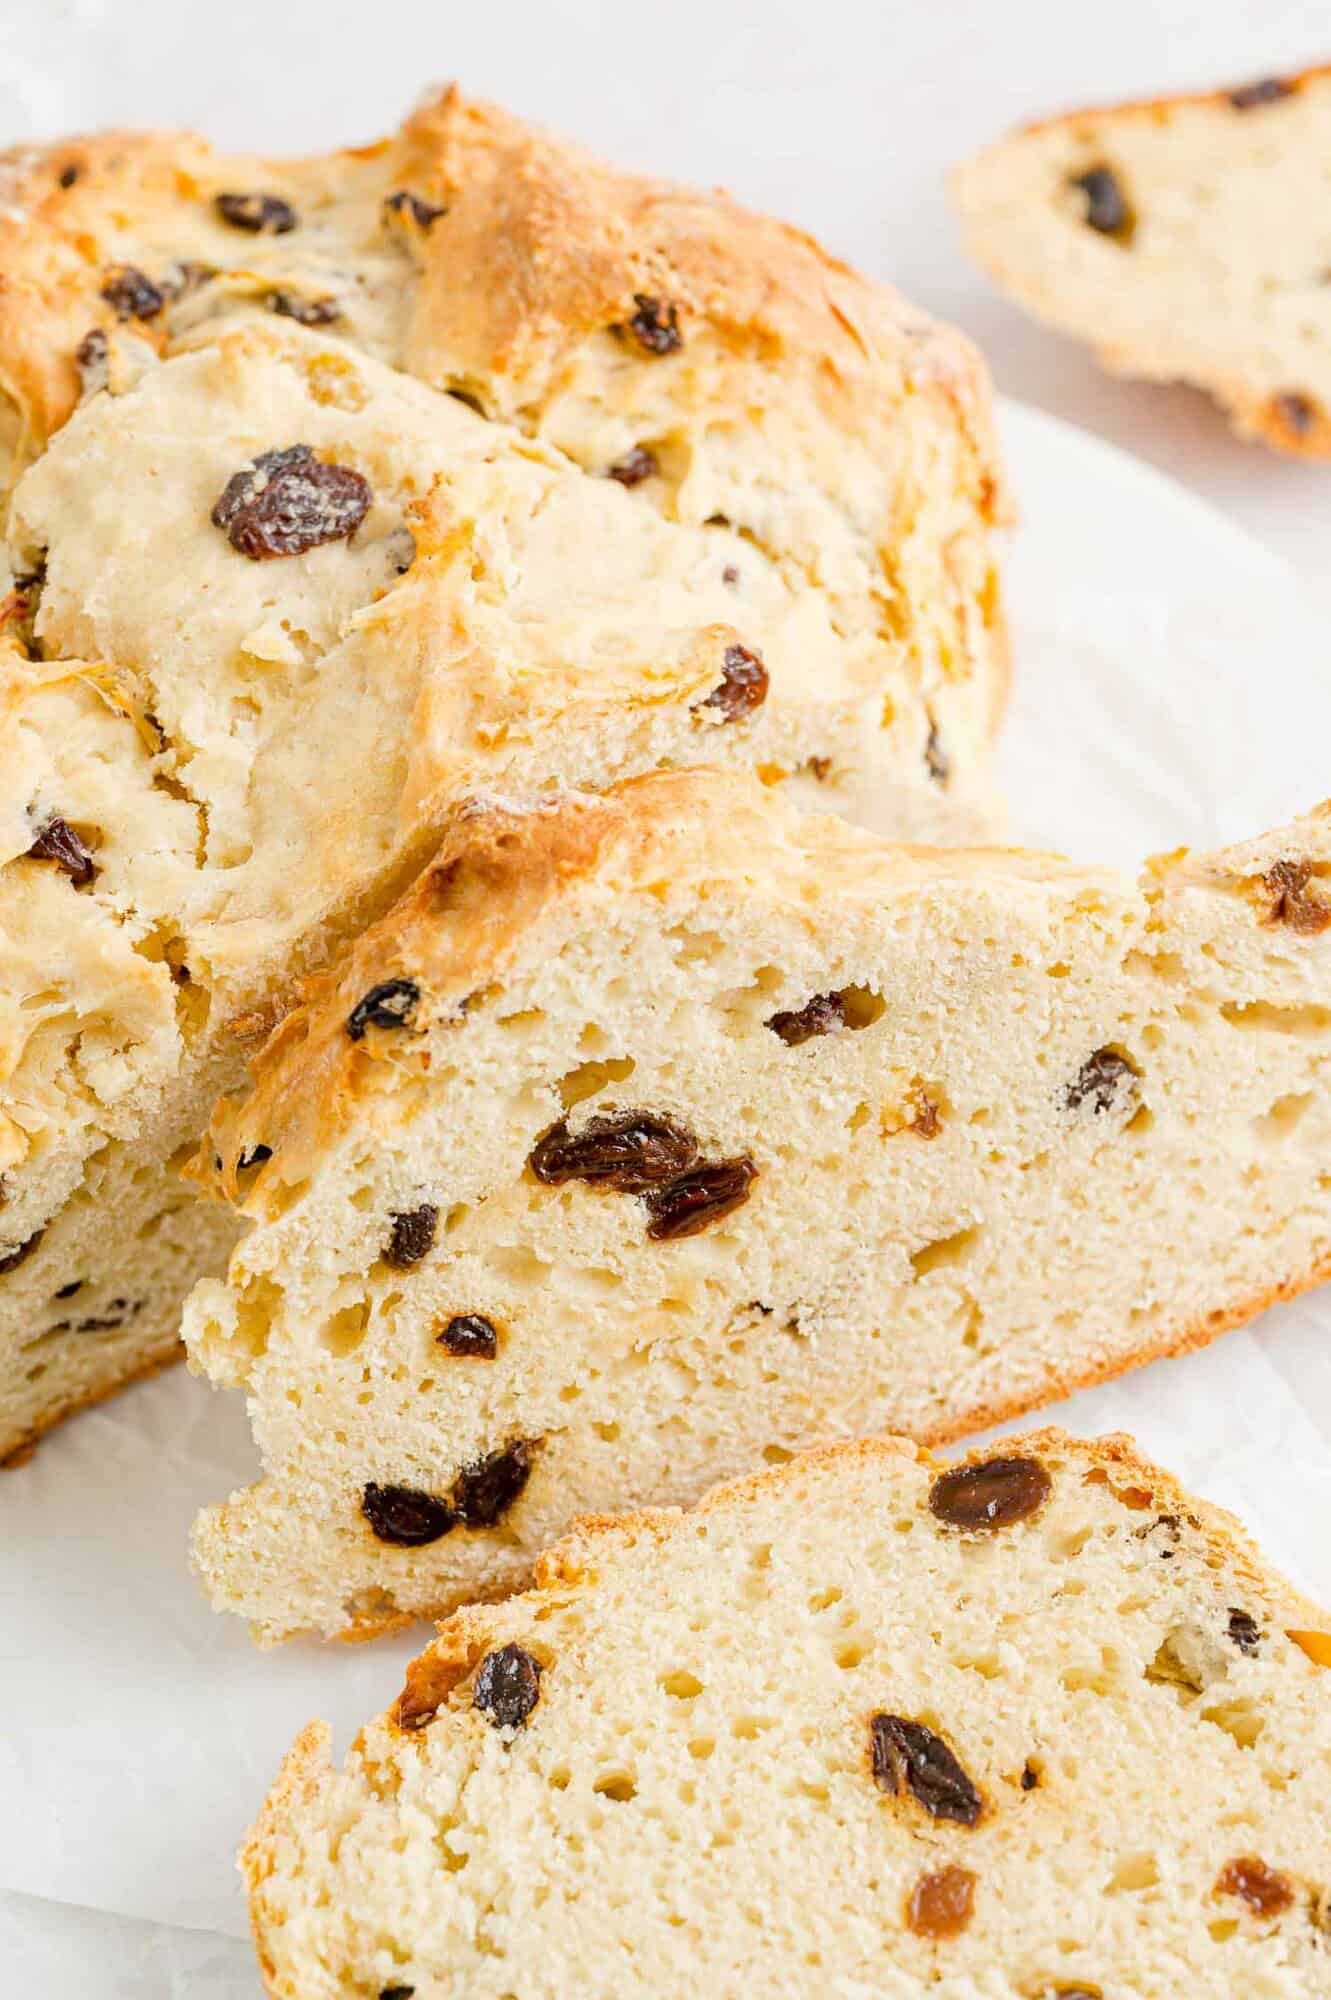
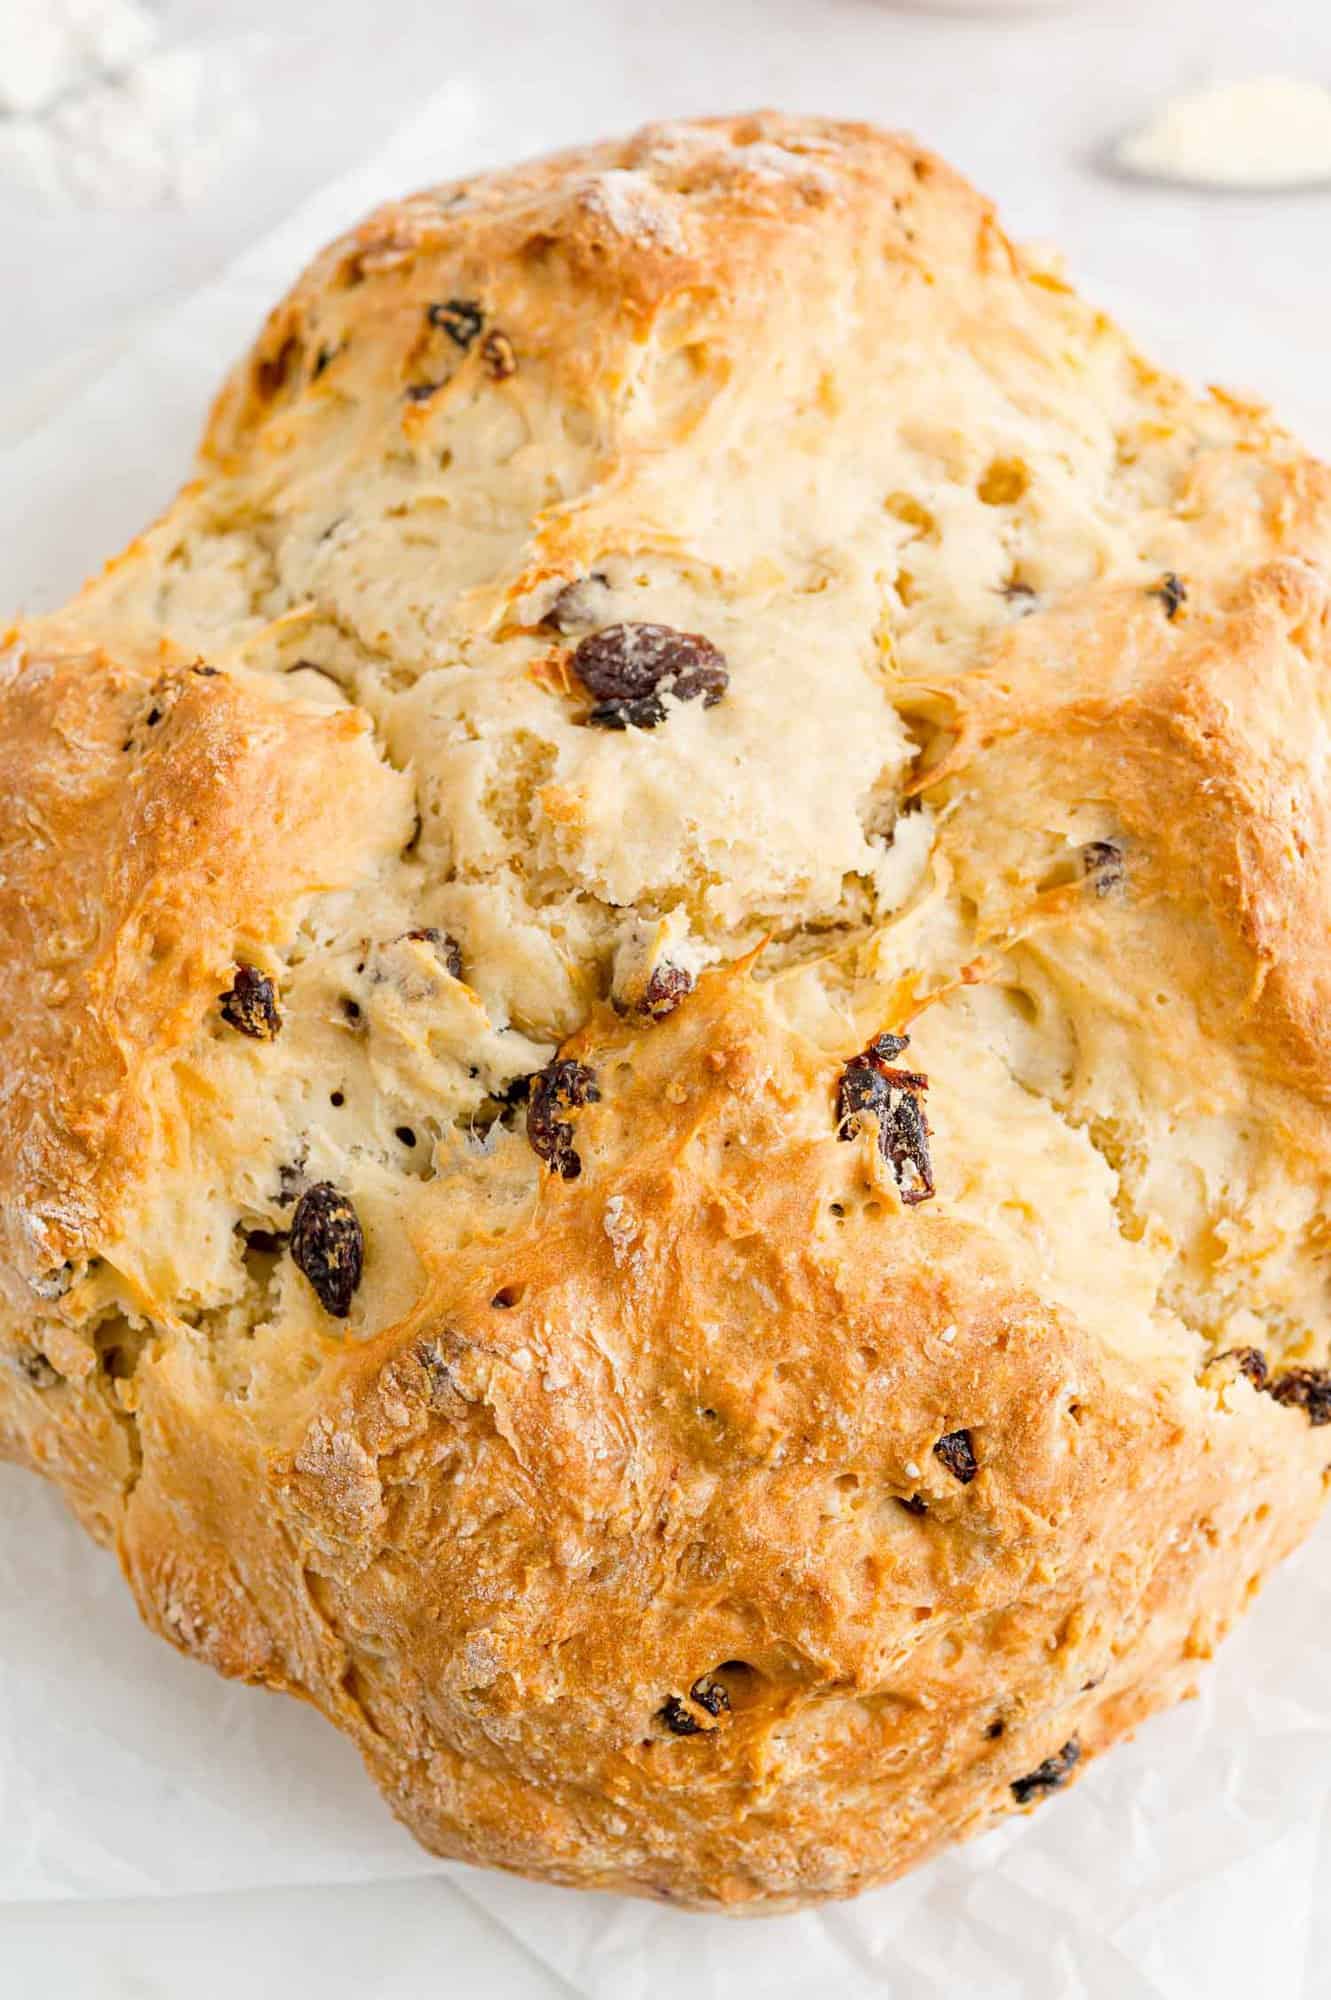
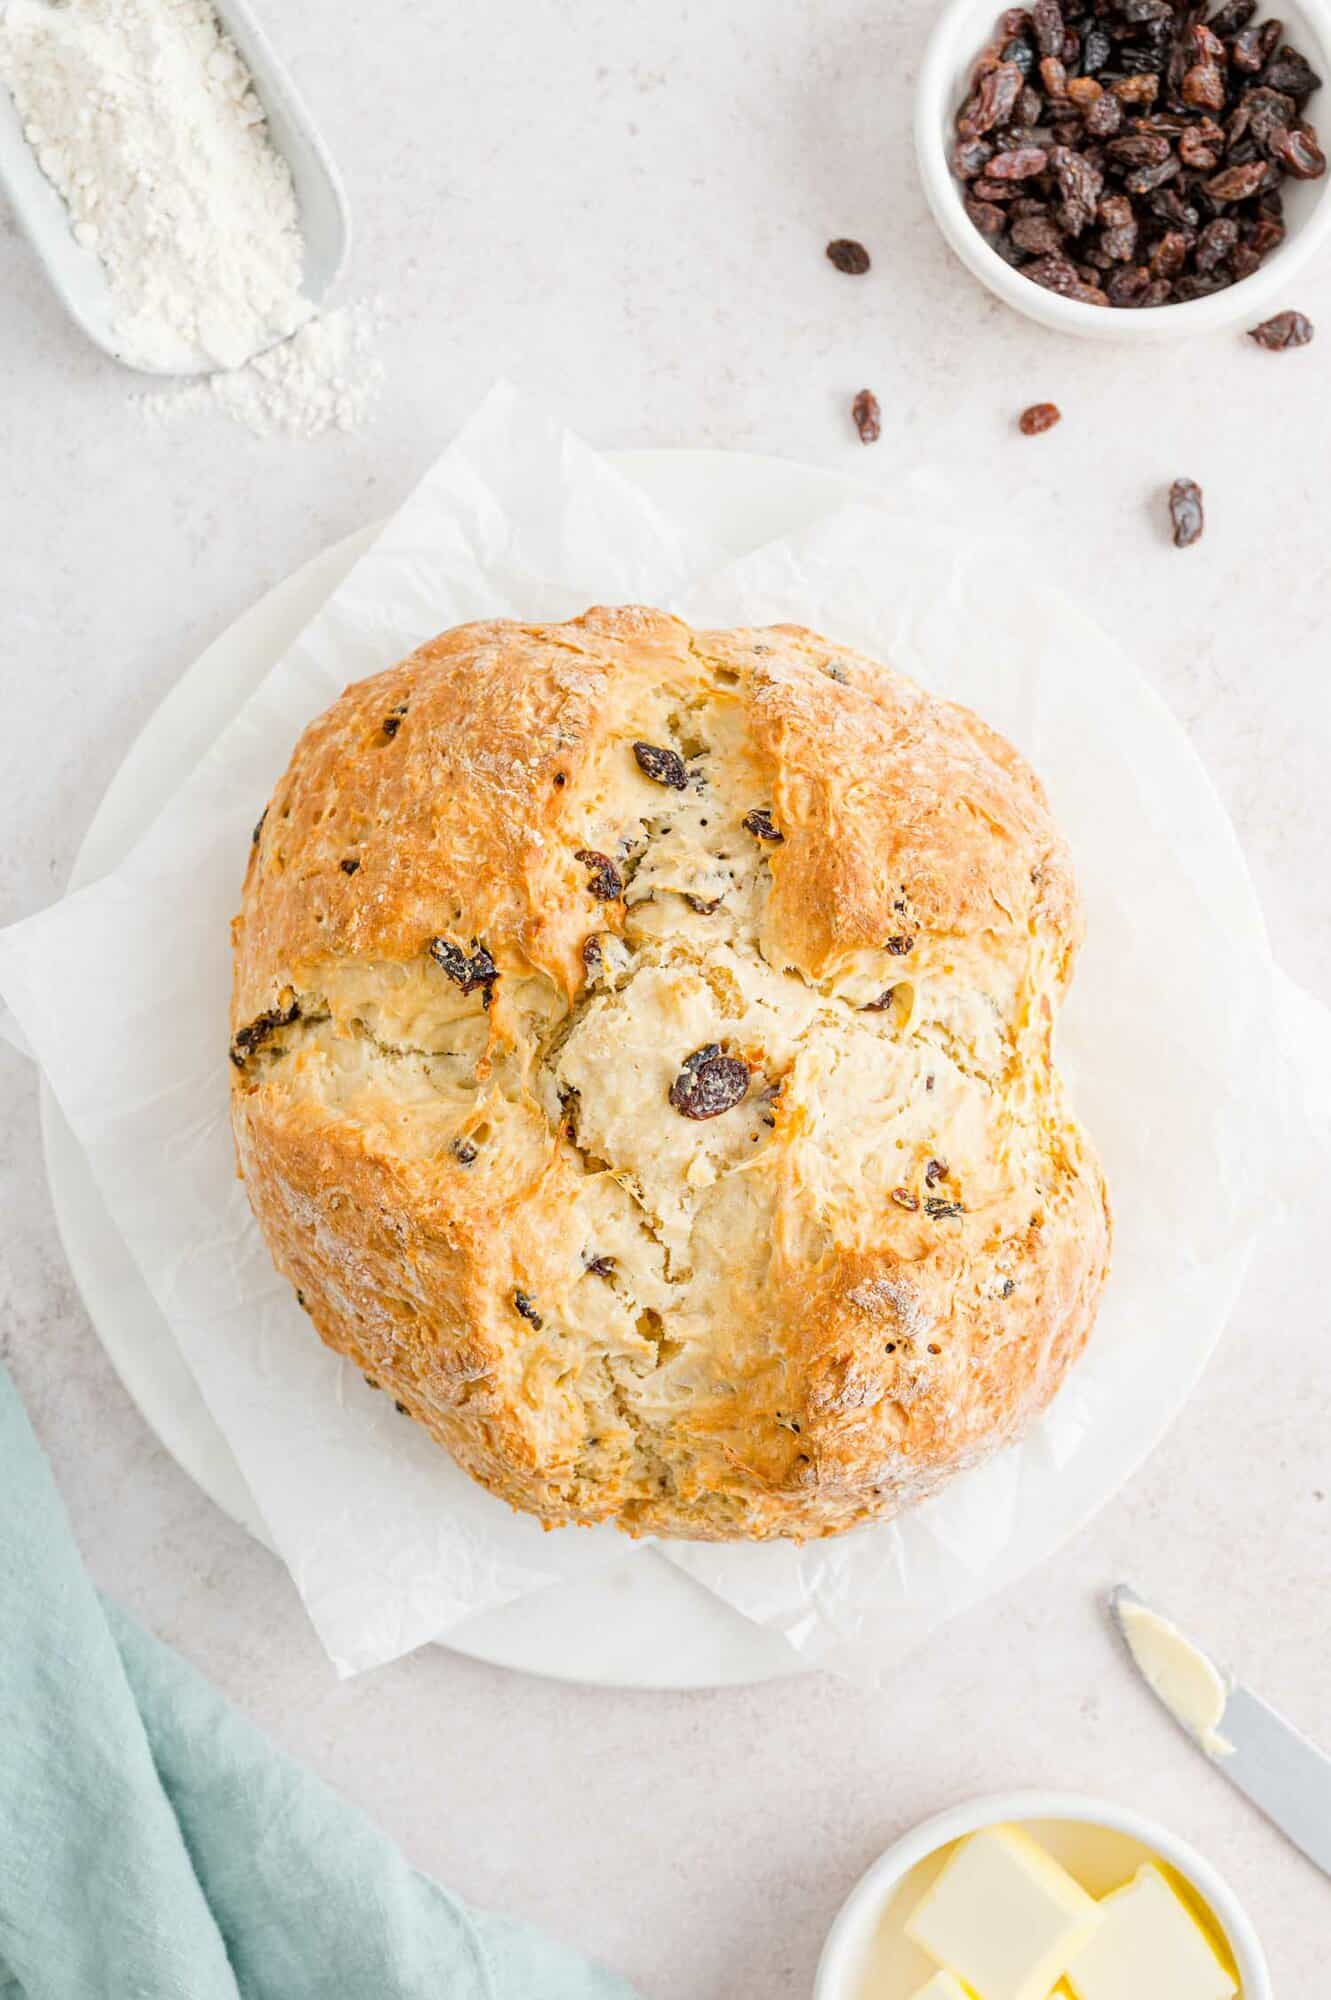
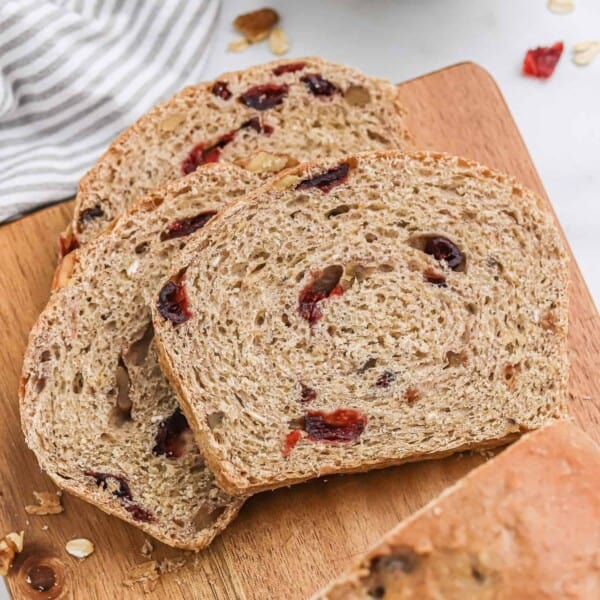
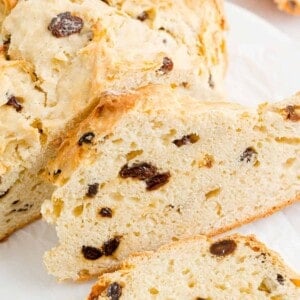
Here in the United States, we love to celebrate St. Patrick’s Day. It doesn’t matter if you have Irish ancestors or not; it’s a good opportunity to “put on the green” and celebrate a little bit. In Michigan, I think we’re all so tired of the gray winter days and brown landscape. Everyone is looking forward to anything green. How long it takes: just over an hour Equipment you’ll need: large bowl, baking sheet Servings: makes one large round loaf That’s not to downplay good St. Patrick, a real-life missionary priest who brought Christianity to the emerald isle of Ireland in the 5th century. St. Patrick and the color green came to symbolize Irish independence in the 18th century. As with any good celebration, lots of delicious eating and drinking is essential (be sure to check out my list of St. Patrick’s Day recipes). Today, I’m bringing you a recipe for Irish soda bread which is often associated with St. Patrick’s Day. It’s a quick bread made without yeast, so it’s easy to bake your own loaf from scratch even if you’re a beginner baker. Isn’t this bread beautiful? Warm and crusty, studded with raisins, and slathered with butter, Irish soda bread is welcome any time of the year! It’s moist, rich and buttery, lightly sweetened but not so much that you wouldn’t want to drizzle honey or spread your favorite jam on it. Irish soda bread goes great with stews and soups. Try it with traditional shepherd’s pie or slow cooker corned beef and cabbage. It’s also a welcome addition to brunch menus and lunches. Leftover bread is wonderful toasted!
About Irish Soda Bread
It’s a quick bread. If baking bread from scratch sounds slightly intimidating to you, Irish soda bread is a simple recipe to begin with. You don’t have to fuss with yeast, kneading dough, or rising times. The process is similar to beer bread, if you happen to be familiar with that. Ready to eat in 1 hour. Stir the dough together, shape the loaf, and pop it in the oven. How long does it take? From start to finish, it won’t take you much more than an hour, and that includes 40 minutes of baking time. No fancy equipment needed. You won’t need any specialized kitchenware, just a large mixing bowl and a baking sheet. A dough whisk is helpful but not essential. Looks amazing! Wouldn’t you agree that the end result looks rather beautiful? Irish soda bread tastes just as good as it looks, too. Are you ready to get started? Let’s get baking!
Ingredients Needed
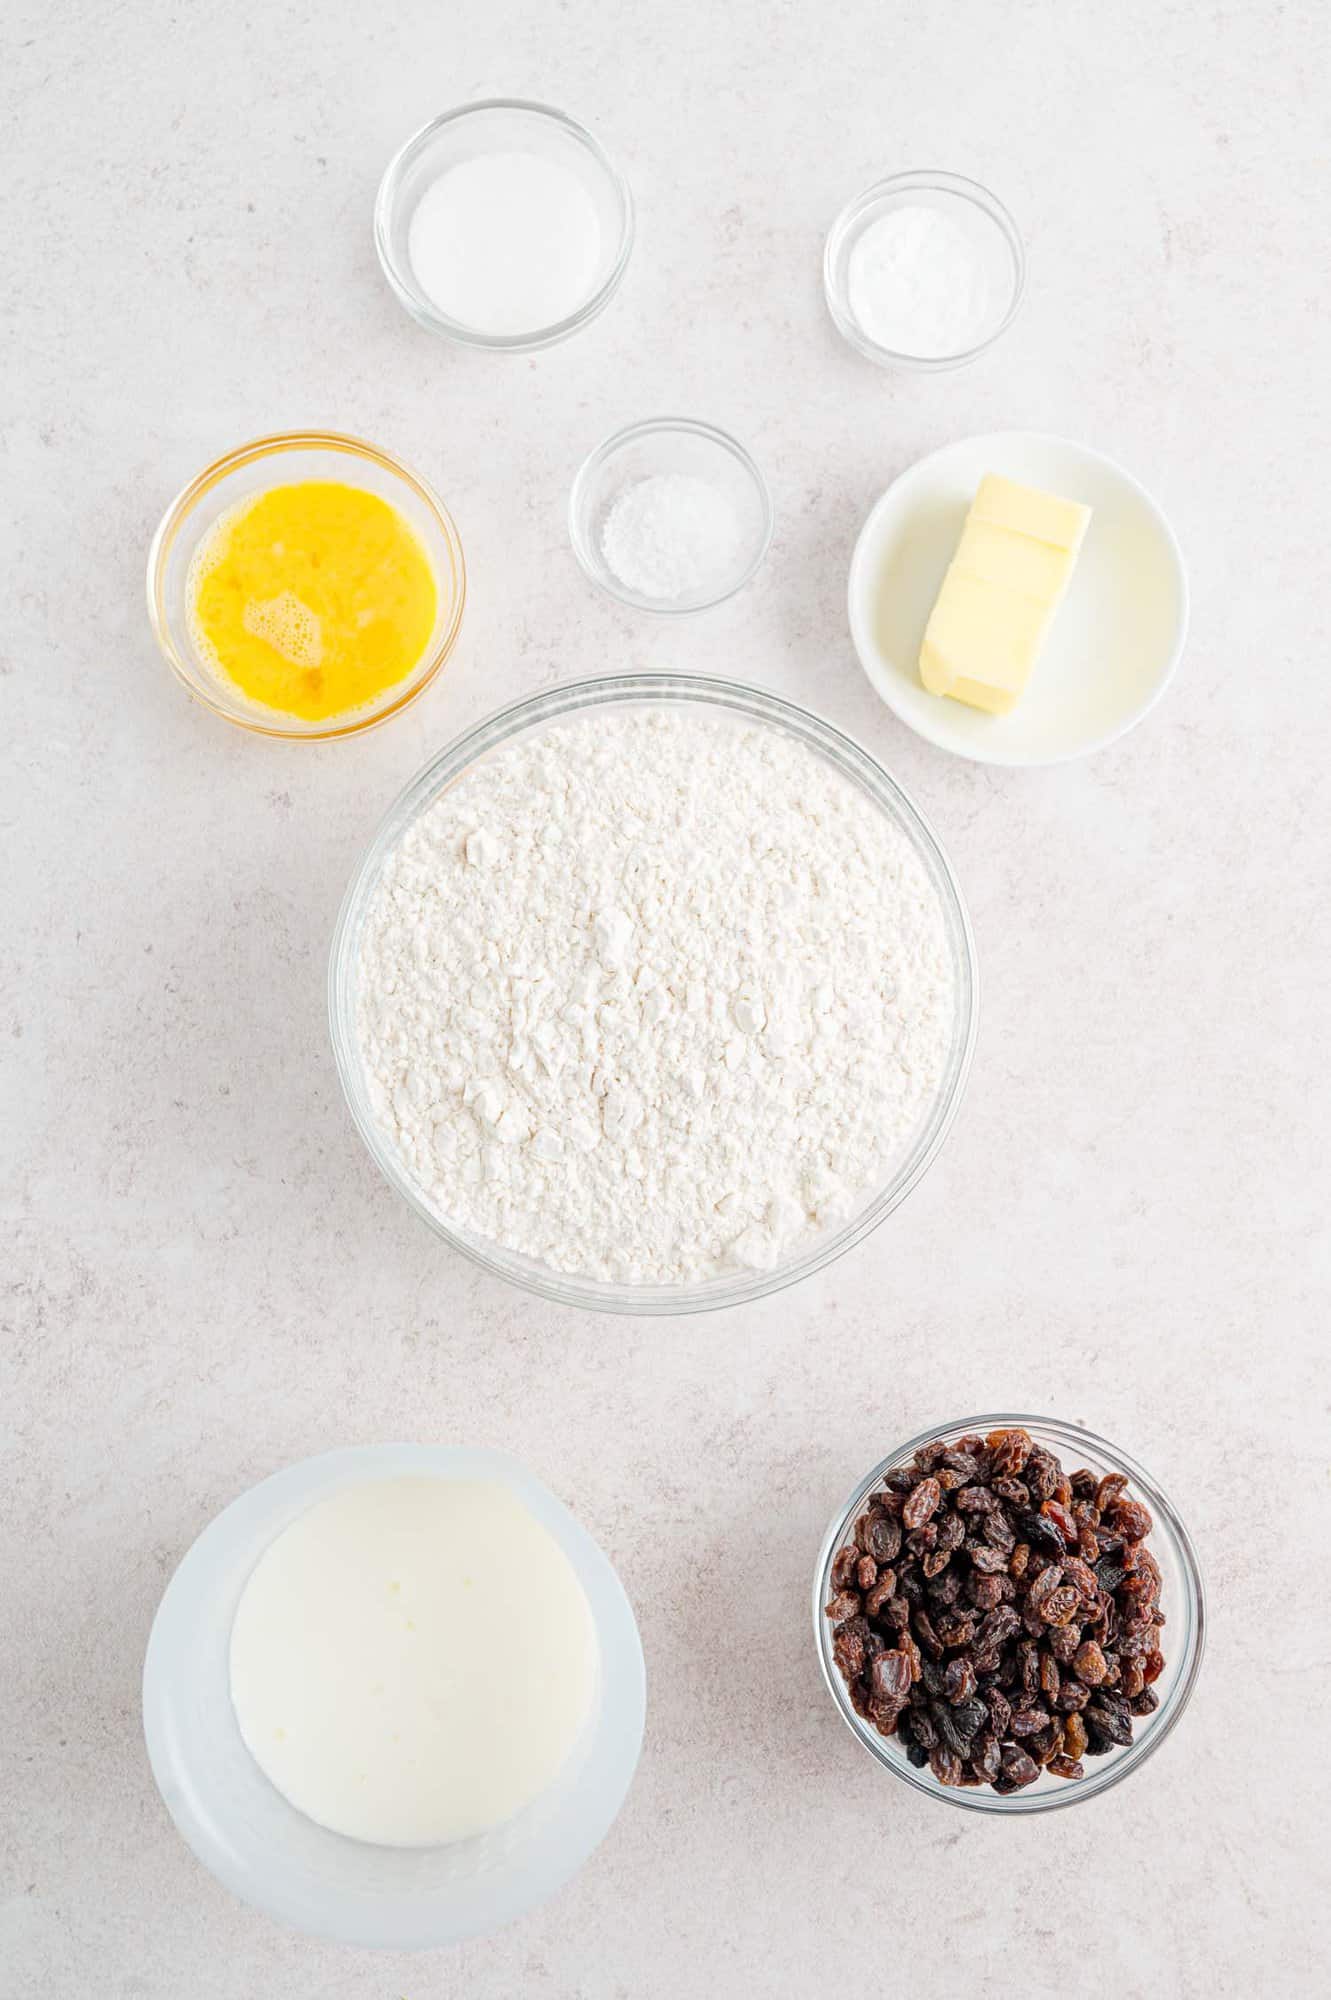
All-Purpose Flour: You won’t need to buy special bread flour for this bread, just use regular white flour. I always buy unbleached flour so that’s what this recipe was tested with. Sugar: Soda bread isn’t heavily sweetened like many quick breads but a bit of sugar, just 2 tablespoons, gives it great flavor. Egg: One egg adds richness and nutrition to this simple bread, and also enhances the texture. Butter: You’ll need a half stick of butter (a quarter cup). It should be at room temperature so the butter is soft enough to blend into the flour. I usually use unsalted (sweet) butter for baking. Buttermilk: Buttermilk is a fermented dairy product, made from nonfat or lowfat milk. It contains an abundant amount of lactic acid, which interacts with the baking soda, producing carbon dioxide. This interaction is what leavens the bread, that is, makes it rise. Baking Soda: The fancy name for baking soda is sodium bicarbonate. It’s a dry white powder that has multiple uses. Because baking soda is essential to the success of this recipe, the bread is called “soda bread”. Bet you couldn’t guess that! Kosher Salt: The bread is seasoned with salt; without it, it would taste rather flat. If you use salted butter, cut back a bit on the kosher salt. Raisins: Irish soda bread usually contains either raisins or currants, which are much smaller than raisins. Either choice is fine. If your raisins are a bit old and super dried out, soak them for ten minutes or so in hot water to plump them up while you prep the bread. Drain the raisins well before adding them to the dough.
How To Make Irish Soda Bread
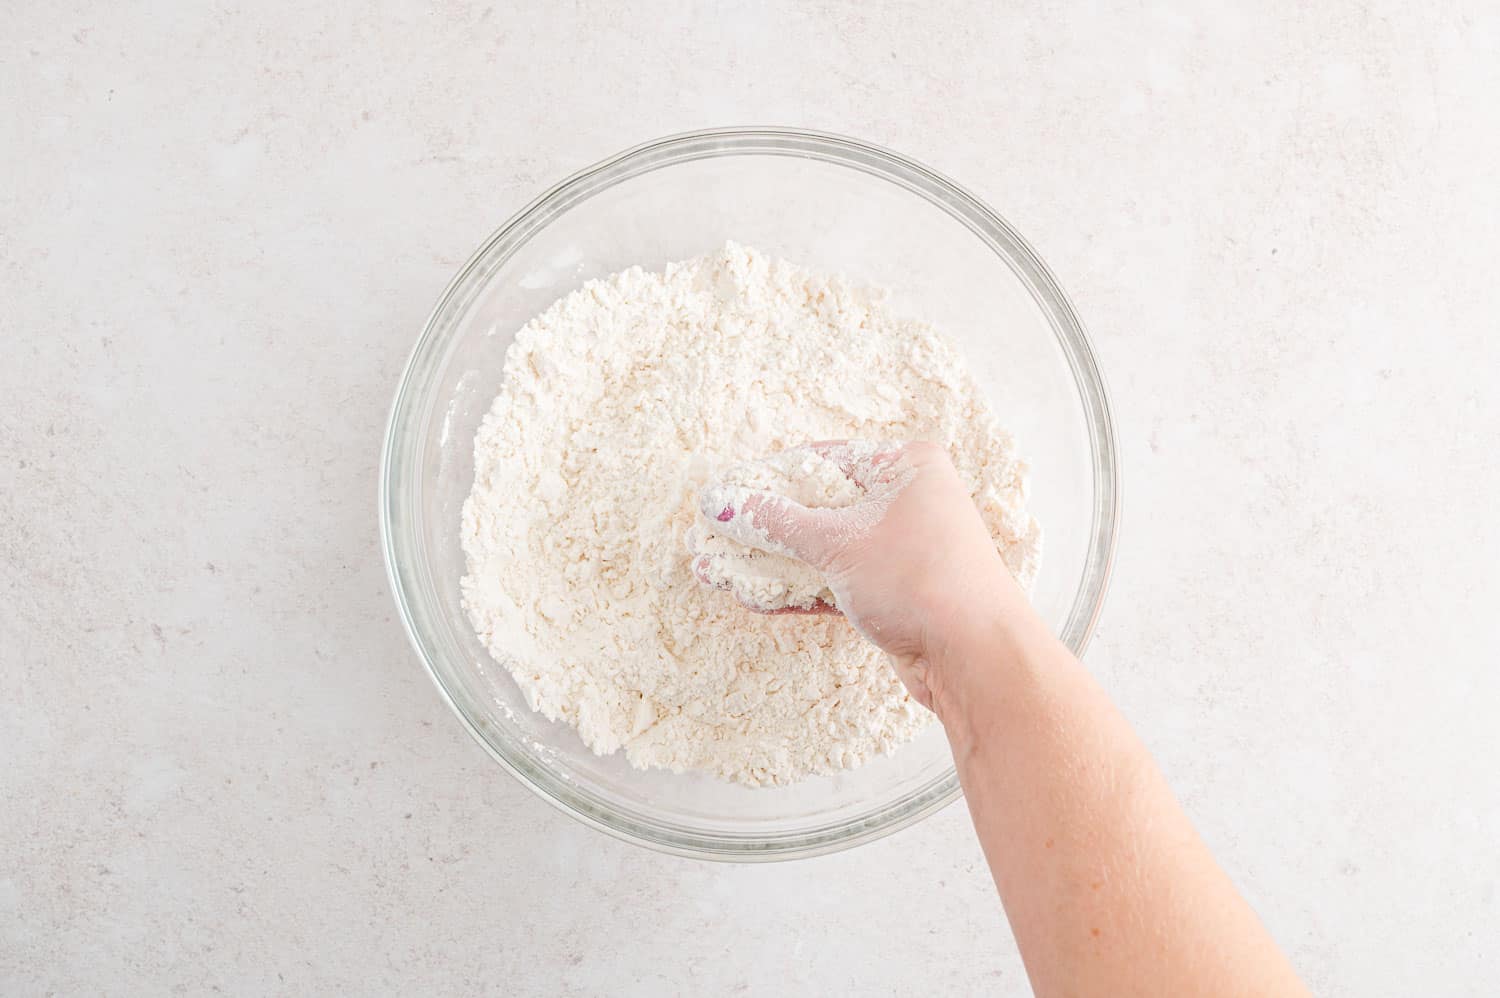
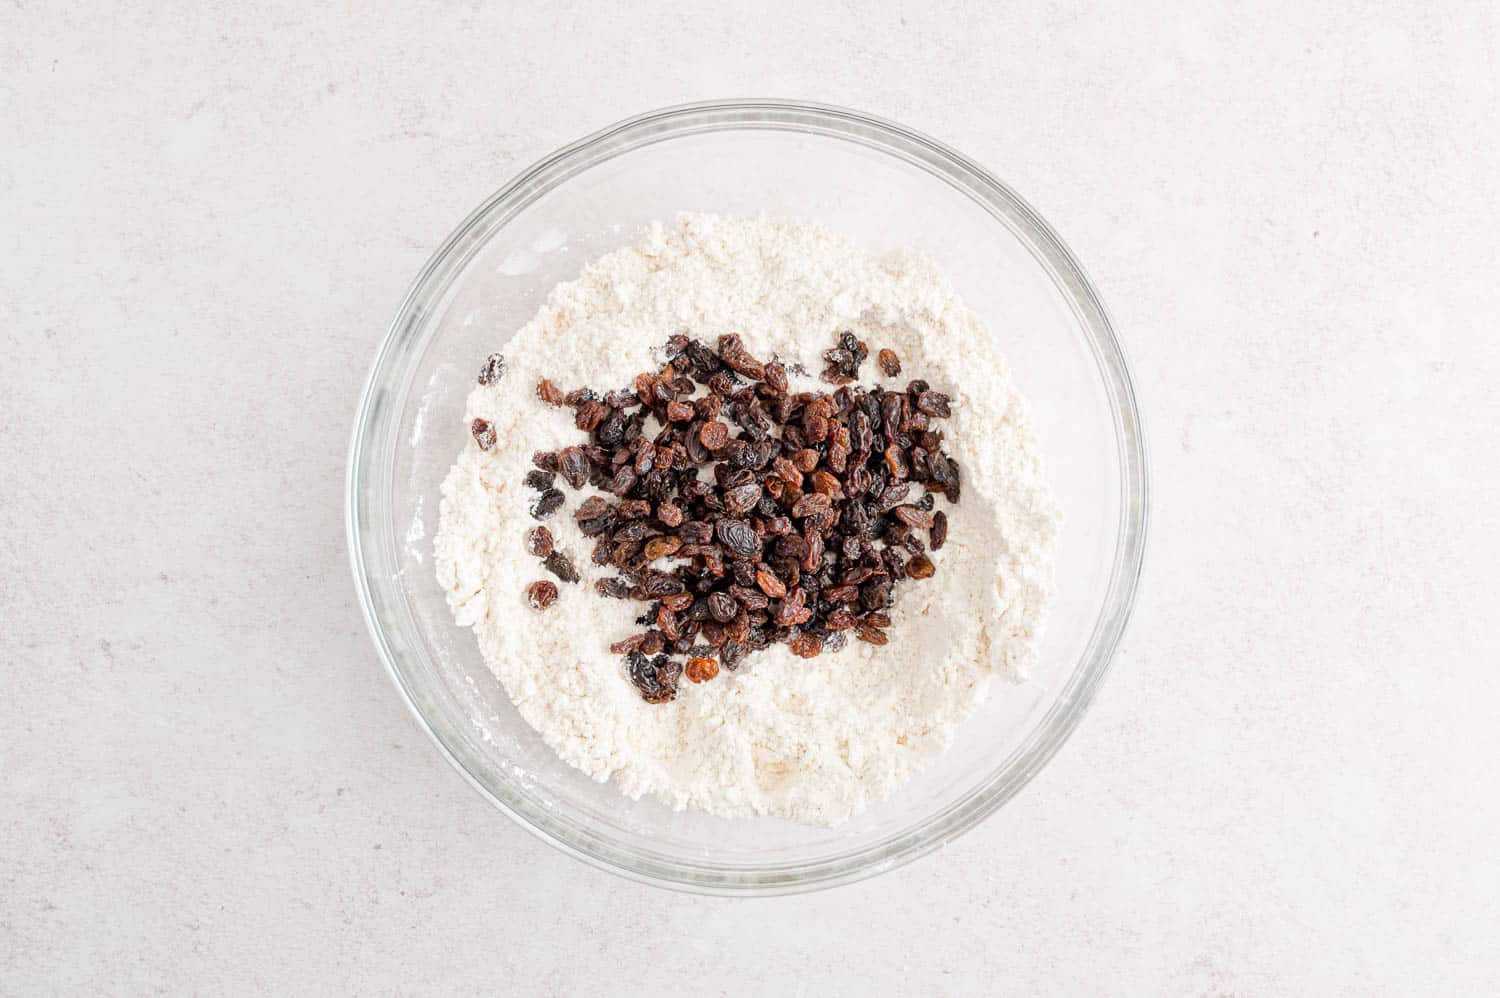
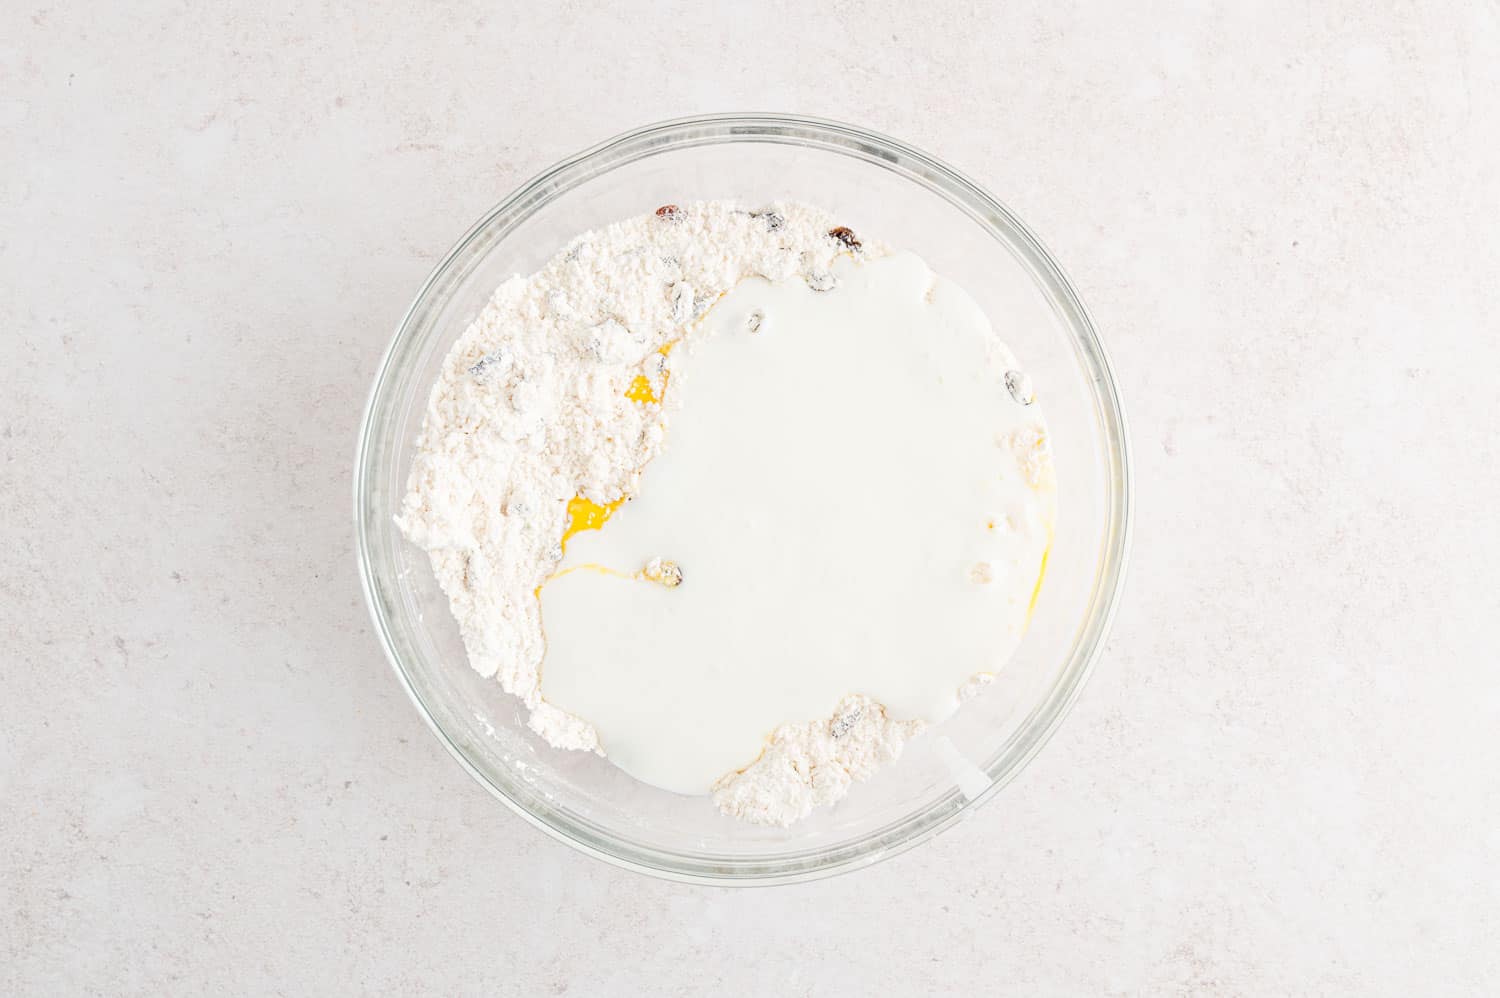
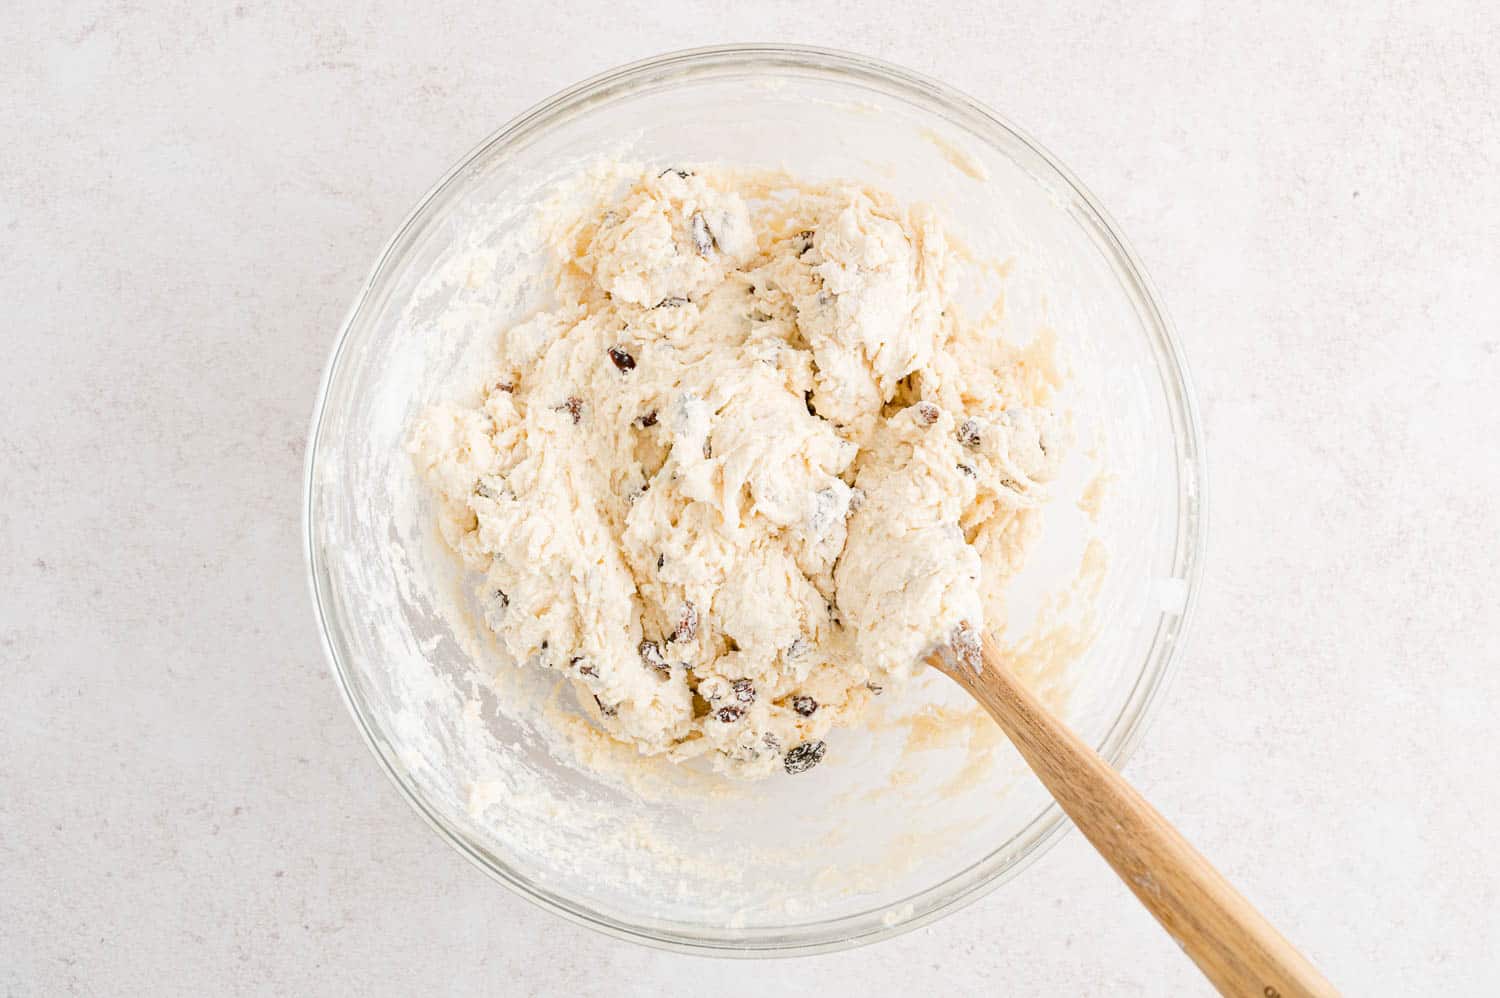
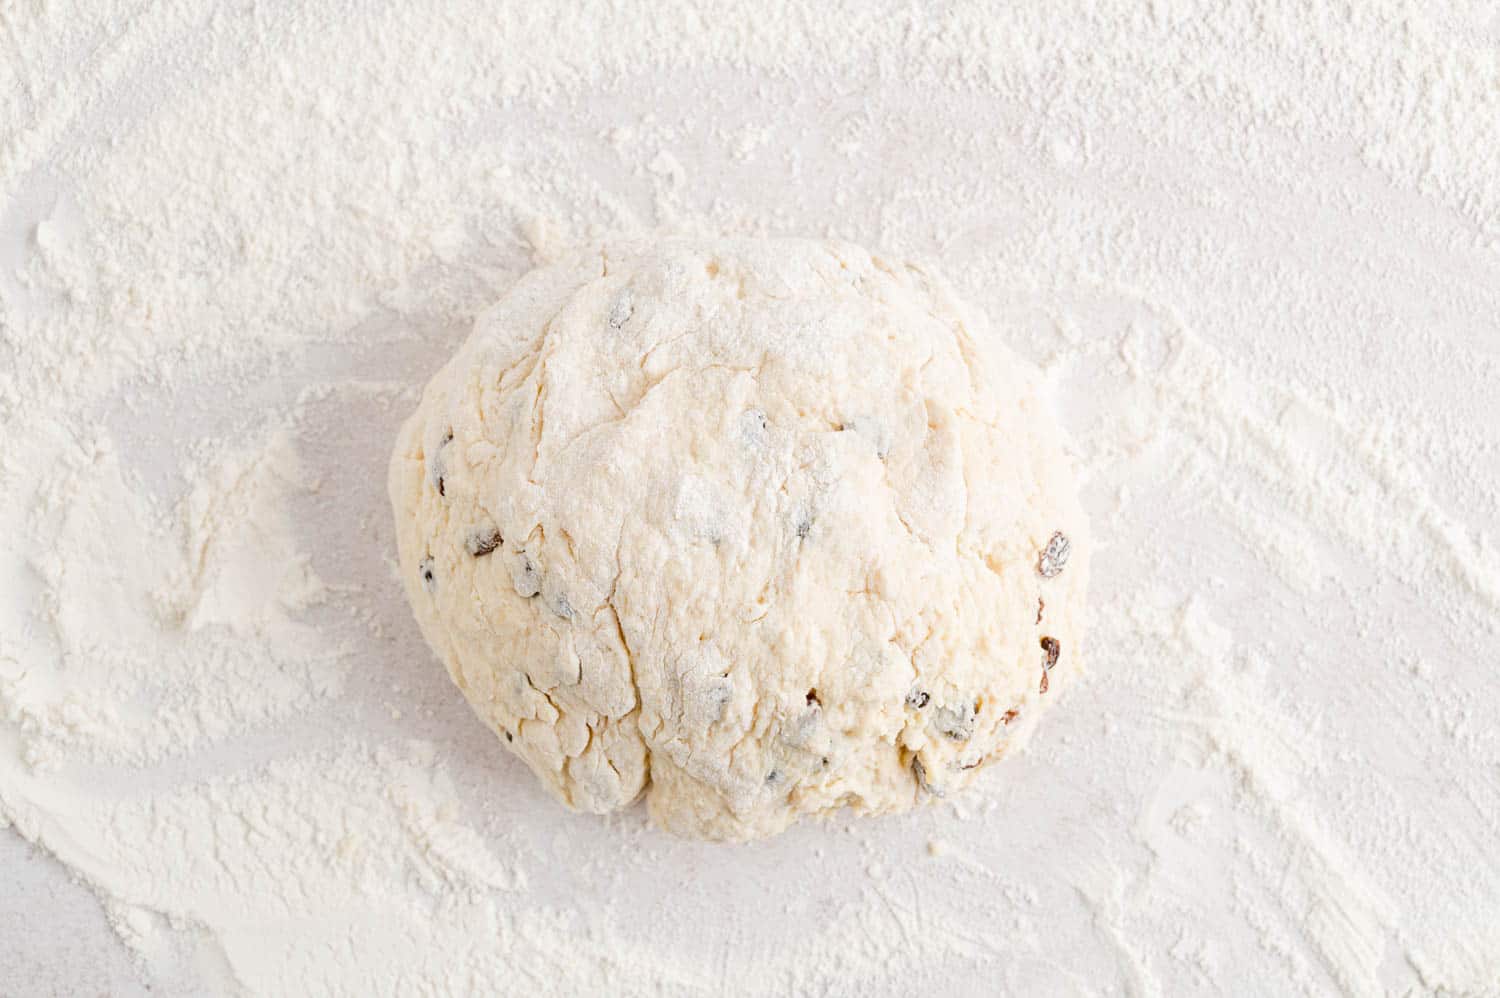
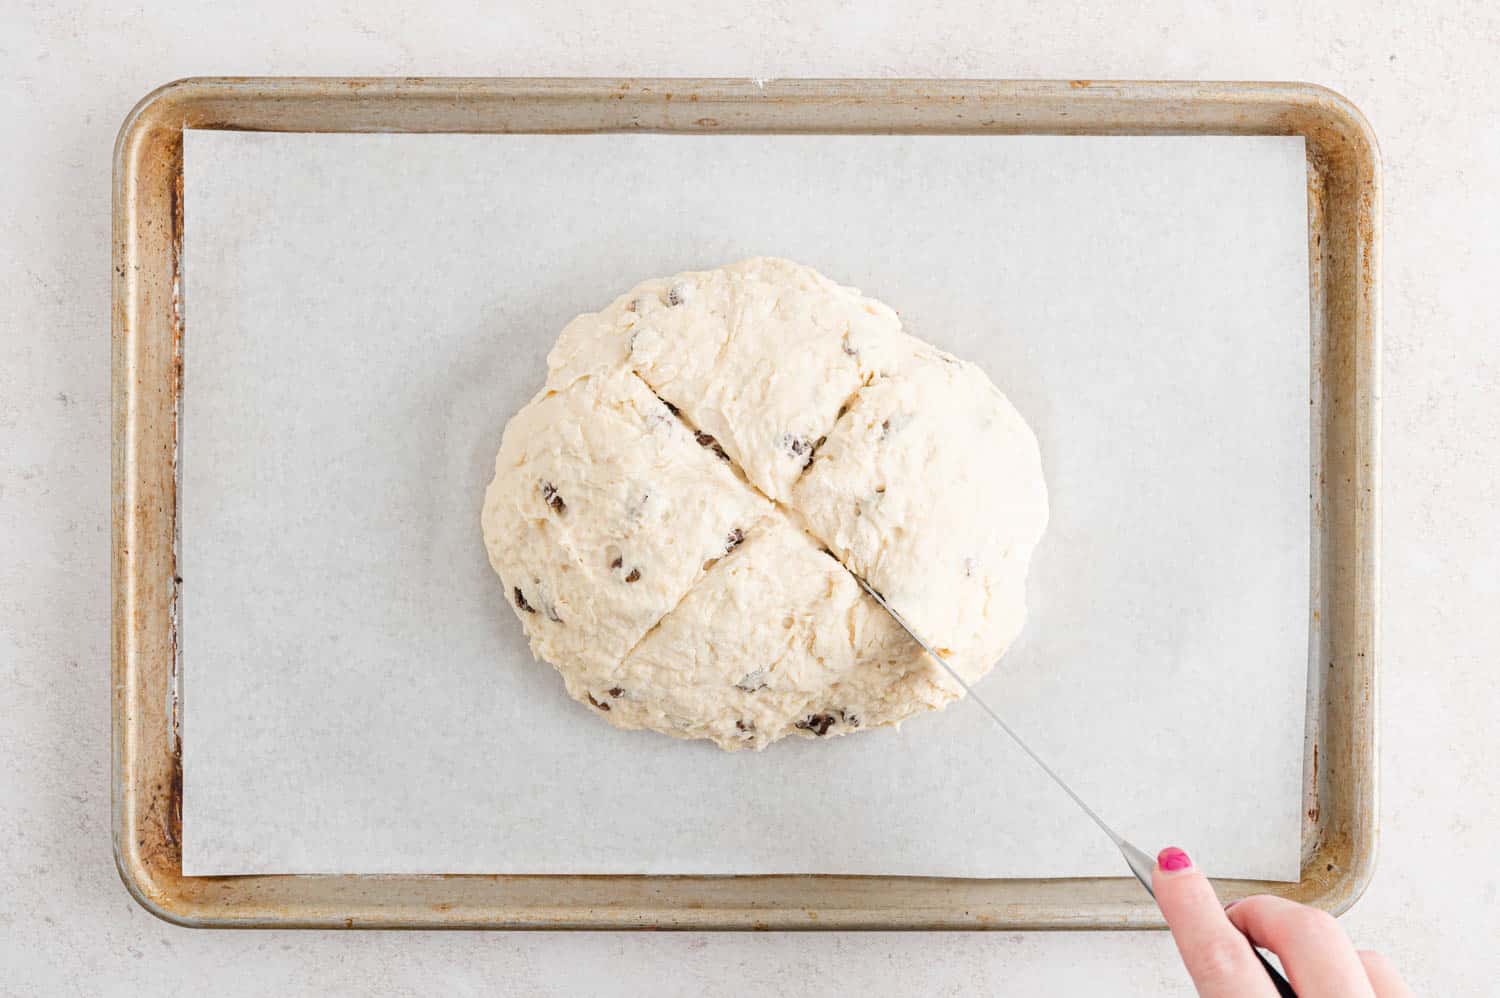
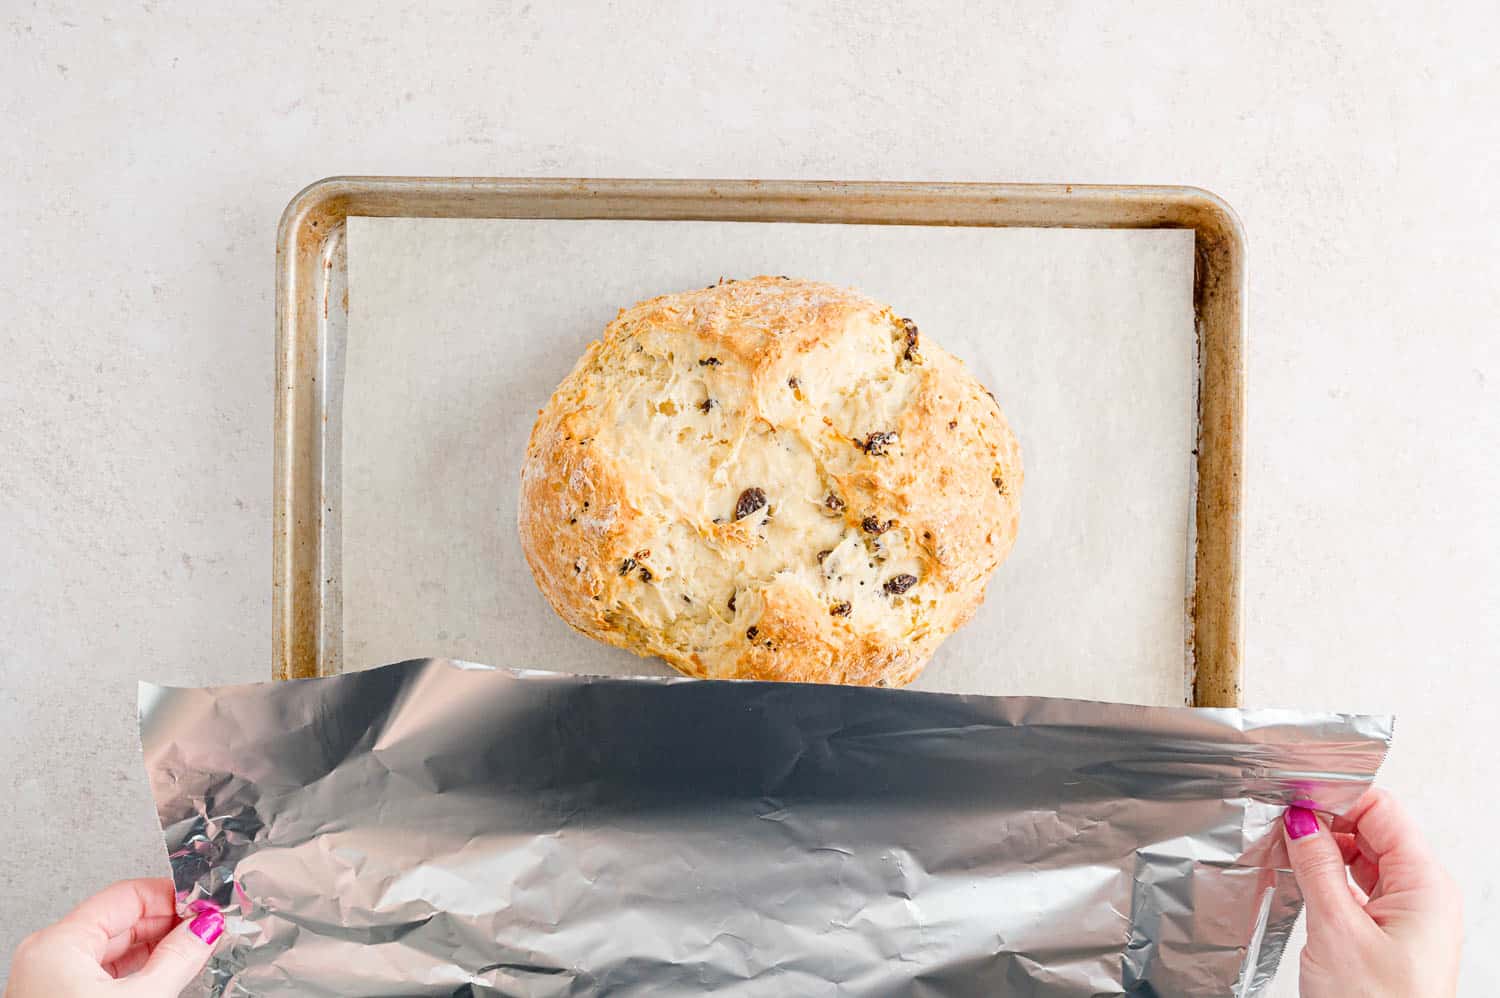
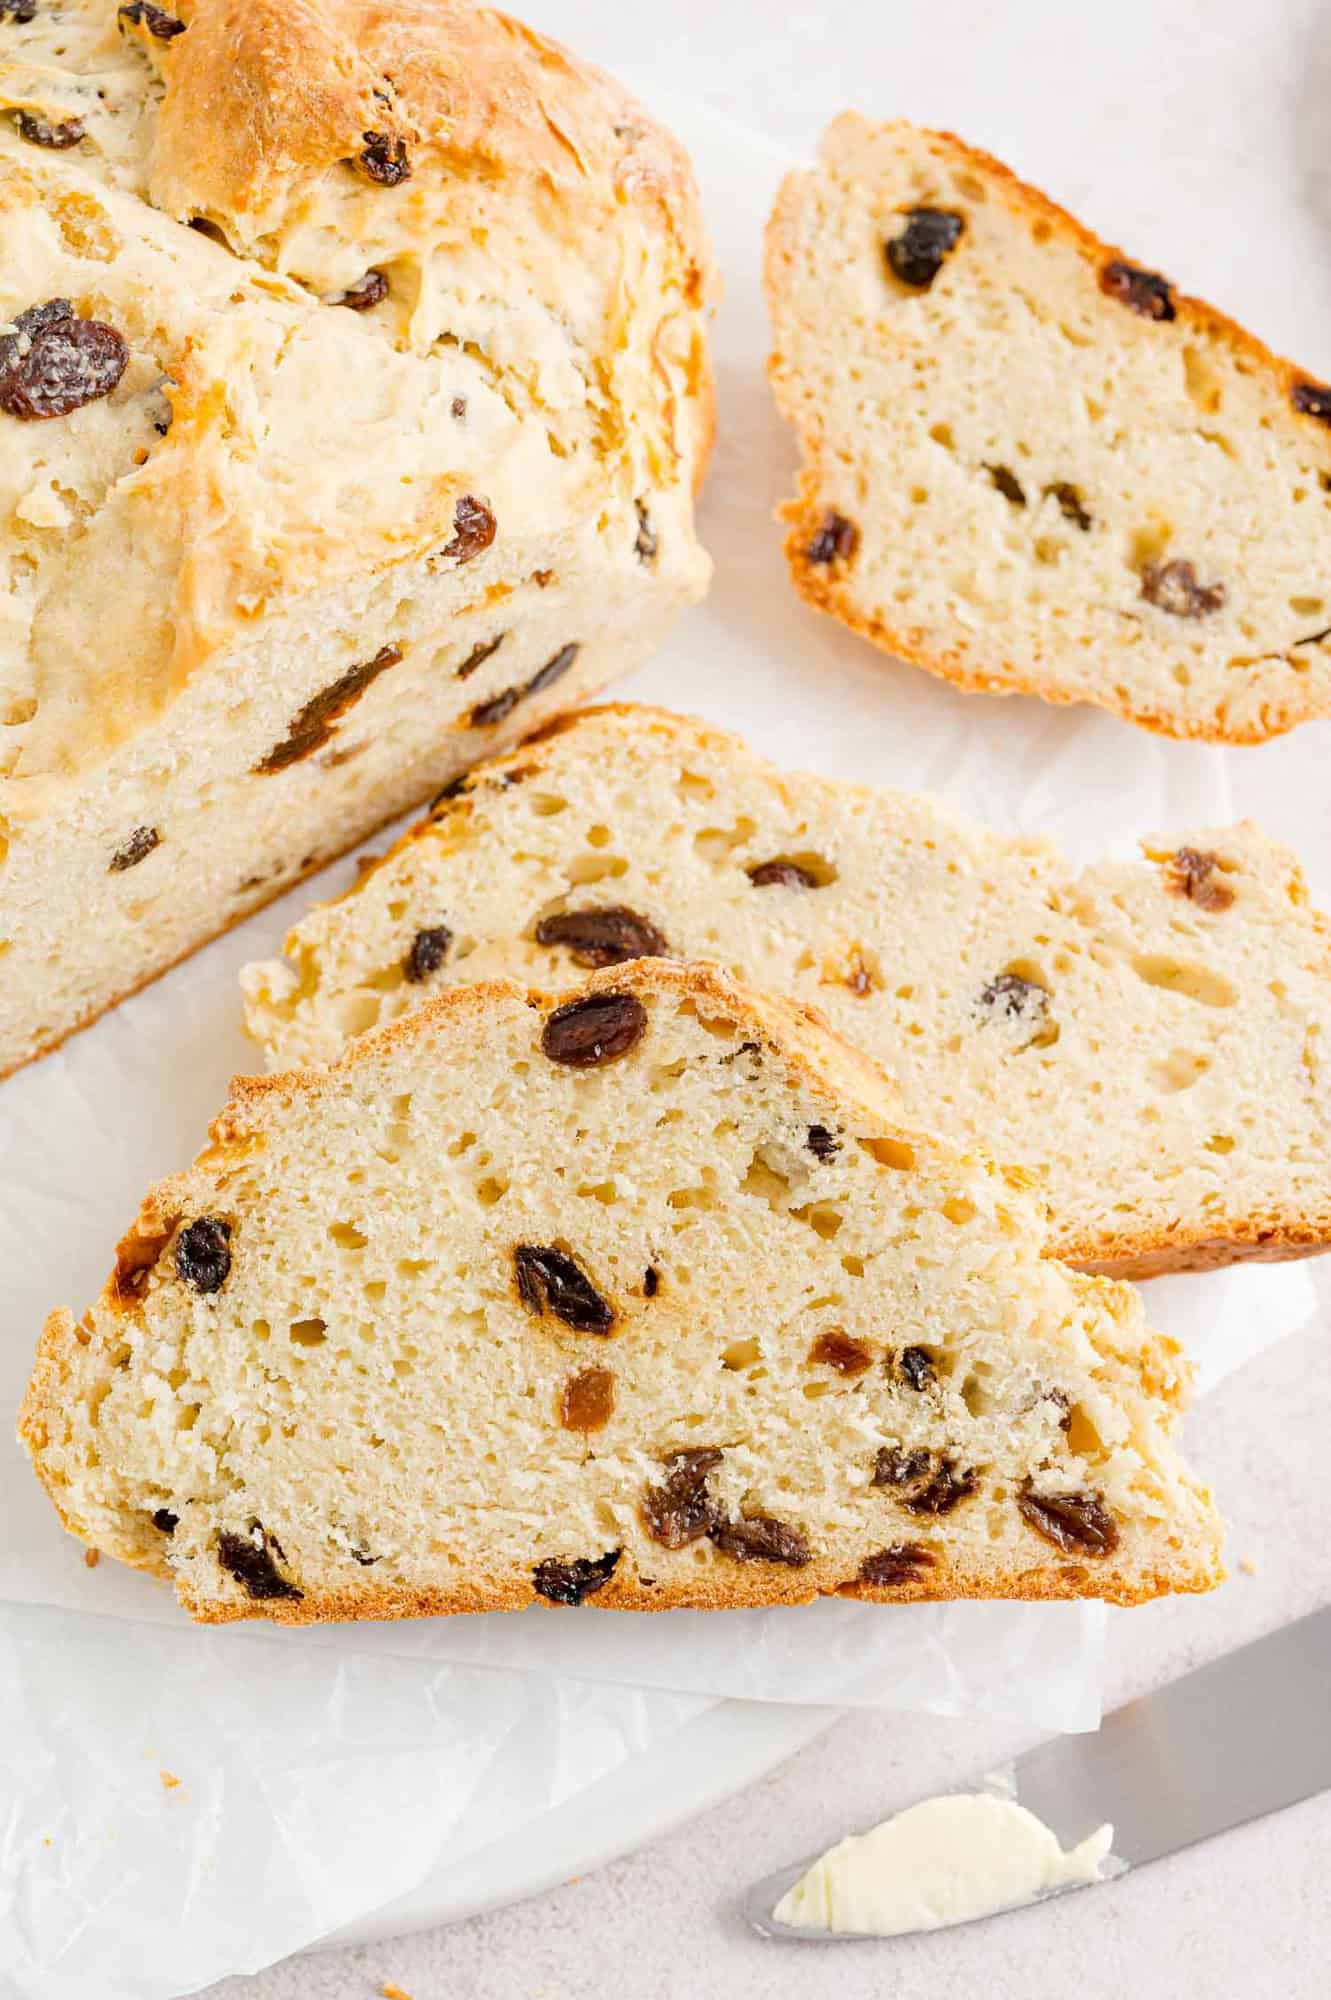
Get ready! You’ll need a large mixing bowl, a dry measuring cup, and a liquid measuring cup; the bread is baked on a baking sheet lined with parchment paper. Arrange the ingredients you’ll need on the counter so everything is ready to go. Turn the oven on to preheat. Mix dry ingredients. Measure the flour into the mixing bowl. Don’t lose count! You’ll need four cups, plus a little extra when you shape the loaf. Add the sugar, salt, and baking soda to the flour and whisk the dry ingredients together. Add butter. Next, work the softened butter into the dry ingredients. I’ve found the best way to do that is to knead it in with your fingers. You could also use a pastry blender or a sturdy fork to cut in the butter. Incorporate the butter completely; the mixture will look like coarse crumbs. There should not be any large lumps of butter. Mix in the raisins, if using. Add egg and buttermilk. Whisk the egg lightly so that the yolk and white are mixed together. Add the egg to the bowl, along with the buttermilk. Stir, using a heavy wooden spoon or a dough whisk. Shape the dough. The dough will be very thick, sticky and shaggy. When it becomes impossible to stir any longer, scrape it out of the bowl onto a floured surface. Sprinkle the top with flour so you can handle it. Lightly knead the dough until you can shape it into a ball. You don’t want to overwork the dough. Only knead it enough to get the dry ingredients dispersed evenly and the dough shaped up. The dough will still be fairly sticky. Score the top. Place the loaf on the prepared baking sheet. Dip the edge of a sharp knife in flour and make a deep cut in the top of the dough. Dip the edge of the knife in flour again and make another deep cut to form a large X. Scoring the top of the dough isn’t merely for decorative purposes. Although folklore says the X is to let the devil (or fairies) out, there is actually a scientific reason. When the soda is mixed with buttermilk, carbon dioxide is released. The deep cuts allow the bread to expand as it bakes. If you don’t make the cuts, the top of the bread will split naturally but sometimes not as attractively. Bake the bread for thirty minutes. Take a peek at it. Check to see if the top is getting too brown. If it is, cover the top loosely with a sheet of foil. Bake the bread for an additional ten minutes. You can check to see if the bread is done by using the toothpick test. Insert a toothpick into the center of the bread. If the toothpick comes out sticky and doughy, bake the bread longer. If it comes out clean or with a few crumbs attached, the bread is ready to take out of the oven. Cool and slice. Cool the bread on a wire rack. It’s best eaten warm but let it cool for at least 10 to 15 minutes before slicing. Serve the bread with plenty of softened butter. If you’re feeling fancy, make a compound butter (butter mixed with flavoring): orange honey butter, cranberry cinnamon honey butter, or gingerbread butter.
Make It Your Own
Whole wheat Irish soda bread: Substitute whole wheat flour for half of the flour (2 cups). The bread will be a little denser with a more hearty flavor. Raisin options: Substitute currants (Zante currants), dried cranberries, or dried cherries for the raisins, if you prefer. You could also omit the dried fruit. All out of buttermilk? It’s easy to make a substitute for buttermilk: simply put 2 tablespoons white vinegar into a measuring cup and fill the cup with milk, to make 1¾ cup. The vinegar has enough acid to activate the baking soda.
Make-Ahead Ideas
Although some bread doughs can be made ahead and refrigerated overnight, Irish soda bread is not a good candidate for making ahead. The combined baking soda and buttermilk produce the chemical reaction that makes the bread rise. If you delay baking the bread, the bread won’t rise because the chemical reaction has already taken place.
The good news is that Irish soda bread only takes a few minutes to stir up and then it’s ready to bake.
If you’re looking for a make-ahead bread dough, try my Parker House rolls.
Storage & Reheating Tips
Cool the bread completely before storing it a plastic bag or airtight container. Leftover bread can be stored at room temperature for a few days. Keep in mind that the bread is made with zero preservatives so it won’t keep as long as bread you purchase. For longer storage, refrigerate or freeze the bread. To freeze, wrap the slices securely with plastic wrap, then with a layer of foil or freezer paper. It will keep for a few months.
Leftover Love
Leftover Irish soda bread is wonderful toasted. Make avocado toast for breakfast or lunch the next day. Toast the bread, add a layer of mashed ripe avocado, a slice of ripe tomato, and top with an over-easy fried egg. Quick-Start Guide!