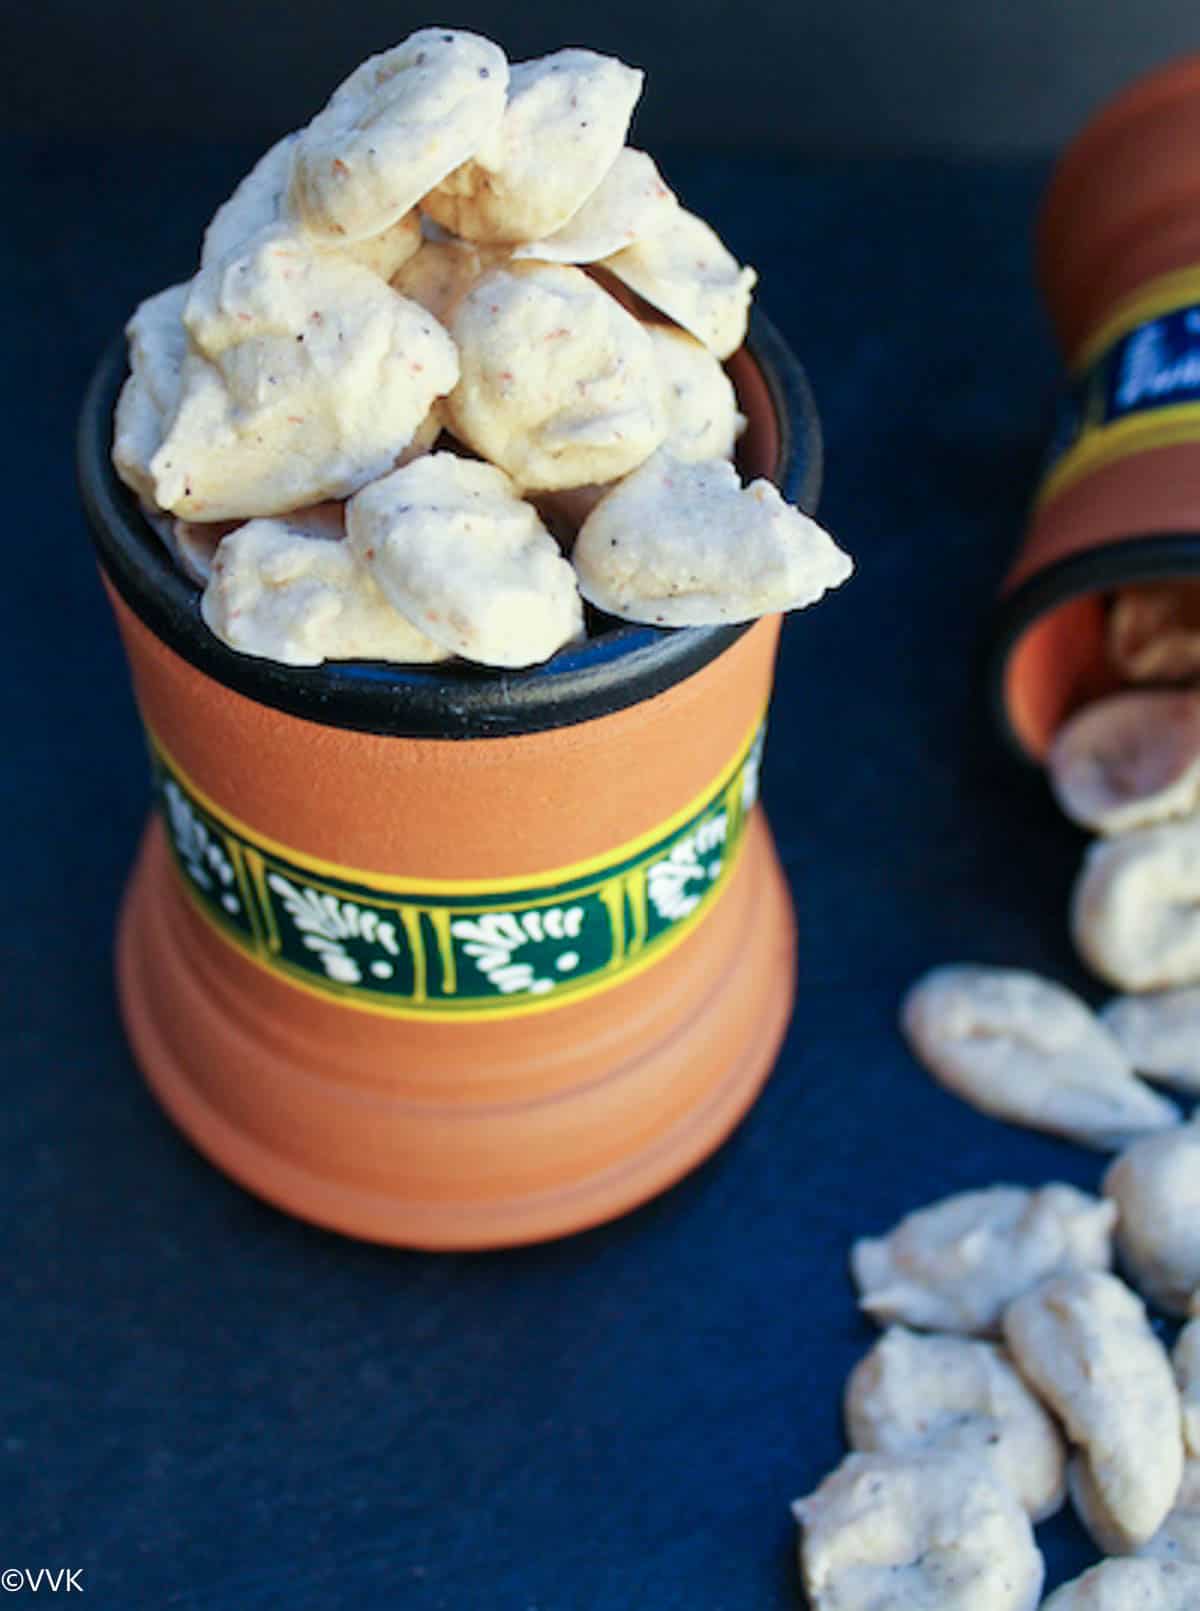
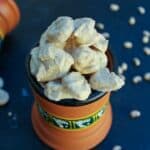
Kuzhambu vadam is a traditional South Indian dish, specifically from Tamil Nadu, used to enhance the flavor of various kuzhambu (gravy) dishes. You can find similar lentil-based fryums, aka dried lentil dumplings, across the Indian sub-continent, like moong wadi from Punjab or dal bori from Bengal. When added to kuzhambu, they impart a unique, savory flavor and a slightly crunchy texture. Karuvadam vathal kuzhambu is quite popular across the state. Of all the lentil fryums, this kuzhambu vadagam is easy to prepare. All you need is to blend the ingredients, shape and sun-dry them. Once it’s ready, you can use it in kuzhambu and kootu, deep-fry them, and use them as a side for curd rice. They say make hay while the sun shines, but I say make vadagams and stock up your pantry while the sun shines. Although buying store-bought ones is convenient, making these vadagams from scratch at home is therapeutic. Involving kids in the process creates many wonderful memories. I have fond memories of helping my mom make these vathals in my hometown. My mom, who is here with me, guided me through this process. So, without further ado, let’s dive into the ingredients and procedure.
Ingredients required
Urad dal: We need whole white urad dal for this recipe. Black-eyed peas: Traditionally, we use red ones, but I used what I had in hand, the white black-eyed peas. You can use either one. Ashgourd: Yes, we use ashgourd or white pumpkin for this vadagam. It enhances the flavor, but you can skip it if you can’t source. Dried red chilies: We use dried chilies for spicing up the vadam. You can mix Kashmiri or byadgi red chilies and regular variety for a deep red color. Asafoetida: We need a generous amount of asafoetida, which adds so much flavor. Apart from these ingredients, we need salt and water. Please check the recipe card for exact measurements.
Preparation of kuzhambu vadam
Soak and grind
Soak the urad dal, black-eyed peas, and red chilies for at least 4 hrs. After four hours, drain the water. Mix asafoetida in 3 tbsps of water and add this water while blending the batter.
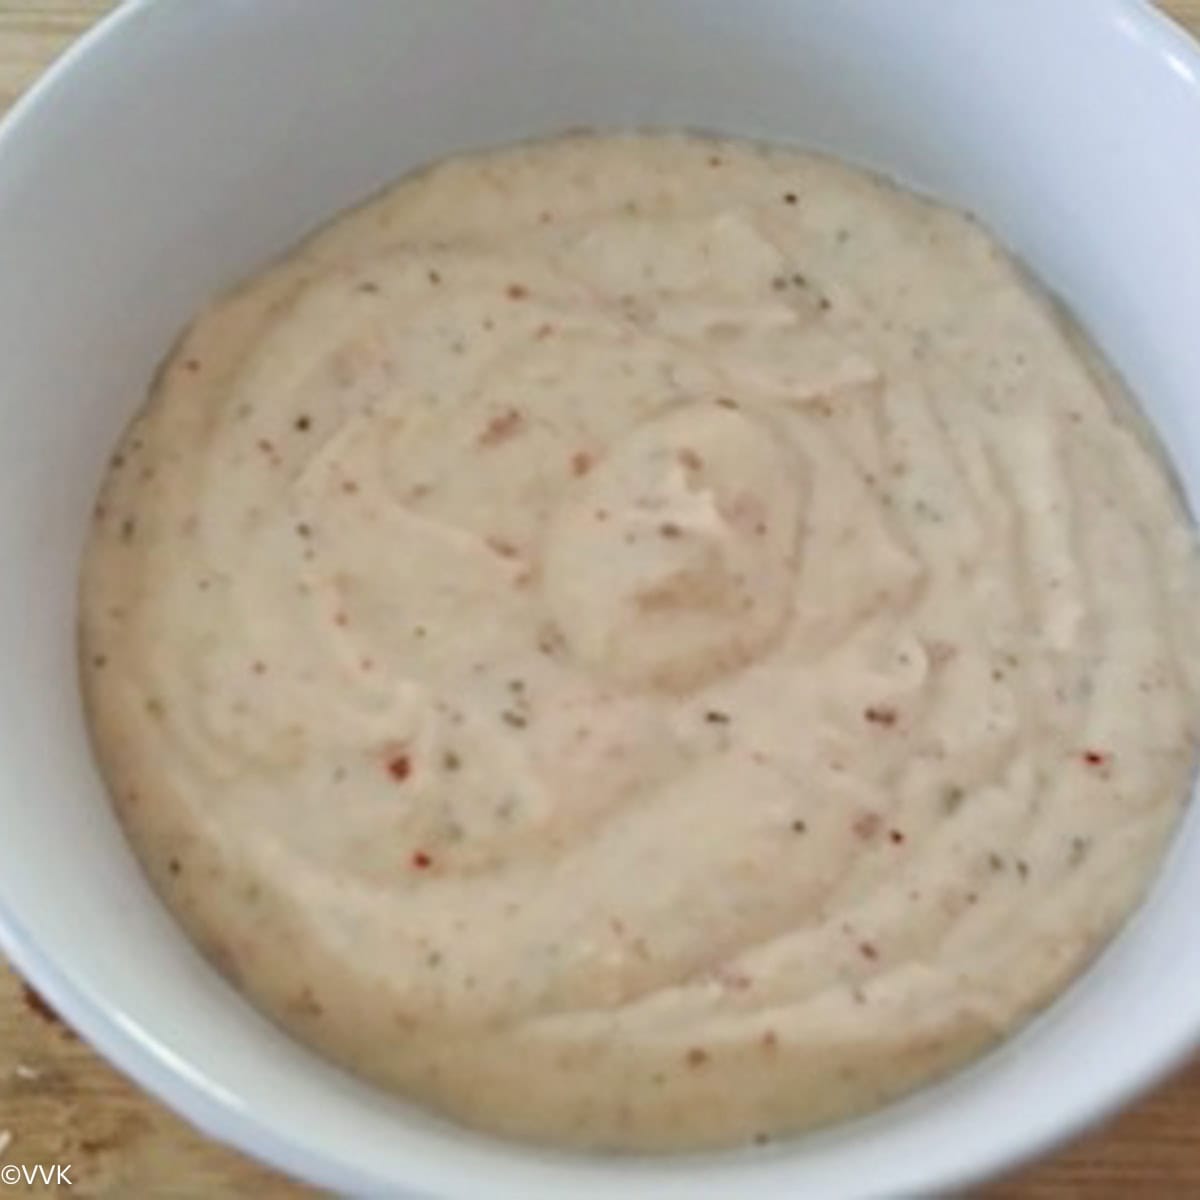
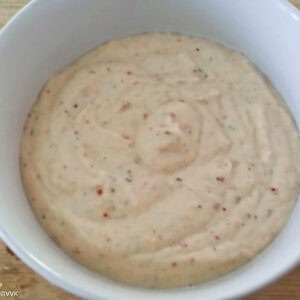
Grind the lentils, dried red chilies, and white pumpkin by adding 3 tbsps of asafoetida water. The batter should be thick. Now add salt and mix well. The vadagam/vadaam mix is ready.
Shape and dry
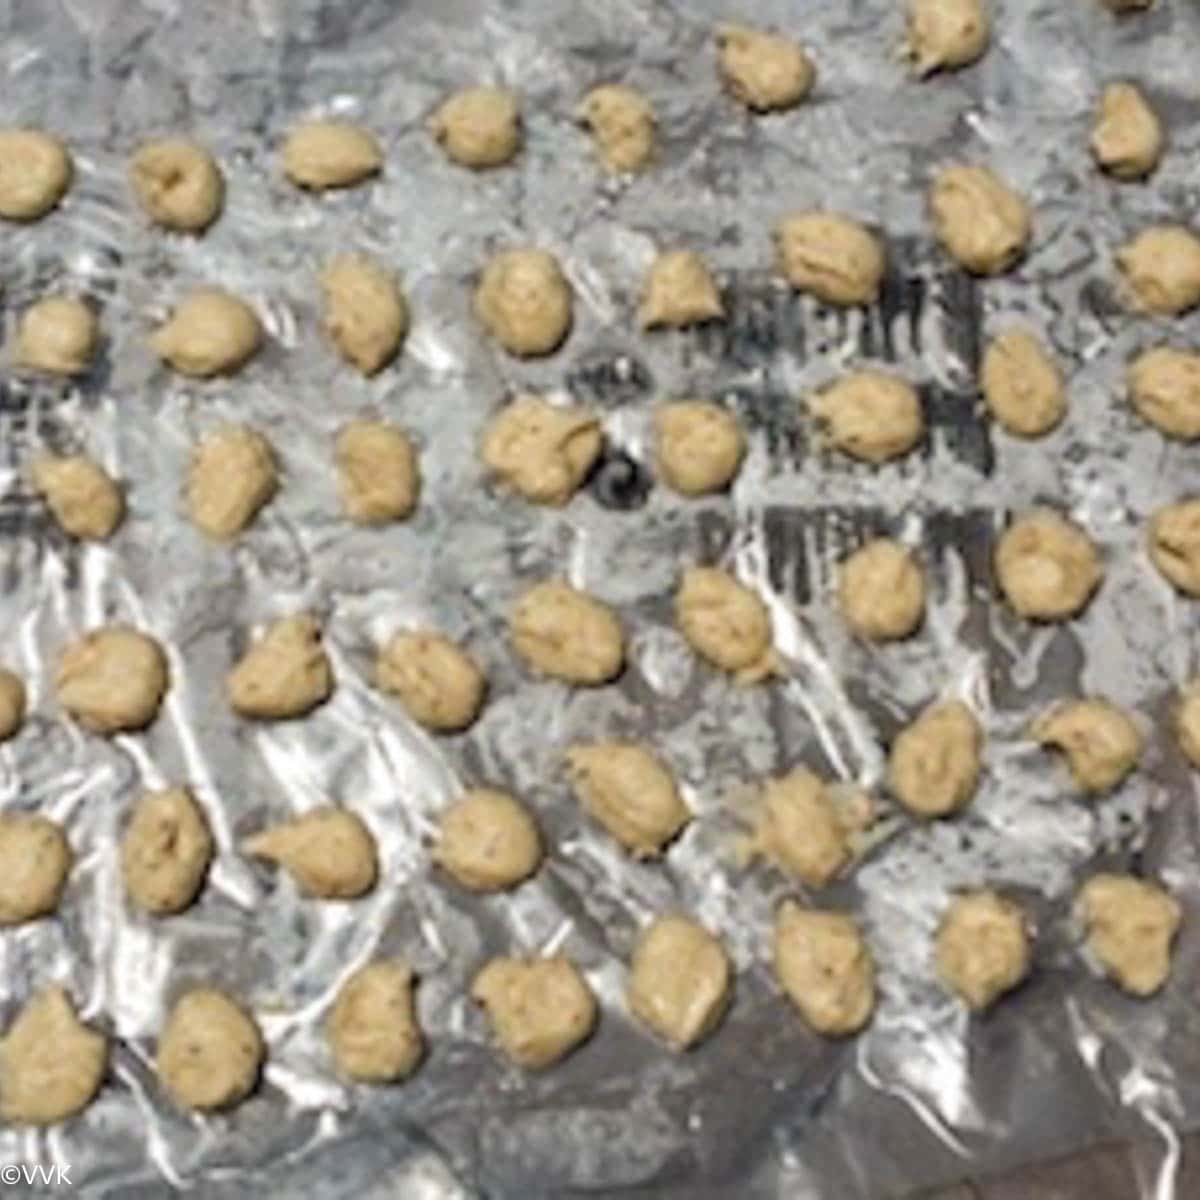
Meanwhile, in a sunny area (backyard, balcony, or terrace), place the clean plastic sheet, a silicone mat, or clean cotton cloth. Keep the water and bowl of water ready. Wet your palm, pinch the batter, and place the pinched batter on the sheet with a 1-inch space between each piece. Irregular shapes are perfectly fine. Let it dry under the sun for the whole day, and bring the sheet with the vadagams inside in the evening. The next day, flip the vadagam slowly and dry them again.
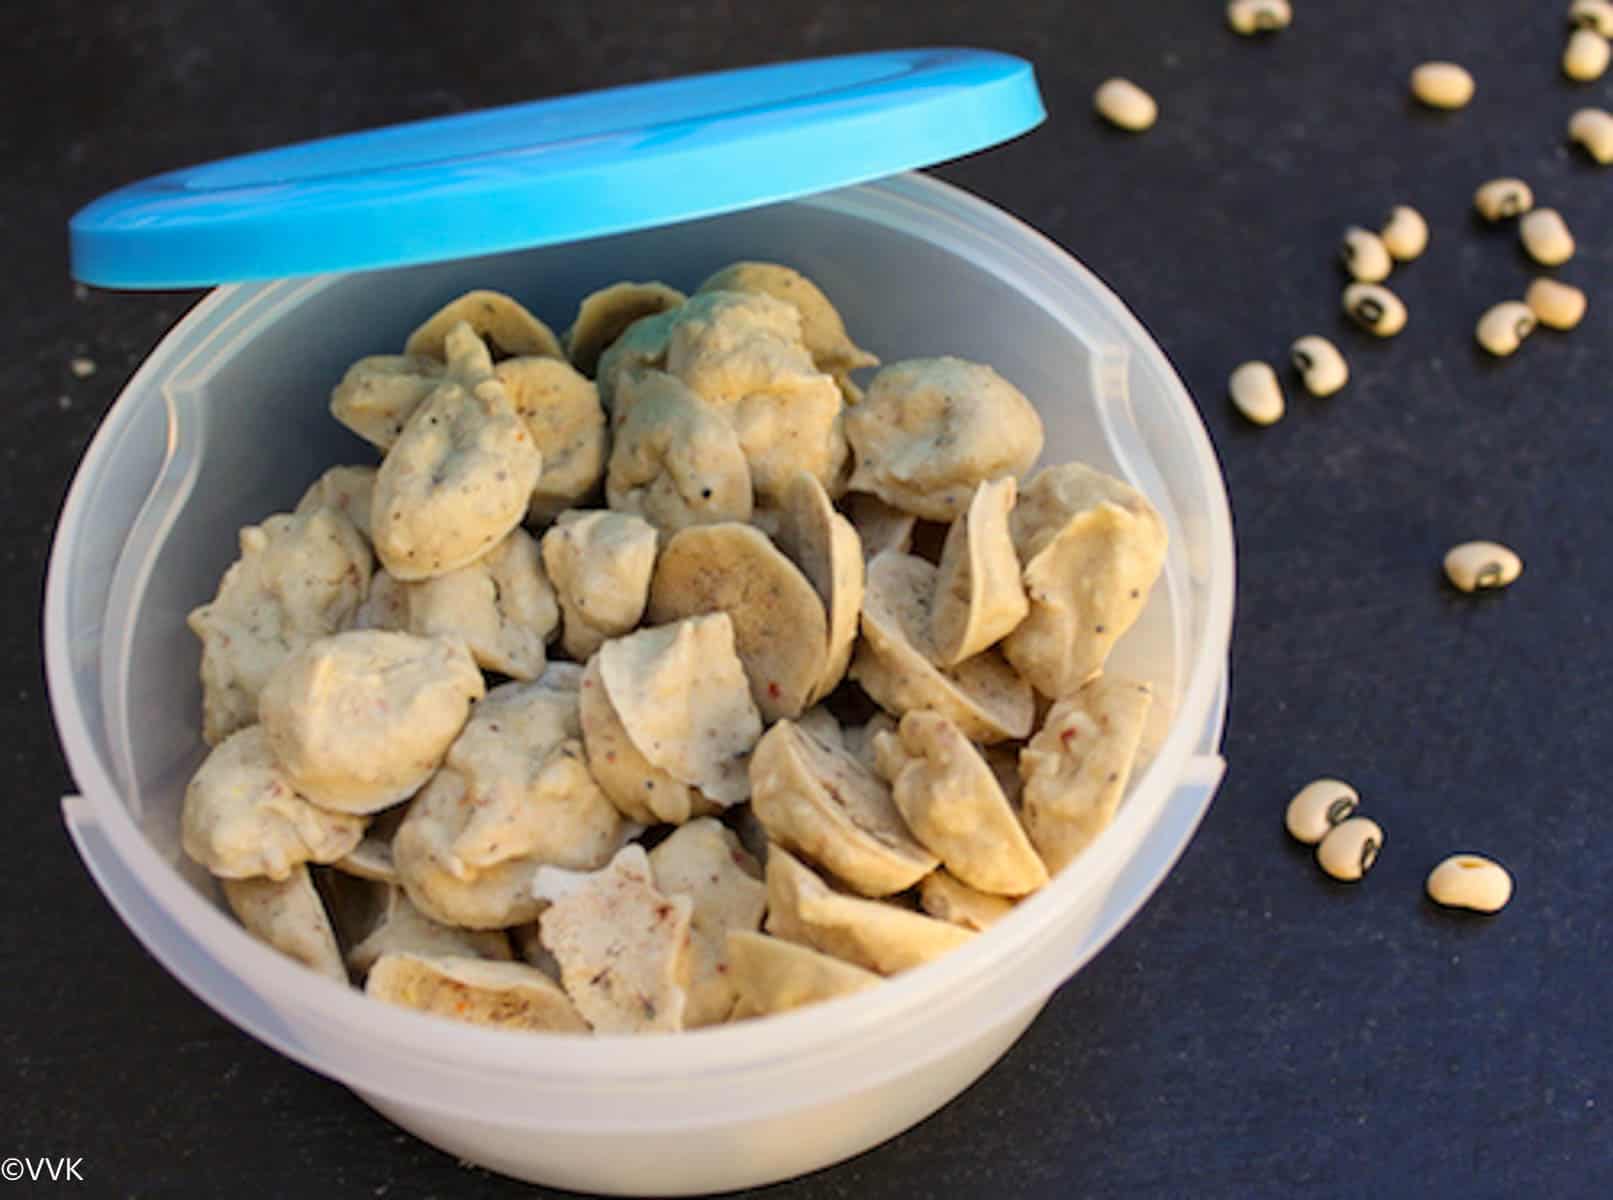
During peak summer, it gets dried up within two days, if not a maximum of 3 days. Depending on where you will be, the drying time might vary. Sometimes, it takes about five days, too. Once completely dried, store the vadams in an airtight container.
Recipe Notes
As I mentioned before, traditionally, we use red black-eyed peas; you can either red or white ones. White pumpkin is optional. If you are not using that, adjust the water accordingly. As ash gourd oozes out water, I just went with 3 to 4 tbsps of water. While grinding, drizzle the water and do not add too much water. Adjust the salt and red chilies according to your taste preference. Make sure it is dried completely before storing it in an airtight container.
VVK Tips
While grinding, do not add all the water at once. Add as needed, and make sure the batter is thick to make small round balls and dry them. Do not leave the fryums outside in the evening, as this can reduce the shelf life of the vadagam. Even a small amount of moisture can cause them to spoil.
Using kuzhambu vadam in recipes
Preparation
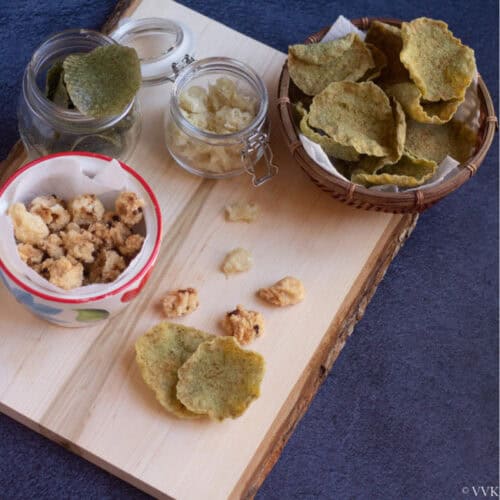
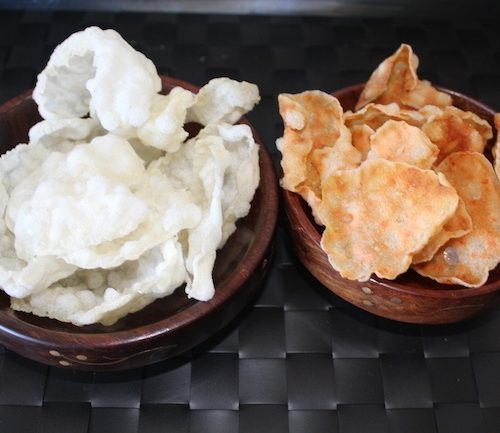
Heat oil in a pan. Fry the vadams until they are crispy and golden brown. Drain excess oil on a paper towel. You can enjoy this vadam with other rice recipes or yogurt rice. You can also add vatha kuzhambu, mor kuzhambu, or keerai kootu. It goes well in these dishes.
More homemade fryums
PS: Follow me on Instagram or join my Facebook Group for more gardening and recipe updates. If you try this karuvadam, please don’t forget to comment and rate this recipe. If you have any questions, please leave a comment, and I will get to it asap. Make sure to follow me on my Pinterest for more healthy and delicious ideas!
📖 Recipe
Update notes: Earlier posted on 2016, now updated the post with recipe card, VVK tips.