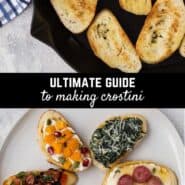
How long it takes: 10 minutes Equipment you’ll need: depends on which method of preparation you choose Servings: Makes 20 to 24 crostini Next, we’ll move on to toppings. You already know I’m a toppings girl. Everything is better with toppings! Crostini are no different; the crispy bread is great but the toppings are where it’s at. We’ll bring you six unique crostini recipes just in time for the holiday season. Scroll to the bottom of this post to see them all. Crostini aren’t just for special occasions though. They make great appetizers year-round and go well with everyday meals, especially soup and stews. Let’s cover some basics.
Crostini Or Bruschetta?
Sometimes people look at me a little crazy when I say crostini, but truth be told, crostini is actually far more common than bruschetta.
Bruschetta:
in Italian (“bruscare“), it means “to roast over coals” typically are made from larger slices of bread (for example, sourdough or Italian bread) often grilled or toasted a serving size is typically one commonly confused with the tomato topping that goes on bruschetta (come back tomorrow for our recipe for this!)
Crostini:
means “little toasts” in Italian smaller, typically made from a baguette (similar to canapés) often cut on a bias to make a larger oval shape, but they can also be round in shape can be topped with any variety of toppings or can be used as croutons on soup
In this post, we’ll cover three ways to make crostini, but the methods could easily be applied to larger slices of bread for bruschetta. All the topping recipes that follow this week could be served on a crostini or a bruschetta. We’re choosing to use crostini for all of them, but as always, you’re free to do whatever meets your needs!
Three ways to make Crostini
Cooking times will vary depending on the type of bread, how dry it is, how thickly it’s sliced, how much oil you use, and how hot your pans are. This is a great guideline, but keep a close eye on your bread while it is cooking to prevent it from burning.
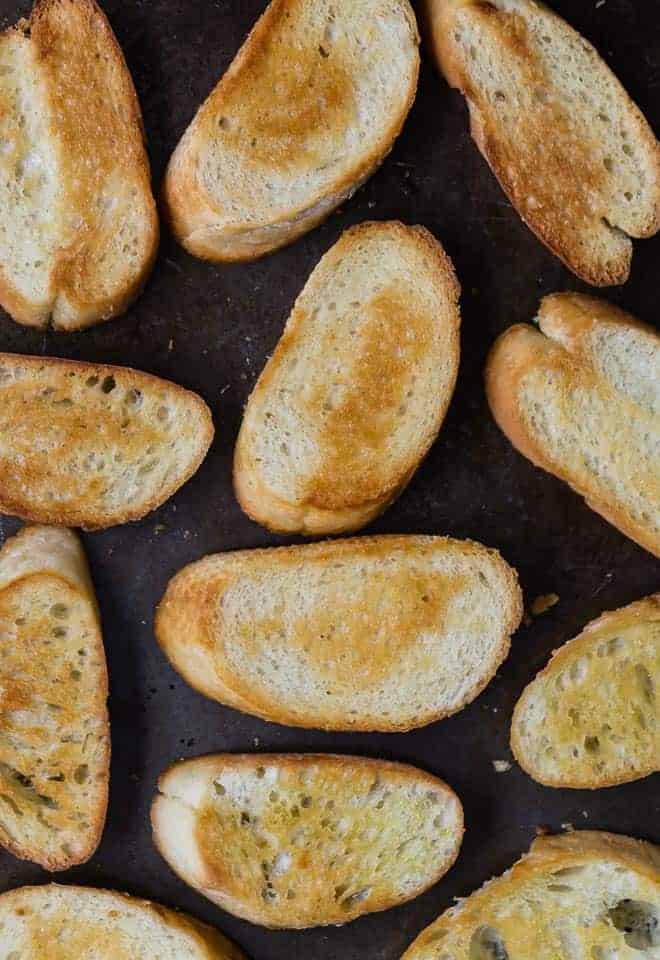
1. Bake
Baking the bread for crostini will give you the most consistent results and is great if you’re making a large batch because you can fill up a sheet pan (or two!) with the sliced bread. We tested a couple of methods. This is the on we found worked best (see the Recipe Card for more detailed instructions):
Preheat oven to 450ºF. Slice bread into half-inch slices. Brush or spray both sides of bread with olive oil. Place in a single layer on a baking sheet. Bake for approximately 7 minutes or until lightly browned. Watch closely so it doesn’t burn. Remove from baking sheet and cool on a wire rack.
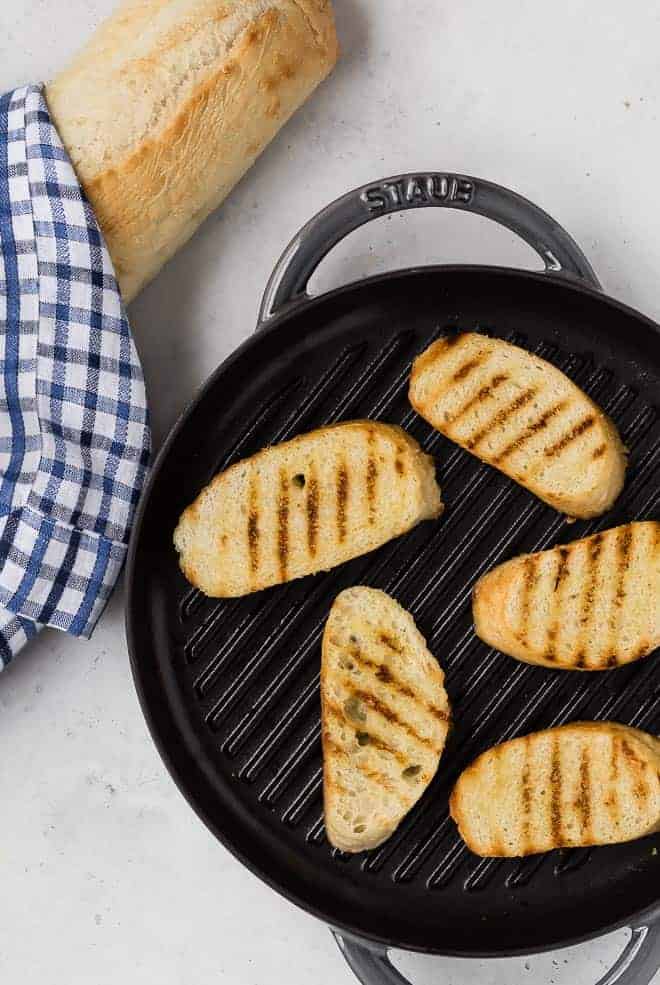
2. Grill
Grilling is probably my favorite method for a couple of reasons. First, I love the look of the grill marks on the bread especially if I’m serving the toppings separately in a bowl next to the crostini toasts. Also, I love the flavor that the grill imparts to the bread. Whether you do it on a grill pan or on an actual grill, you get some of that smoky-charred flavor.
Heat grill pan or grill to medium high heat. Slice bread into half-inch slices. Brush or spray both sides of bread with olive oil. Place bread slices on preheated grill and grill for 3 to 5 minutes per side or until lightly browned with grill marks. Remove from grill and cool on a wire rack.
3. Stovetop
This is a quick and easy method, especially if you’re making a smaller batch. It requires a little babysitting to prevent them from burning but that’s pretty true of all three methods.
Heat a heavy skillet over medium high heat (cast iron works really well!). Slice bread into half-inch slices. Add 2 tablespoons olive oil to pan. Using tongs, CAREFULLY place bread slices in hot oil. As you put each slice in, flip over to coat both sides with oil. Add more oil as needed. Cook for about 5 minutes on each side, or until golden brown. Keep an eye on them, because they’ll go from golden brown to burnt quickly, especially if your pan continues to heat up as you cook. Remove from pan and cool on a wire rack.
Helpful tools for making crostini
sheet pans, grill pan, or heavy frying pan olive oil sprayer or silicone brush tongs wire rack for cooling
Troubleshooting
Make Ahead Ideas
Storing: Crostini taste best when they are freshly toasted but you can make the them up to 3 to 4 days in advance, if you prefer. Cool crostinin completely before storing in an airtight container. Be aware, they might get slightly more crunchy/hard as time goes on. Make sure to add toppings immediately prior to serving, otherwise the crostini will get soggy. Freezing: You can also freeze them, but if you’re planning to do this, I’d recommend slicing the bread and freezing prior to toasting/cooking it. It will taste better and have a better crunch than if you cook it first and then freeze it.
Topping Ideas for Crostini
Here are some recipes to get you started!
Roasted Grape and Ricotta Crostini – If you’ve never had roasted grapes, you have to try these! The combination of the sweetness of the grapes paired with savory thyme and a drizzle of honey is out of this world. Roasted Tomato and Ricotta Crostini – I originally got this idea from my mother-in-law and it has become a family favorite! Basil Pesto Crostini – Spread pesto on crostini and top with roasted tomatoes or fresh tomatoes. Be sure to try my cilantro pesto and arugula pesto, too. If you like cheese, begin with layer of spreadable cream cheese, then pesto, then tomatoes. Beet Bruschetta with Orange Tarragon Goat Cheese Creamy Pea Crostini with Crispy Pancetta Butternut Squash Crostini with Ricotta Wild Mushroom Crostini with Goat Cheese Creamy Kale Bruschetta Classic Tomato Bruschetta Baked Goat Cheese Dip with Lemon and Thyme Keep it simple with a smear of roasted garlic, homemade hummus, or guacamole.
Quick-Start Guide!