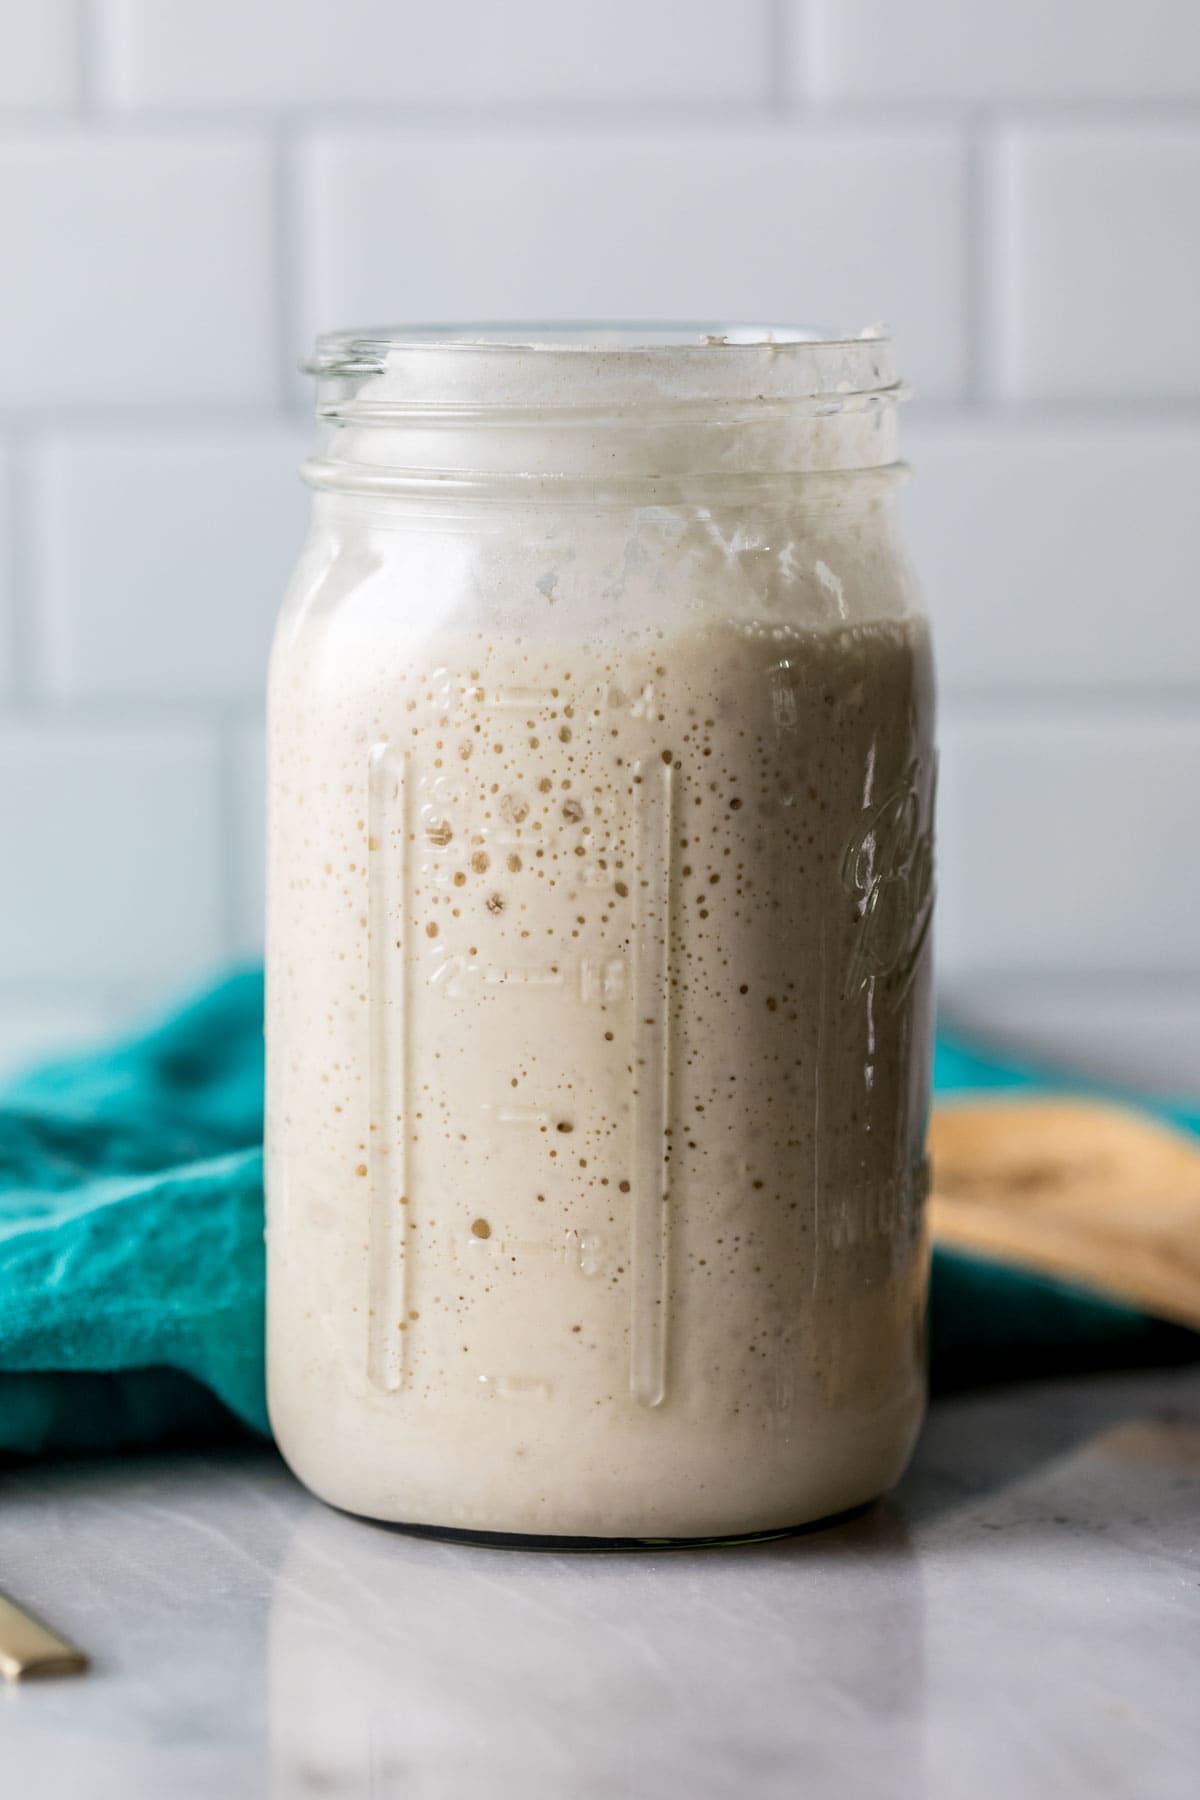
Easy Sourdough Starter
Today I’m sharing my favorite tips and tricks on how to make a sourdough starter. Homemade sourdough took the internet by storm in 2020 and has since become a weekly routine for many bakers (including me!). I’m sharing everything I’ve learned over the last few years so you can enjoy sourdough bread, pancakes, sourdough english muffins, and more, too! Just like baking with yeast, I know that homemade sourdough can be intimidating. But again, just like with yeast, there’s really nothing to be afraid of. If you can measure flour and water, you can do this! Today’s post will outline how often to feed your starter, signs that it’s gone bad, what to do with the discard, and more. Also, I’ll be sharing several recipes that incorporate this sourdough starter (and the discard, too!) over the next few weeks, so keep an eye out for those! 😊
What You Need
All sourdough starters are essentially the same, but the amount of flour and water used may vary. Here’s what I recommend:
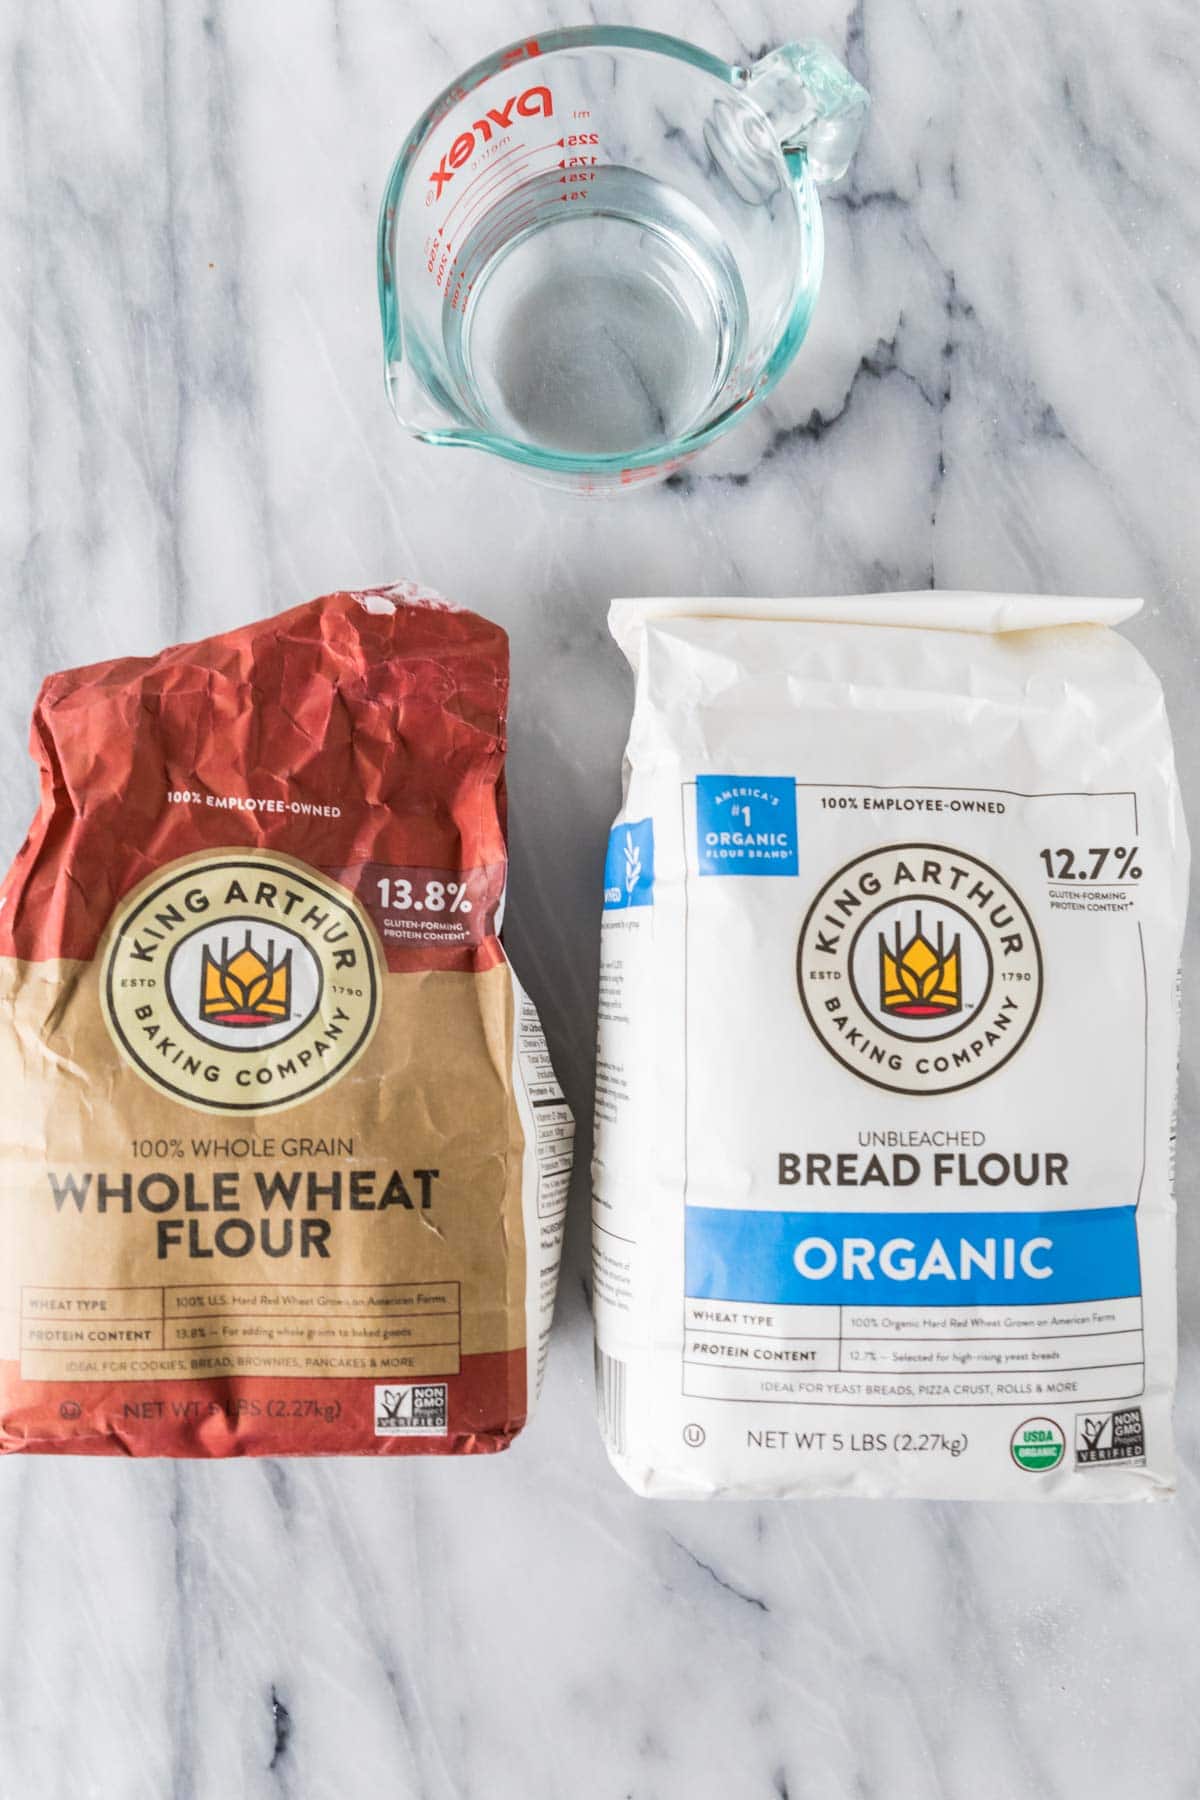
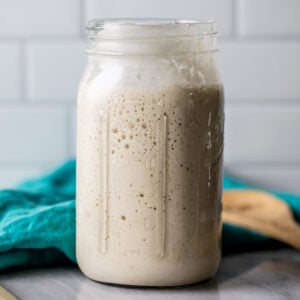
Flour. I begin with whole wheat flour for the first few days (it feeds the starter with more diverse microorganisms, and some people claim it quickens the growing process). After that, I switch to bread or all-purpose flour. I recommend you switch to the flour you’ll be baking with most often and stick with that; for me, that’s bread flour because that’s what I use to make my sourdough bread. Water. If your water isn’t filtered, use bottled water, at least in the beginning. I don’t recommend using unfiltered water because the chemicals in it, such as chlorine, can slow or kill the starter. Glass jar. Place your sourdough starter in a glass that allows room for it to double; I like to use a quart-sized mason jar. I recommend using a rubber band or dry erase marker to note the levels when feeding the starter so you know once it’s doubled.
SAM’S TIP: Sourdough starters aren’t an exact science, but weights are easiest for this recipe to ensure you’re using equal parts water and flour, so I really recommend using a kitchen scale (it’ll save you dishes, too). I use 80g of flour and water, but you can really use any amount, so long as it’s the same weight of both. You can easily increase or decrease this amount for larger or smaller recipes (just discard more or less starter and add more or less water/flour), as long as you maintain 100% hydration, meaning equal weights of flour and water.
How to Make A Sourdough Starter
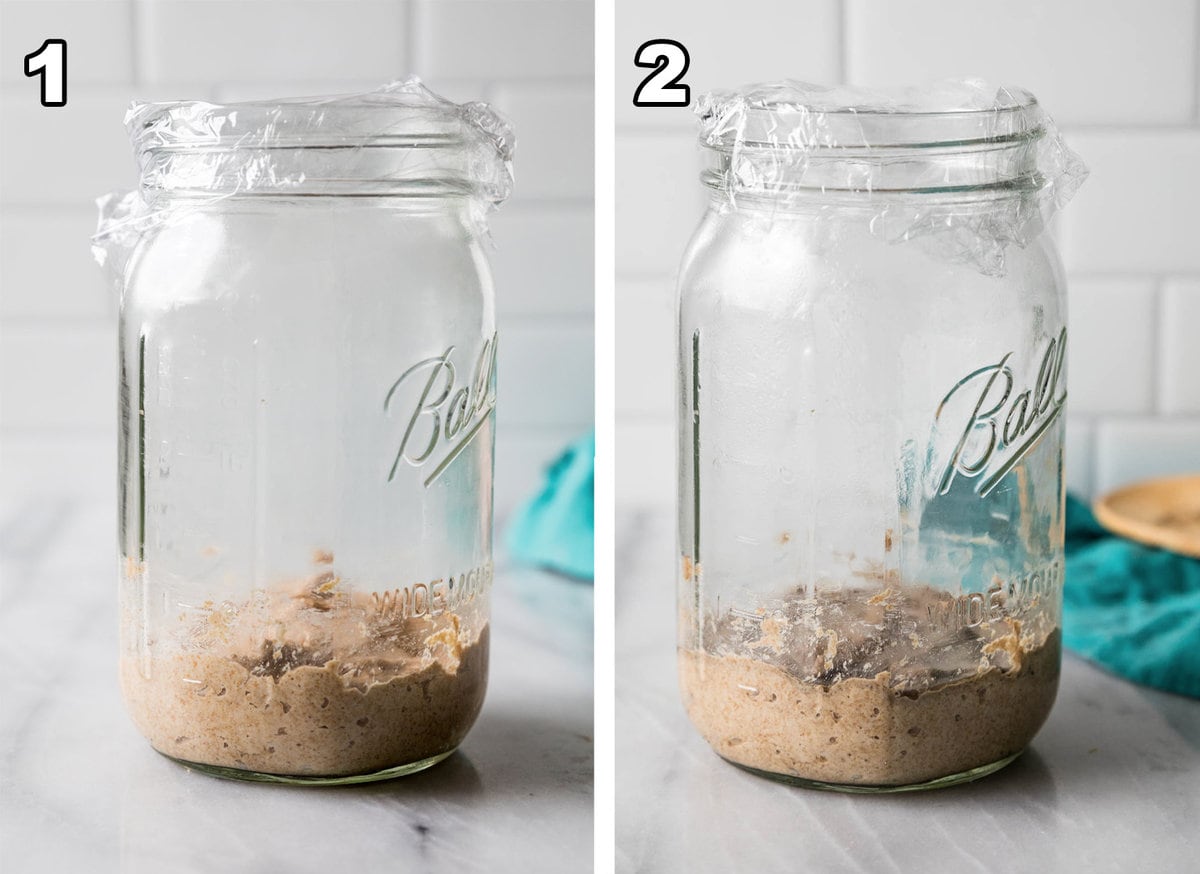
Days 1 & 2
Start by combining your whole wheat flour and warm water in a large glass jar that is large enough for the starter to double. Make sure to stir until there are no dry spots of flour remaining, then cover and place in a warm location for 24 hours. On day 2, you may notice some liquid on top of your starter, no worries! Just stir your starter and remove slightly more than half (if you want to be precise, which you do not need to be, reserve 80 grams of starter before adding 80g each of flour and water). Cover and let rest in a warm spot for another day. When discarding, you can use a kitchen scale or just eyeball it, fortunately it is not an exact science. However you must discard, otherwise you will have even more waste because you’ll have to keep feeding the starter more and more. SAM’S TIP: You can feed your discard to make a new sourdough starter to give as a gift or refrigerate it and keep as a spare (something I wished I’d done when I lost my first starter to a fly!). You can also use your discard in other recipes; I have a sourdough pancake recipe that uses discard. Note that you cannot begin using the discard for at least a week.
Days 3 & 4
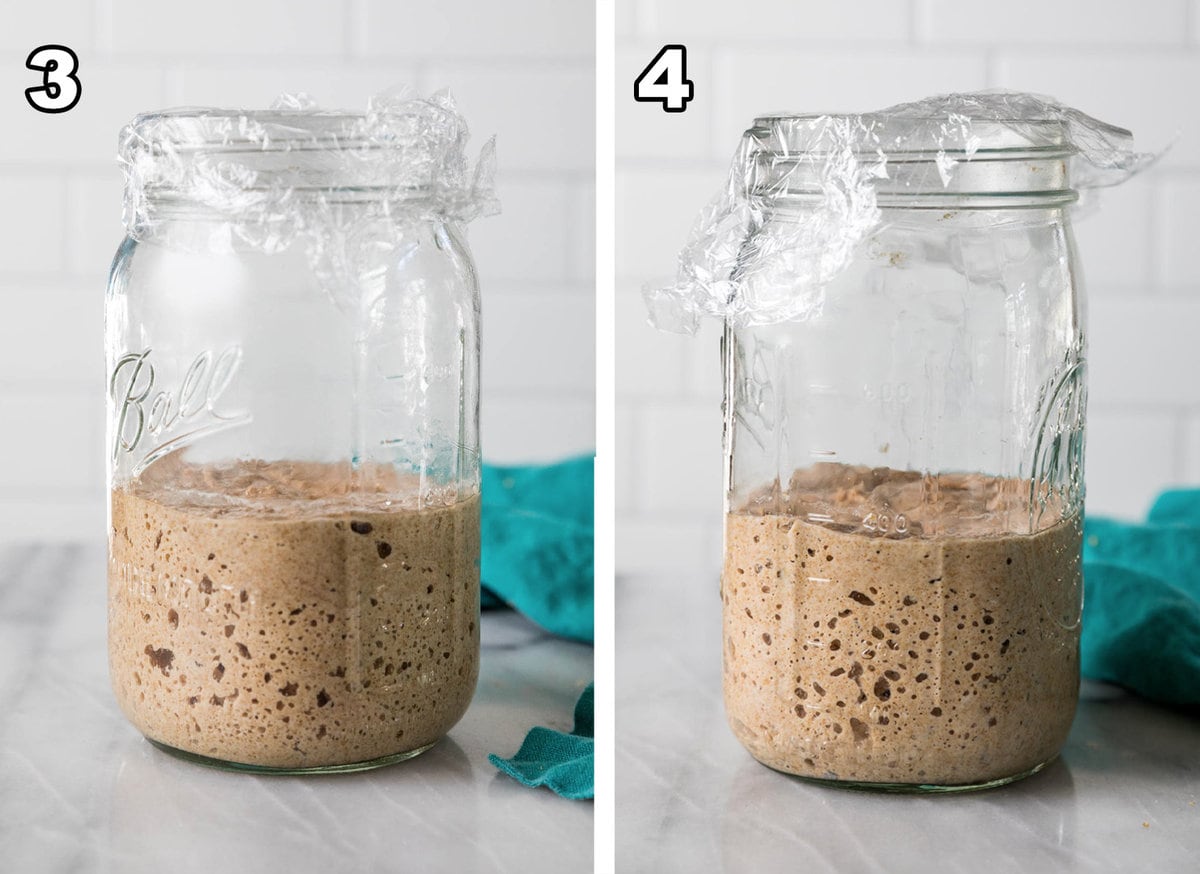
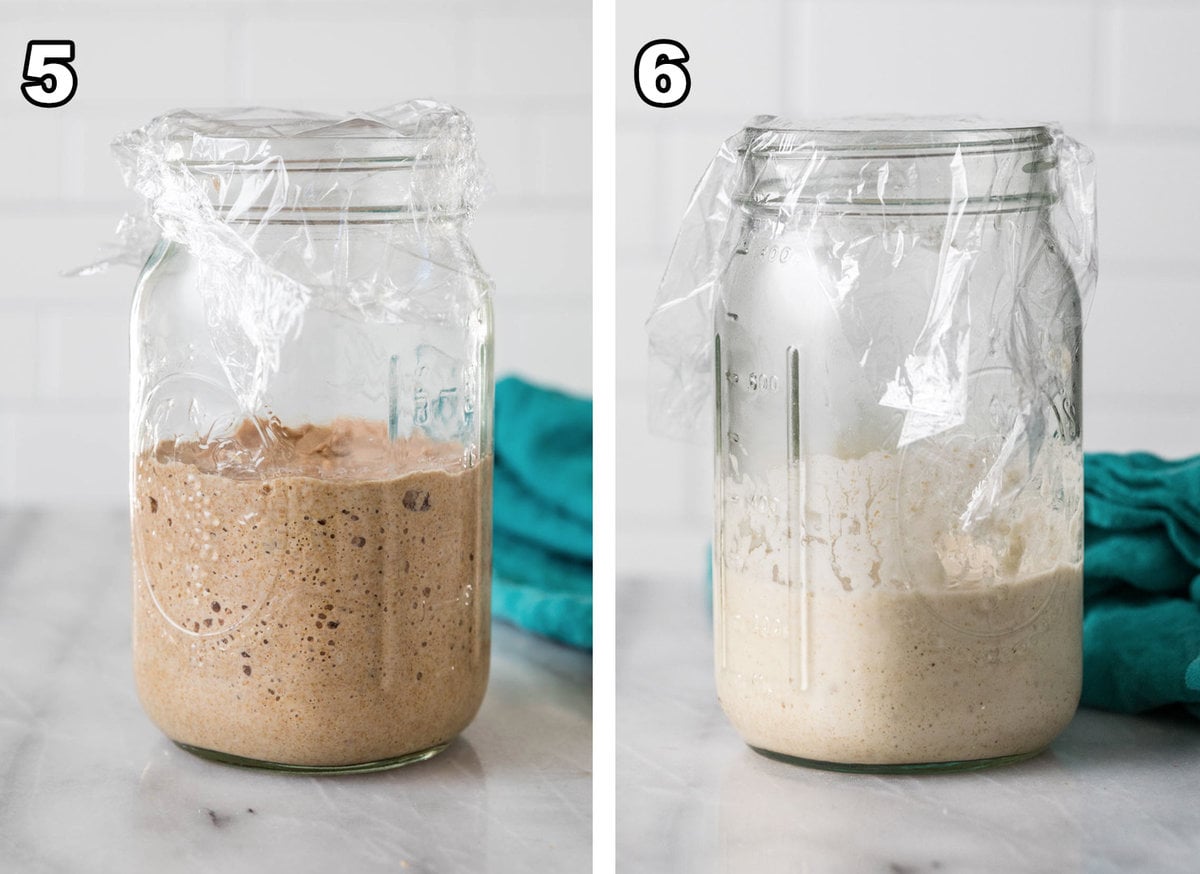
On day 3, your starter may begin to grow some bubbles. Again, you’ll want to remove all but 80 grams (a bit over half), then stir in equal parts (80g each) of warm water and flour. You may see some bubbles at this point. On day 4, repeat the same steps as days 2 and 3. You should definitely see some bubbles in the starter at this point.
Days 5 & 6
Things start to change on day 5! First, you may notice that your starter has begun to increase in size after feeding. Second, you’ll now start discarding and feeding twice a day. Finally, you’ll switch over to your new flour (either bread or all-purpose depending on your preference). On day 6, repeat the same steps as day 5. You’ll notice the starter getting lighter in color as the ratio of whole wheat flour remaining drops. SAM’S TIP: Try to feed your sourdough starter at the same time every day! I’ll admit that I’ve definitely forgotten and fed mine much later, or even accidentally skipped a day (not recommended until after you’ve established your starter).
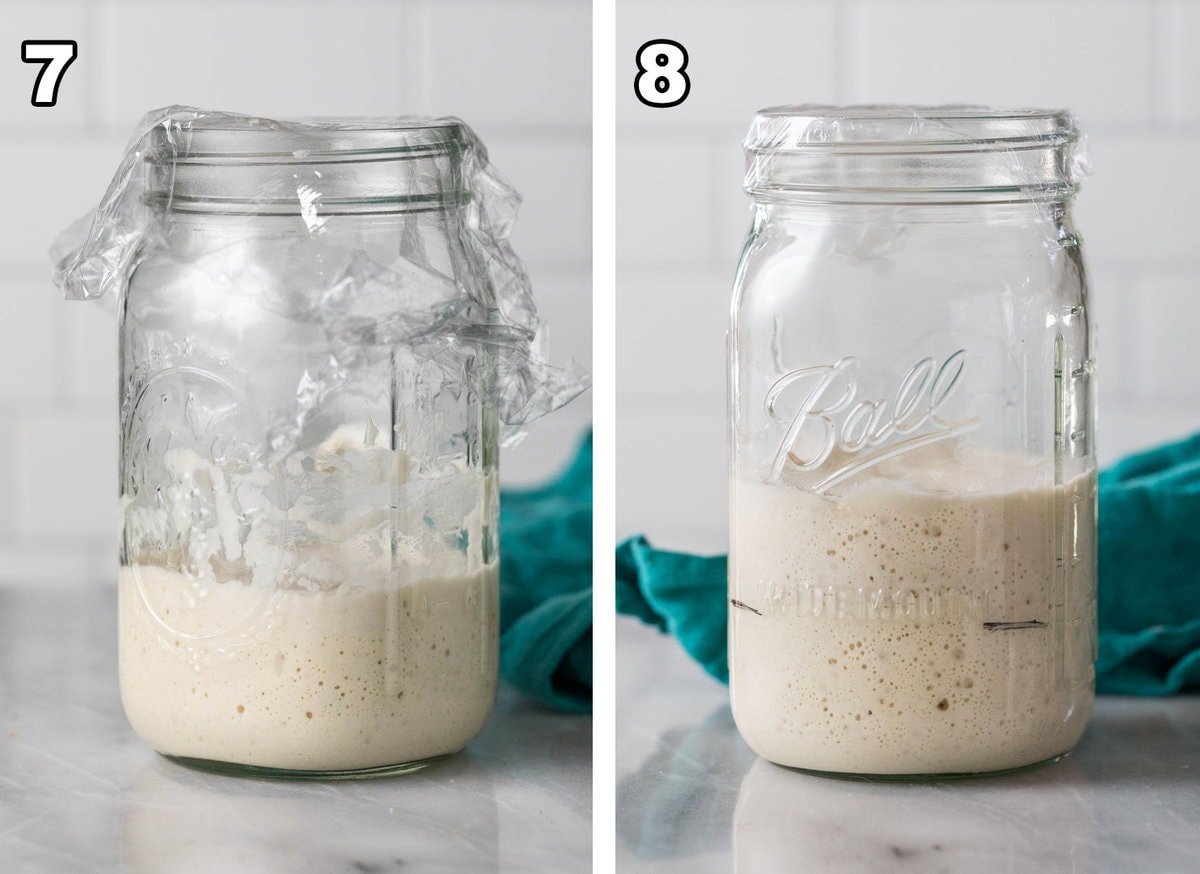
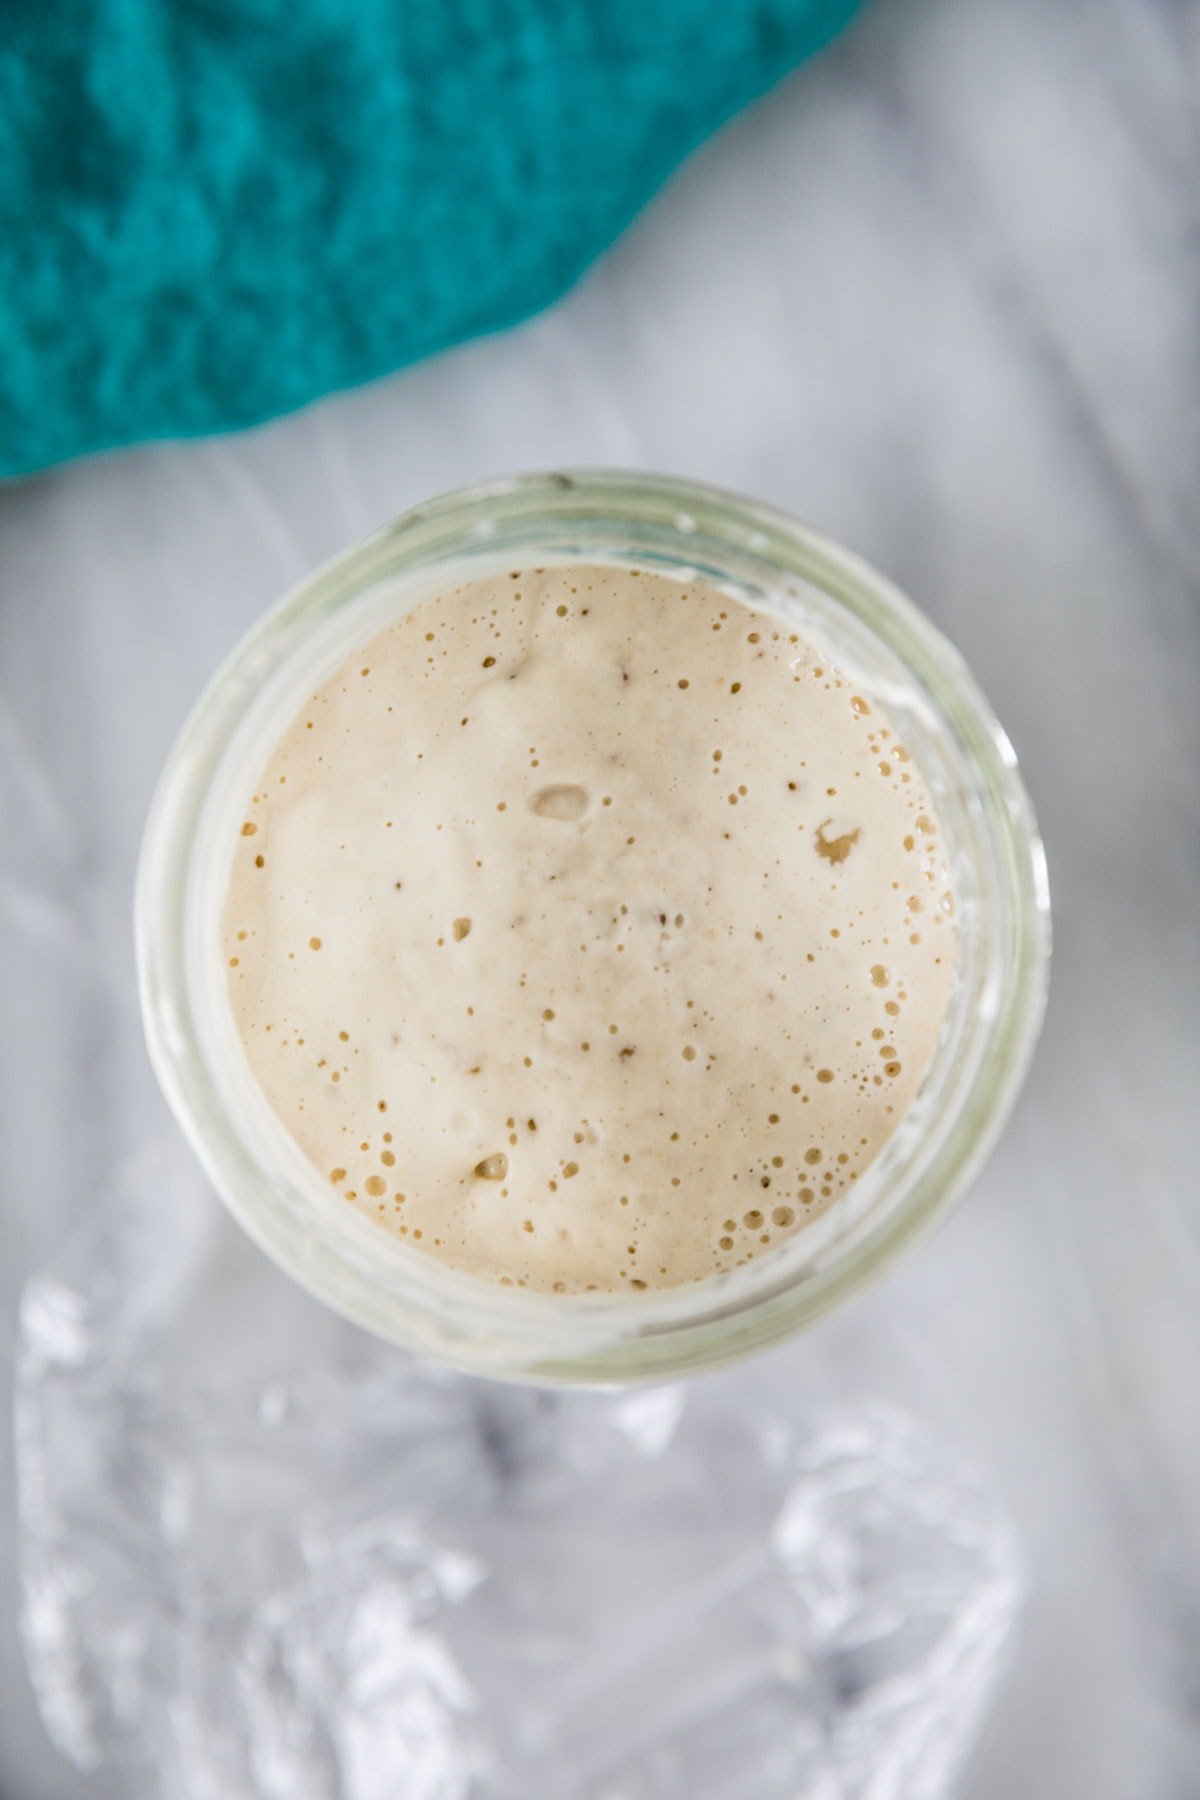
Days 7 & 8
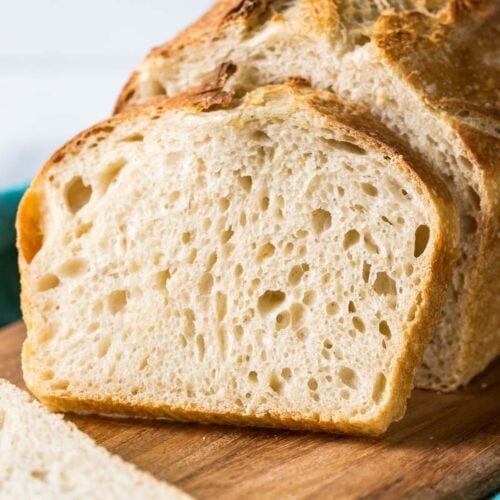
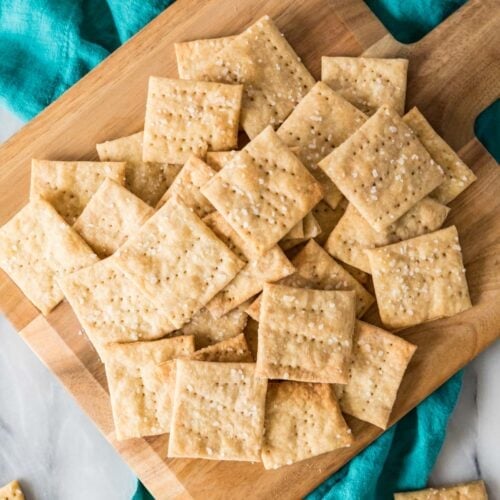
Day 7 is the same as days 5 and 6. Make sure to discard and feed with your new flour twice a day at this point. Day 8 should find you with a bubbly and vigorously (or, at least, more vigorously than previously) growing sourdough starter. At this point, it should be doubling in size within 6-8 hours, so you can reduce feedings back down to once per day. You may note the black line on my jar for “Day 8”; I mark the starter’s height right after feeding and then I can easily see once it’s doubled (as it has in the photo). If yours hasn’t quite reached this stage yet, keep feeding twice a day until it does, it’ll get there! The last time I made a new starter it actually took closer to two weeks before mine was doubling within 8 hours (I attribute this to the cool weather and my chilly kitchen). Now you know how to make a sourdough starter! Keep discarding and feeding the starter every day for at least two weeks or longer before using in recipes. Check the recipe notes below for more details on maintenance and storing options. SAM’S TIP: To speed up growth, keep the starter in a warm (but never hot) location, like on top of the refrigerator. If I’m trying to speed up the growth of my starter (say I fed it a bit later than usual, and I want to use it sooner rather than later), I’ll place mine in the oven with the oven light on (do not turn on the oven!!). Oh, and don’t forget to name your starter! My current starter is named “Scotty”. I made a brand new starter for today’s post (so I could photograph its day-by-day growth) and named her Ophelia. I couldn’t bring myself to just toss her when I was finished growing her (you do get attached 😆) so my sister adopted her when I was finished. I use my sourdough starter often, so I just store it at room temperature and feed once a day (this is after the initial growing period). If you won’t be baking as often, you can feed it, let it eat for 2-3 hours, then put it in the fridge where you can feed it weekly. When you are ready to use it, feed the starter and watch for it to double before proceeding. Enjoy, and stay tuned! I have lots more sourdough recipes coming up, including sourdough bread and sourdough pizza crust, and save your discard for making sourdough chocolate chip cookies, sourdough crackers, sourdough brownies, and more! Let’s bake together! I’ll be walking you through all the steps in my written recipe below! If you try this recipe, be sure to tag me on Instagram, and you can also find me on YouTube and Facebook
Related Recipes