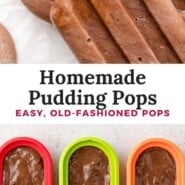
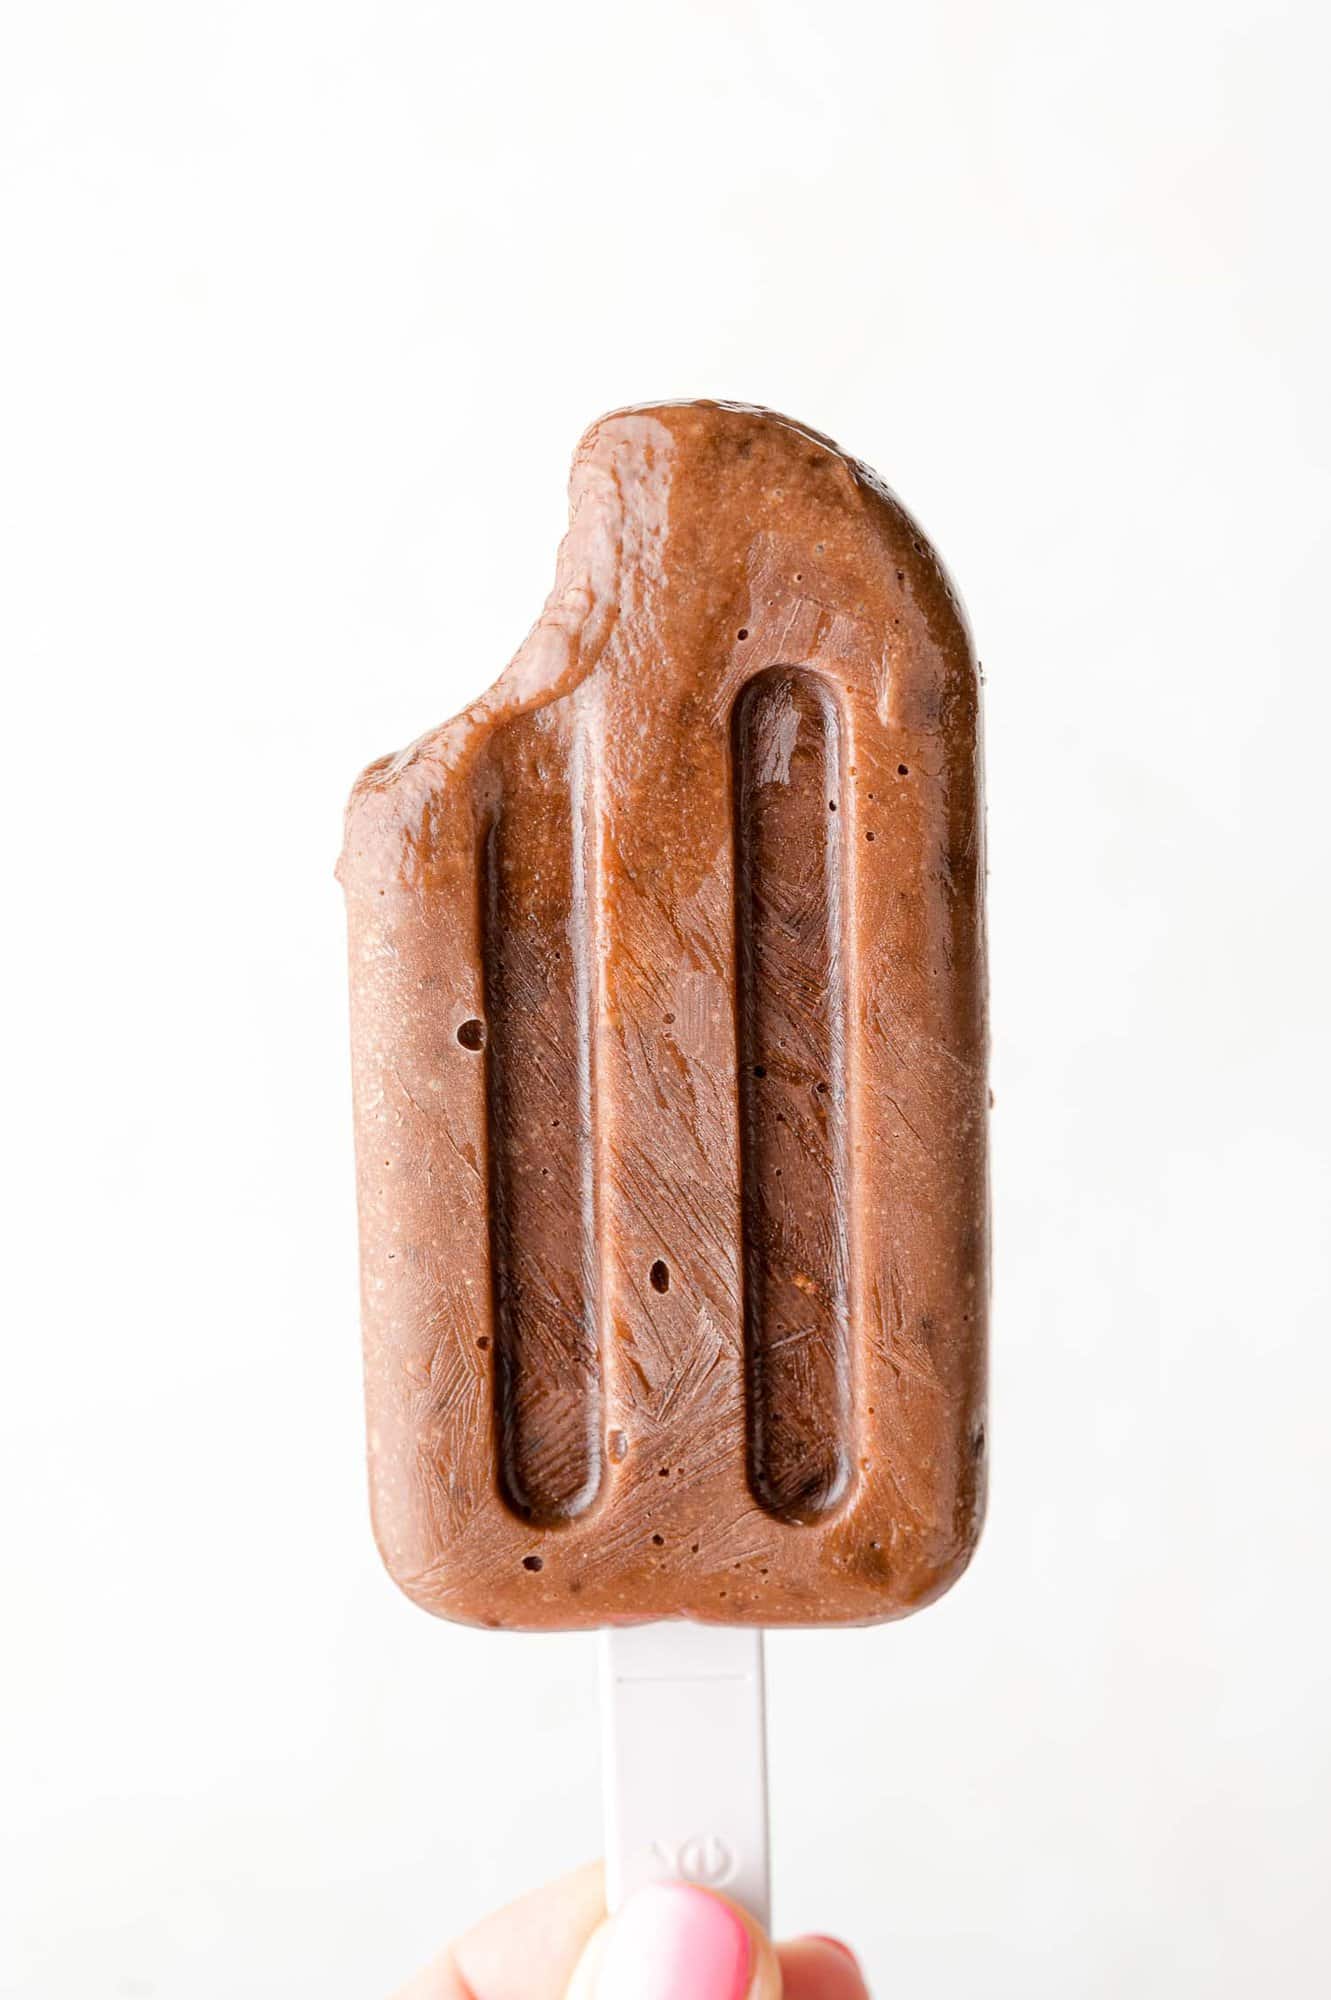
How long it takes: 5 minutes to prep, plus at least 3 hours to freeze Equipment you’ll need: bowl and popsicle molds Servings: 4 popsicles, depending on the size of your molds Anyway! They don’t make pudding pops anymore but luckily for us, they’re a cinch to make at home. These homemade pudding pops come together in a snap with just two simple ingredients. (Bonus: when you DIY it, they can all be chocolate.) If you’re wondering, chocolate pudding pops are very similar to fudgsicles or fudge pops which are still available in grocery stores today. They have the same creamy texture (but without all the artificial flavor and color!).
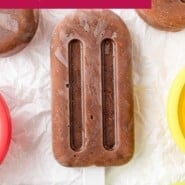
Frosty Homemade Pudding Pops
A fun treat (and activity!) for kids. Older kids can make these homemade pudding pops themselves, and younger kids can help you whip them up! Even if you can’t enlist your kids to make them, I can guarantee that they will enjoy eating them. Customizable flavors. You can make any flavor of pudding pops that you want by using different instant pudding mixes. Always dreamed of having pistachio pudding pops? Go for it! Great for hot summer days. Homemade pudding pops are the perfect way to cool down while indulging in a sweet treat. (You’ll also love these funfetti pudding pops and banana popsicles.)
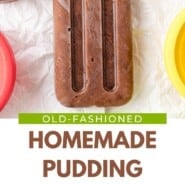
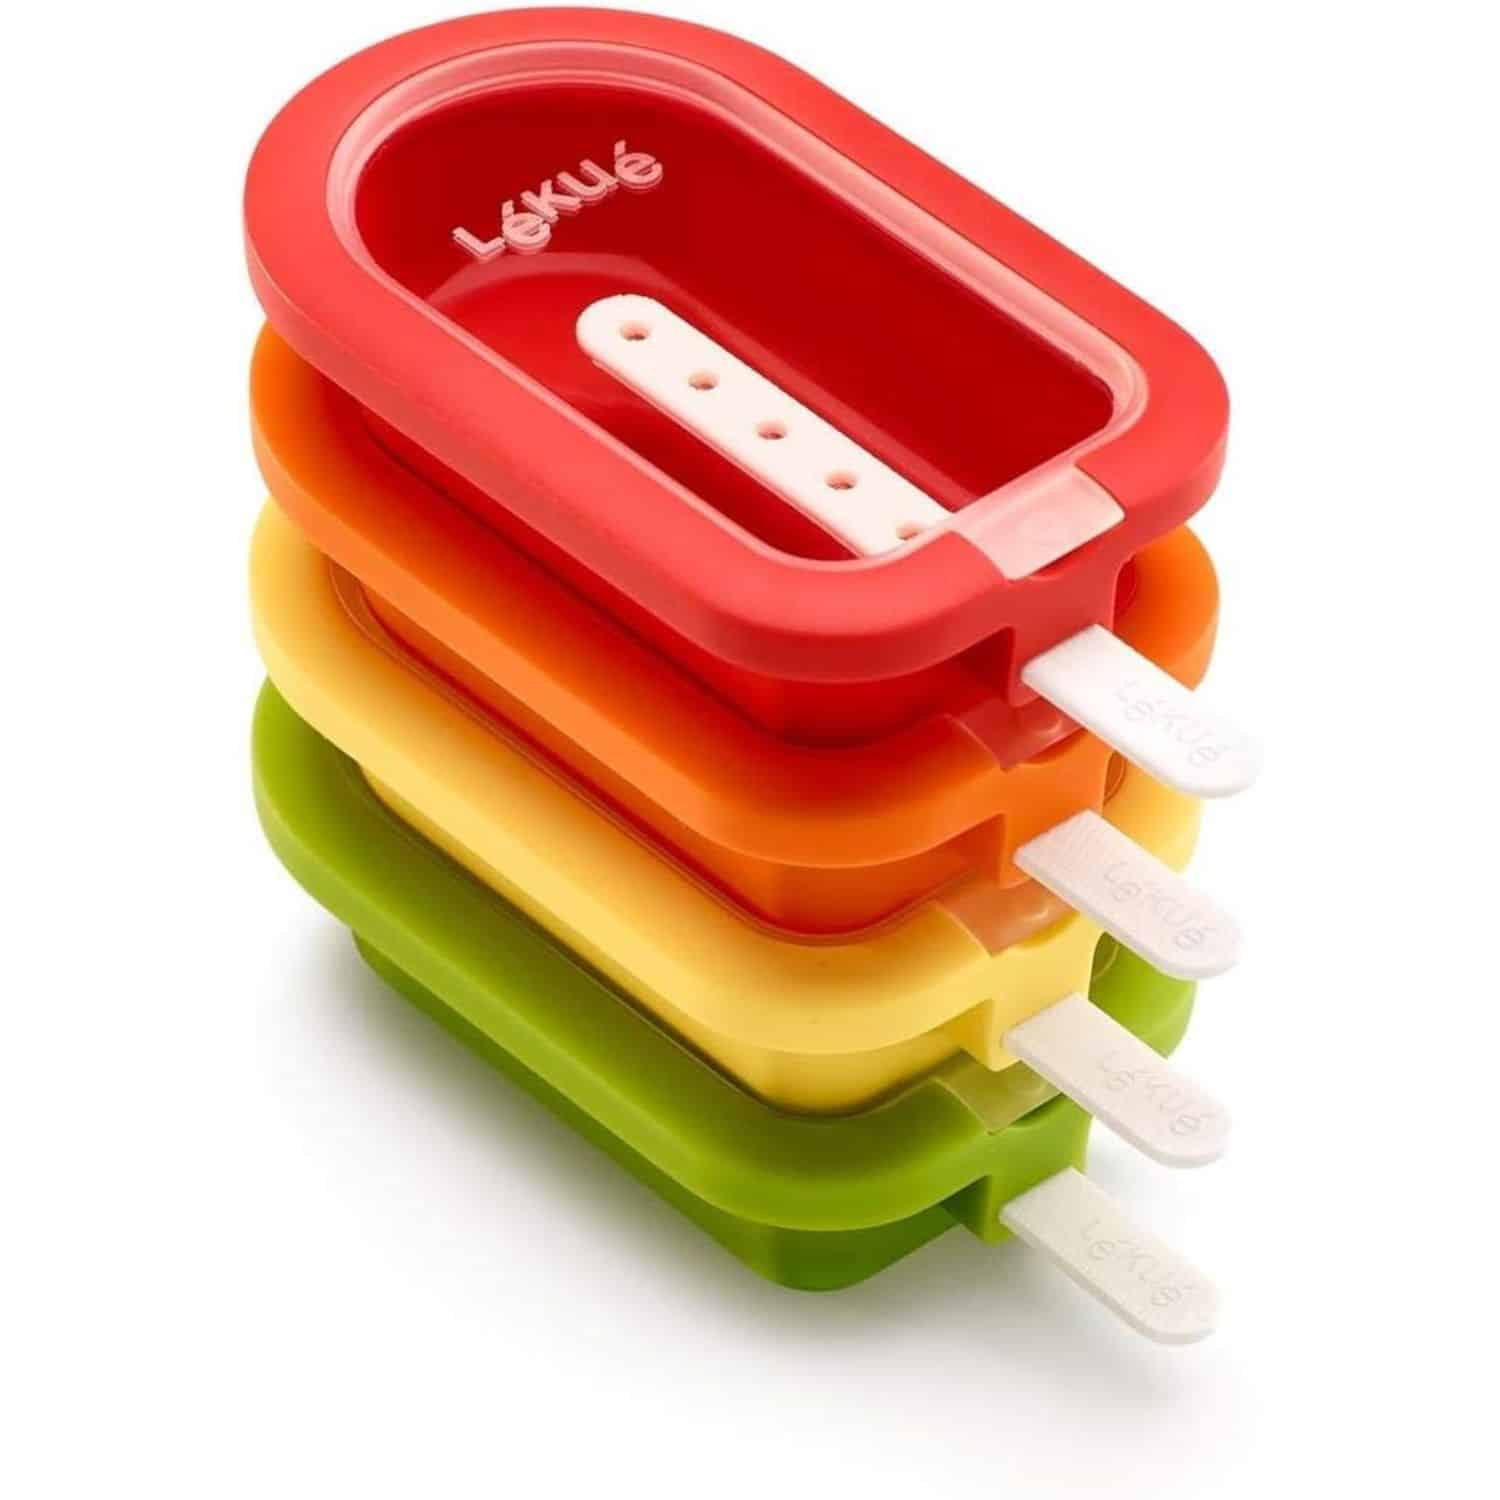
Don’t Have Popsicle Molds?
If you don’t want to buy popsicles molds, you can still make pudding pops. Pour the pudding into 3 oz. beverage cups, cover with foil, and insert a wooden popsicle stick. The foil will keep the popsicle stick vertical until the pudding freezes. There are many inexpensive molds you can choose from. I have these popsicle molds and they work perfectly. I love that they’re easy to fit in my freezer.
Ingredient Notes
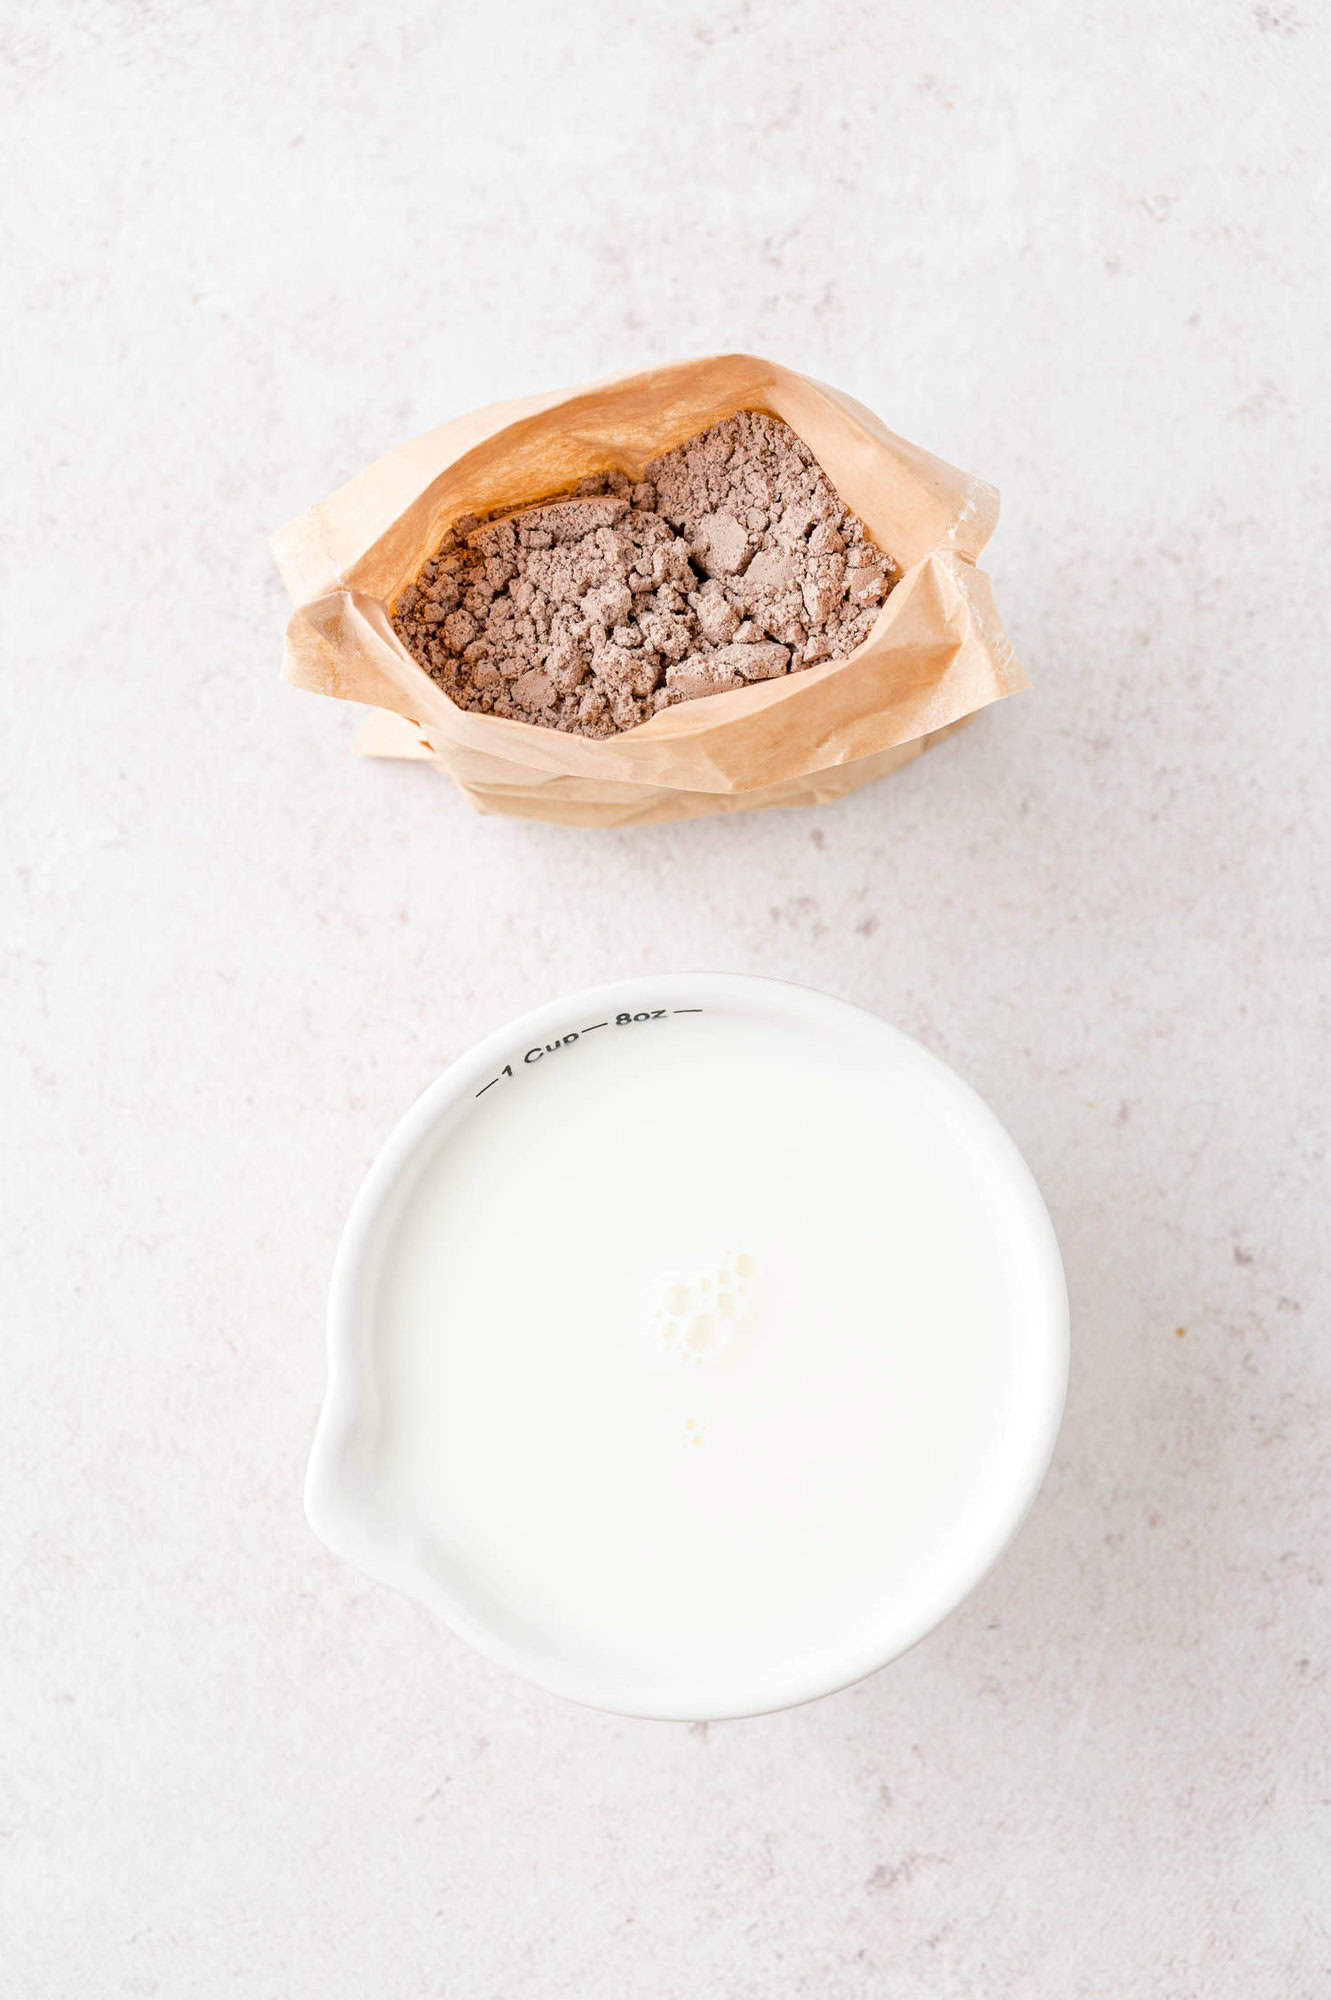
Instant pudding: Some varieties are 3.4 ounces, while others are 3.9 ounces. Either size will work, however, make sure it’s instant pudding, not the kind you have to cook! Here’s a list of the flavors I saw on the Jell-O website: butterscotch, cheesecake, chocolate, lemon, pistachio, vanilla, banana cream, chocolate fudge, coconut cream, French vanilla, pumpkin spice, white chocolate, milk chocolate, and finally, cookies & cream! Milk or half & half: The higher the fat content of the milk, the creamier the pudding pops will be. You can also use nondairy milk.
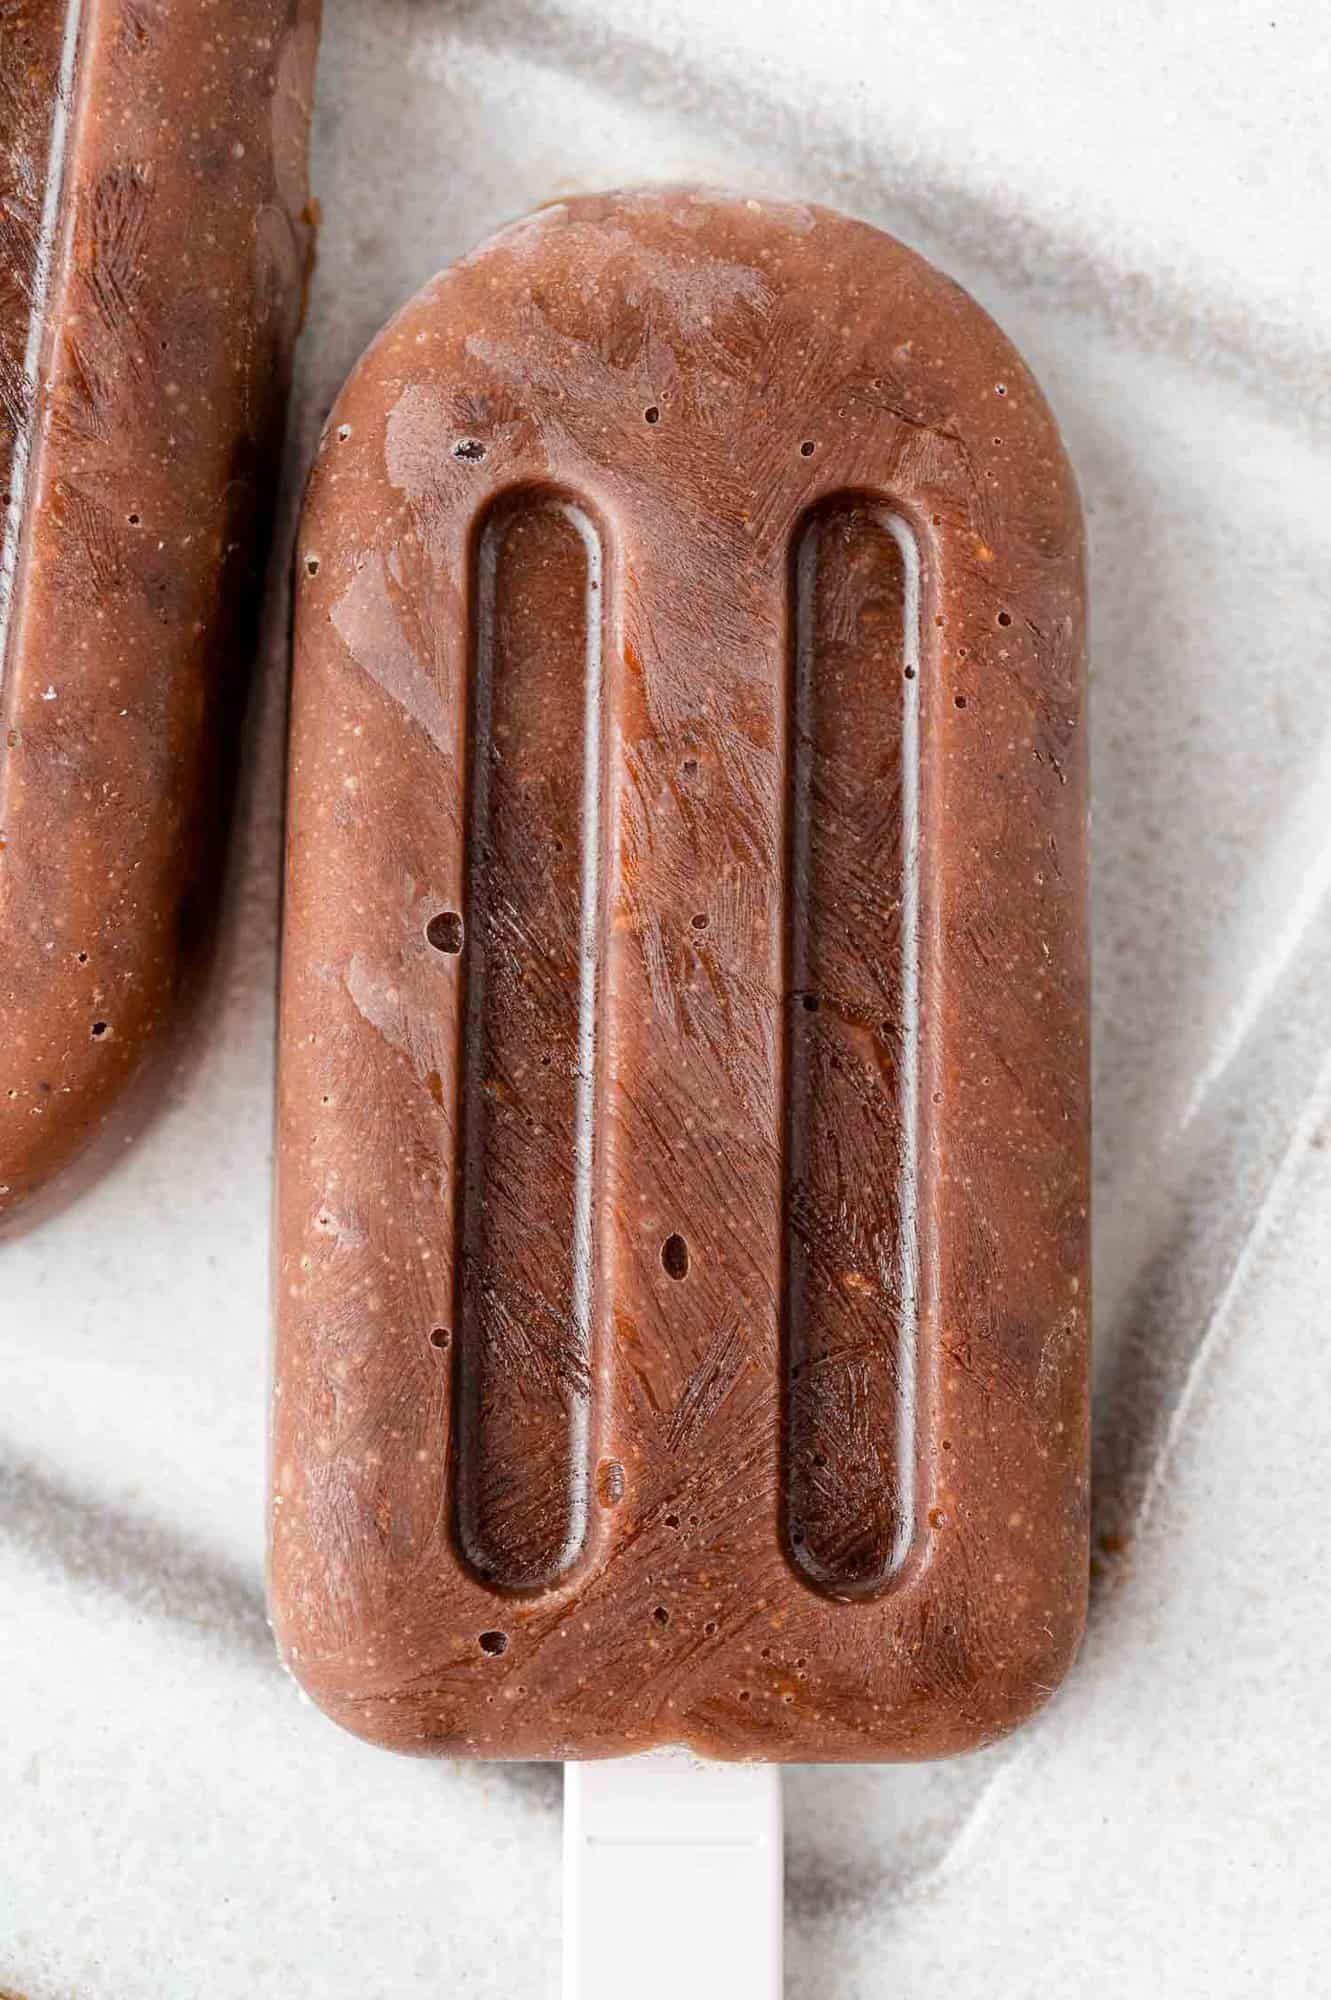
How to Make Pudding Pops
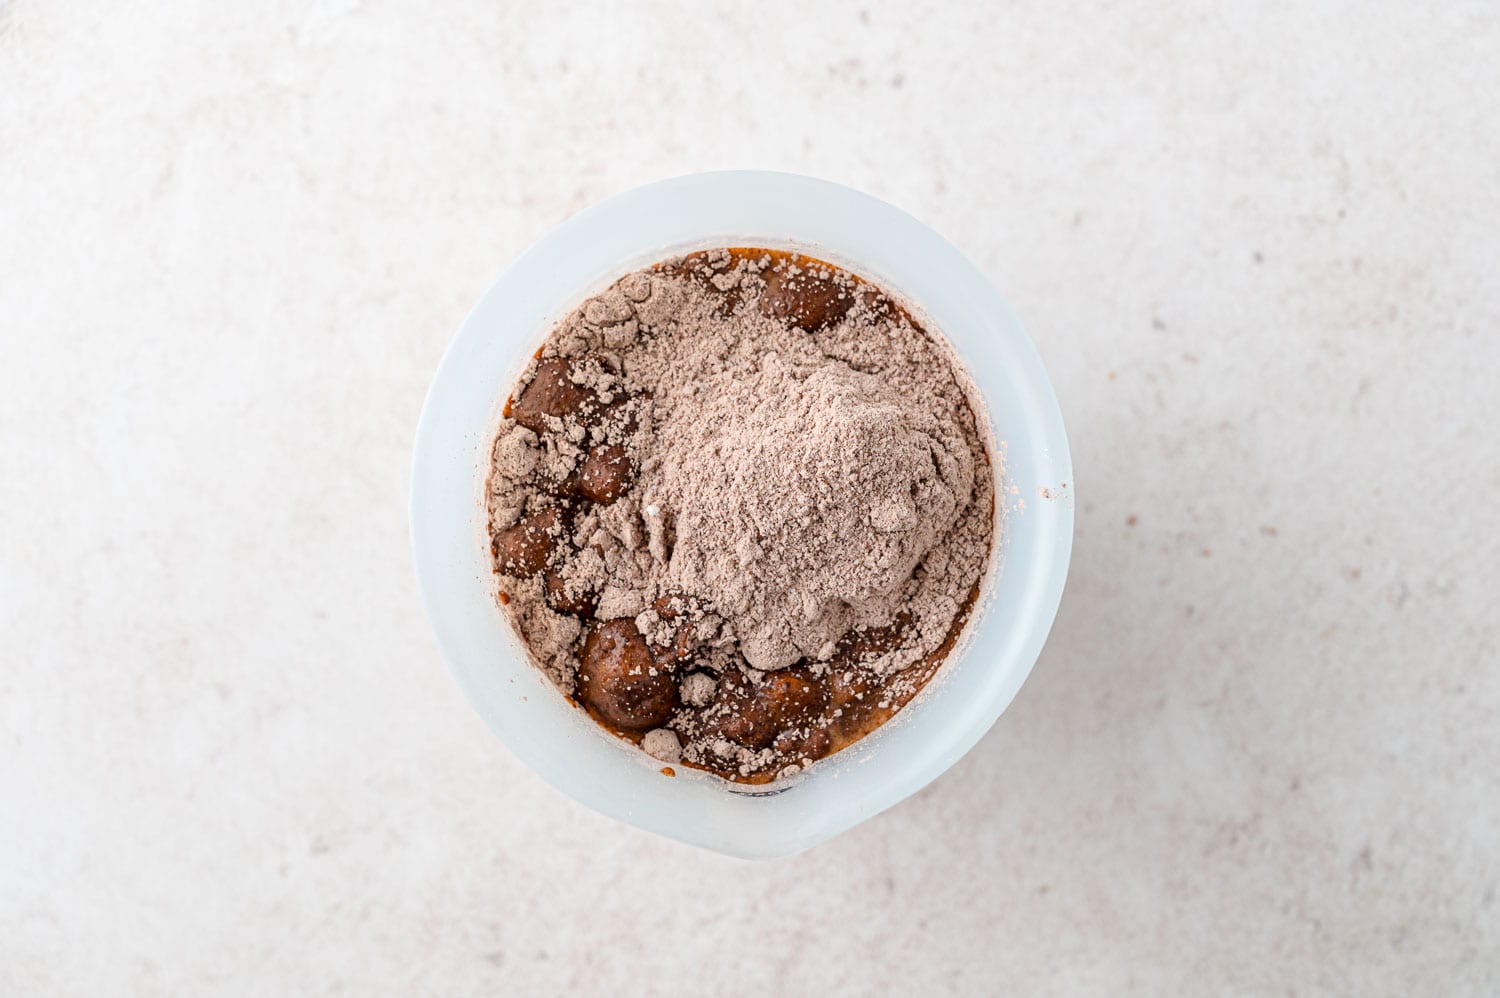
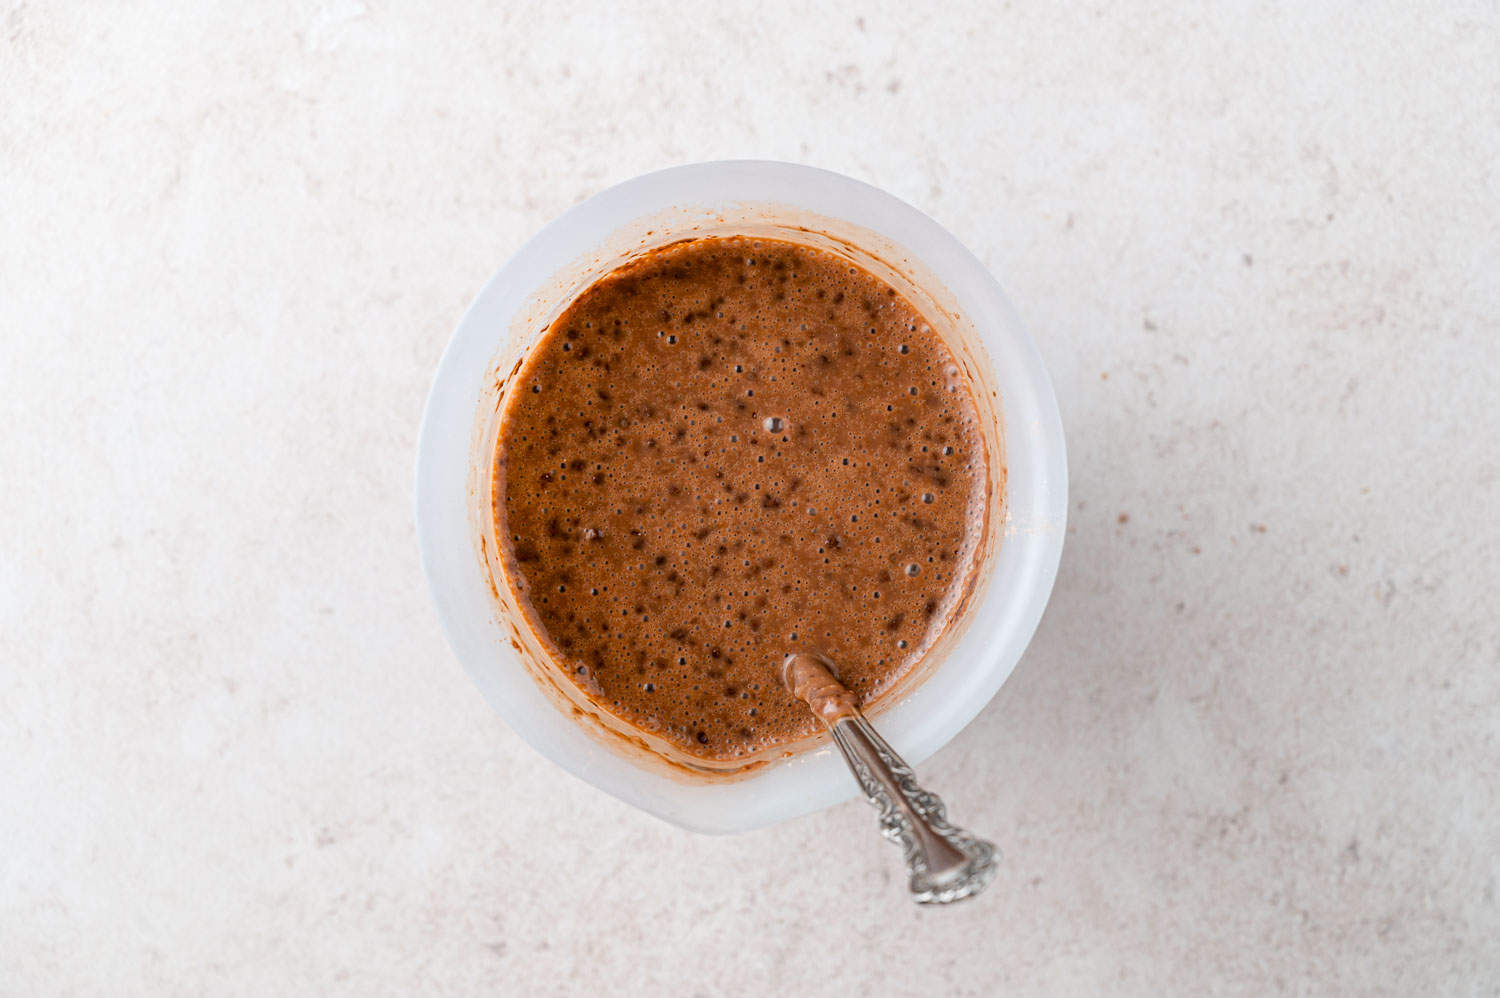
Step 1: Stir. Whisk the instant pudding mix and the milk in a large mixing bowl. I like to use a large measuring cup or my batter bowl which has a pouring spout. It’s much easier to pour into the popsicle molds.
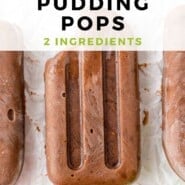
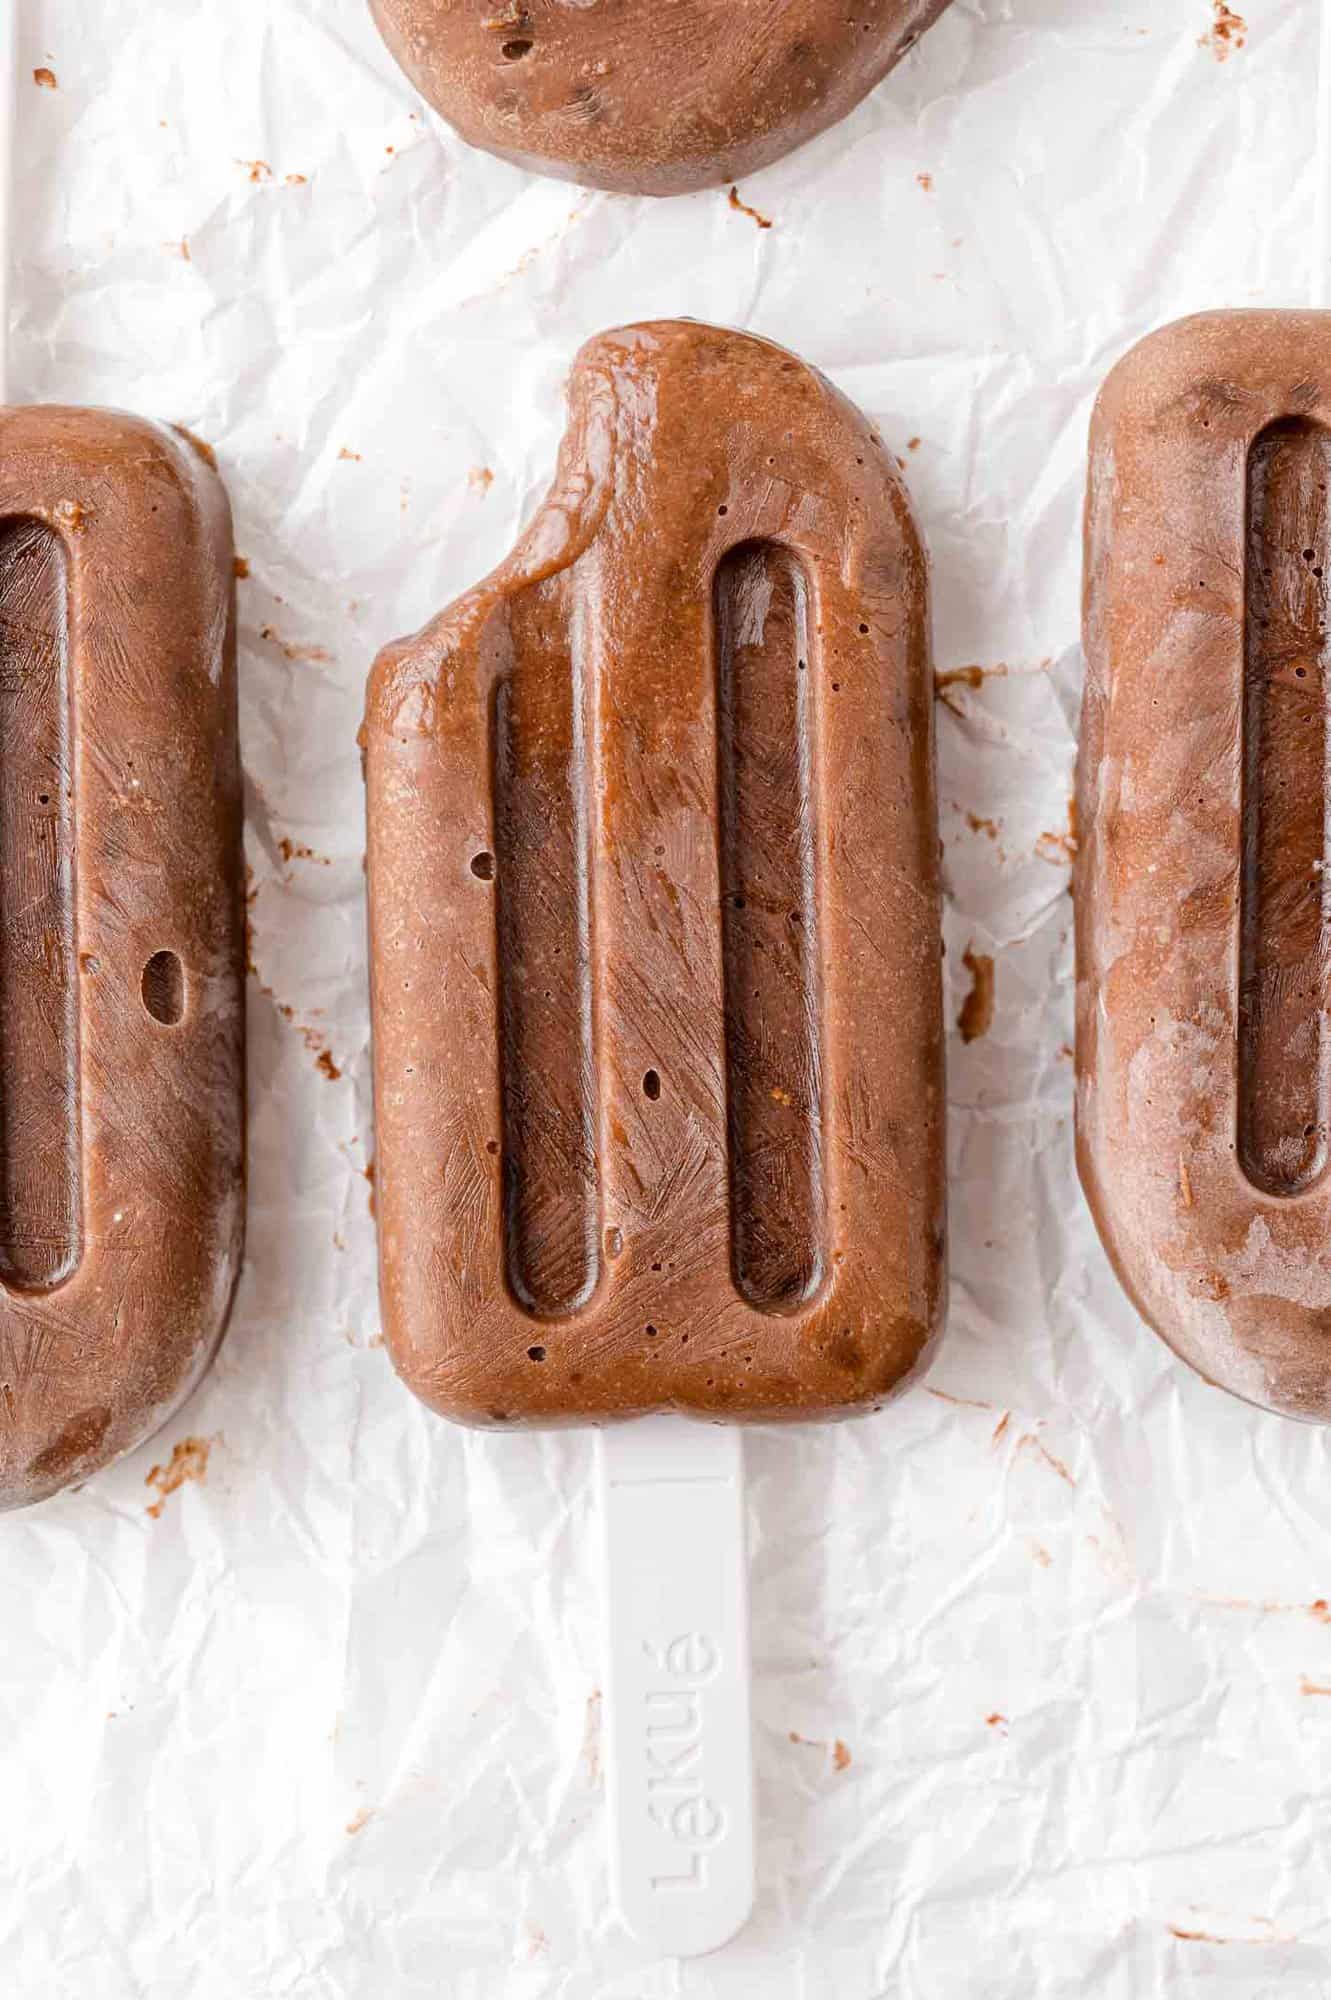
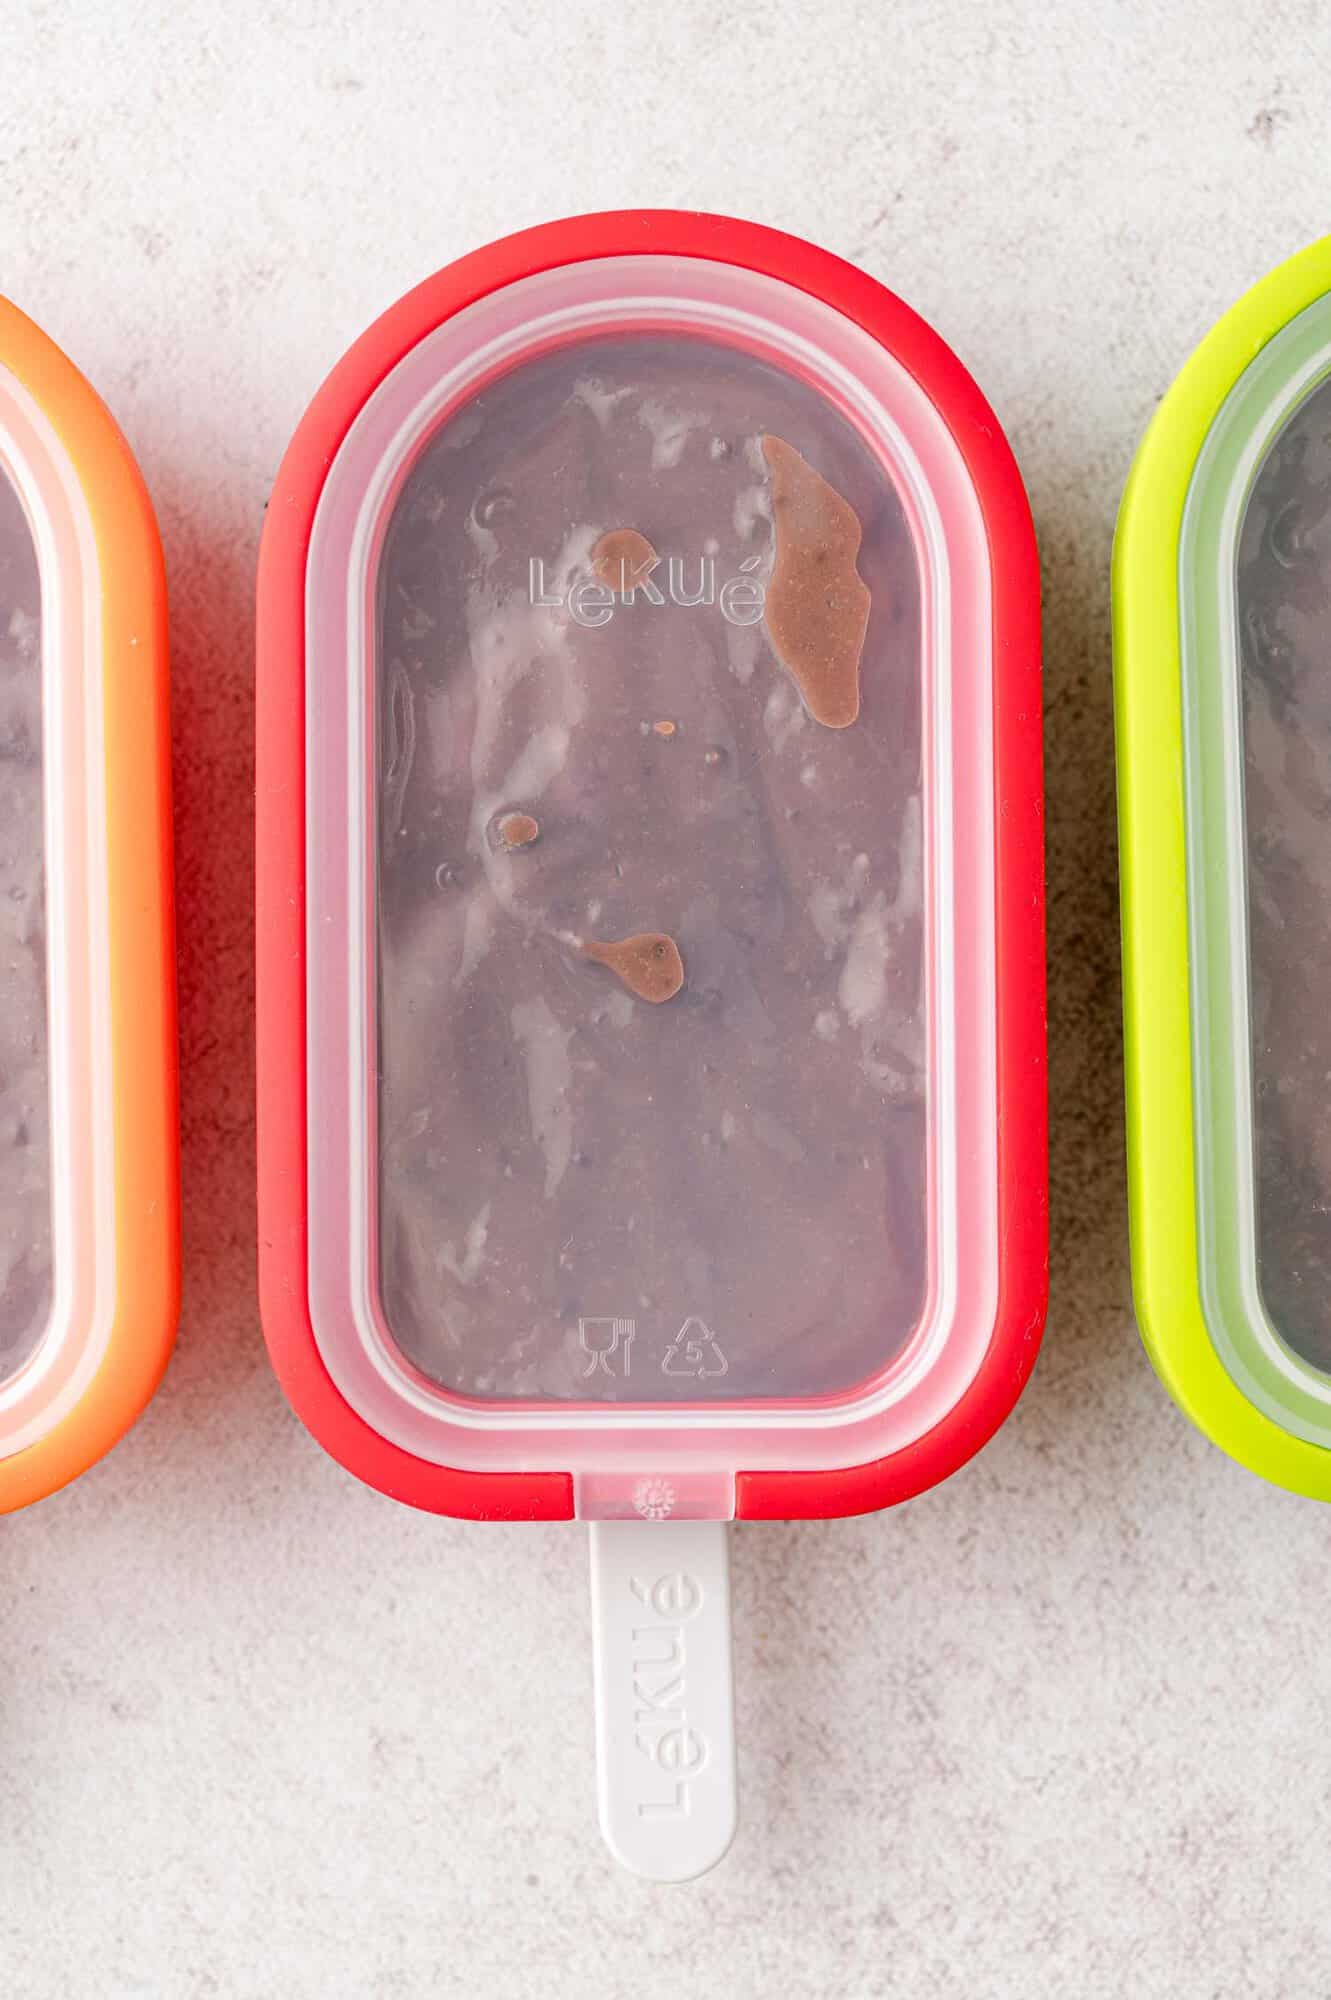
Step 2: Pour. Divide the pudding into your popsicle molds. Work quickly—as the pudding thickens, it gets more difficult to pour.
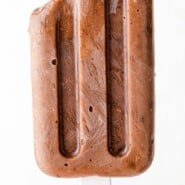
Step 3: Freeze. Place the popsicle molds in your freezer. They should be solid in 3 to 4 hours but it depends on their size and shape.
Helpful Tips
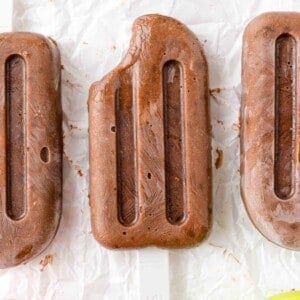
Freeze overnight for best results. Let the pudding pops freeze for at least 3 hours but overnight is even better to make sure they’re frozen solid. Run molds under warm water: If you have trouble removing the pudding pops from the molds, run the outside of the molds under warm water for a few seconds. This will loosen the pops without melting them.
Variations
Use alternative milks (nondairy). Dairy milk, especially half & half (50% cream, 50% whole milk) will give you the creamiest results, but if you have dietary restrictions, you can use a plant-based milk instead. Make sugar-free pudding pops. Jell-O offers Zero Sugar pudding mixes (1 oz. boxes) that are sweetened with aspartame instead of sugar. Experiment with mix-ins. Make your pudding pops extra special by adding chopped nuts, mini chocolate chips, sprinkles, or fruit pieces. Mix them into the pudding before pouring it into the molds. Check out my funfetti pudding pops. Dip them. Once the pops are set, you can dip them in melted chocolate or magic shell and then dip in crushed nuts, sprinkles, or shredded coconut.
Storage Tips
Store leftover pudding pops right in the molds for the best results. If you want to remove them, put the pudding pops in a freezer-safe container or resealable freezer bag to keep them fresh and prevent freezer burn. They can be enjoyed for up to a month. Quick-Start Guide!