Try them out for yourself and see how easy they are to make!
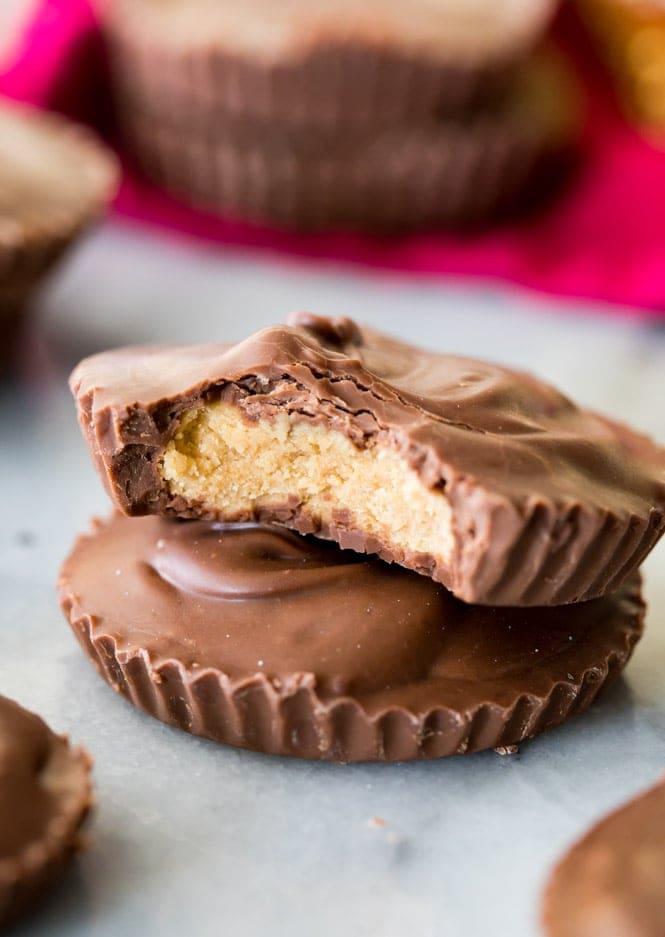
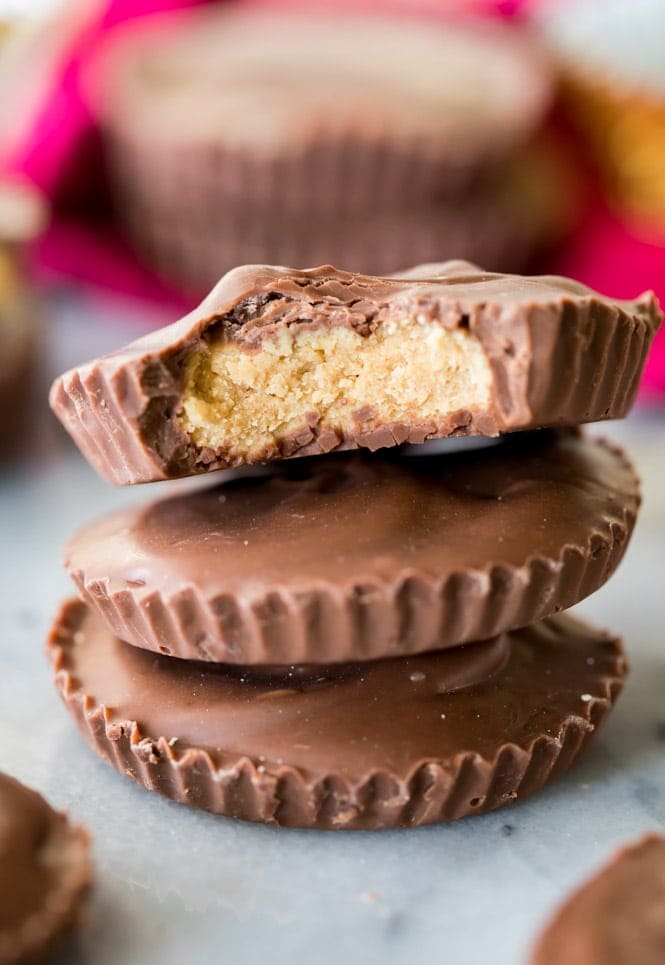
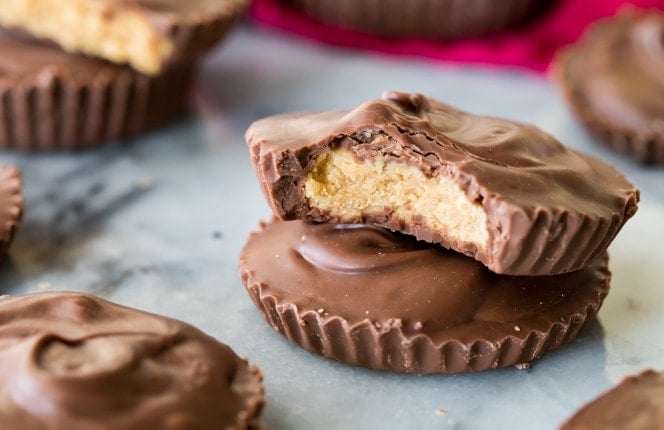
It’s been 13 days since I last shared a peanut butter and chocolate recipe with you, so I think we’re about due for a new one, right? Peanut Butter Cups are a classic candy dessert, but have you ever made them at home before? They’re simple to make (though I won’t lie, they can be pretty messy to make!) and require only a handful of ingredients. They’re also quite versatile and can be made using your favorite flavor of chocolate (I like to sub dark chocolate for the milk) The filling is very similar to the one that I use for my buckeye recipe and my peanut butter bars, and you might notice that in both that recipe and in this one I don’t use graham cracker crumbs while many other recipes do. Personally, I don’t like the graham cracker crumbs, though I tried this recipe using them several times (Zach also voted no on the crumbs). I think they make the filling much too gritty and chewy when it should be smooth and the flavor of the peanut butter should be the highlighting feature, not the awkward texture of the cracker crumb.
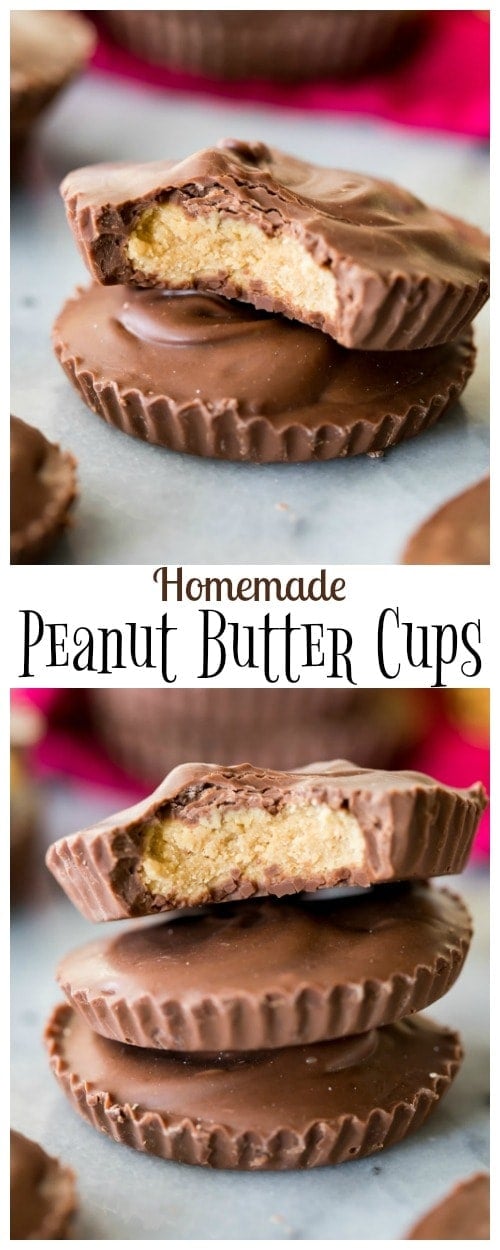
Tips for Making Homemade Peanut Butter Cups
Heat the chocolate slowly.
Take care when melting your chocolate. Chocolate should always be melted slowly, so when microwaving your chocolate chips don’t heat the chocolate for longer than 25 seconds at a time and stir very well in between heating. You want to heat until it is just melted — if the chocolate gets too hot it can leave streaks in your peanut butter cups when finished baking, or even worse it will seize and become completely unusable. I also recommend adding a teaspoon of shortening to the chocolate chips while melting to make the chocolate smoother and easier to spread into the cupcake liners once cooled.
Use the right tools to make the process as easy and neat as possible.
Making peanut butter cups can be a pretty messy process. To keep things as neat as possible, I used a 2-teaspoon cookie dough scoop (affiliate) to distribute my chocolate into the liners and used a small pastry brush to evenly coat the bottom of each liner with chocolate. I also cover my entire surface that I’ll be working on with wax paper, so that any spills can be easily cleaned up once I’m finished. I also recommend placing your cupcake liners on a cookie sheet before filling with chocolate and peanut butter. Once you’ve filled the liners, they will be hard to move without messing them up until they’ve set, so make things easy for yourself by putting them on a cookie sheet that you can move without mis-shaping your peanut butter cups.
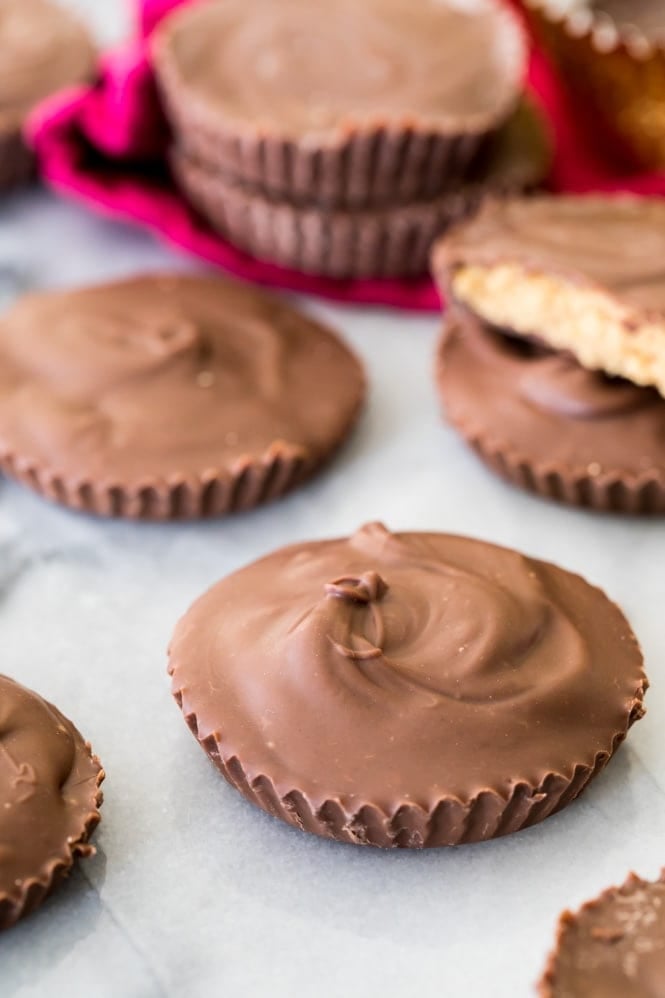
These peanut butter cups usually require at least an hour for the chocolate to re-solidify so that you can easily separate them from their cupcake liners. If you wish to speed up the process you can place them in the refrigerator to harden faster, but this can cause some discoloration in your chocolate (it will still taste good, though!).
Enjoy! Looking for more peanut butter & chocolate recipes? Check out my peanut butter blossoms or my peanut butter thumbprint cookies!
This post contains affiliate links, which means that if you purchase anything through these links I will get a small commission at no extra cost to you. Please view the disclosure policy for more information.