Today’s recipe includes a video at the bottom of the post showing you just how I make these in my own kitchen!
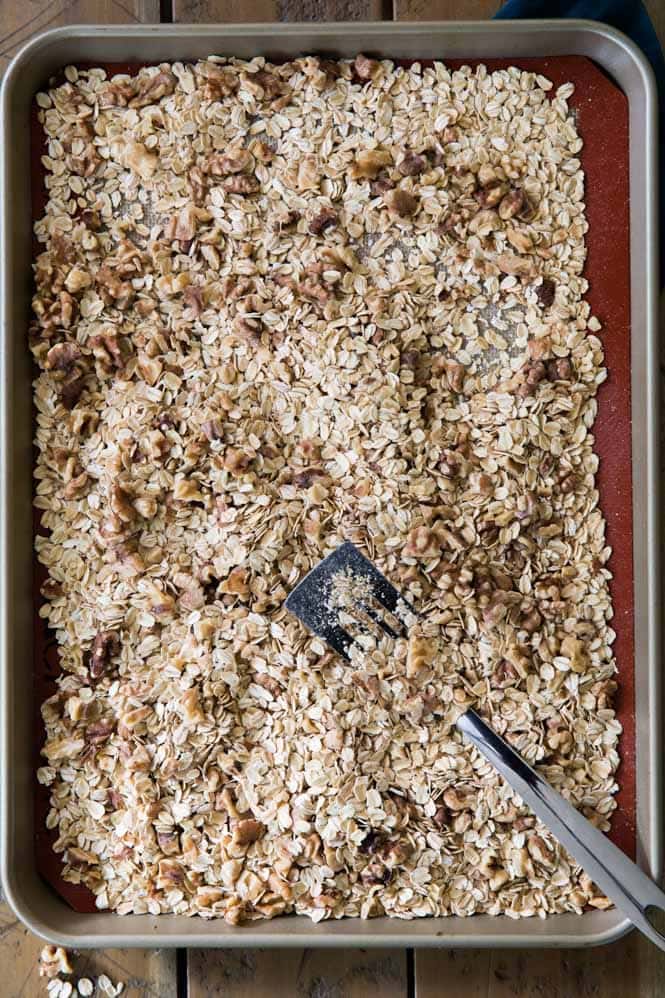
I’m just about tired of seeing these granola bars, to be honest. Zach has been eating homemade granola bars every. day. for breakfast ever since I first made them a few weeks ago. I’ve been waiting for him to get tired of them, but he hasn’t (it probably helps that each time I make them differently with different add-ins to keep things from getting boring). I’ve been making these pretty much non-stop for the past few weeks and even decided to make a video of the process, as you’ll see they’re super simple to make. You’ll start with oats and nuts, which we’re going to combine and toast before we make our granola bars. You’ll want to use old fashioned oats/whole grain rolled oats, but you can use your favorite nuts. I used walnuts for today’s recipe and coarsely chopped them (almonds are another great option). The oats and nuts will go into the oven for about 15 minutes to toast.
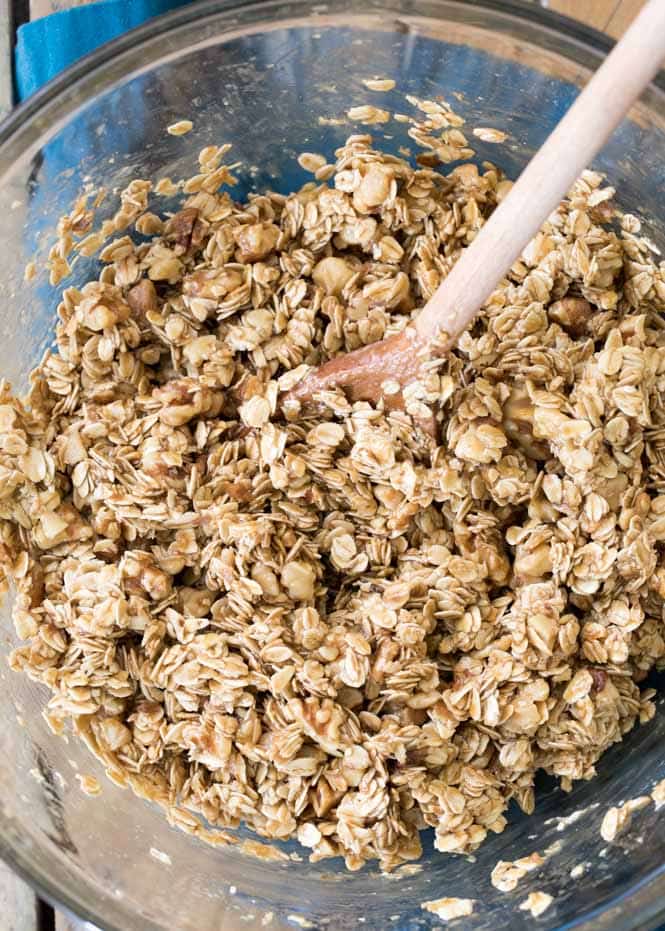
Once they’ve toasted, we’ll make our homemade syrup, which will serve to bind the bars together. You’ll need unsalted butter, dark brown sugar (you can substitute light if it’s all you have on hand, but I prefer the flavor of the dark brown sugar), honey, and salt.
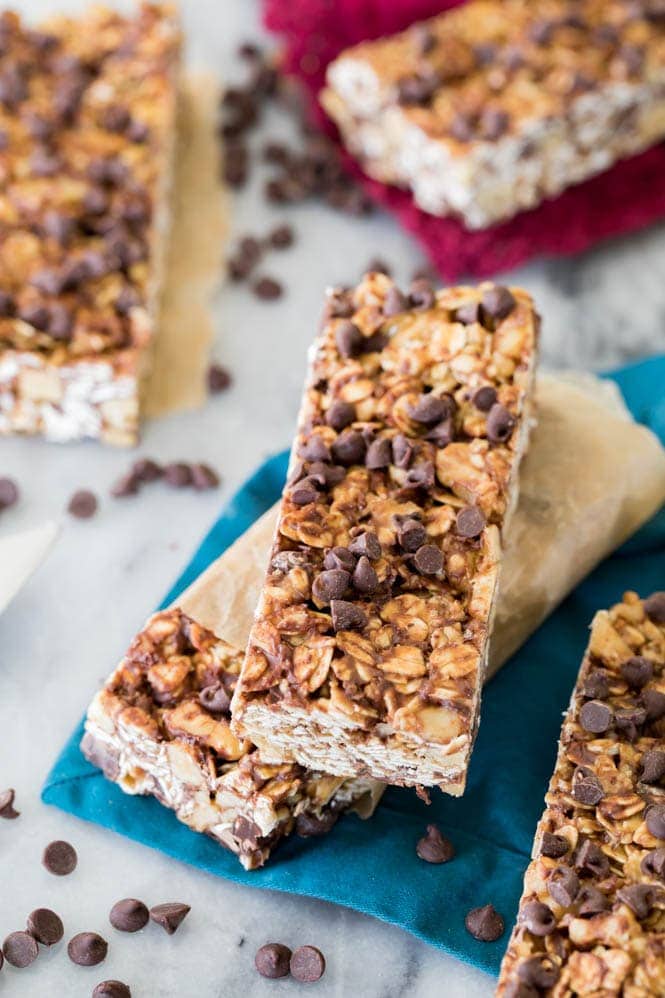
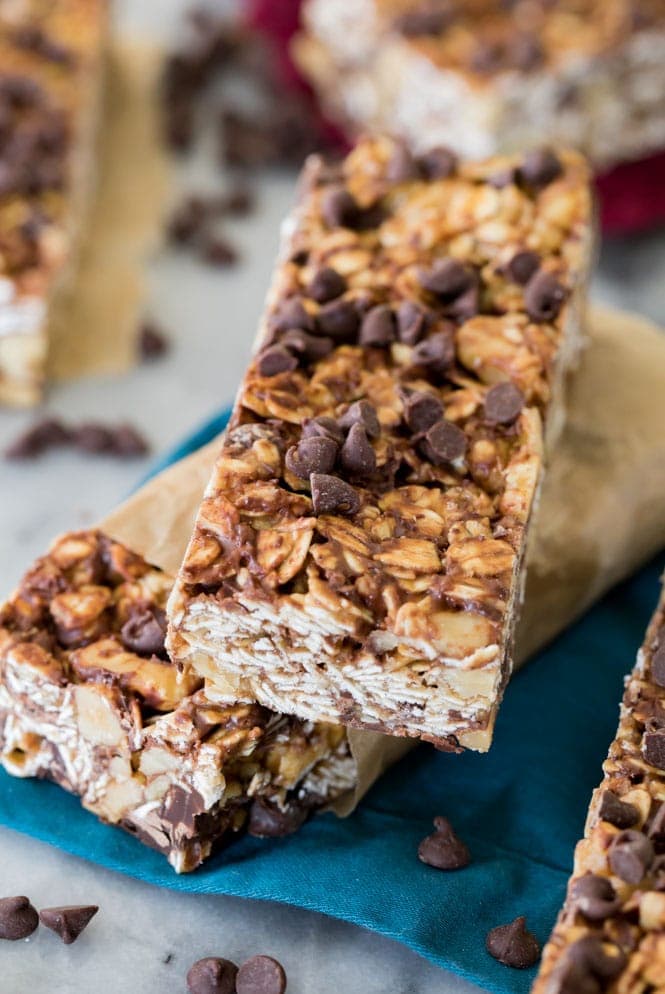
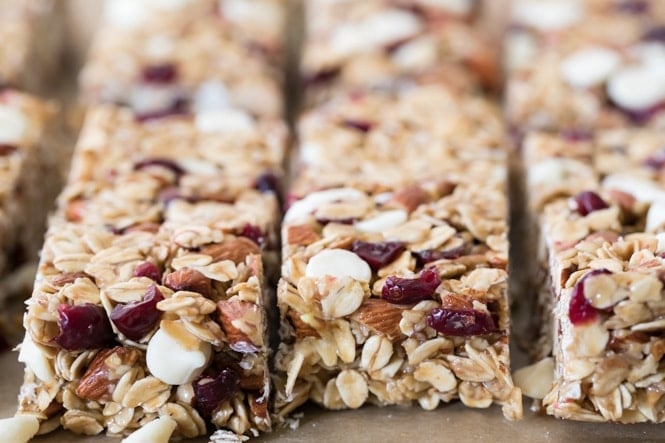
Melt these together until your sugar is dissolved and then stir in a splash of vanilla extract for flavor. Next, combine your toasted oats and nuts and this syrup in a large bowl and stir everything together until all of the ingredients are well-coated by the syrup. At this point, if you have any non-melting add-ins you’d like to add, such as dried fruits, you can stir them in as well. However, you’ll want to wait about 10 minutes before adding any chocolate chips. They’ll still melt a bit once you add them (which we want!), but if you add them too soon you’ll just have a runny melty mess.
Tips for Making Homemade Granola Bars
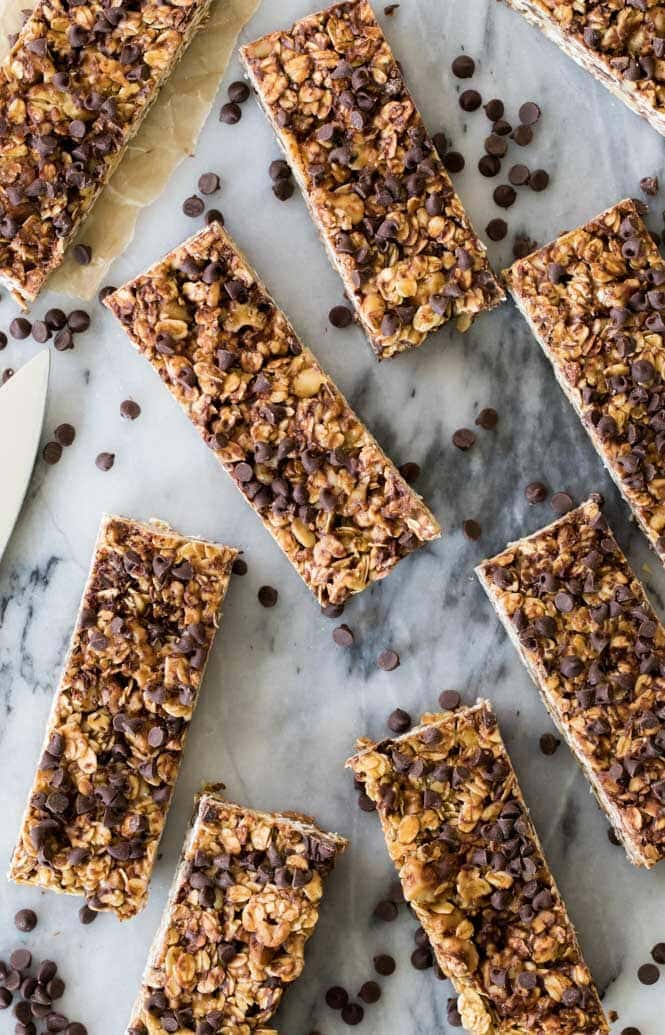
Much like when making my granola recipe, you can substitute your favorite nuts for this recipe. I use walnuts but almonds, cashews, or pecans are all great choices! When preparing your 9×9 pan for these granola bars, make sure to leave parchment paper (or wax paper) hanging over each side of the pan so that, once they cool, you can easily lift the bars out of the pan and then slice them on a cutting board — this is much easier than slicing them directly in the pan. Use a large chef’s knife (if you have one) to cut your granola bars. I’ve found that using a smaller blade tends to cause my granola bars to crack while I’m slicing; it’s better to make fewer long cuts rather than a series of small ones. Even though you should refrigerate your granola bars to help them firm up quickly, you do not need to store them in the refrigerator. After cutting them, I wrap mine in a strip of parchment or wax paper (to keep them from sticking to each other) and then store them in a resealable Ziploc bag in my cabinet.
How Long Can You Keep Homemade Granola Bars?
We’ve found that homemade granola bars stay fresh for about 1 week when stored in an airtight container at room temperature. Any longer than that and they tend to become a little stale.
Enjoy!
How to Make Homemade Granola Bars
If you enjoy watching these videos, please subscribe to my YouTube Channel to be notified each time I publish a video!