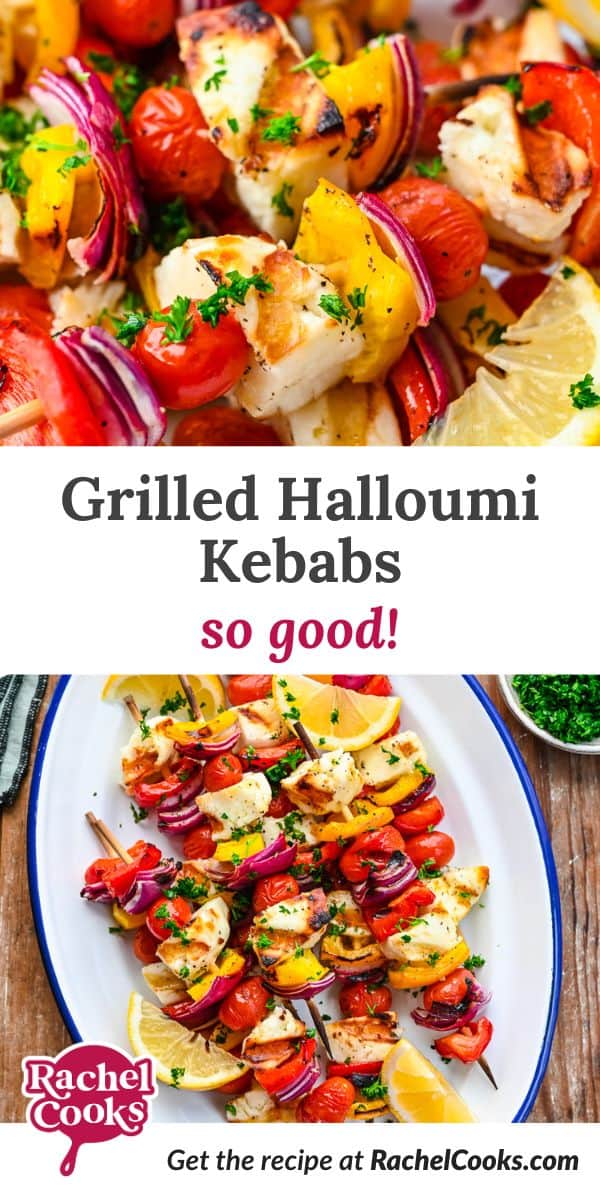
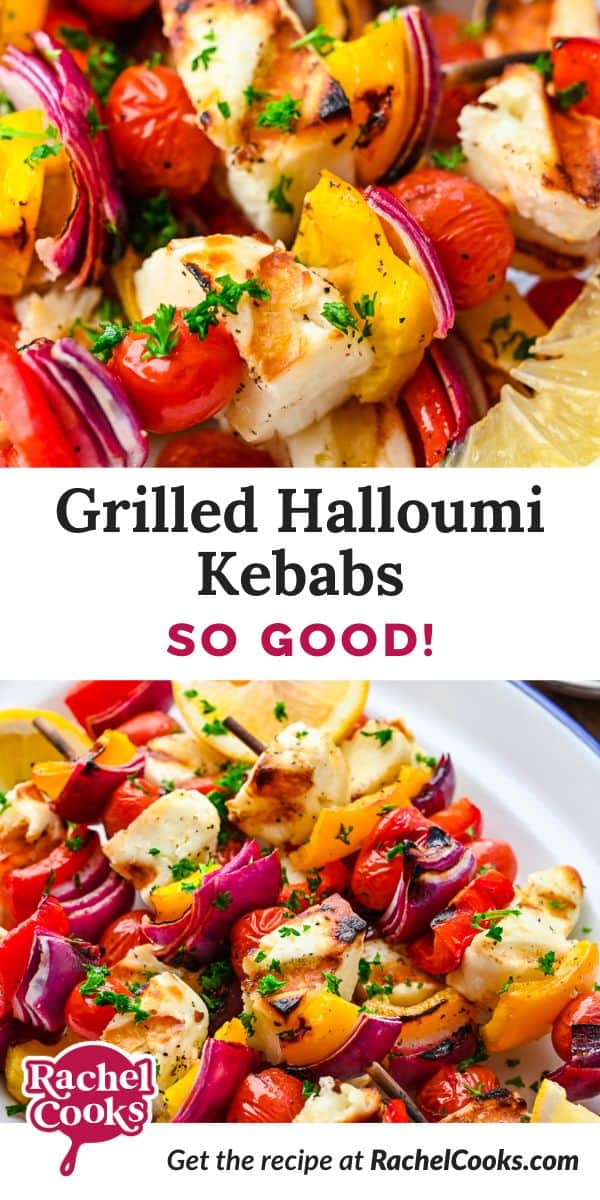
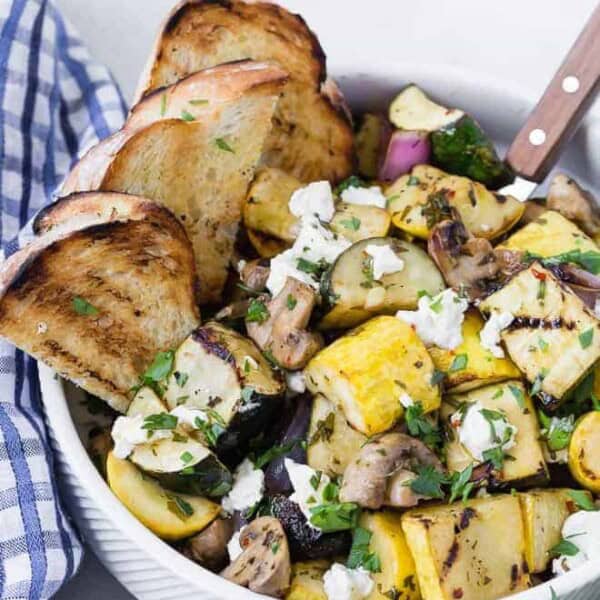
How long it takes: 25 minutes Equipment you’ll need: wooden skewers, grill Servings: 4 main course, or 12 appetizers Aren’t these kebabs beautiful? I bet you can almost imagine how great they taste, too. You really need to try these! Have you ever ordered halloumi in a restaurant? Because the cheese is firm and keeps its shape even when it’s heated, halloumi is a perfect choice for frying or grilling. And it’s just unique enough to elicit a few oohs and aahs. I’ve been wanting to try grilling halloumi at home. Sometimes I think that’s the only reason I go out to eat, just to check out what’s on the menu that I’d like to try to replicate at home. (Not really! I like to go out for dinner because it’s nice to have someone else do the cooking once in a while.)
Grilled Halloumi Kebabs
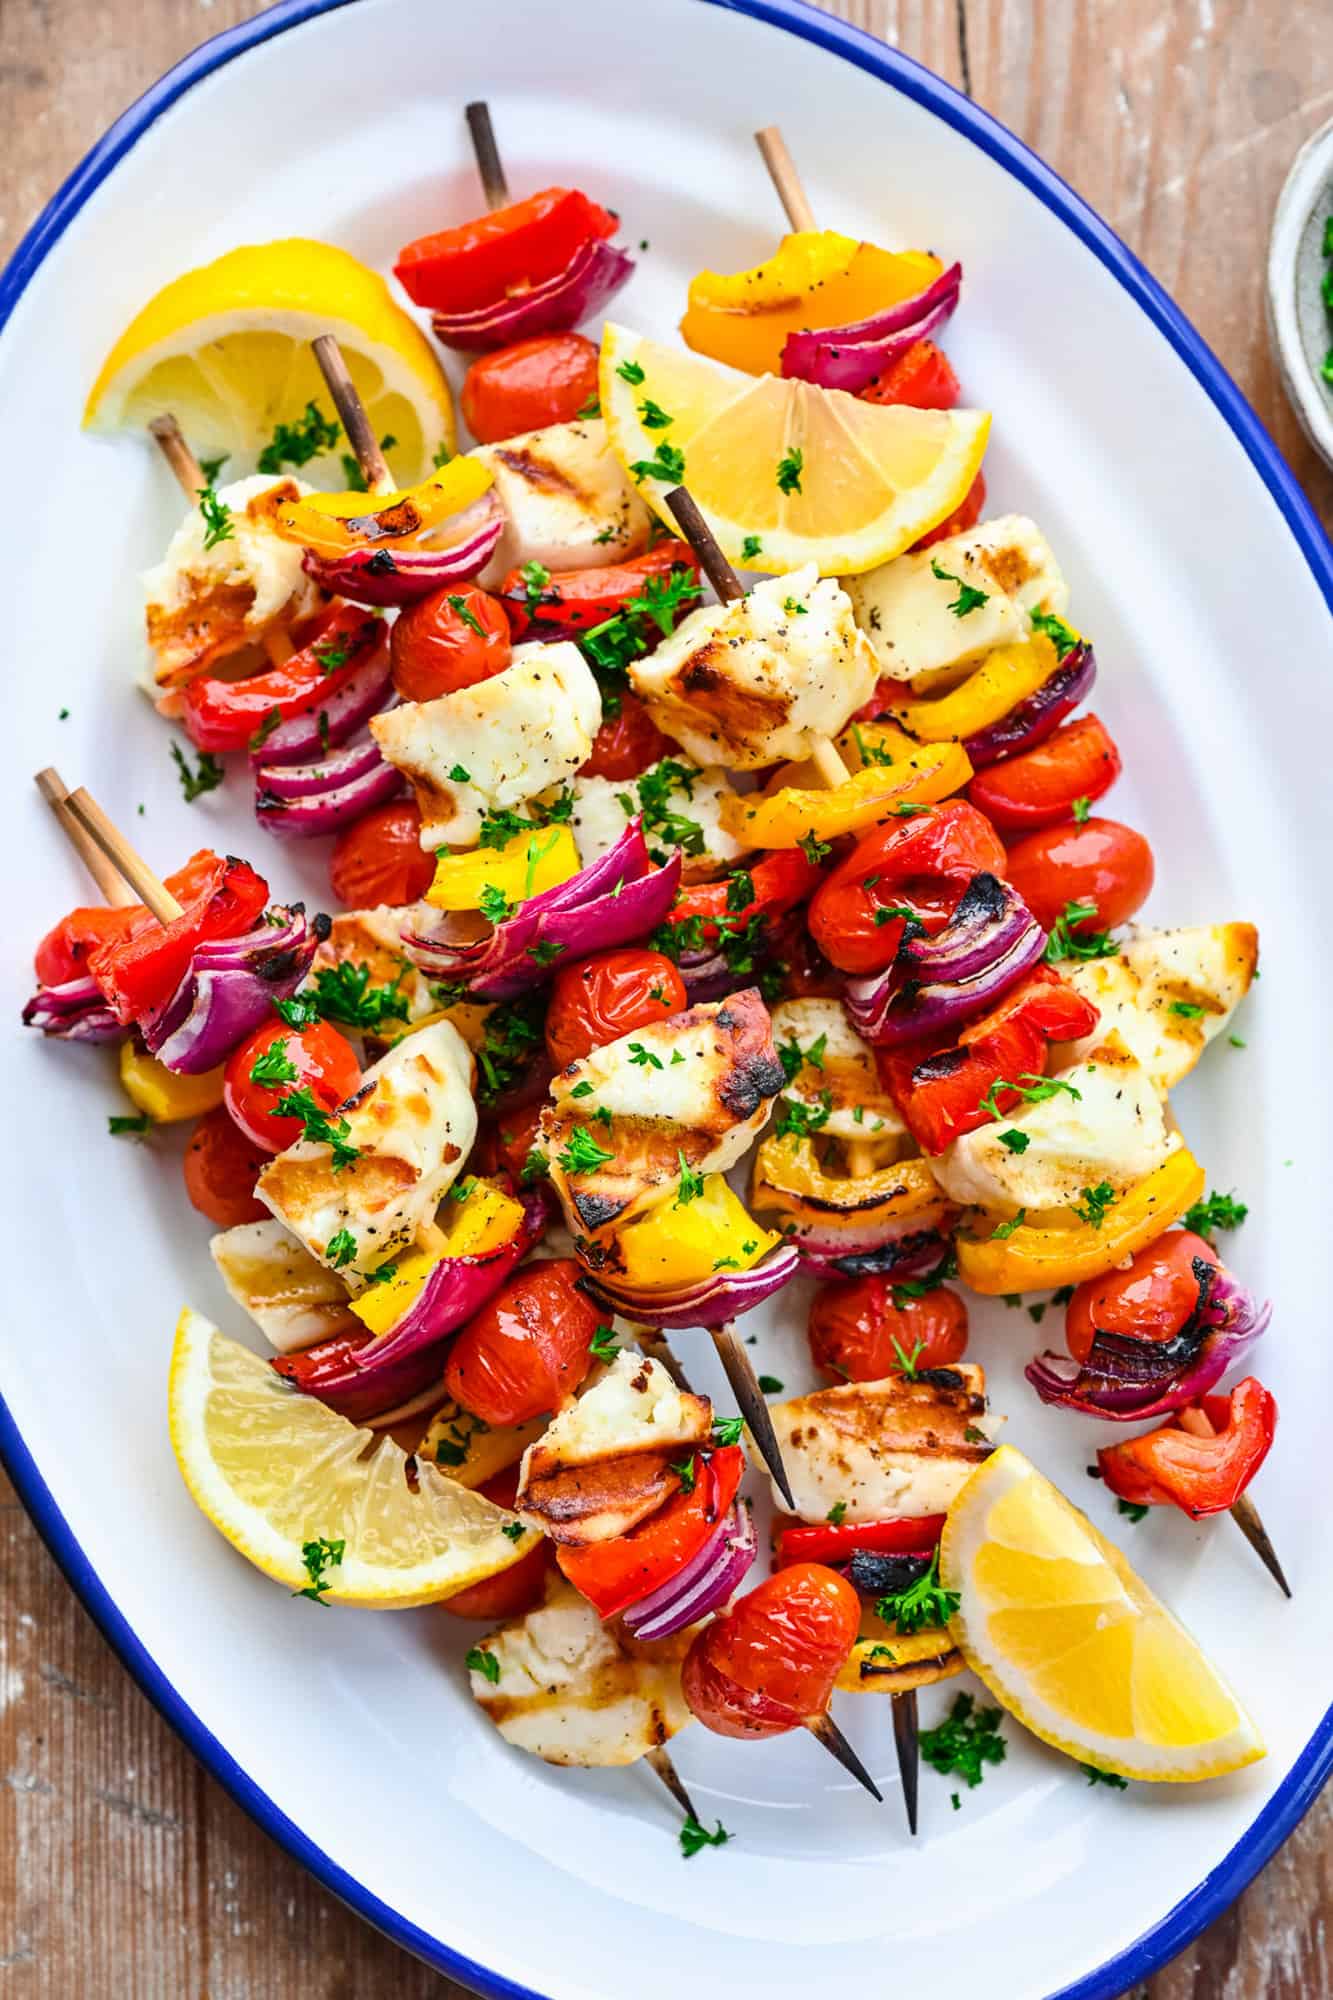
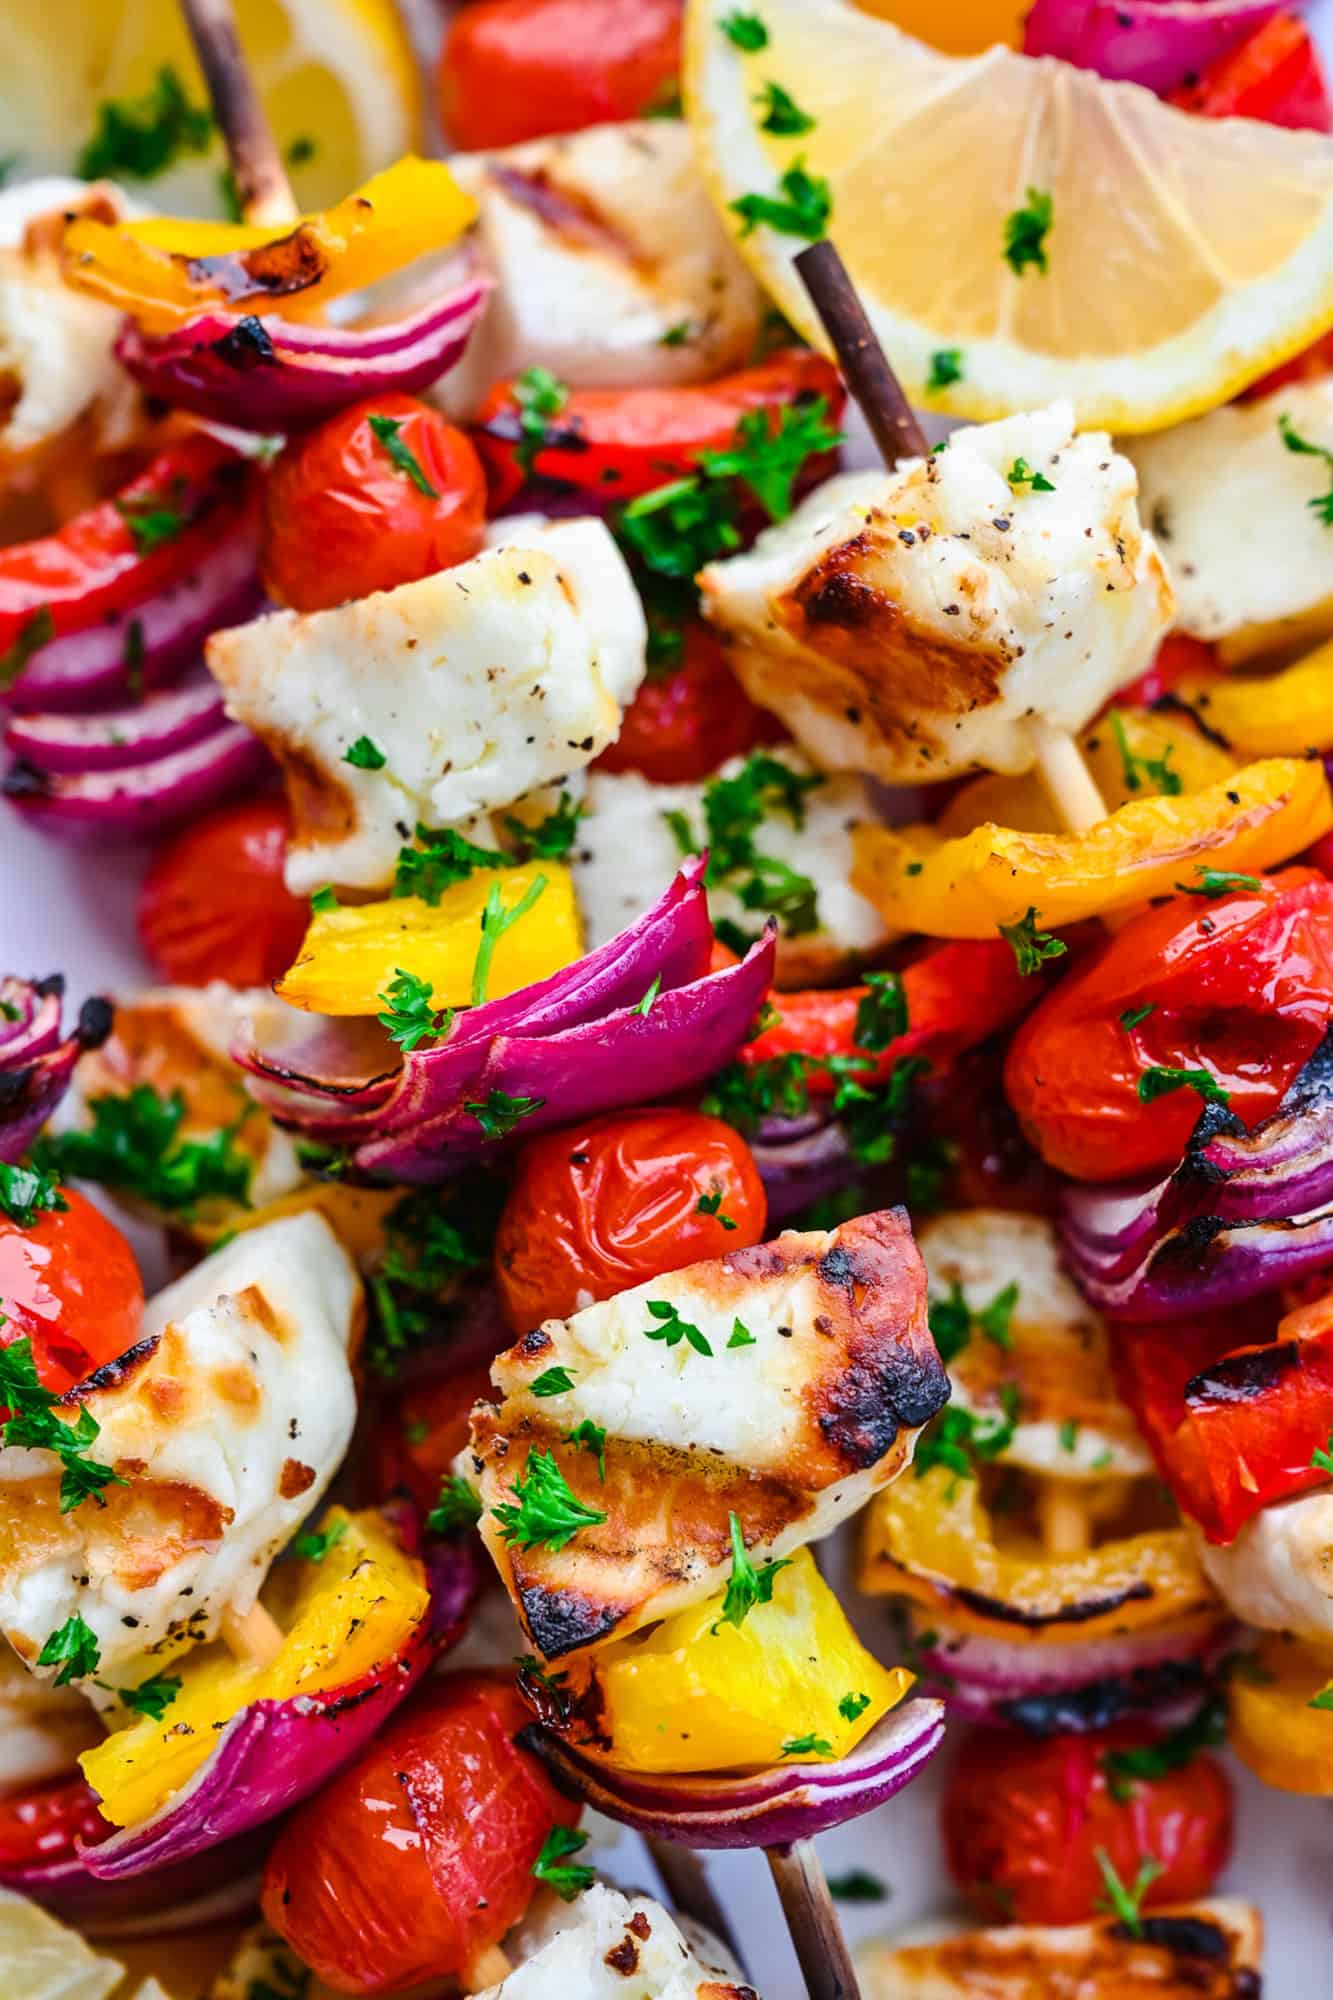
Grilled halloumi kebabs are easy to make. Yes, they really are! The trickiest part is threading the cheese on the skewers without breaking the cubes apart (and I don’t want to scare you, that’s not too difficult, either). The ingredients are fresh and healthy. As you can see from the photos, the skewers are loaded with fresh vegetables, all of which are good for you. What a great way to eat your veggies! Halloumi is rich in calcium and protein. Because it’s grilled (not deep fried), it’s relatively low in fat. The kebabs are versatile. You can mix and match the vegetables, adding ones you like better, leaving out the ones you’re not a fan of. The kebabs can be served as appetizers, a light lunch or dinner, or as a side with grilled chicken or salmon. The grilled halloumi and vegetables can be part of a delicious grain bowl or salad.
Ingredient Notes
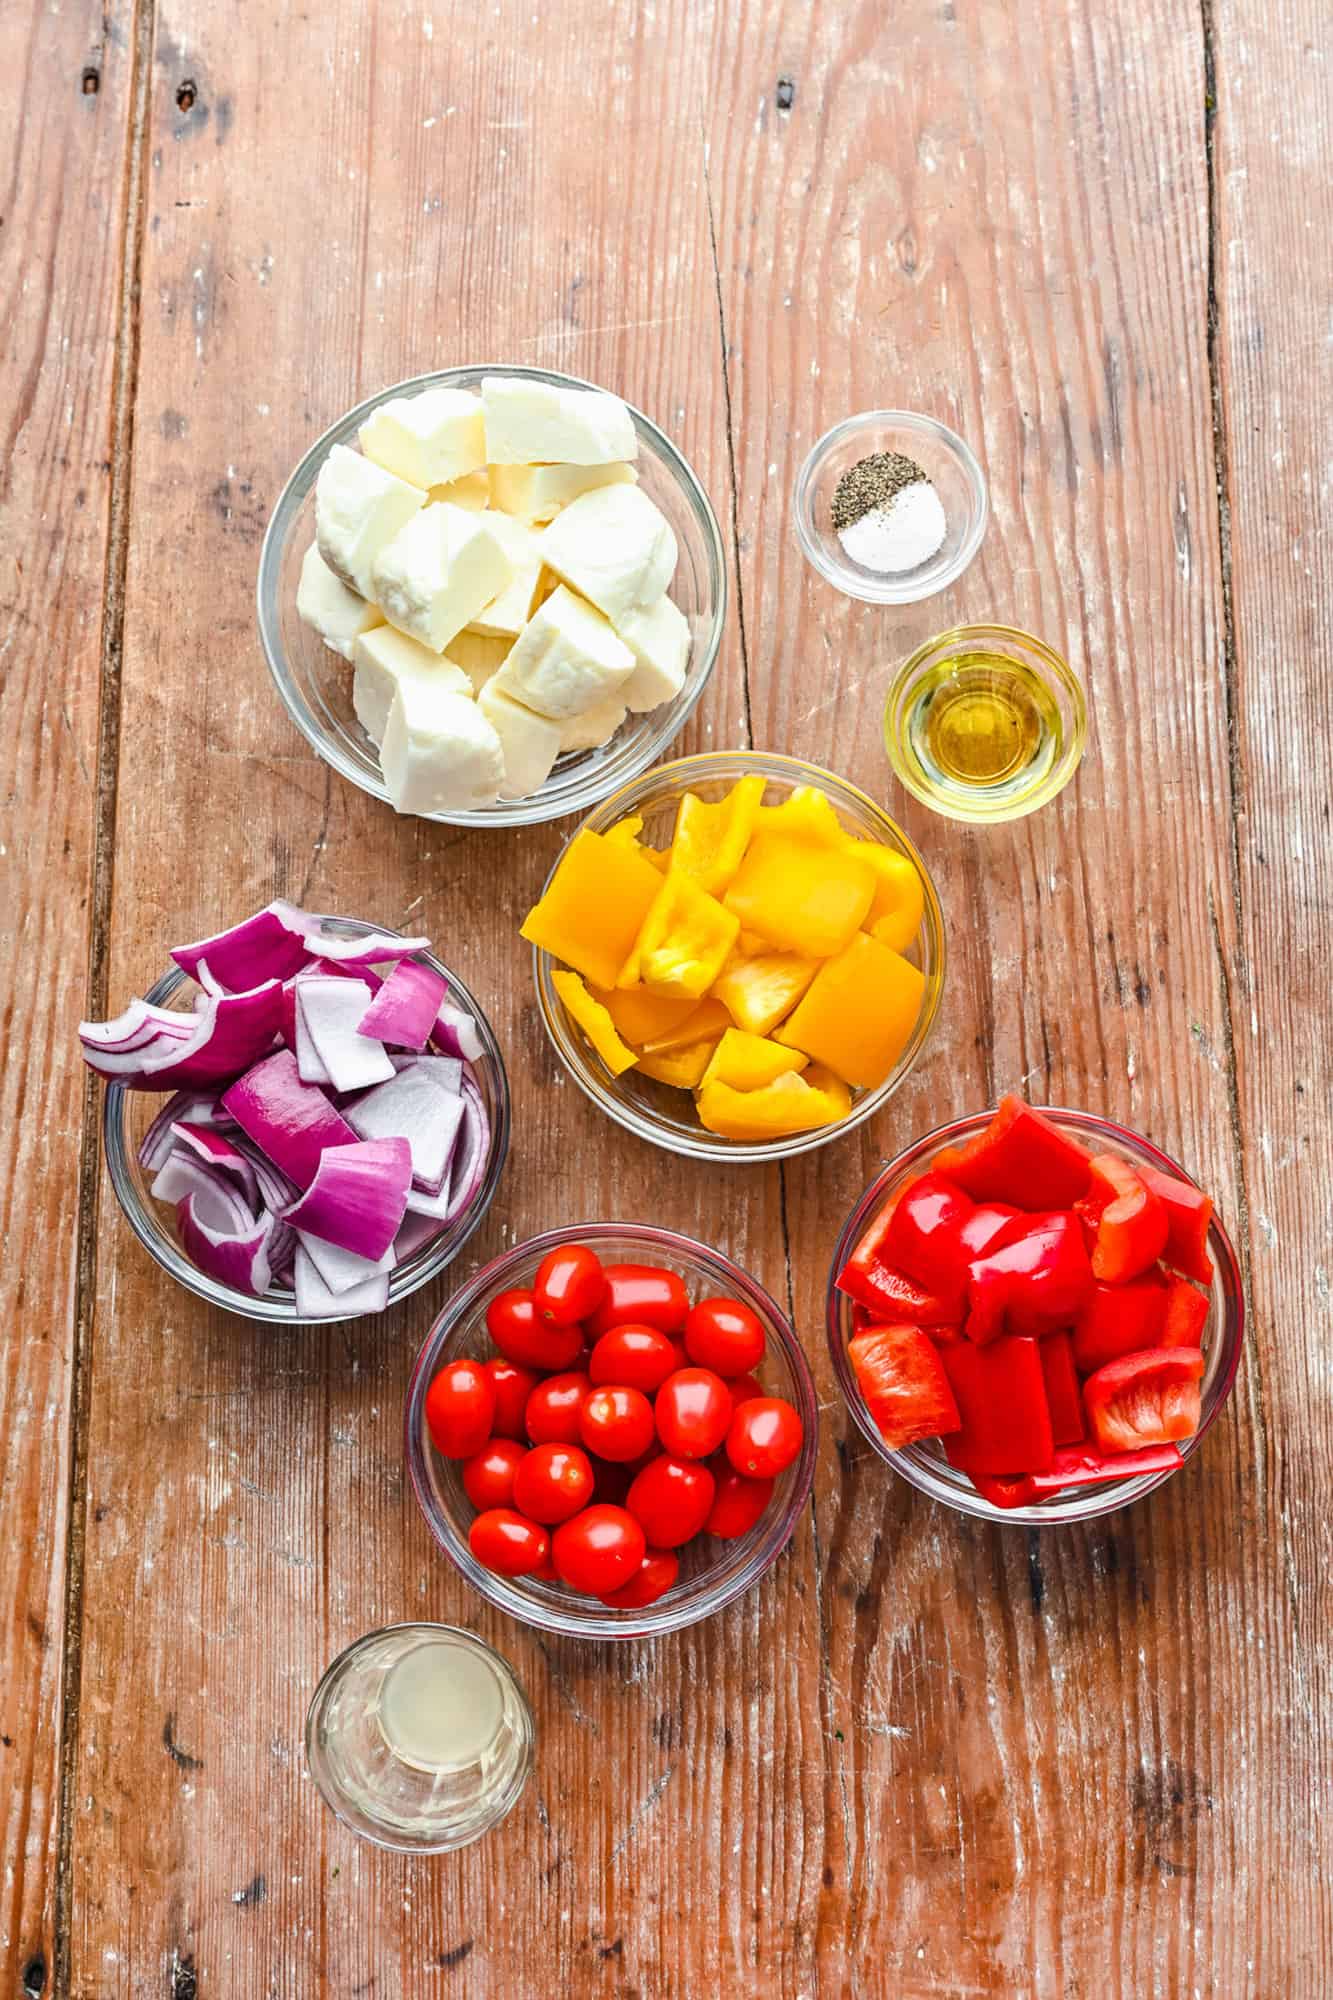
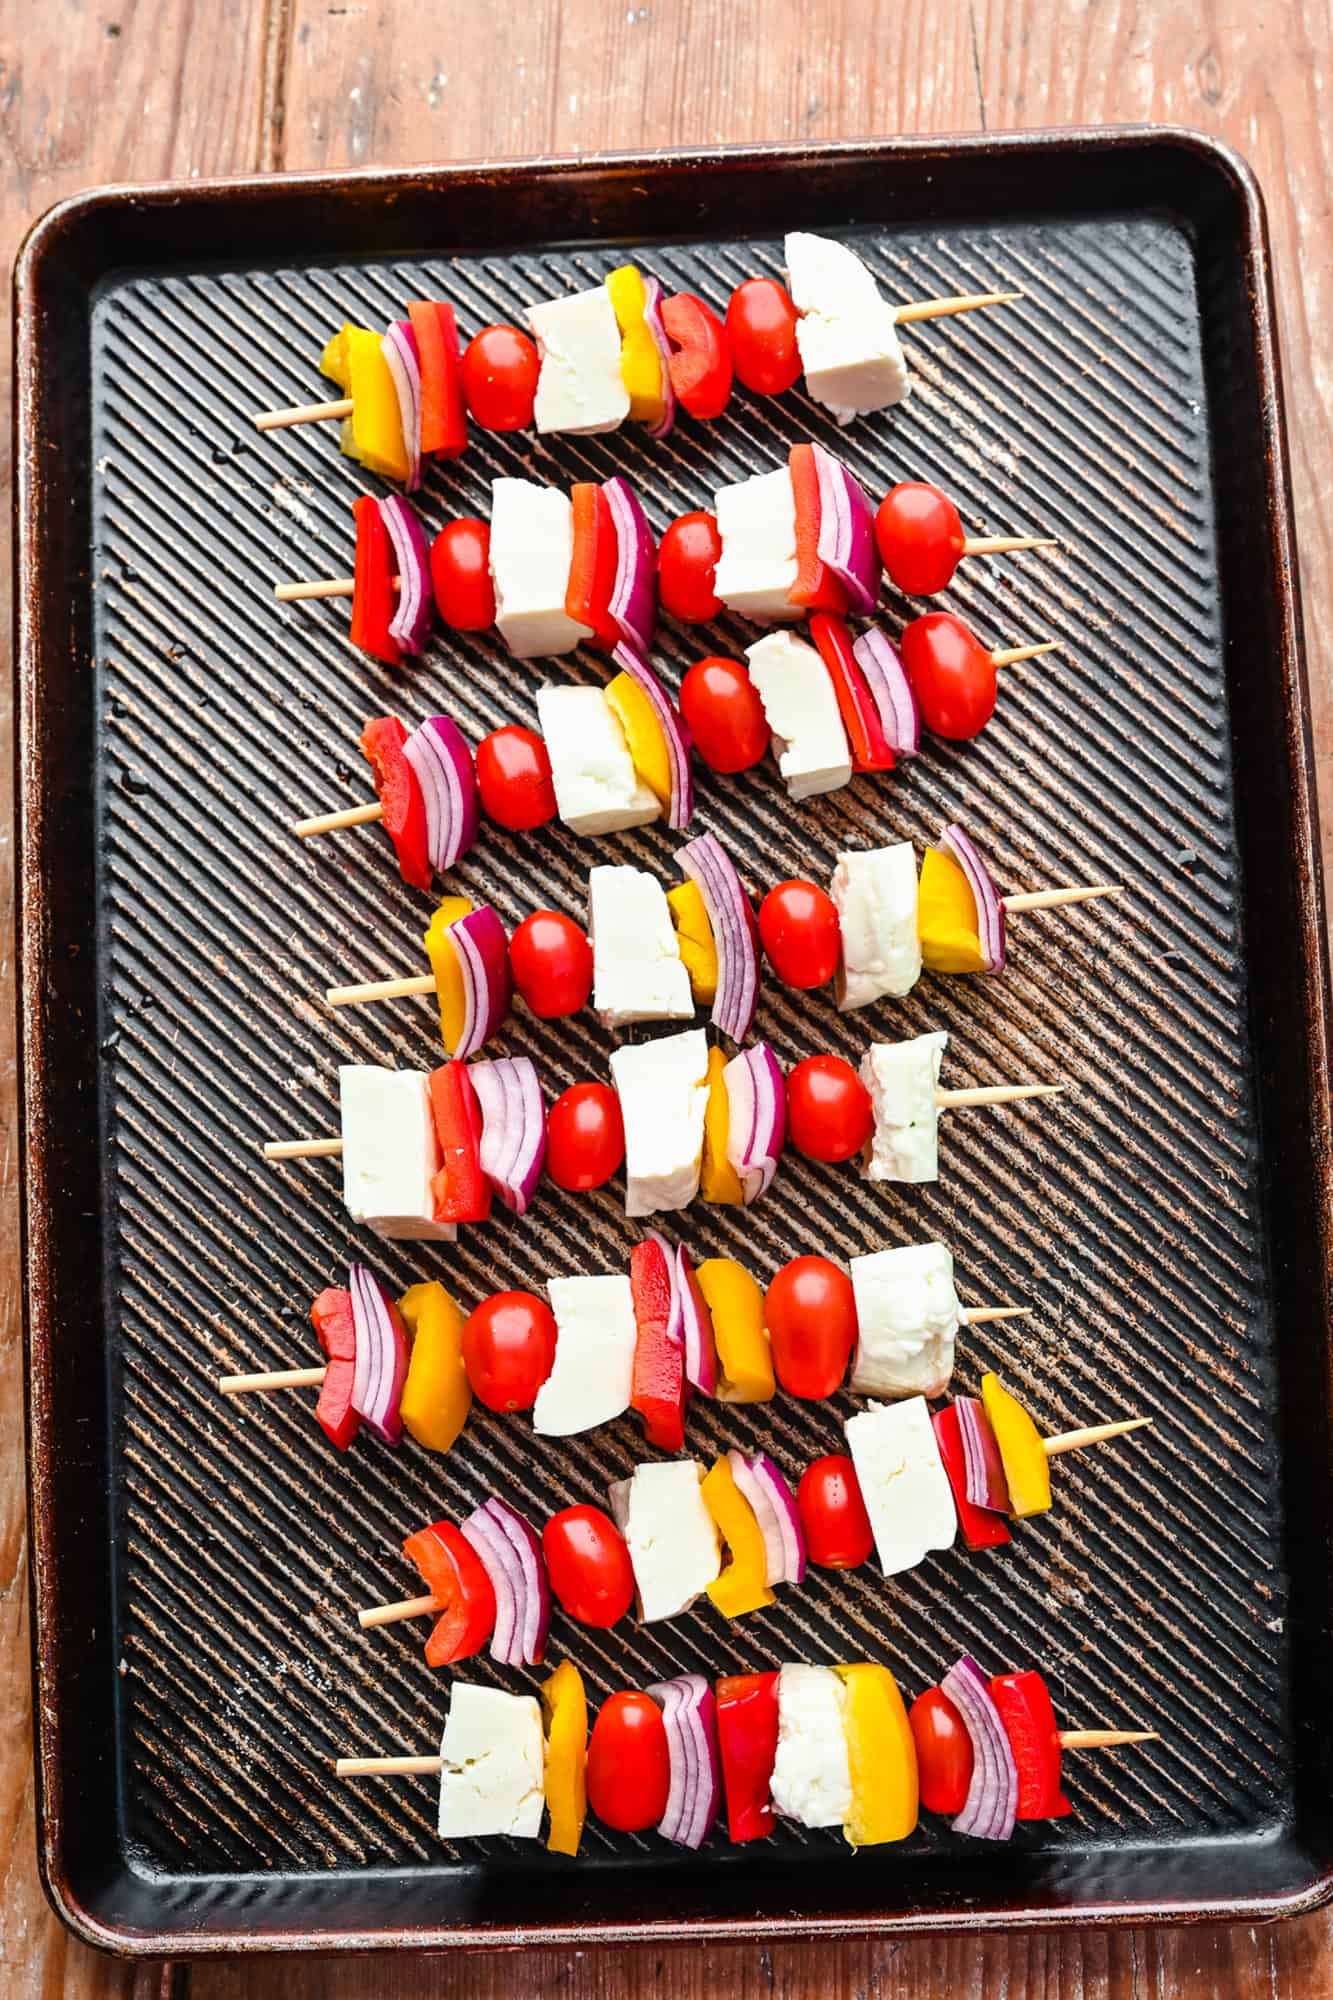
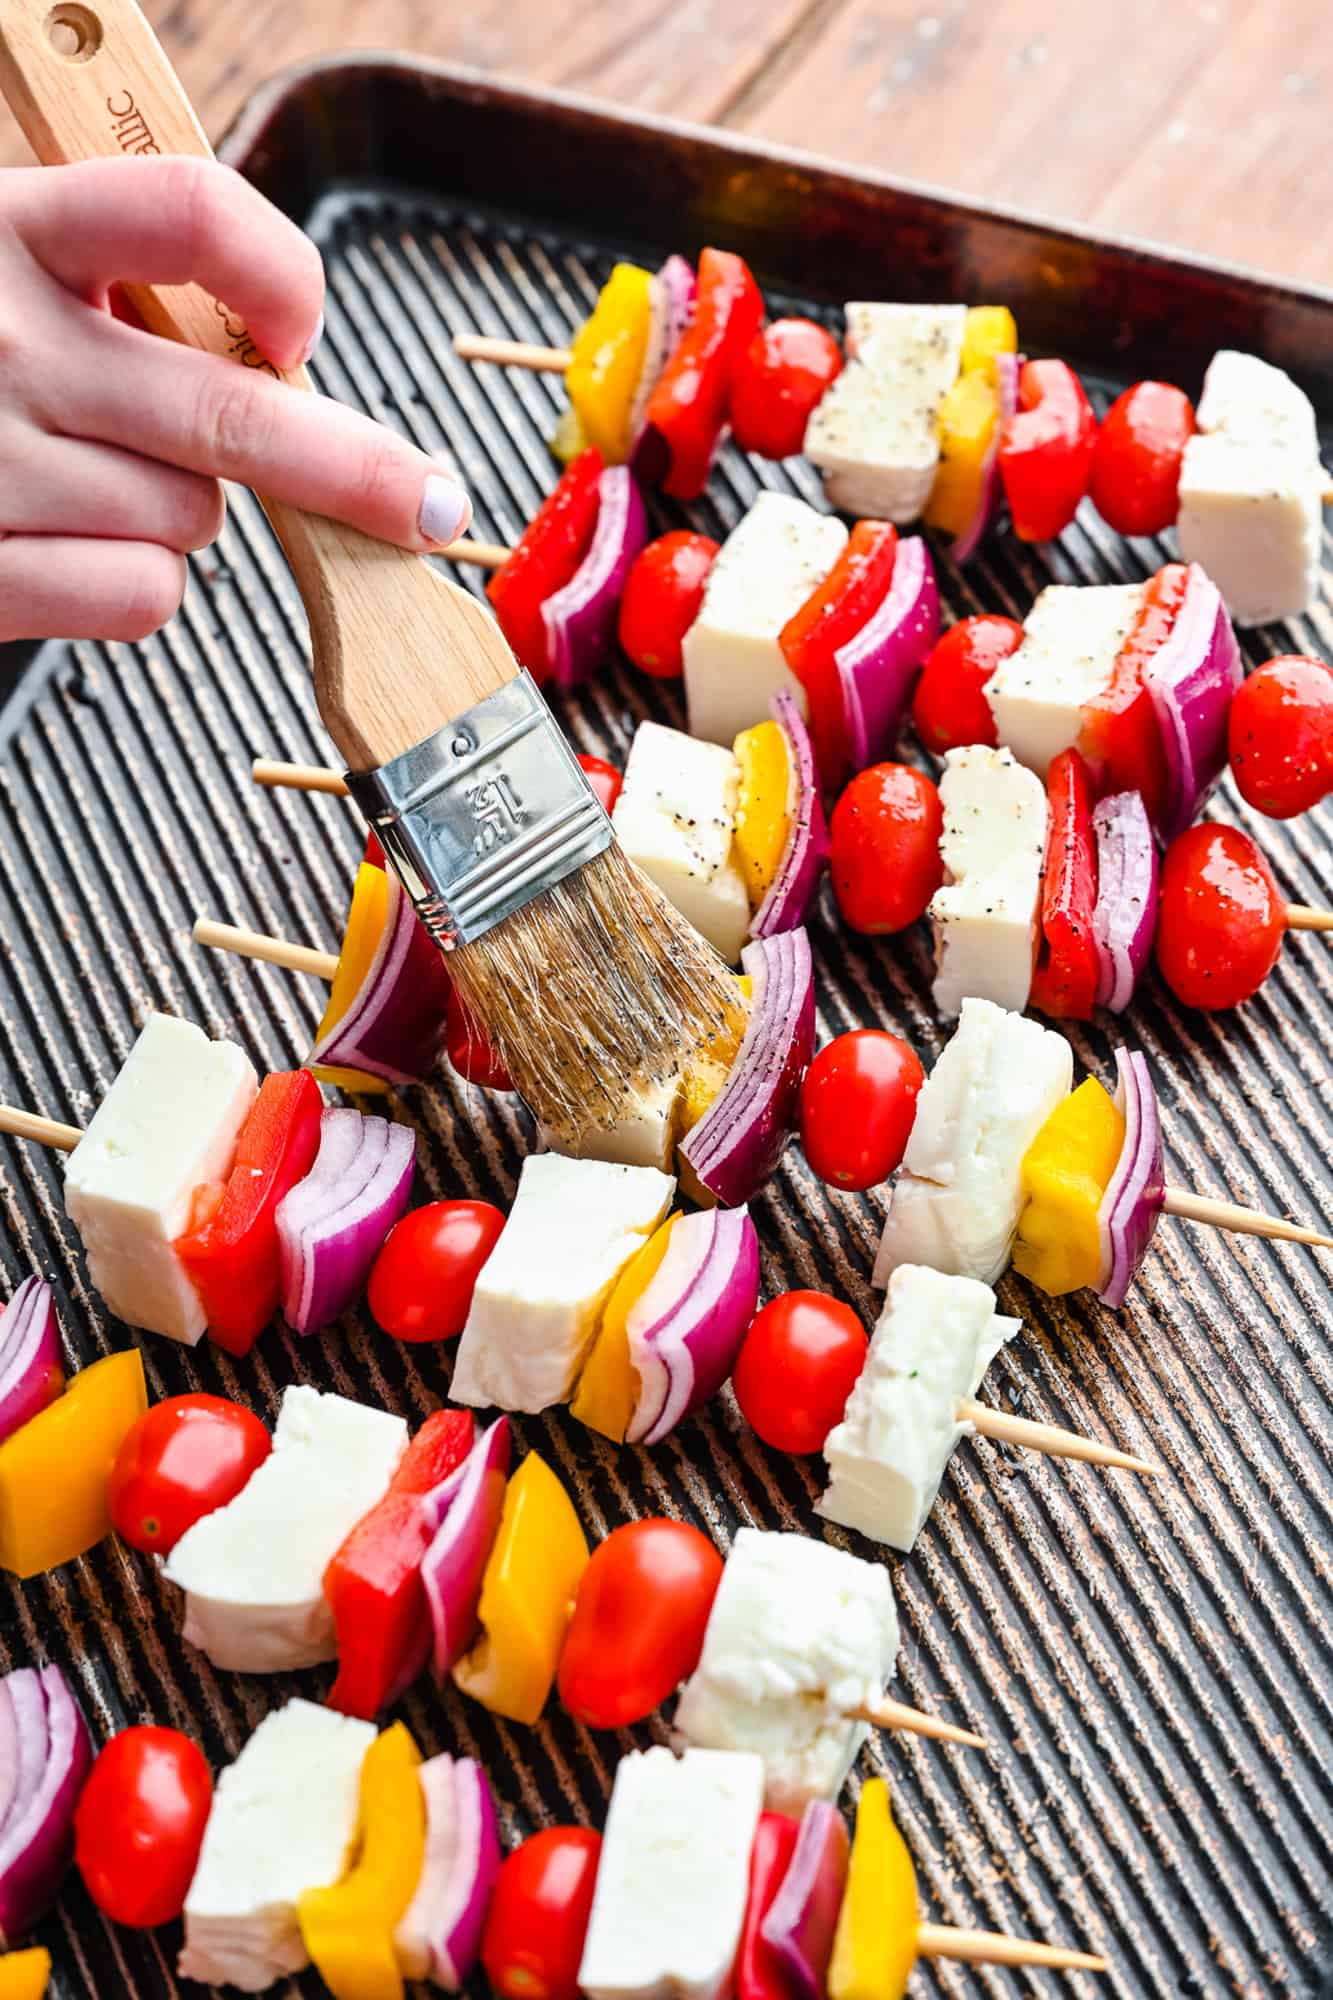
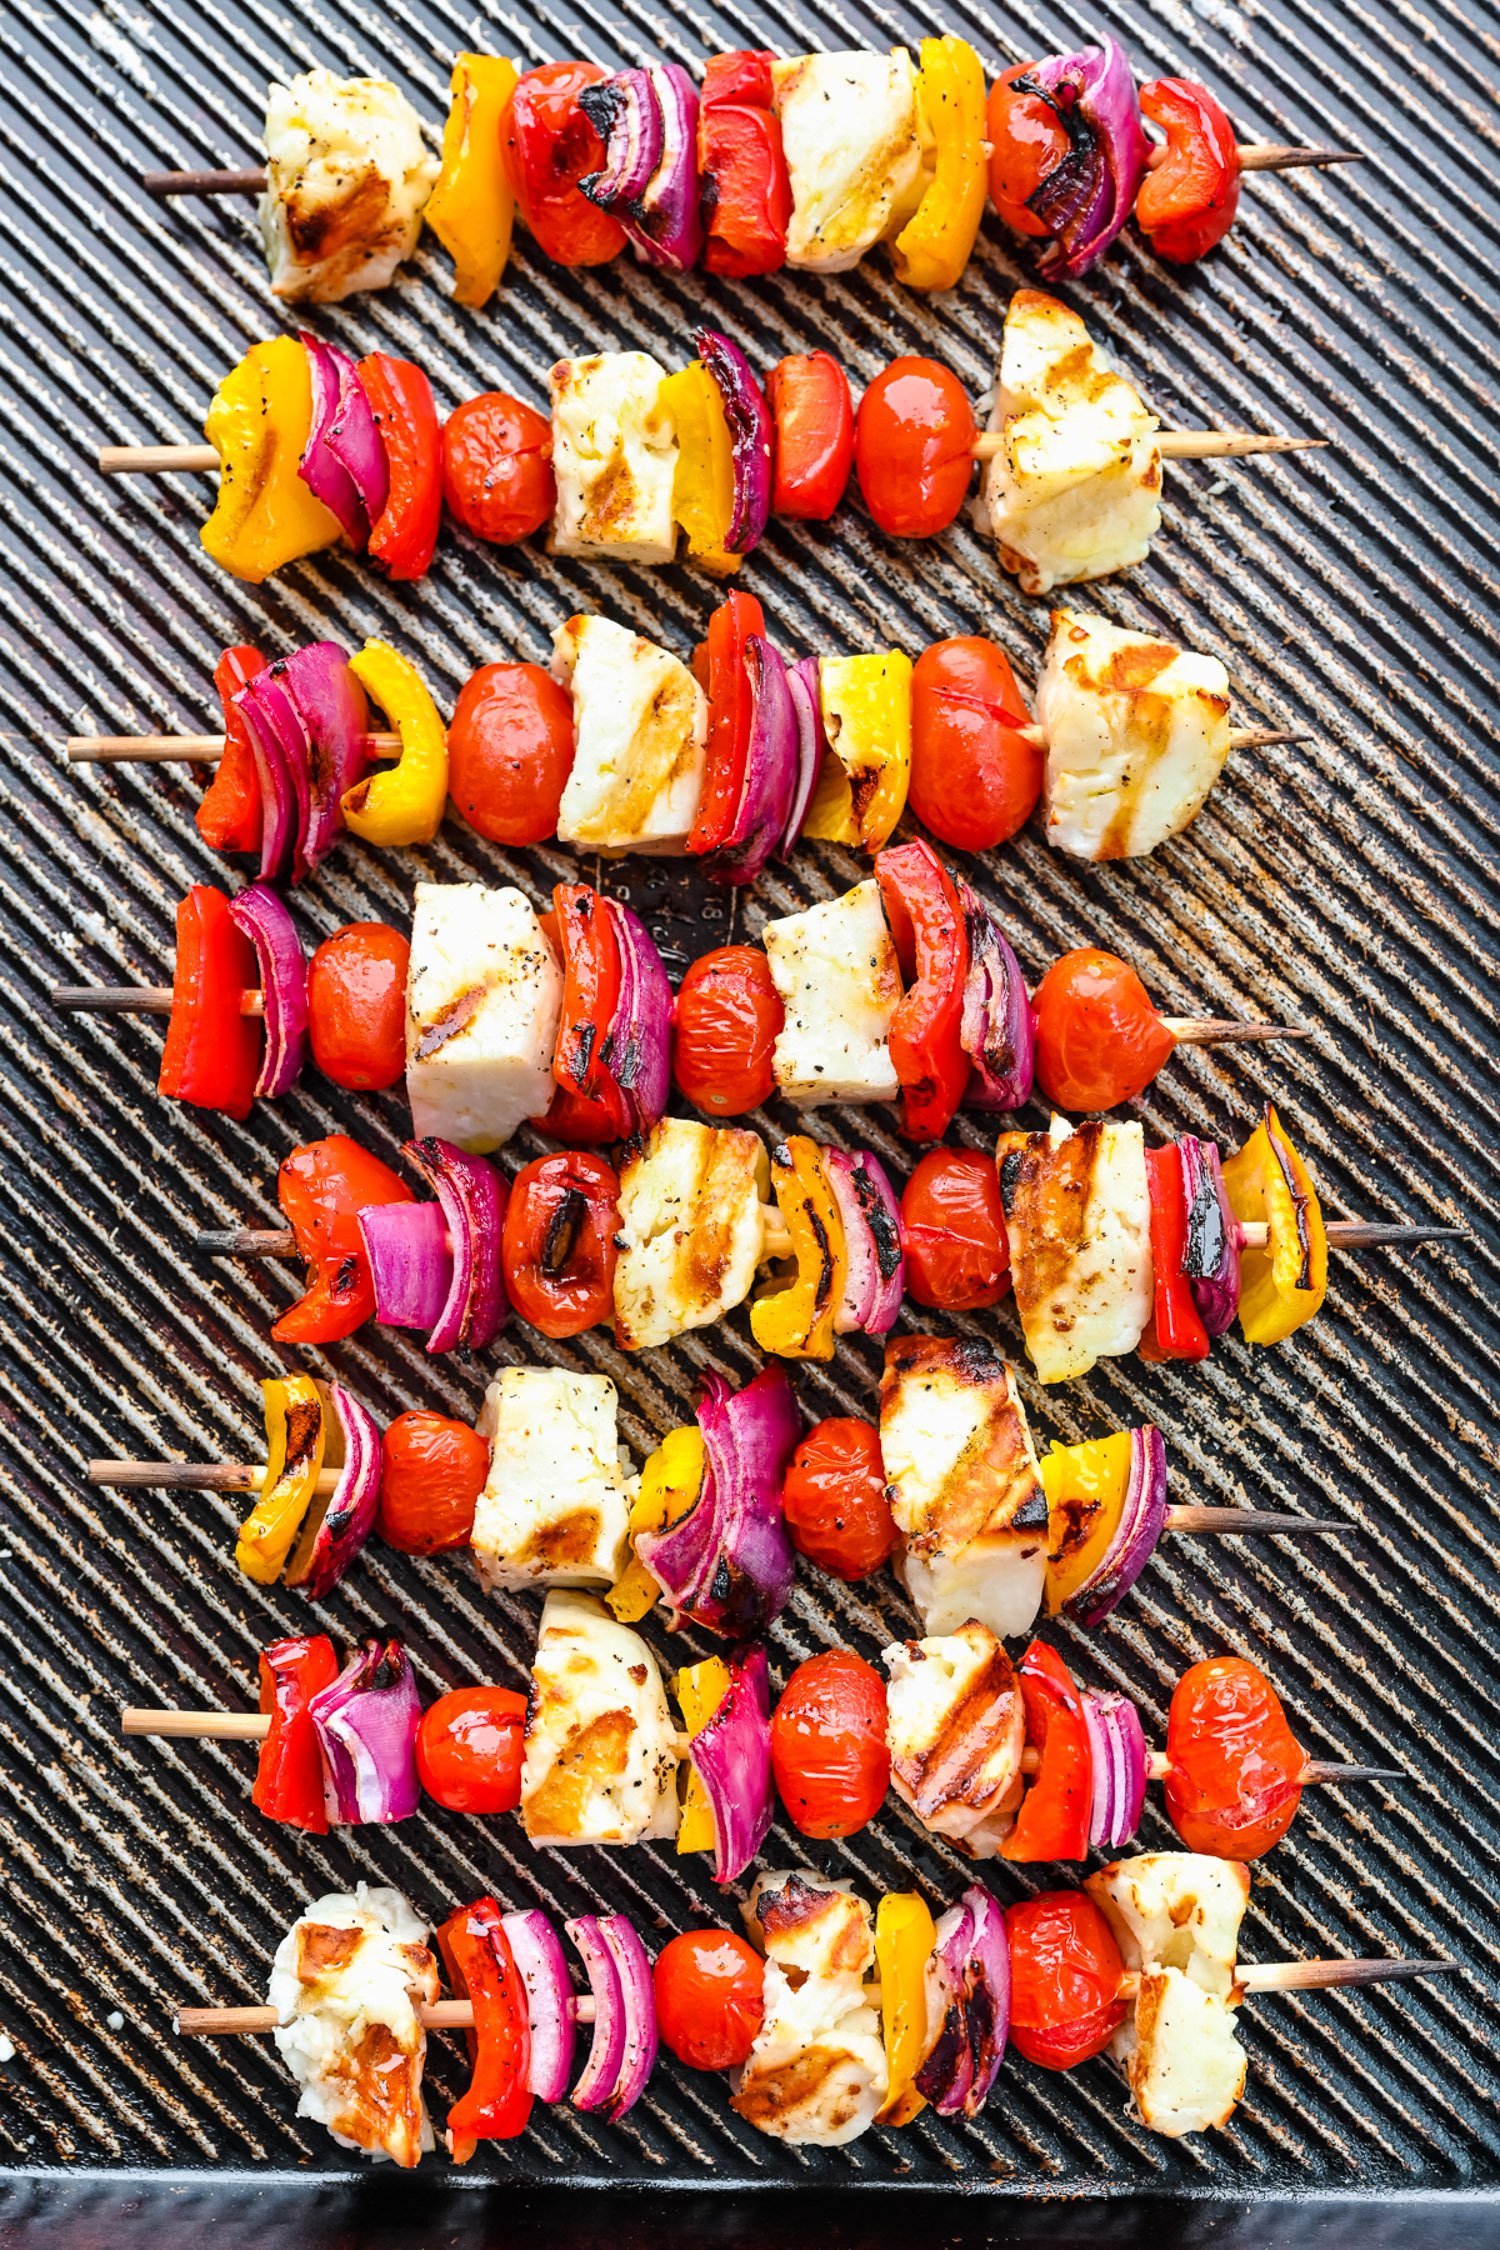
Halloumi: Look for halloumi or “grilling cheese” in the deli section of the grocery store. It keeps well. An unopened package can be refrigerated for up to a year. Once the package has been opened, it should be used within 2 weeks. Always refer to the “Use by” date on the package. Bell Pepper: For the most colorful kebabs, choose two contrasting colors of bell peppers. You’ll need 2 peppers. Red Onion: Other sweet thick-fleshed onions will work fine, too. Cherry Tomatoes: Perfect for grilling because they’re just the right size! Olive Oil/Fresh Lemon Juice: The kebabs are brushed with an oil and lemon juice mixture which helps them brown and keeps them from drying out. Wooden Skewers: You’ll need ten to twelve 8 inch skewers. Remember to soak them for at least a half hour so they don’t catch on fire when you grill. Fresh Parsley and Lemon Wedges: Serve the kebabs with these fresh garnishes.
How To Make Grilled Halloumi
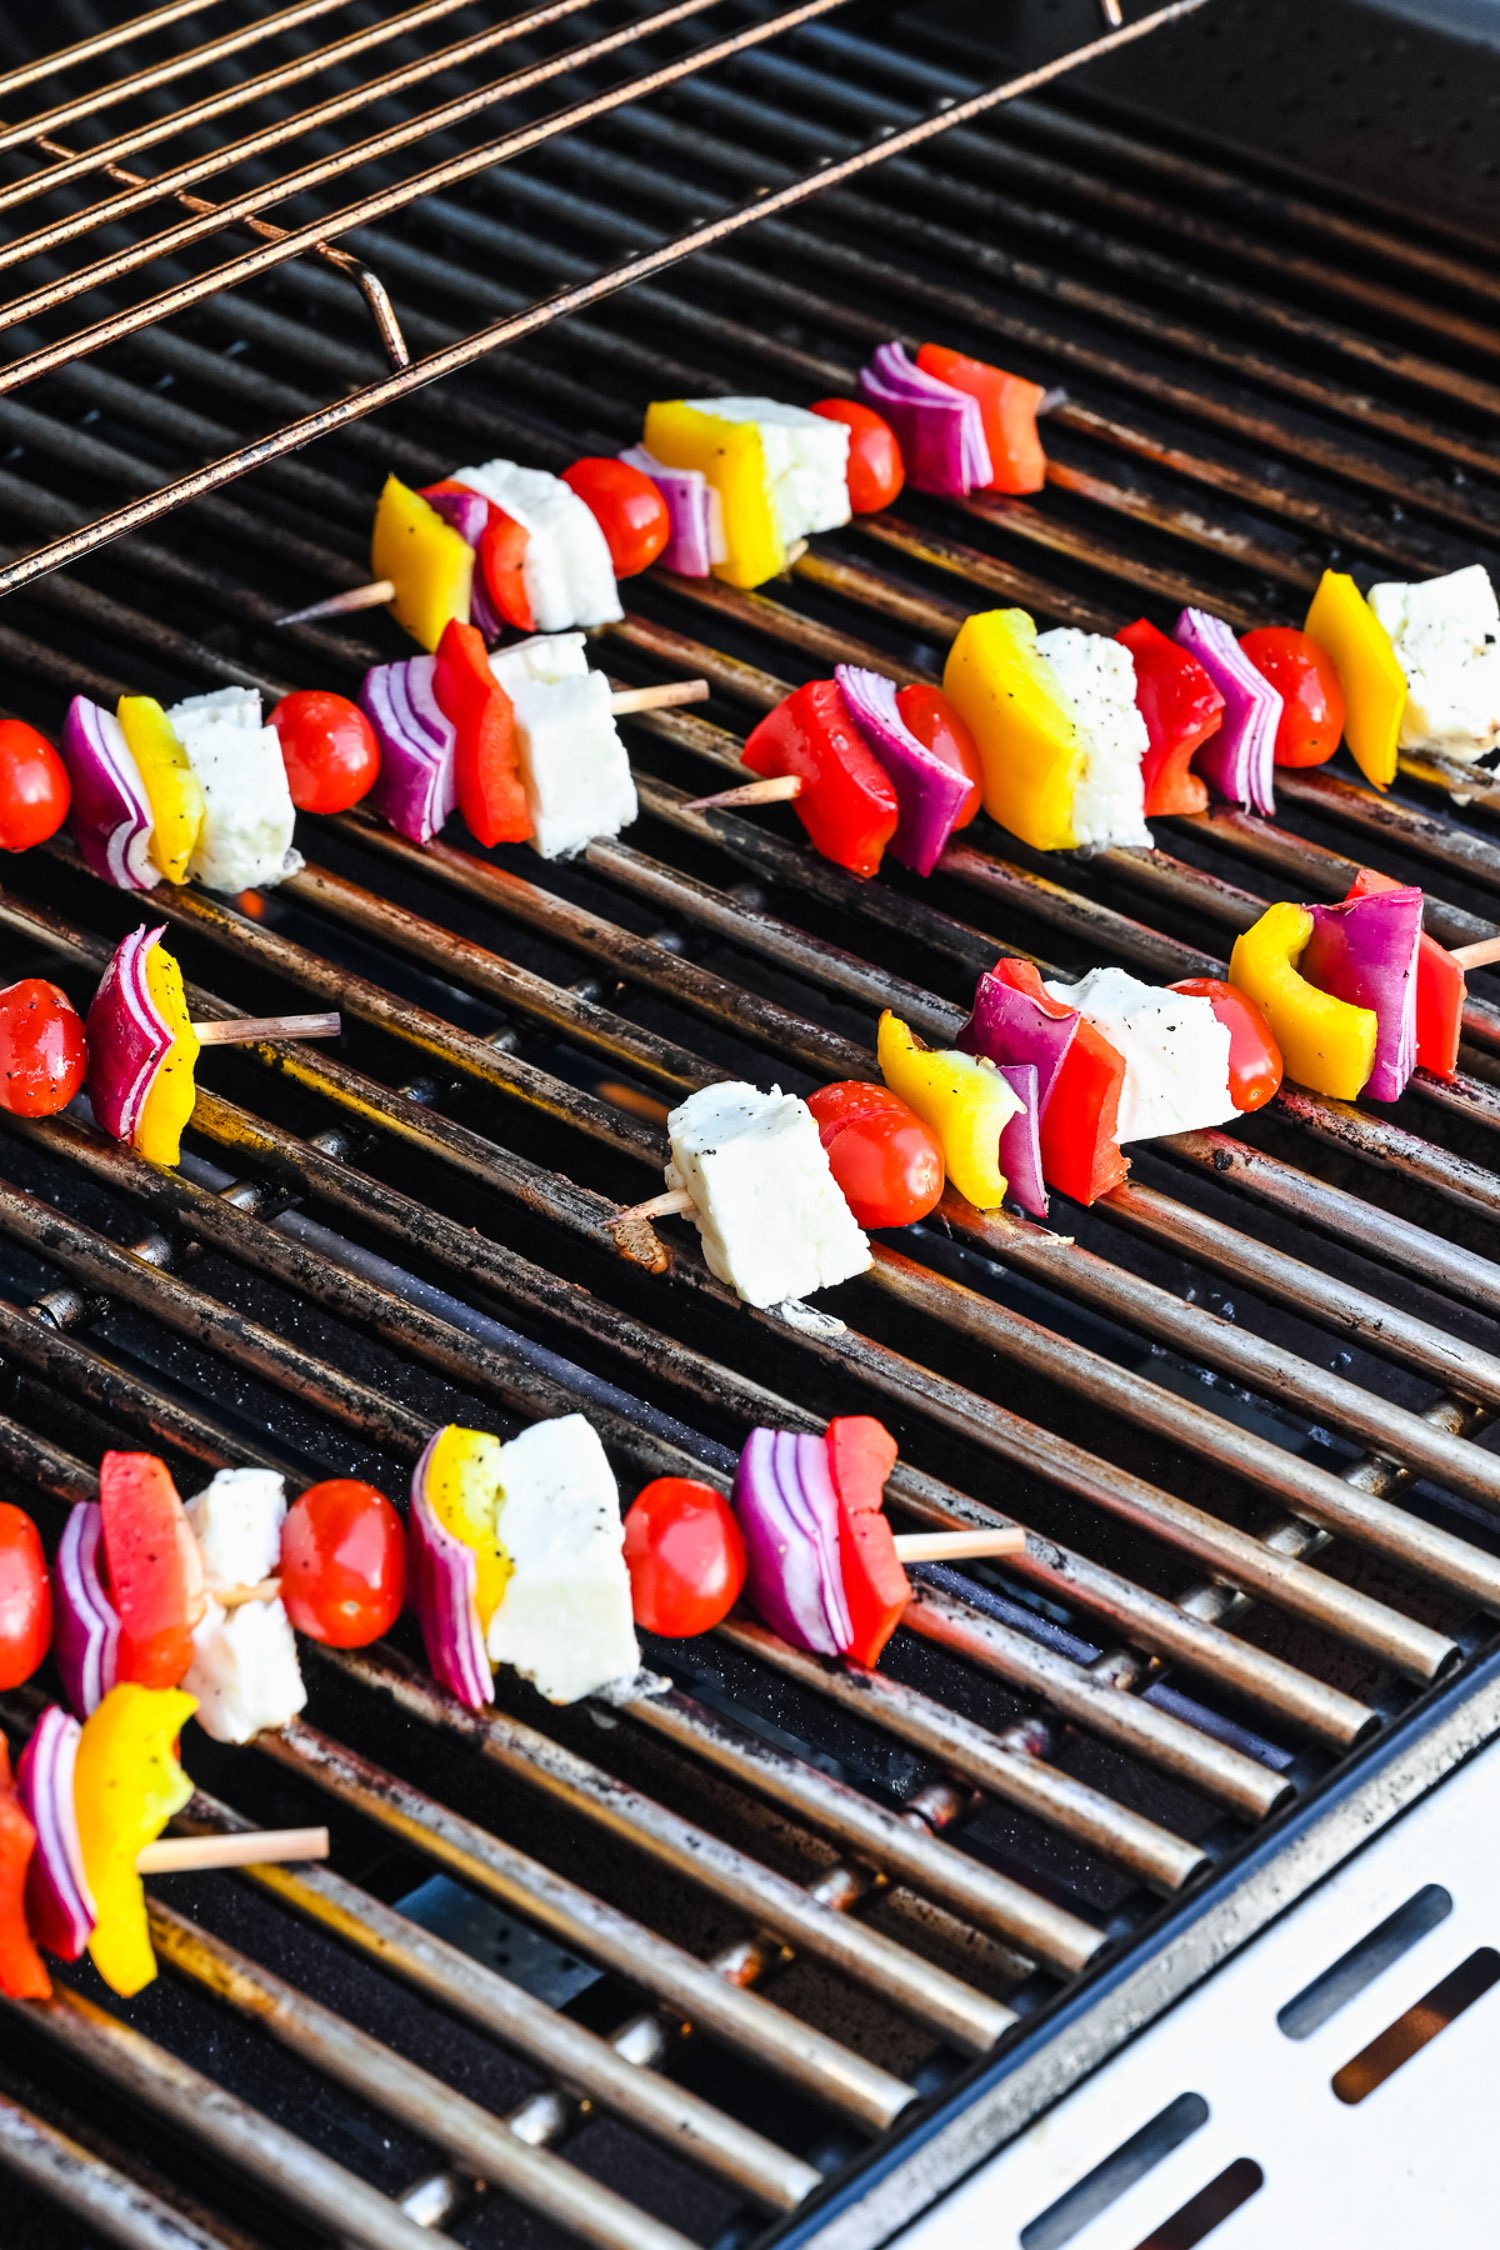
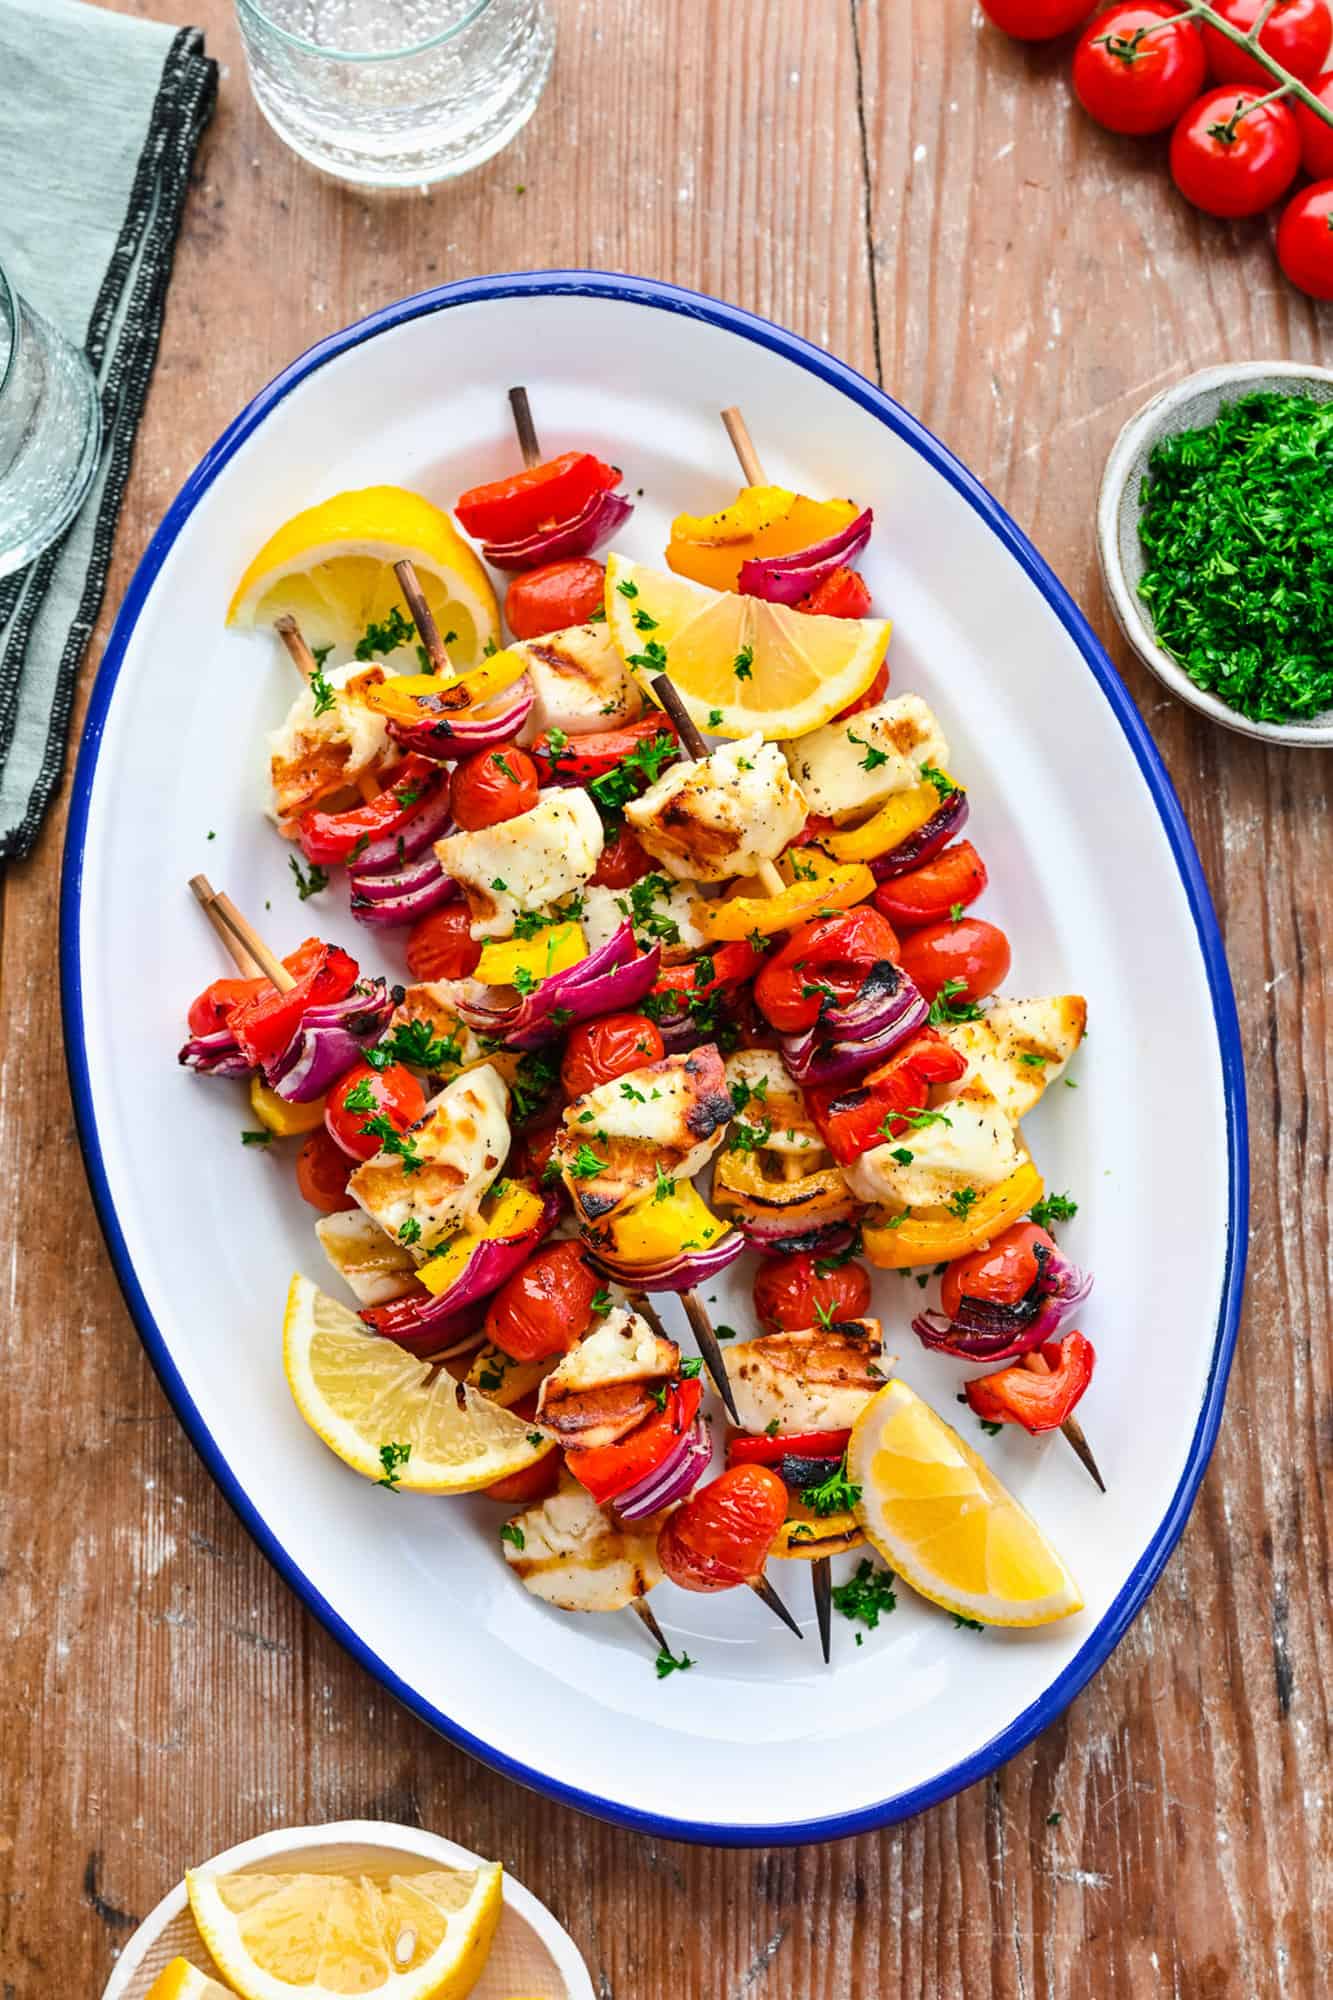
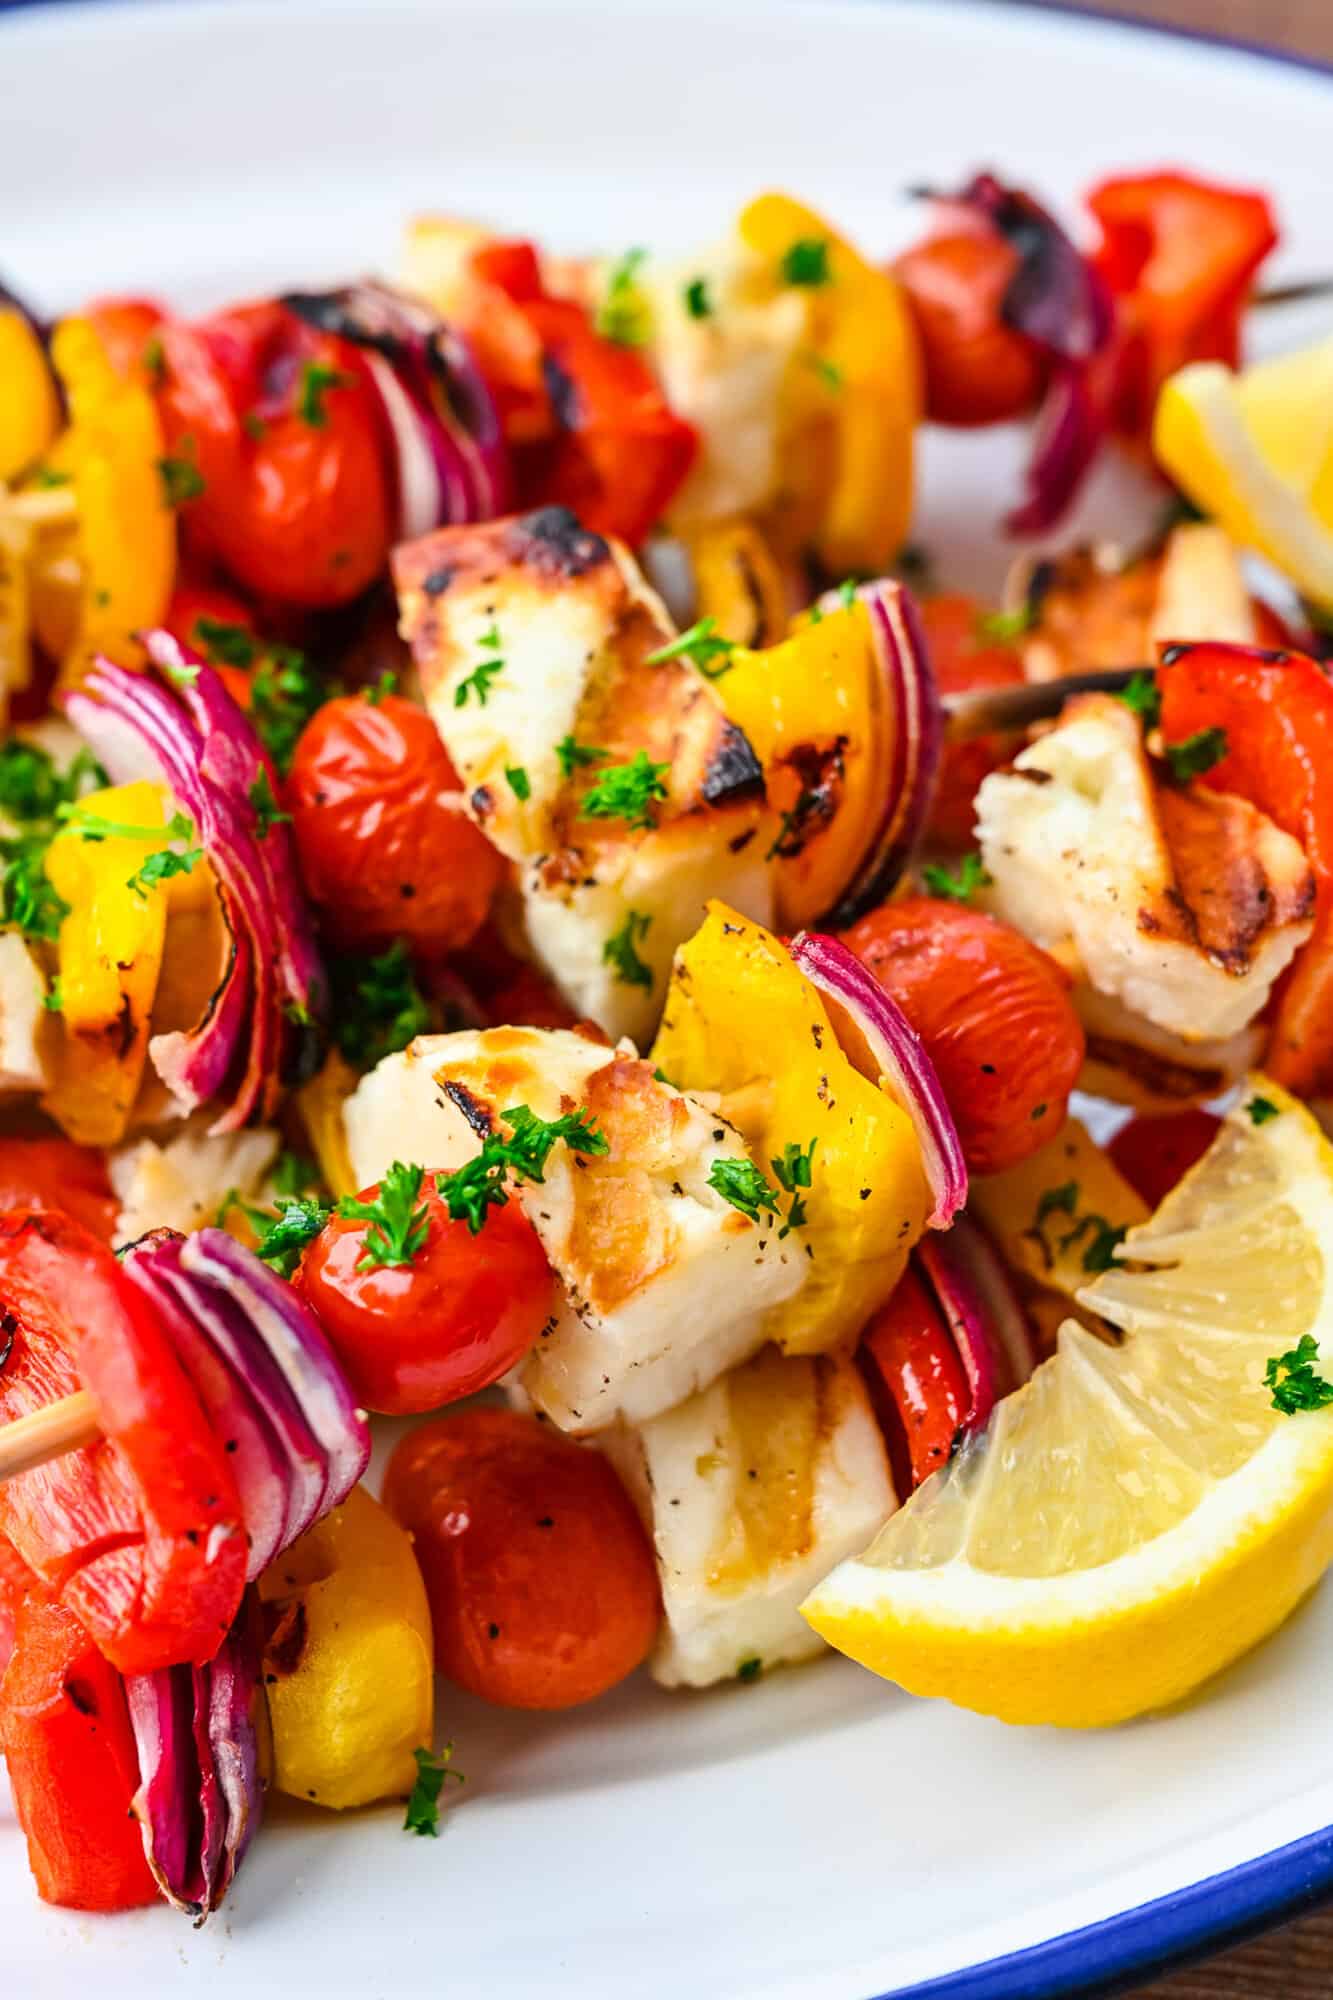
Prep the vegetables and cheese. Cut the peppers and onions into bite-sized pieces, about 1 inch. The cheese should be evenly cut into one inch cubes. Try to keep the size uniform so it grills evenly. Don’t forget to soak the skewers if you’re using wooden kebabs. Thread onto skewers. Arrange the vegetables on the skewers in an attractive way, alternating colors. Typically, I like to begin and end with a bell pepper because they stay more firmly fixed on the skewer. Brush kebabs with oil/lemon juice mixture. For easiest clean-up, line up the skewers in a row on a rimmed sheet pan. With a brush, lightly brush each skewer with the oil mixture. Grill kebabs. Preheat the grill to medium high. Place the skewers on oiled grill grates and grill for 5 to 7 minutes, or until the cheese is golden brown and the vegetables are softened and lightly charred. Serve. Serve the kebabs with lemon wedges and a handful of freshly chopped parsley.
Serving Suggestions
Appetizer: Grilled halloumi kebabs make a lovely appetizer. They go great with an Aperol spritz or vodka lemonade. Side Dish: If you’re serving the kebabs as a side dish, you may want to grill marinated chicken with the kebabs. We love grilled chicken thighs or Greek style marinated chicken. Salmon is always a good choice, too. Add a simple arugula salad or citrus fruit salad. Vegetarian Main Course: For a meatless main course, serve the grilled halloumi with brown rice or seasoned cauliflower rice.
Helpful Tips
Oil the grill grates. We found that the cheese tends to stick to the grates if they aren’t oiled. Use long handled tongs to rub a paper towel soaked with vegetable or canola oil on the grates after the grill has preheated. You can also buy specially made brushes to accomplish this, or grill sprays. Keep the grill open. With the lid down, the grill heats up more like an oven. The goal is to get nice grill marks on the cheese but it doesn’t have to be baked. With the lid open, you can watch the cheese more closely. Don’t overcook the cheese cubes. You don’t want the cheese to melt down into the grill. If you’re worried that the cheese will get done before the vegetables, grill it on separate skewers. We found that some brands of cheese worked better than others; Yanni brand tended to melt down too quickly.
Recipe Variations
Try different vegetables: Summer squash or zucchini, mushrooms, green bell peppers, Brussels sprouts, any vegetable that can be threaded on a skewer. Look for different types of cheese to grill: According to this Martha Stewart post, there are more varieties that can be cubed and grilled: Rougette Bon-Fire cheese, bread cheese (Juustoleitä), and paneer. Substitute Italian dressing: Instead of the olive oil and lemon juice mixture, brush the kebabs with Italian dressing.
Make Ahead Ideas
The kebabs can be completely assembled ahead of time, up to 24 hours. Cover and refrigerate until ready to grill. The olive oil mixture can be made ahead, too.
Storage & Reheating Tips
The kebabs are best when eaten right away but they will keep for three to four days in the refrigerator. Reheat gently in the microwave until warm. Don’t overheat the cheese or it may become tough.
Leftover Love
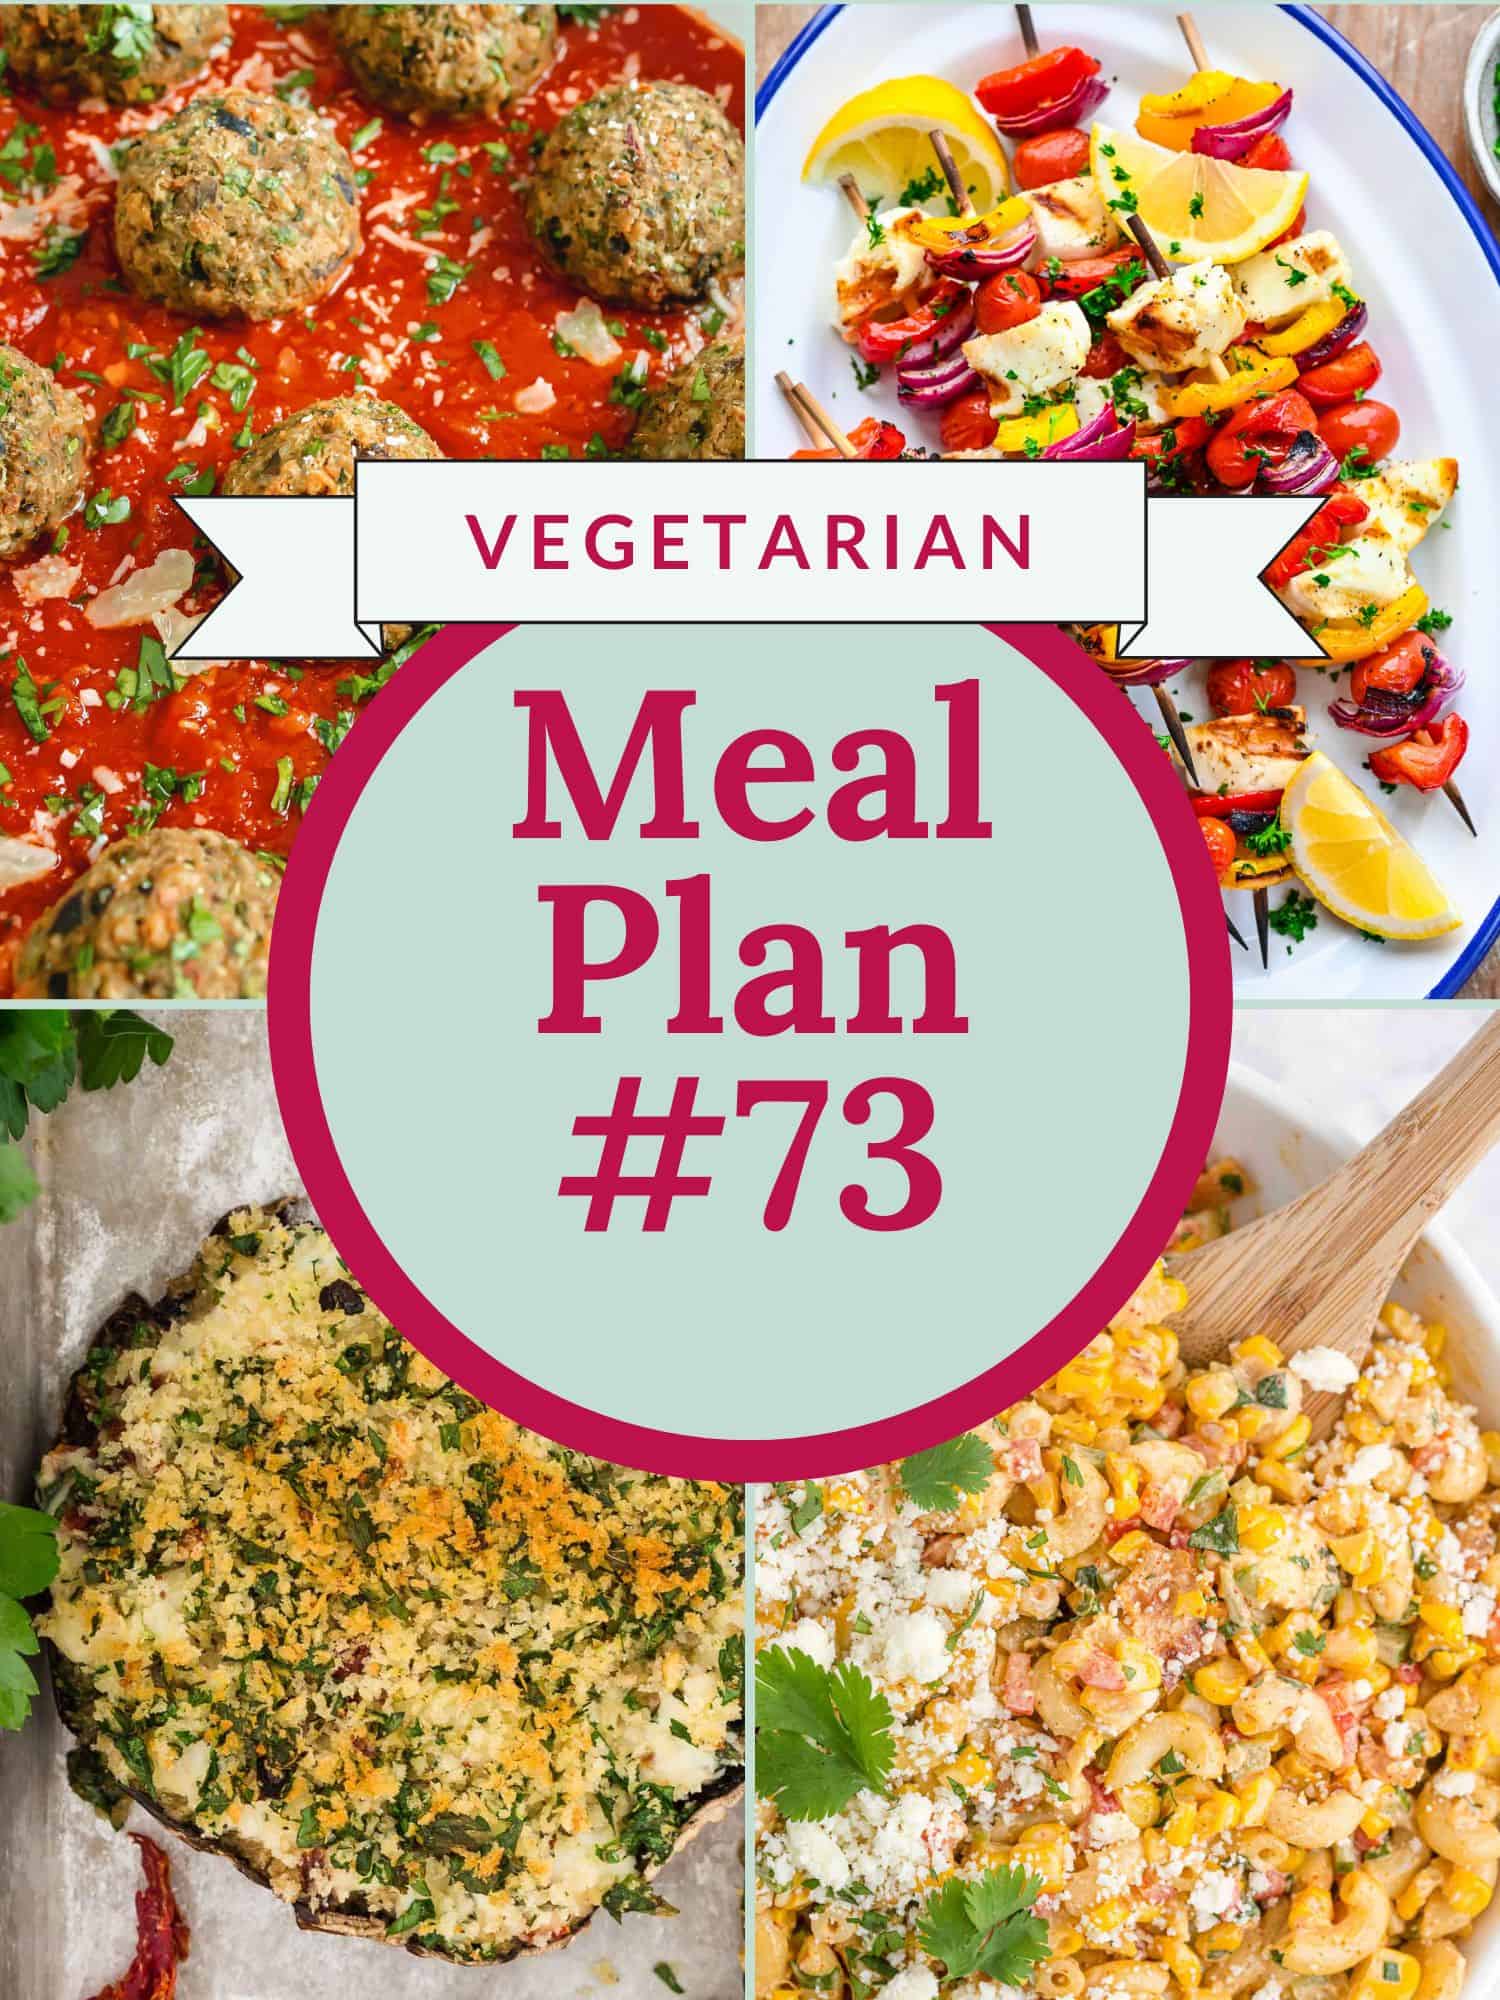
Make a grain bowl: If you have a few kebabs left over, they are delicious added to a grain bowl (Buddha bowl). Remove the cheese and vegetables from the skewers, microwave gently until they are warm. Add the warm cheese and vegetables to a shallow bowl with your favorite grain (quinoa, brown rice, farro, couscous, etc.). Top with a dressing of your choice. We love honey mustard vinaigrette or red wine vinaigrette. Stir in fresh greens, toasted pine nuts, or whatever you love best. Interested in a weekly meal plan that includes this recipe? Take a look at Meal Plan #73. You’ll find a wholesome recipe for each weekday plus a categorized grocery list. We add a new meal plan weekly. Quick-Start Guide!