I am a huge fan of cilantro, known as dhania in Hindi, and this simple dhania chutney is always in my fridge and is such a savior! I always have 3 to 4 jars of different chutneys and dips in my fridge, and boy! They are so versatile in my cooking! This chutney, also known as hari chutney (hari means green in Hindi), is a lush green, thick, tangy and spicy condiment that goes well with any Indian street food. Whether you have vada pav, sev puri, chaat, bhel puri, aloo tikki, or papdi chaat, a dollop of this chutney will take the dish to another level! You can also use this chutney as a dip for other Indian snacks, as a sandwich spread, and as a sauce for marinating. In the section below, I have shared some amazing ways to include this Indian green chutney in your meals - I hope you find them inspiring! This post contains helpful notes and tips to help you make the perfect dish. However, if you are in a rush, please use the “Jump to Recipe” link above or the “Jump to” links below to get to the section you want.
Ingredients for green coriander chutney
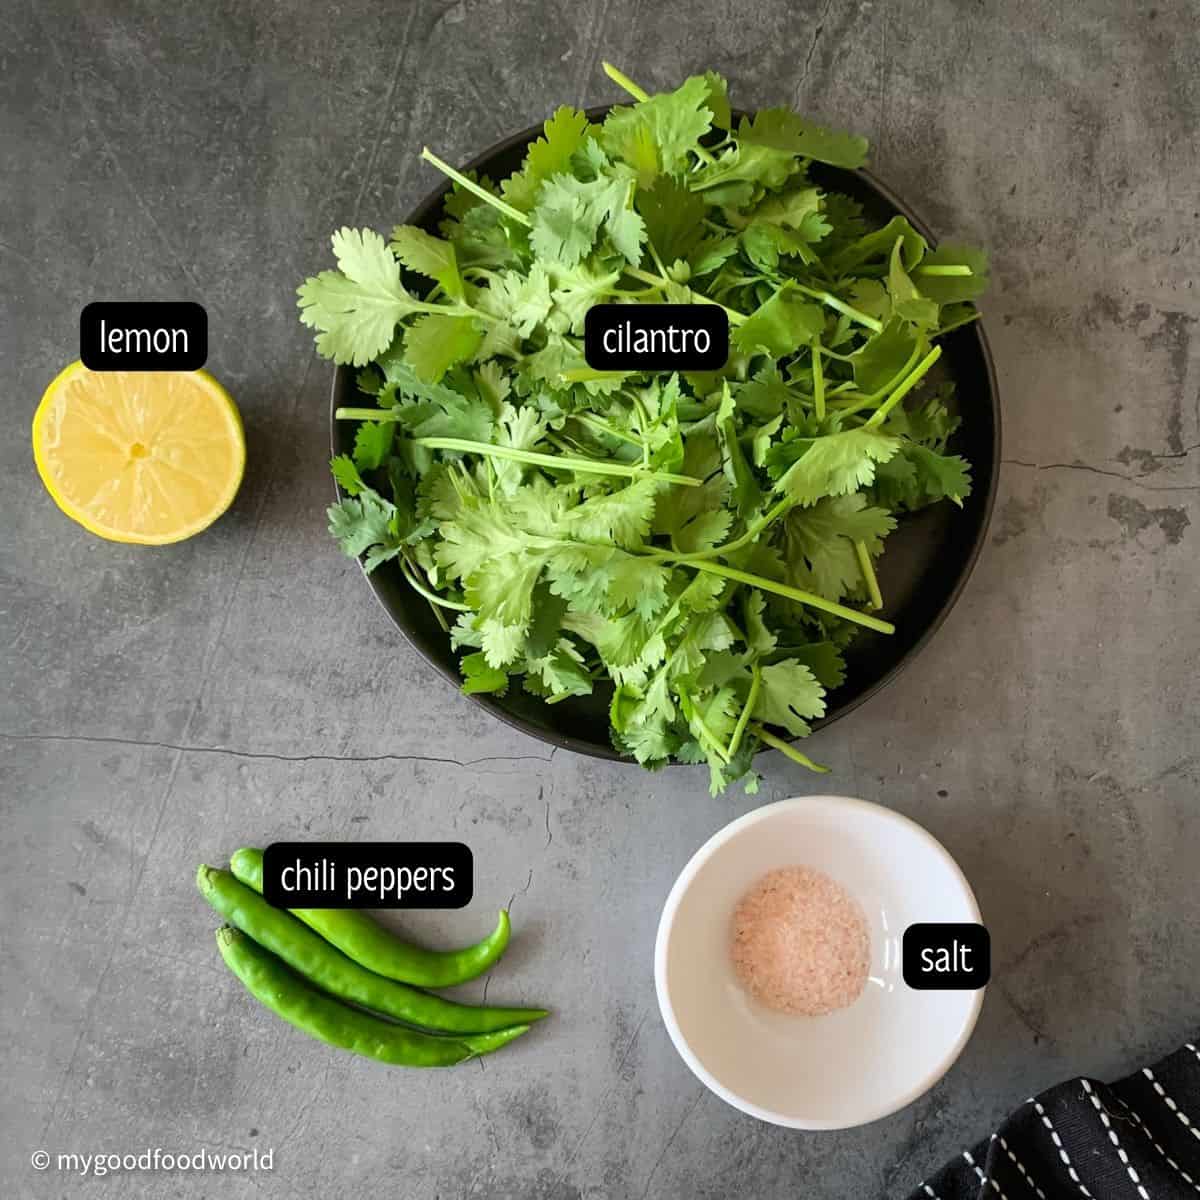
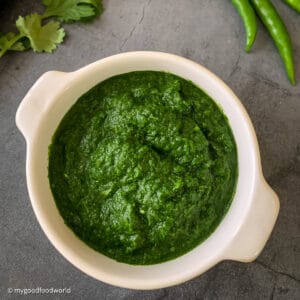
Just 4 - yes, you read it right, just 4 basic ingredients are all you need to make this cilantro chutney. See recipe card for quantities.
Use fresh coriander leaves and stems. Use any green chillies of your choice. I like my chutney spicy! If you are not a fan of spice, add green bell pepper (capsicum) instead. It will give the chutney the volume without the heat. I use lemon. Lime will work well too. If you want to know the difference between lemon and lime, read my article on souring agents. I use Himalayan pink salt. You can use rock salt, black salt or whatever you use for your daily cooking.
If you have any questions regarding these ingredients, feel free to ask in the comments section below and I will try my best to answer them for you.
Instructions
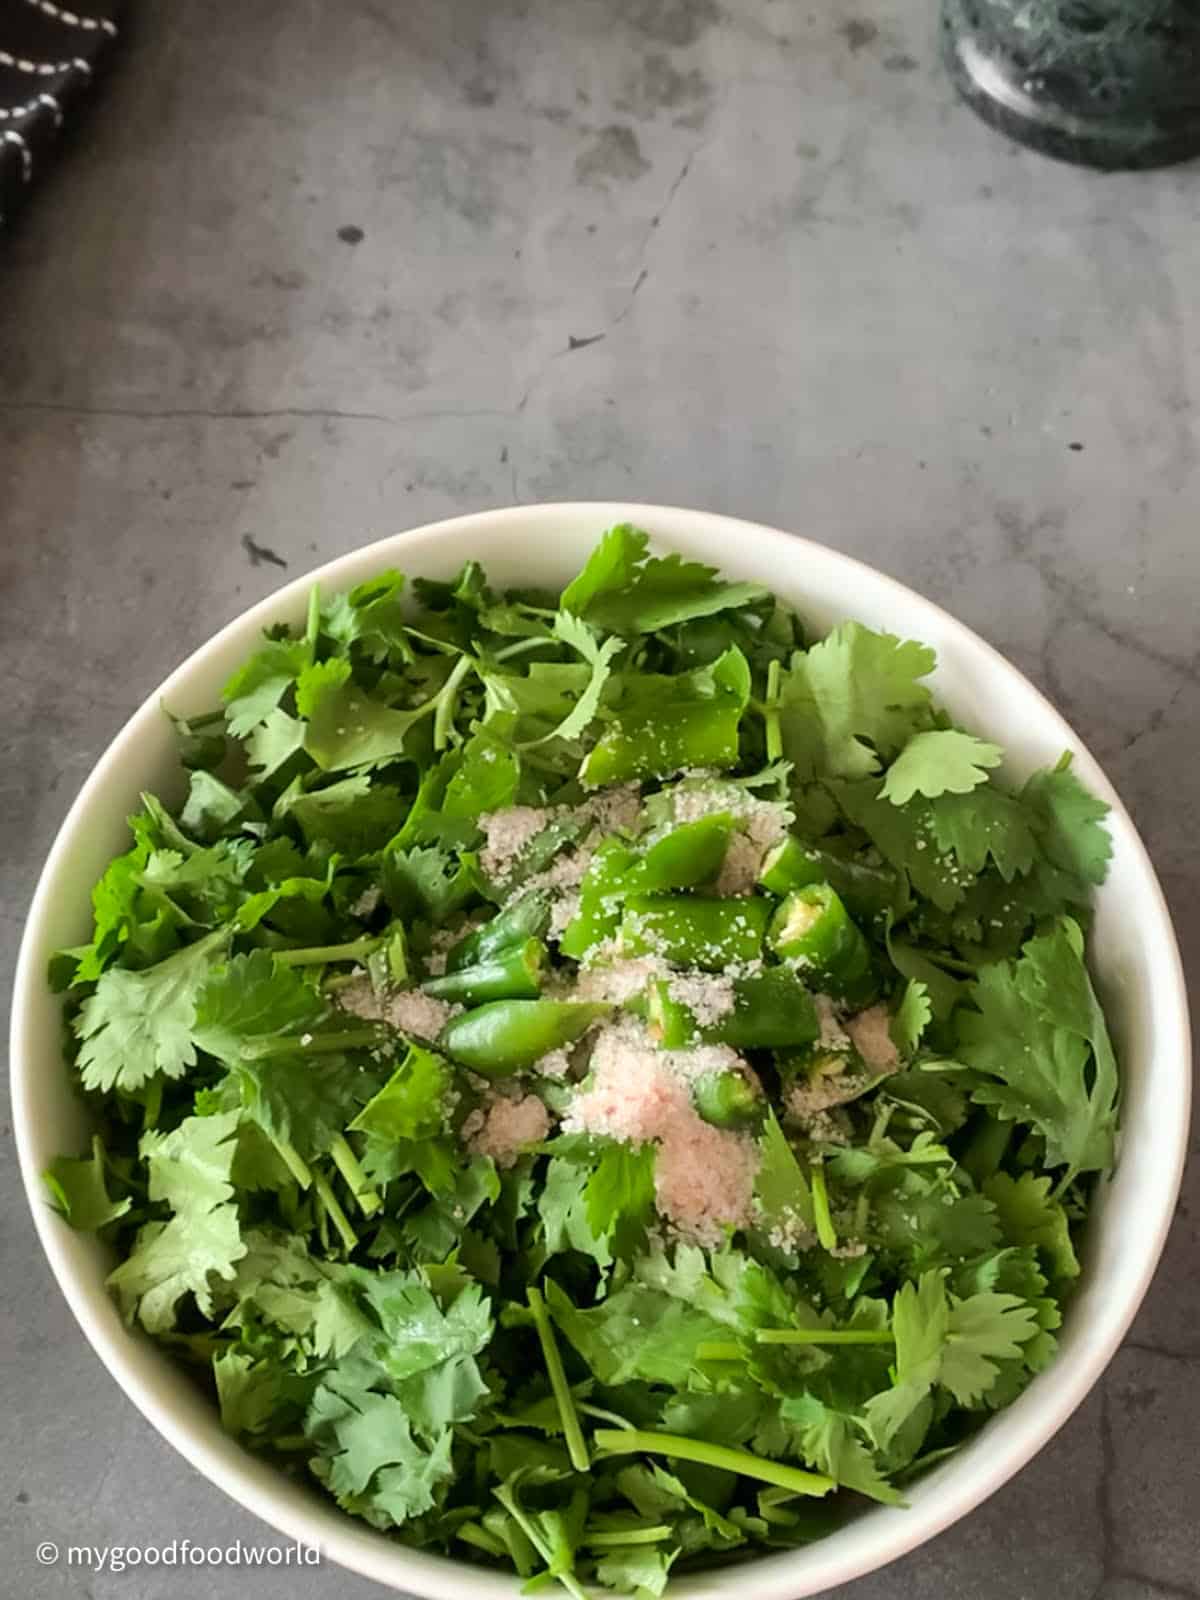
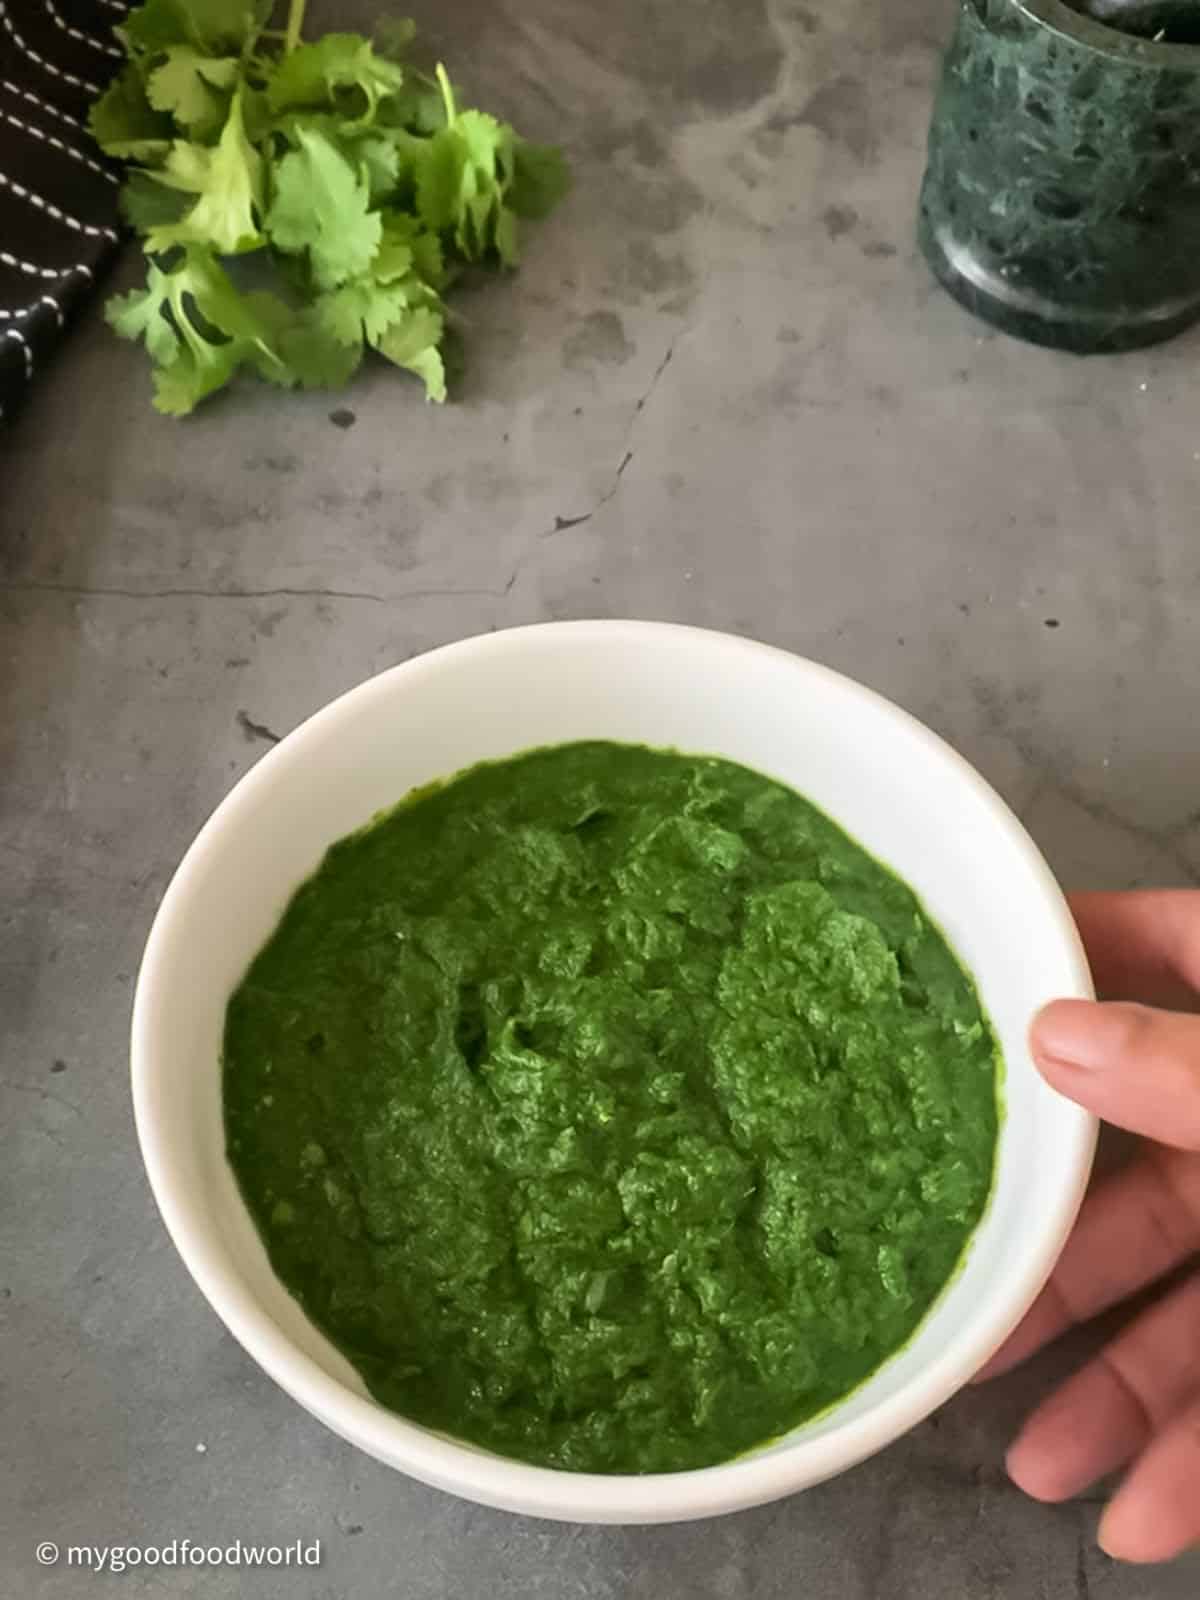
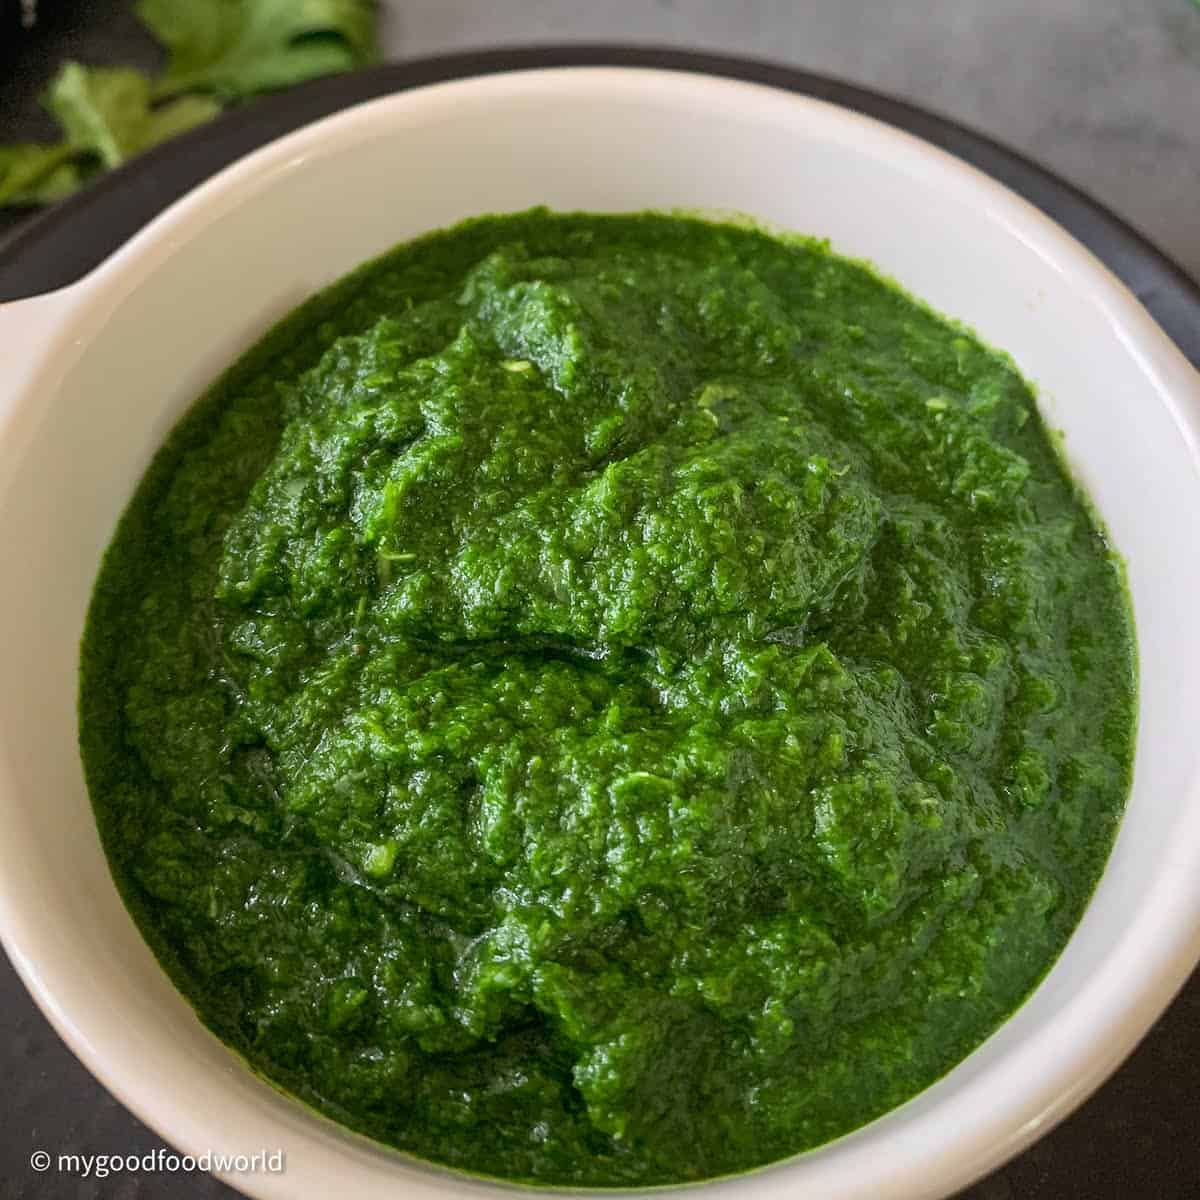
This is the simplest recipe ever! Let’s get started. Also see the video at the end of the recipe card below. Step 1: Prepare the cilantro. Wash and drain it well. Lightly pat it dry with a kitchen towel. Then chop it roughly. Cut the chili peppers into 2 or 3 pieces. Squeeze the lemon into a bowl. Step 2: Make the hari chatni. Put the chopped coriander leaves, chopped green chillies, and salt in a blender jar. Blend in short bursts at first. Then take off the lid and scrape the sides of the jar with a spatula to make sure everything is grinding well. Add the lemon juice and blend to a smooth paste. The salt and lemon juice will help to extract moisture from the cilantro and make a smooth paste. If needed, add little water (1 or 2 tablespoons). That’s it! Your simple and spicy green chutney is ready to enjoy as you like! See section below for suggestions and ideas.
Expert tips to make perfect hari chutney
This green chutney recipe without mint is so simple that you can literally make it blindfold 😆. Just make sure you keep the following things in mind:
Use the freshest ingredients. The cilantro should be green and tender. The stems add a nice texture and thickness to the chutney. Do not discard them!
Don’t add any water while grinding the chutney. There is enough water in the fresh herbs. The salt will draw out the water. The lemon juice will help to bring a smooth consistency.
Grind in short bursts at first. Otherwise, the heat of the blender will make the herbs blackish and the chutney will look unappetizing.
Top tip: If you plan to make a big batch of this chutney, then I suggest that you grind the chilies and salt first and then add the fresh cilantro in small batches.
Why does my green chutney taste bitter?
Your green chutney may taste bitter for a few reasons. One is using herbs that are not fresh. Fresh herbs should be crisp and green. Wilted and discolored herbs can make your chutney bitter. Another reason is using mint stems. Only use mint leaves for your chutney. Mint stems can make it bitter. A third reason is blending the chutney too long in your food processor. The heat of the machine will make the herbs turn dark greenish-brown and bitter. To prevent this, blend the chutney in short bursts at first. Then, when the ingredients are mostly broken, blend quickly on high speed until smooth. Any doubts or questions? Feel free to ask via the comments below. I will try my best to answer them for you. - Padma
Variations
This chutney has many versions! I always make this simple green chutney recipe without mint because I always have cilantro in my pantry. You can add some fresh mint leaves to make a cilantro mint chutney. The amount of mint leaves depends on how much you like the minty flavor. Usually, the mint should be half as much as the cilantro. Here are some other ingredients that you can add to this basic version of green chutney:
Roasted peanuts and /or sesame seeds for a richer, creamier taste. This variation will make such a good sandwich or quesadilla spread!
Some yogurt to make it restaurant style chutney. Yogurt will make the green color lighter and also to tone down the spice level. You may have had this version, served as a dipping sauce with poppadum, in an Indian restaurant.
You can swap the lemon juice with any of these: amchur (dry mango powder) tomato gooseberry (amla) as I have in this dhaniya pudina amla chutney. green mango
Storage
The salt and lime juice act as natural preservatives and keep this chutney fresh for up to a week. After grinding it, allow the chutney to come to room temperature and then store it in an airtight container, preferably a glass jar, in the fridge. You can also freeze this chutney. Spoon any leftover chutney into ice cube trays and freeze them for up to 2 months.
Serving suggestions
This chutney is so versatile that you can use it in many ways! Here are some of my favorite ways to enjoy it:
As a spread on toast.
As a layer in my cheese toasties and sandwiches with this spiced onions.
Tossed with some leftover rice and veggies to make a tasty green fried rice.
Mixed with some boiled sweet potatoes and a dash of lime.
I love dipping these turmeric tortillas in it. You can also pair it with any flatbread of your choice. As marinade for paneer tikka.
If you have made this green chutney recipe without mint, please take a moment to leave a comment and a rating below. This will make me super happy and motivate me to create more good content for you! You can also engage with me on Twitter, Facebook, and Instagram xx Padma
📖 Recipe
Disclosure: The nutritional information is calculated using an online calculator and is based on available ingredients and preparation. It should not be considered a substitute for a professional nutritionists’ advice. Changing the quantities and cooking technique will alter the nutritional calculations.