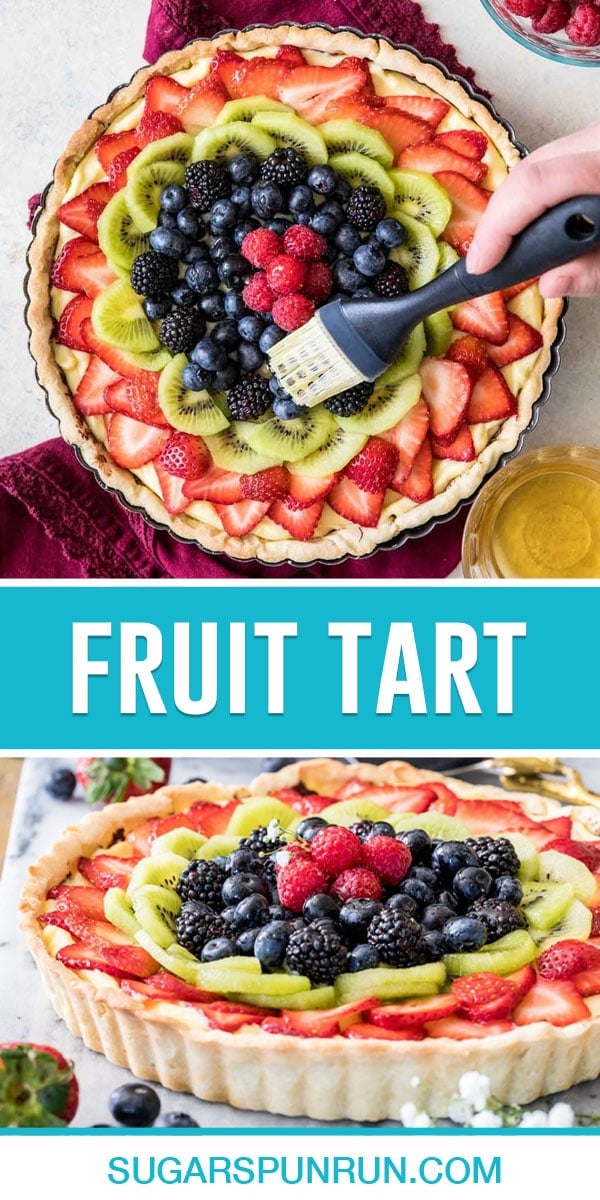
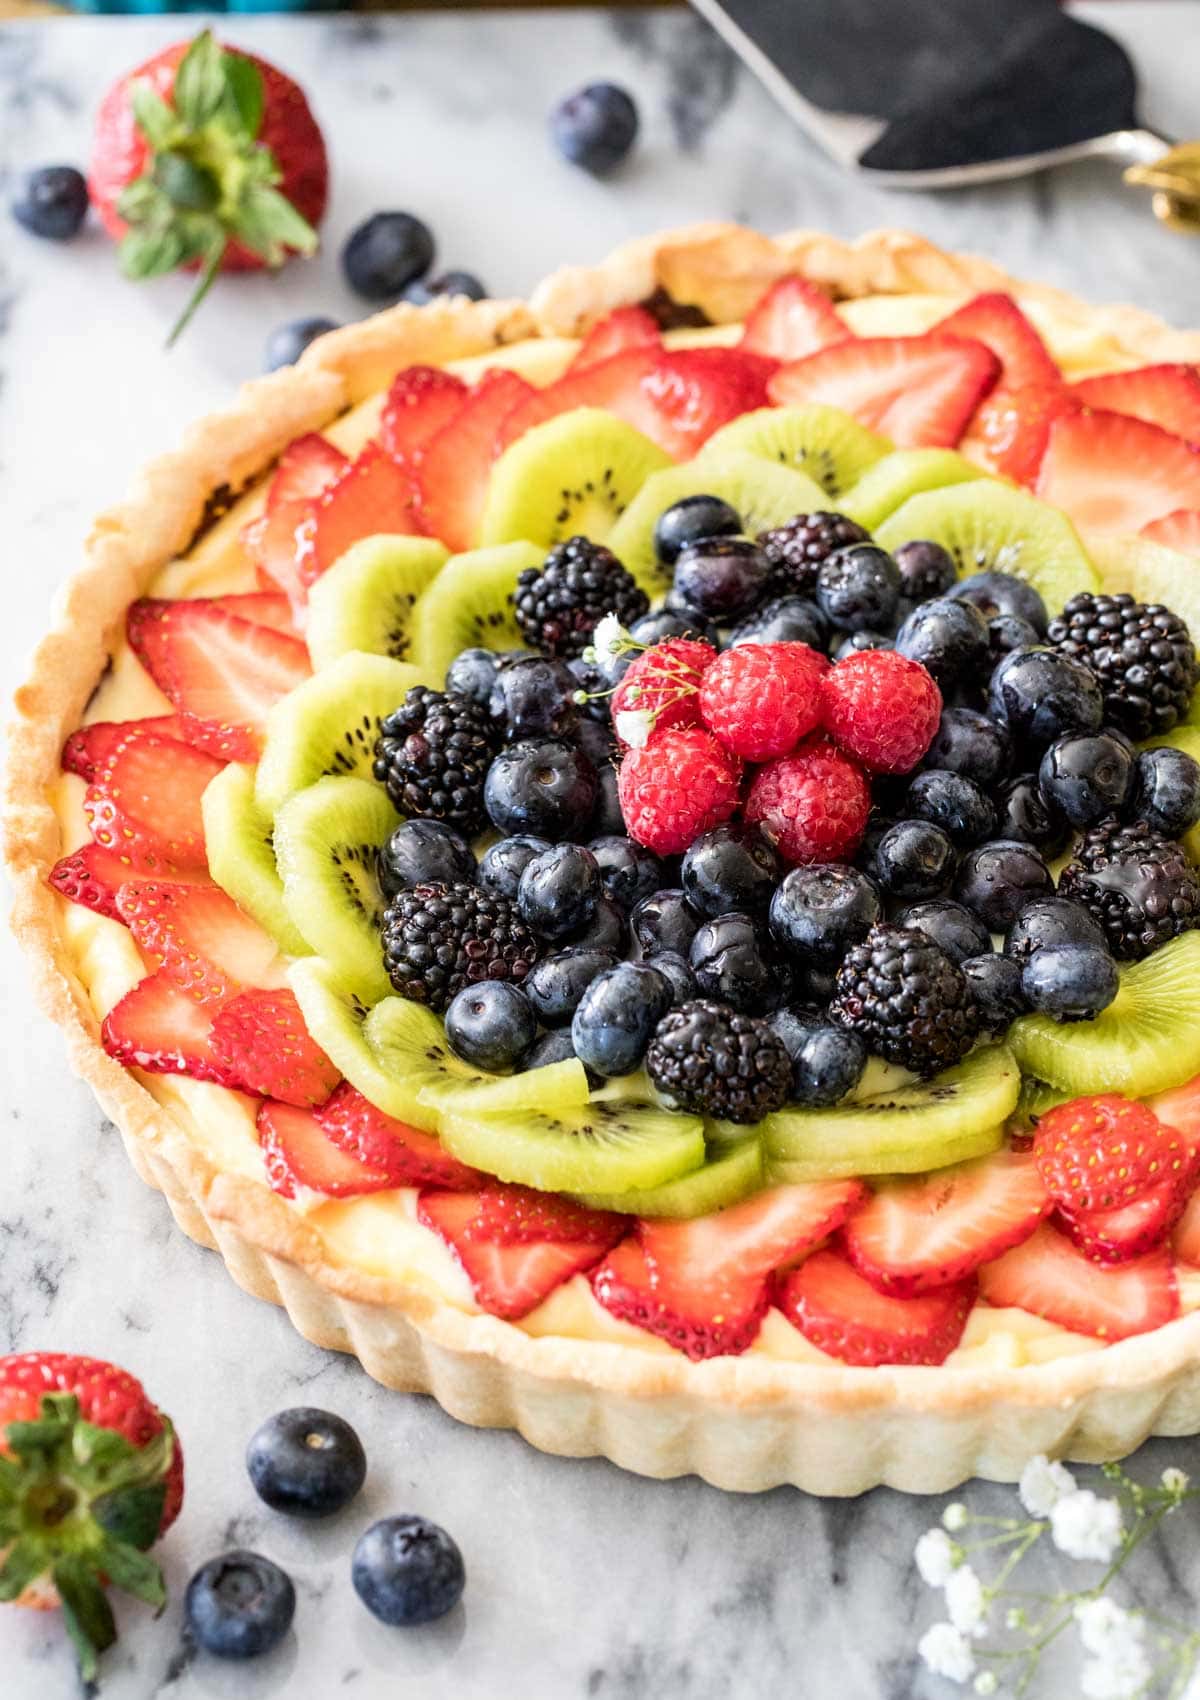
My Favorite Fruit Tart
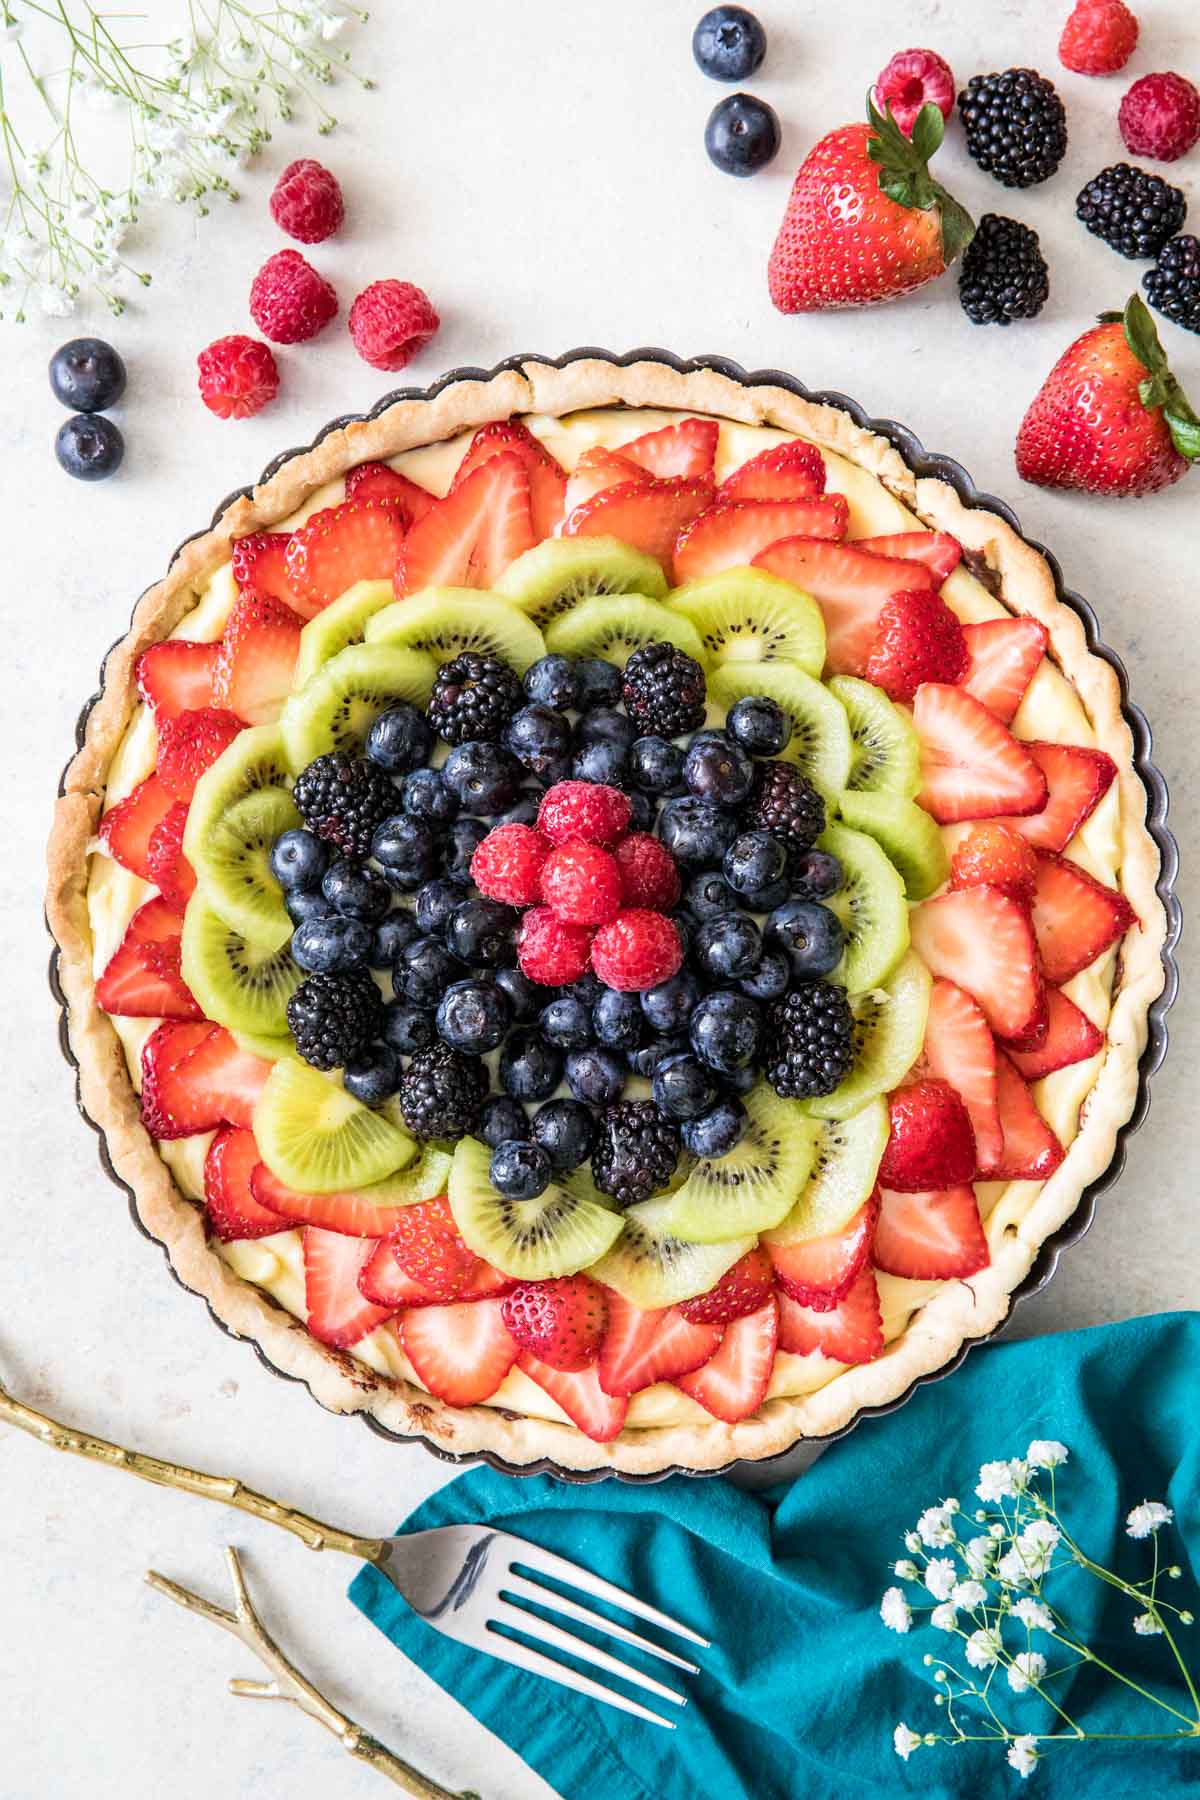
Buttery, crisp crust; smooth, rich pastry cream; and bright, fresh fruits–these are the quintessential components to a classic fruit tart. Today, I’m sharing my approachable, yet impressive fruit tart recipe so you can make this bakery display-worthy dessert in your home kitchen!
Why You’ll Love This Recipe
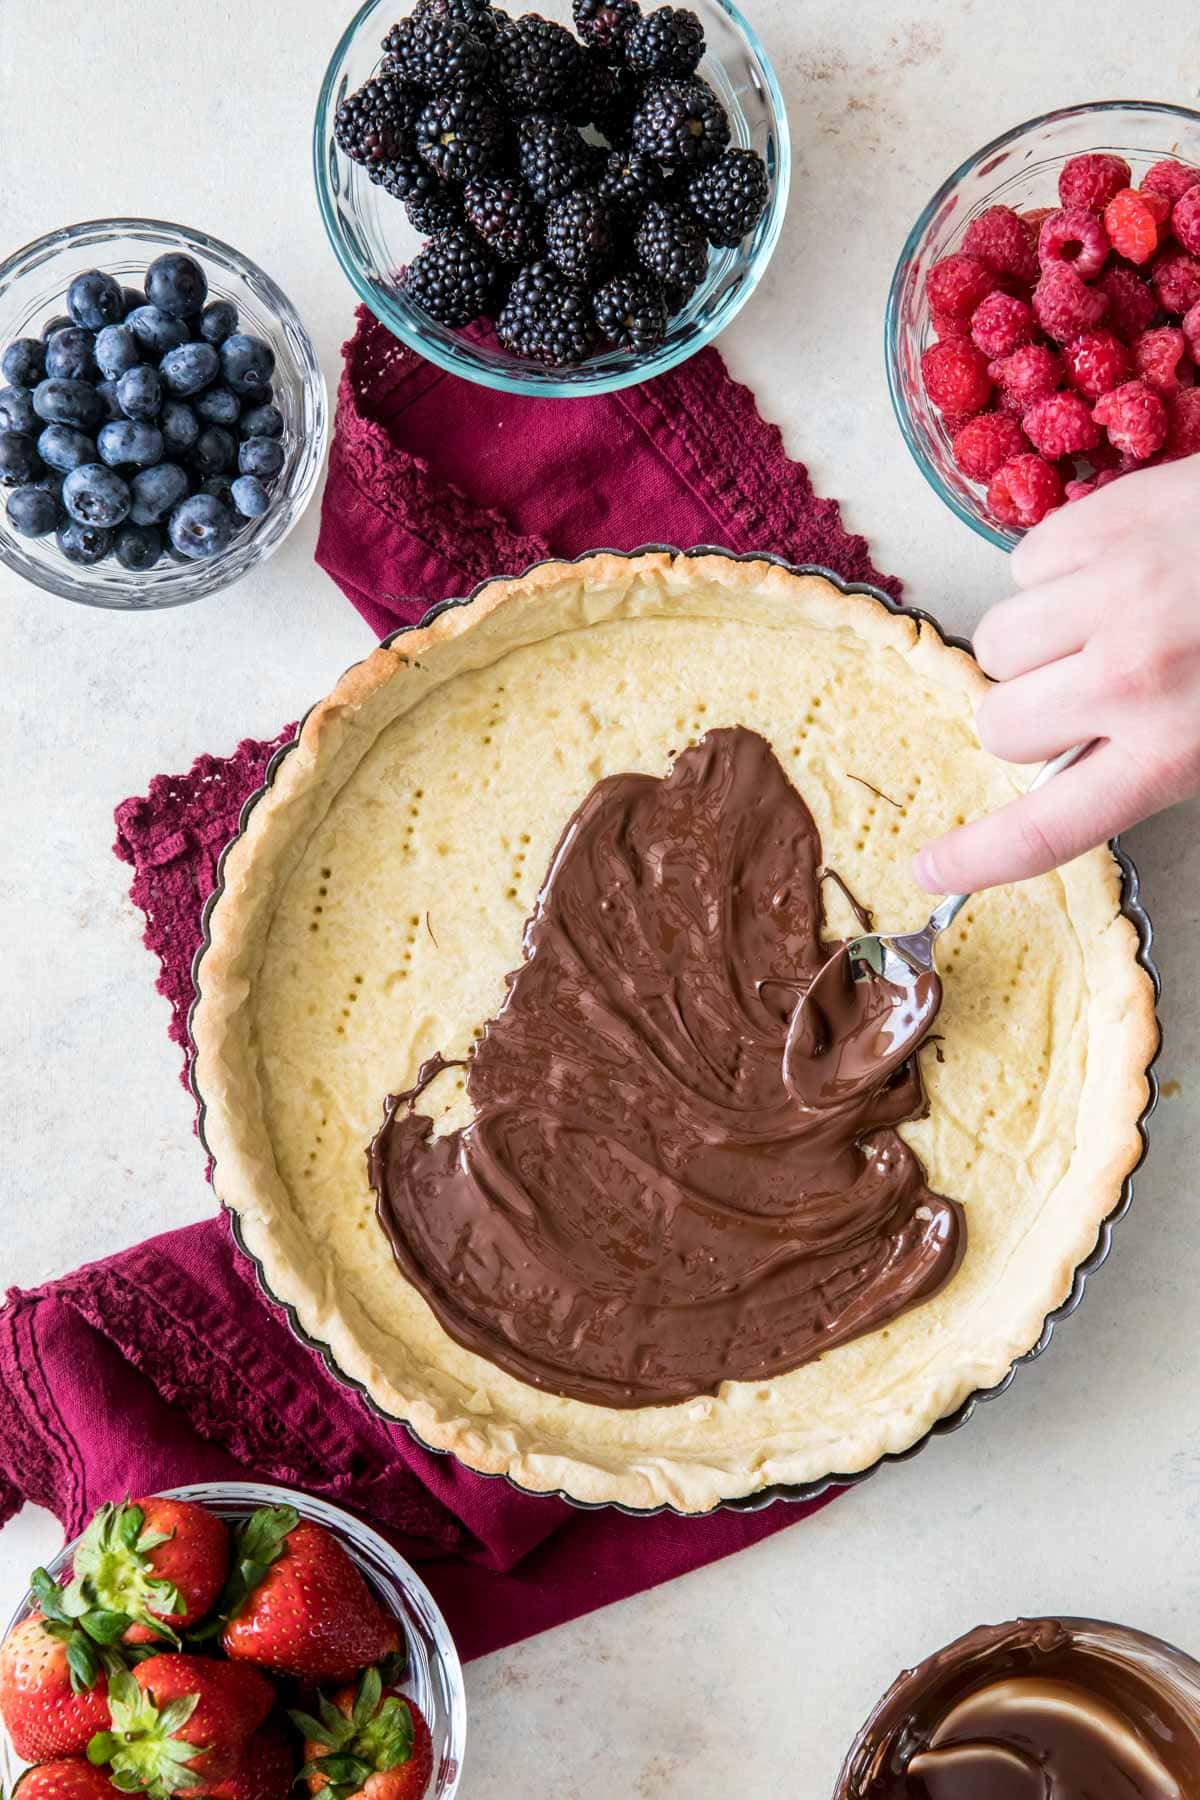
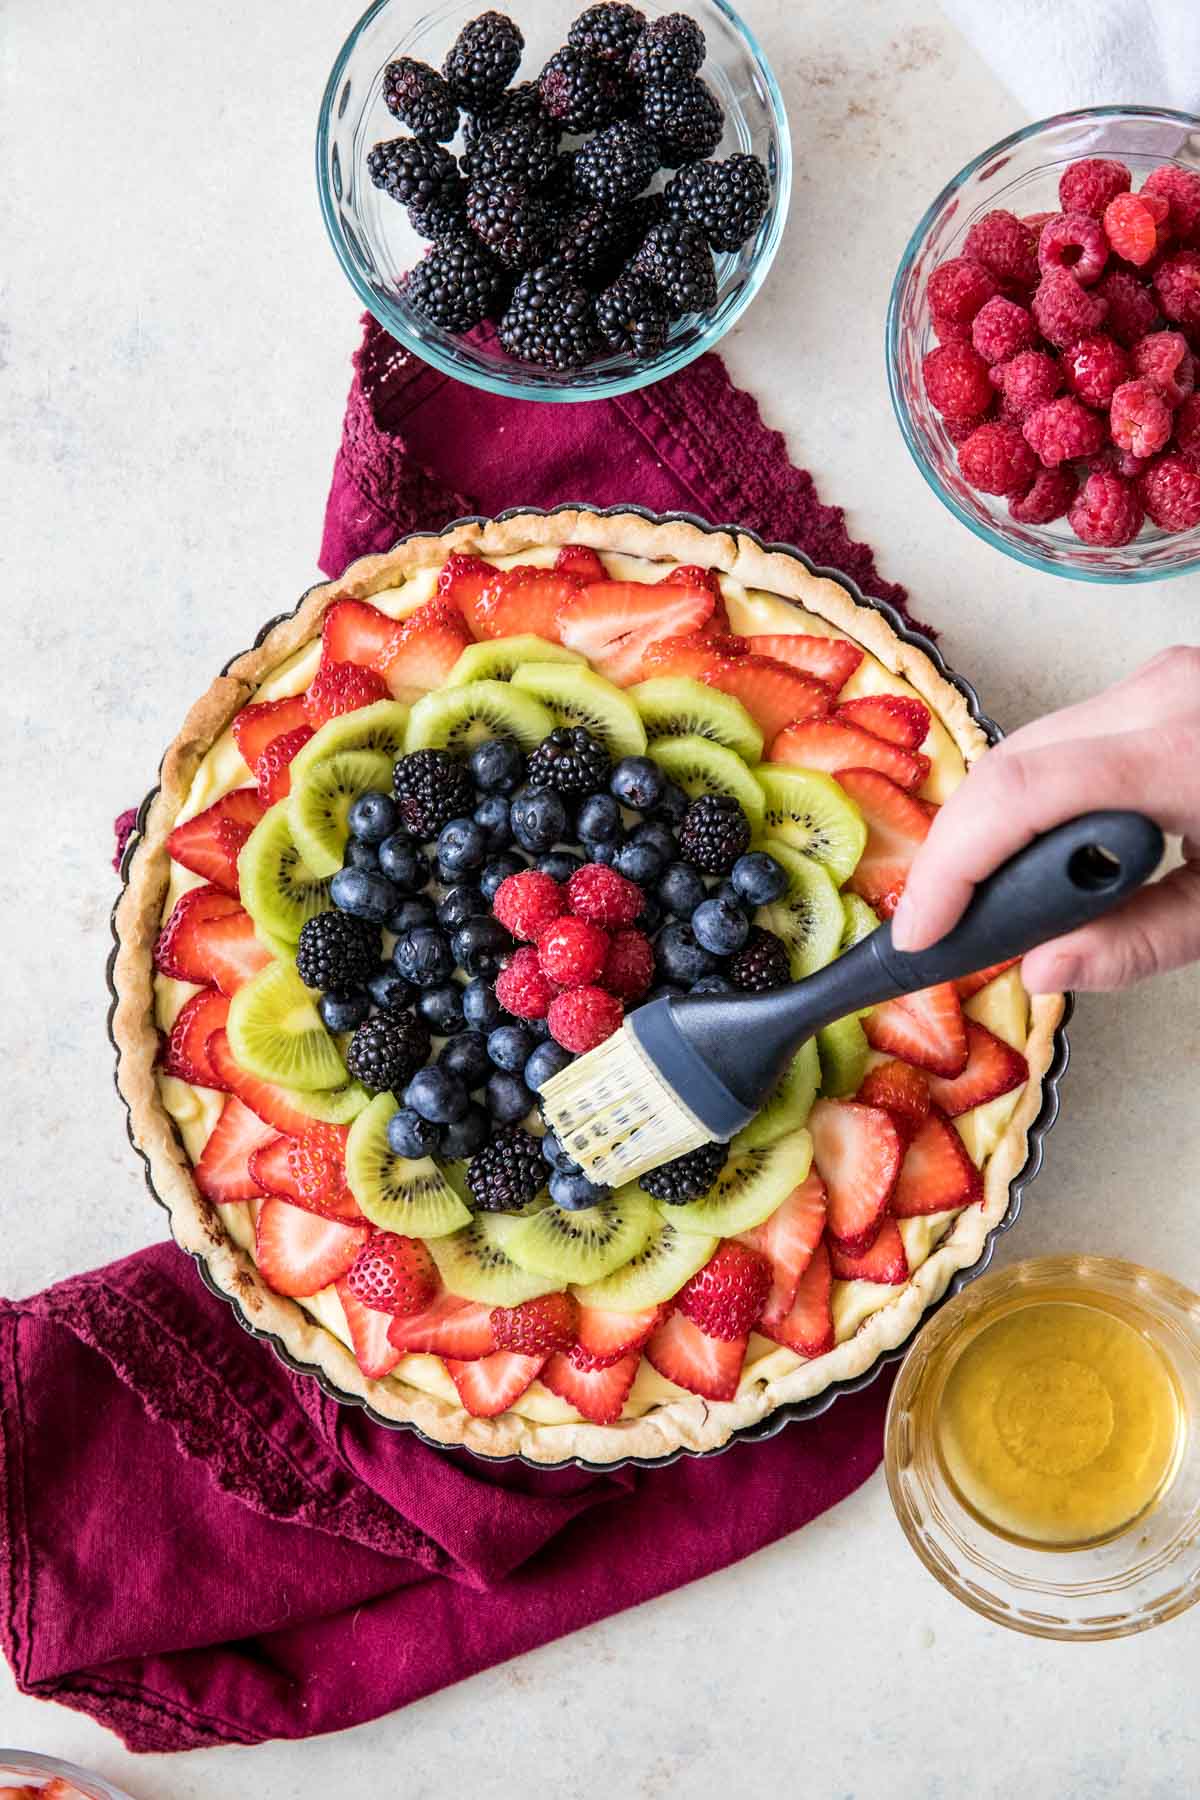
No soggy crust! We’ll brush the cooled crust with a thin layer of chocolate; this acts as a protective barrier between the cream and the crust. It also adds a nice pop of chocolate flavor that beautifully accents the tart! Use any fruit you like. I include my favorites below, but you can really get creative with the combination you do here (or stick to all one type–I love a strawberry tart!). Glossy, professional finish: after assembling, you can lightly brush the fruit with a bit of jelly melted with a splash of water. This adds a gorgeous sheen, just like a fruit tart you’d see in a bakery display case. Each component can be prepped in advance for quick assembly later. I do recommend waiting to cut any particularly juicy fruits until just before serving though.
A Few Notes Before We Begin
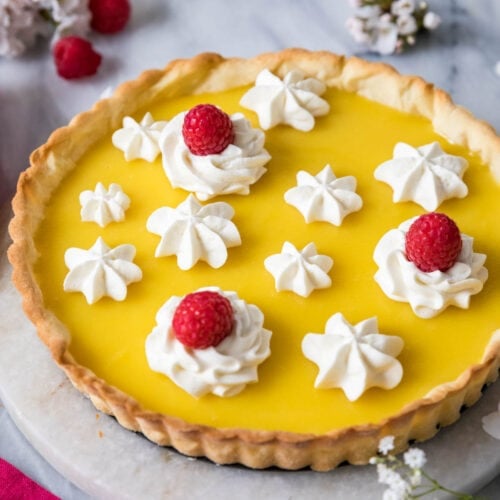
A classic fruit tart is served on a French-style shortcrust known as pâté sucrée or “sweet dough” (it’s similar to what I use in both my lemon tart and my quiche lorraine). This is not quite the typical pie crust you’re used to; instead, it has a higher ratio of sugar, a splash of vanilla extract, and an egg. The result is similar to a shortbread cookie in flavor and texture, and personally, I LOVE it. I’m using my silky smooth vanilla pastry cream as the filling today, though I’ve scaled my classic recipe down to be the perfect amount for a 9″ tart pan (though it would also work for an 8″ or 10″ pan). It’s easy, I promise! Let’s get started!
What You Need
Before we begin, I’ll highlight just a few ingredients you might have questions about.
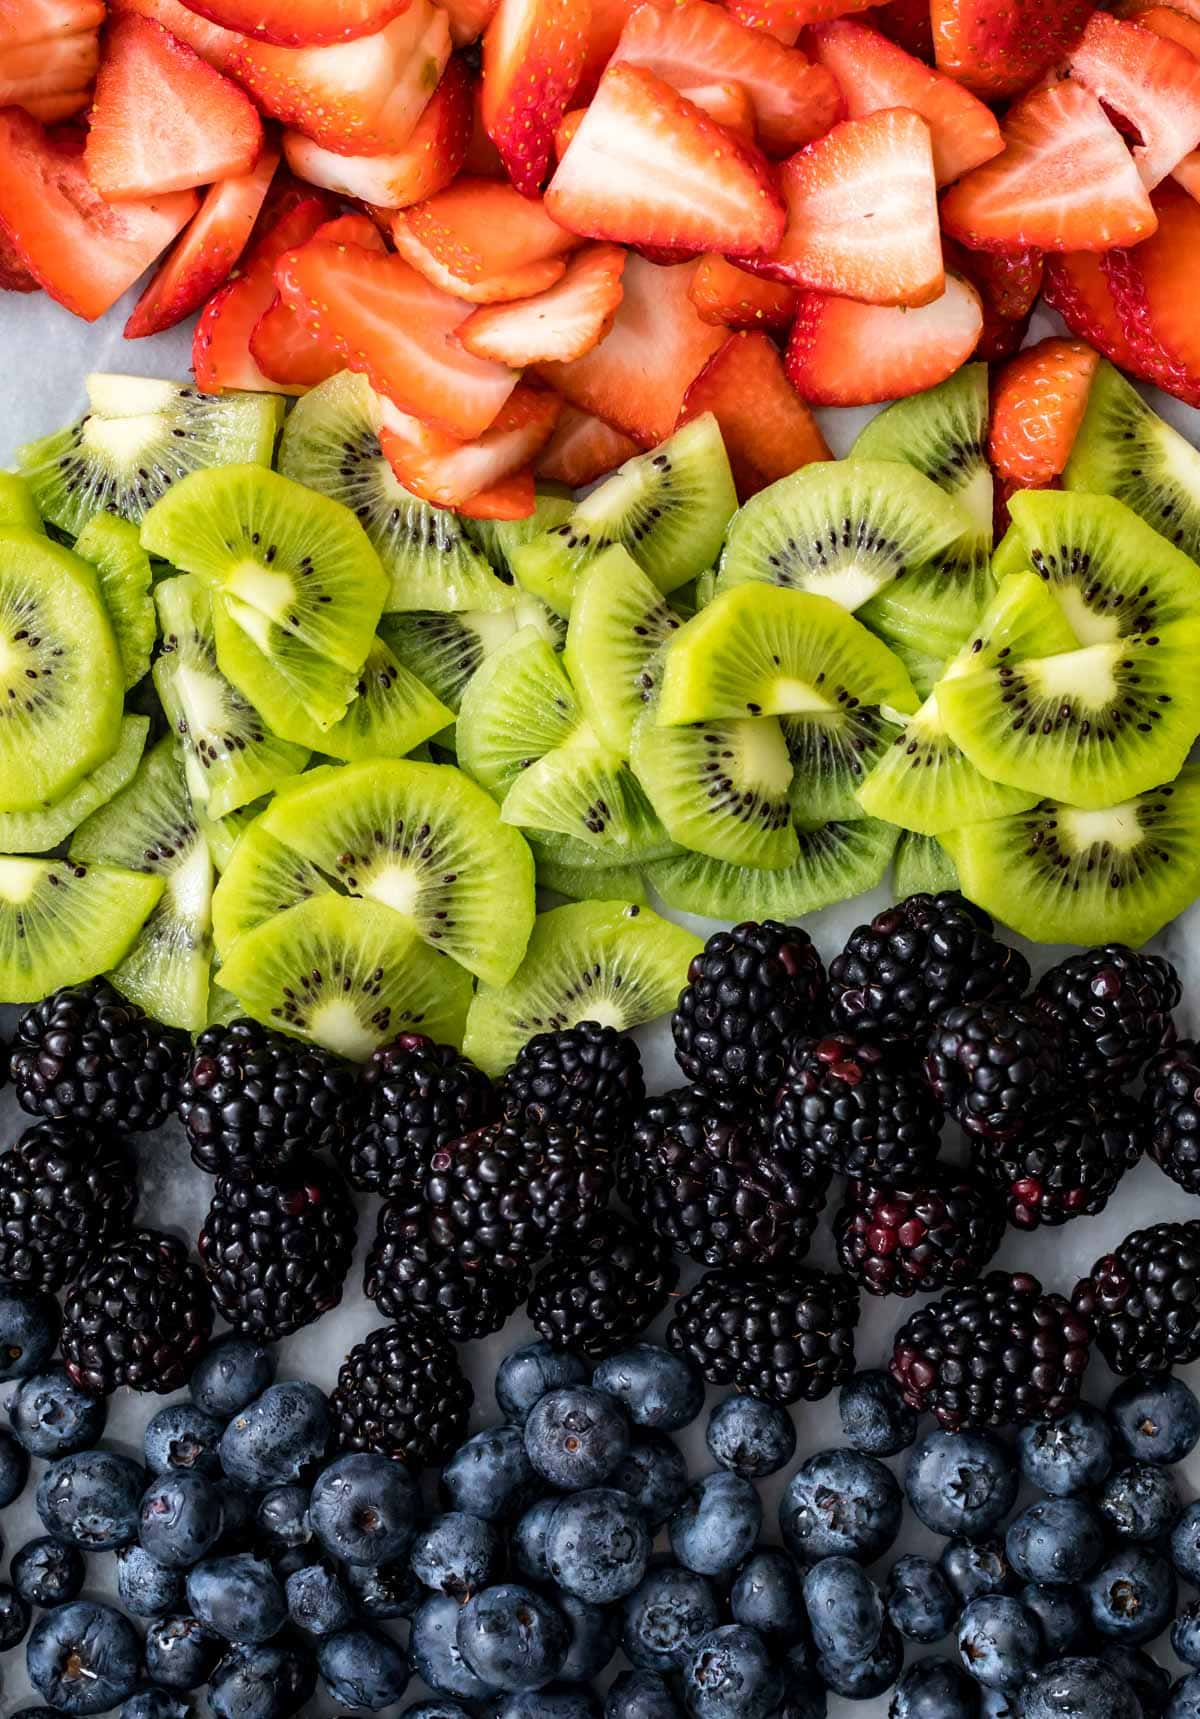
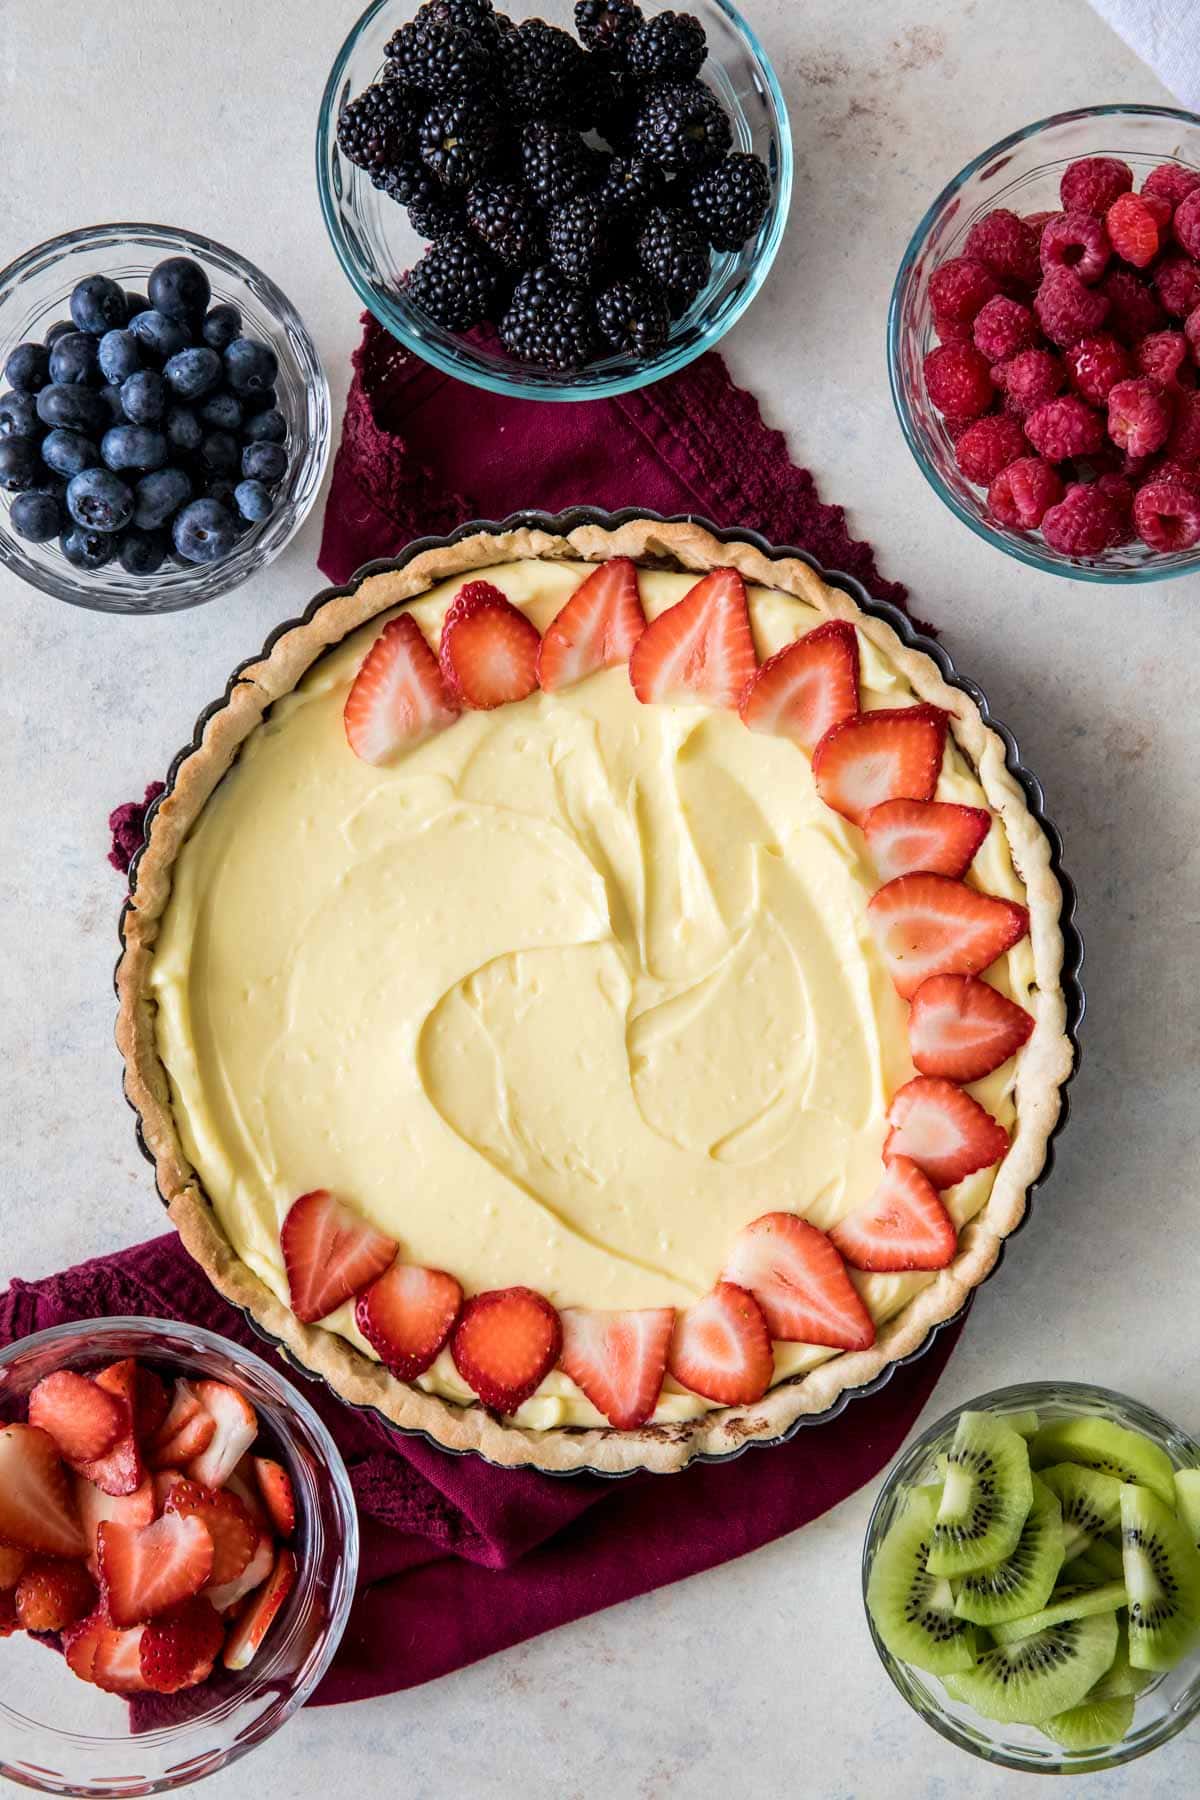
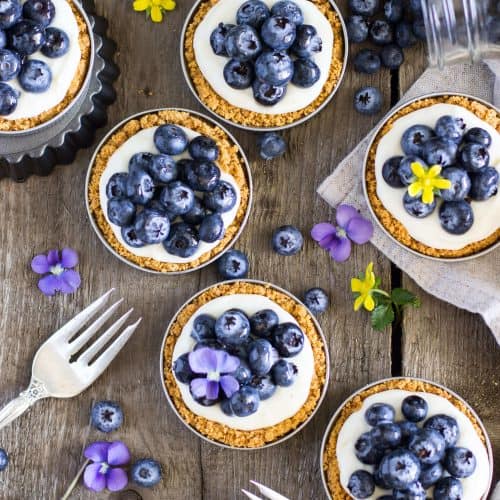
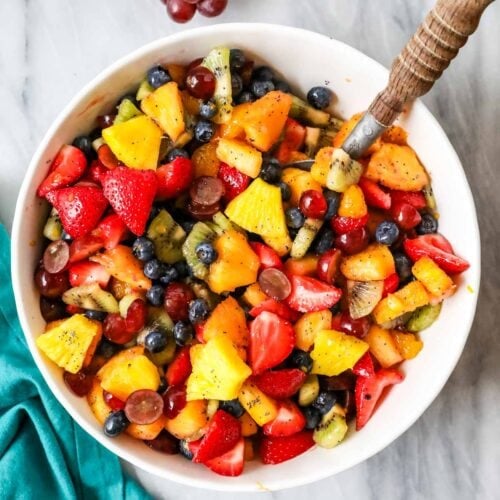
Fruit. Personally, I love using berries, kiwi, mandarin oranges, mango, grapes, and apricots on my fruit tart. You can use essentially any fruit you would like though, just know that if you are using a particularly juicy fruit (like ripe peach slices or mango), I recommend waiting until shortly before serving to add them as they’ll weep. (You could also just use a single favorite fruit, like I do in my strawberry tart!) Eggs. Many recipes use an egg yolk and ice water for the crust, but I have found the best results using a whole egg and no water. This is also one of the rare instances where I recommend using a cold egg rather than a room temperature one, so no need to set your egg out ahead of time! Chocolate. This is for coating your crust, it adds not just a nice flavor but also a barrier between the soft custard and the crisp crust (so it keeps the crust nice and firm!). Dark chocolate is my preference, but you could use semisweet, milk, or even white chocolate instead. Jelly. This is optional, but if you’d like to give your fruit tart a pretty, shiny finish, you can brush it with some apple or apricot jelly melted with a bit of water just before serving.
SAM’S TIP: Since we’ll only need egg yolks for our cream filling, you can save the leftover egg whites for meringues or angel food cupcakes! Remember, this is just an overview of the ingredients I used and why. For the full recipe please scroll down to the bottom of the post!
How to Make a Fruit Tart
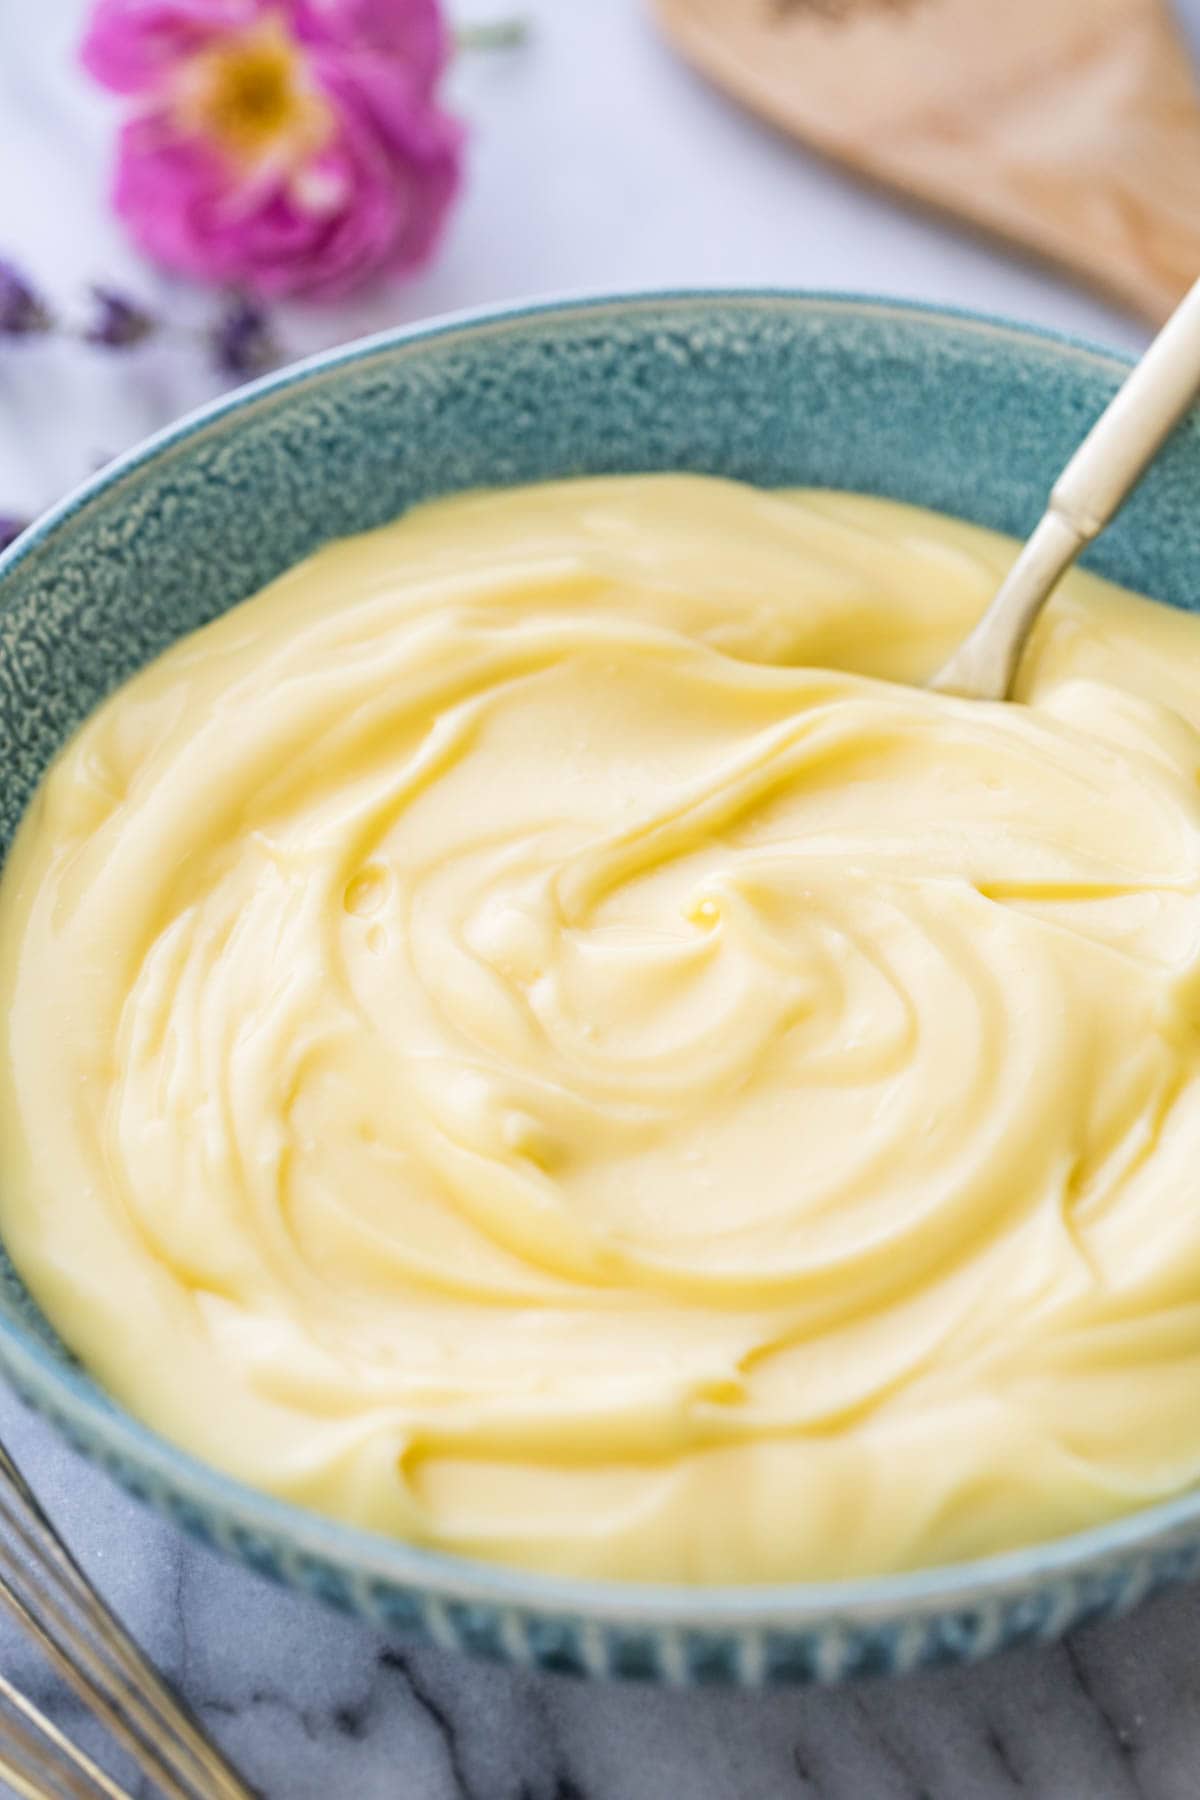
Prepare the Pastry Cream
SAM’S TIP: I recently updated my pastry cream recipe to be a bit more streamlined than this more traditional method, but for this particular recipe I recommend sticking to the method outlined here. This custard is slightly thicker than the one I use for my cream puffs, which makes it slightly more prone to burning when made with my new method.
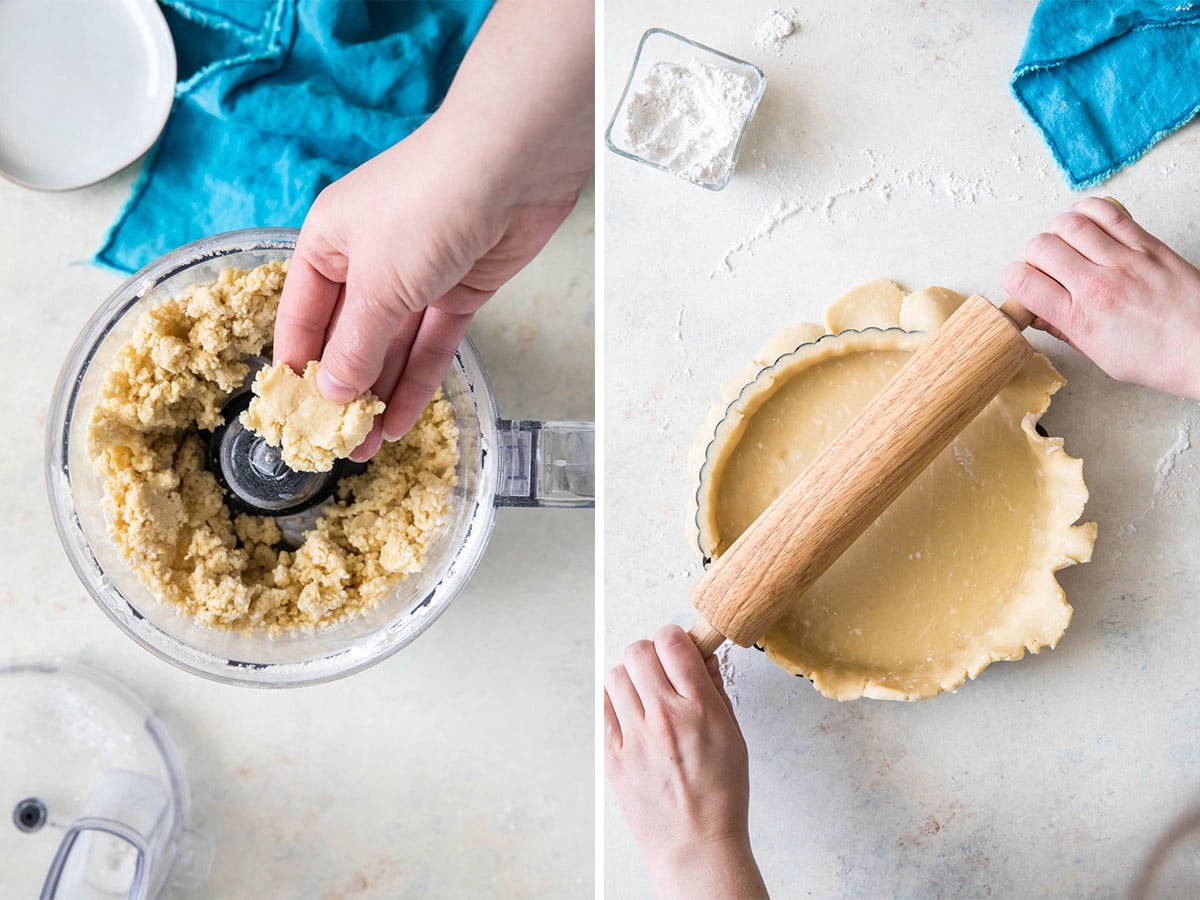
Make the Crust
While you can make your fruit tart crust using a pastry cutter or a box-grater, I prefer to use a food processor (as I do with my scones). This cleanly and quickly distributes the butter, keeping your ingredients nice and cold and making for an easy to handle and perfectly crisp crust.
Assemble
I’d love to hear what fruits you decide to pair together for yours–let me know in the comments below! Enjoy! Let’s bake together! Subscribe to my newsletter to be notified of all the newest recipes, and find my free recipe tutorials on YouTube 💜 I originally published this recipe in June 2020. Recipe remains unchanged, but post has been updated to include more tips and helpful hints.
Related Recipes