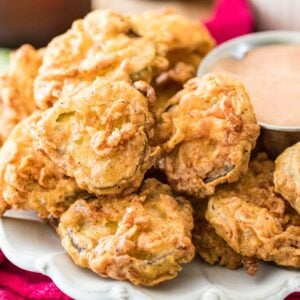
How to Make the BEST Fried Pickles
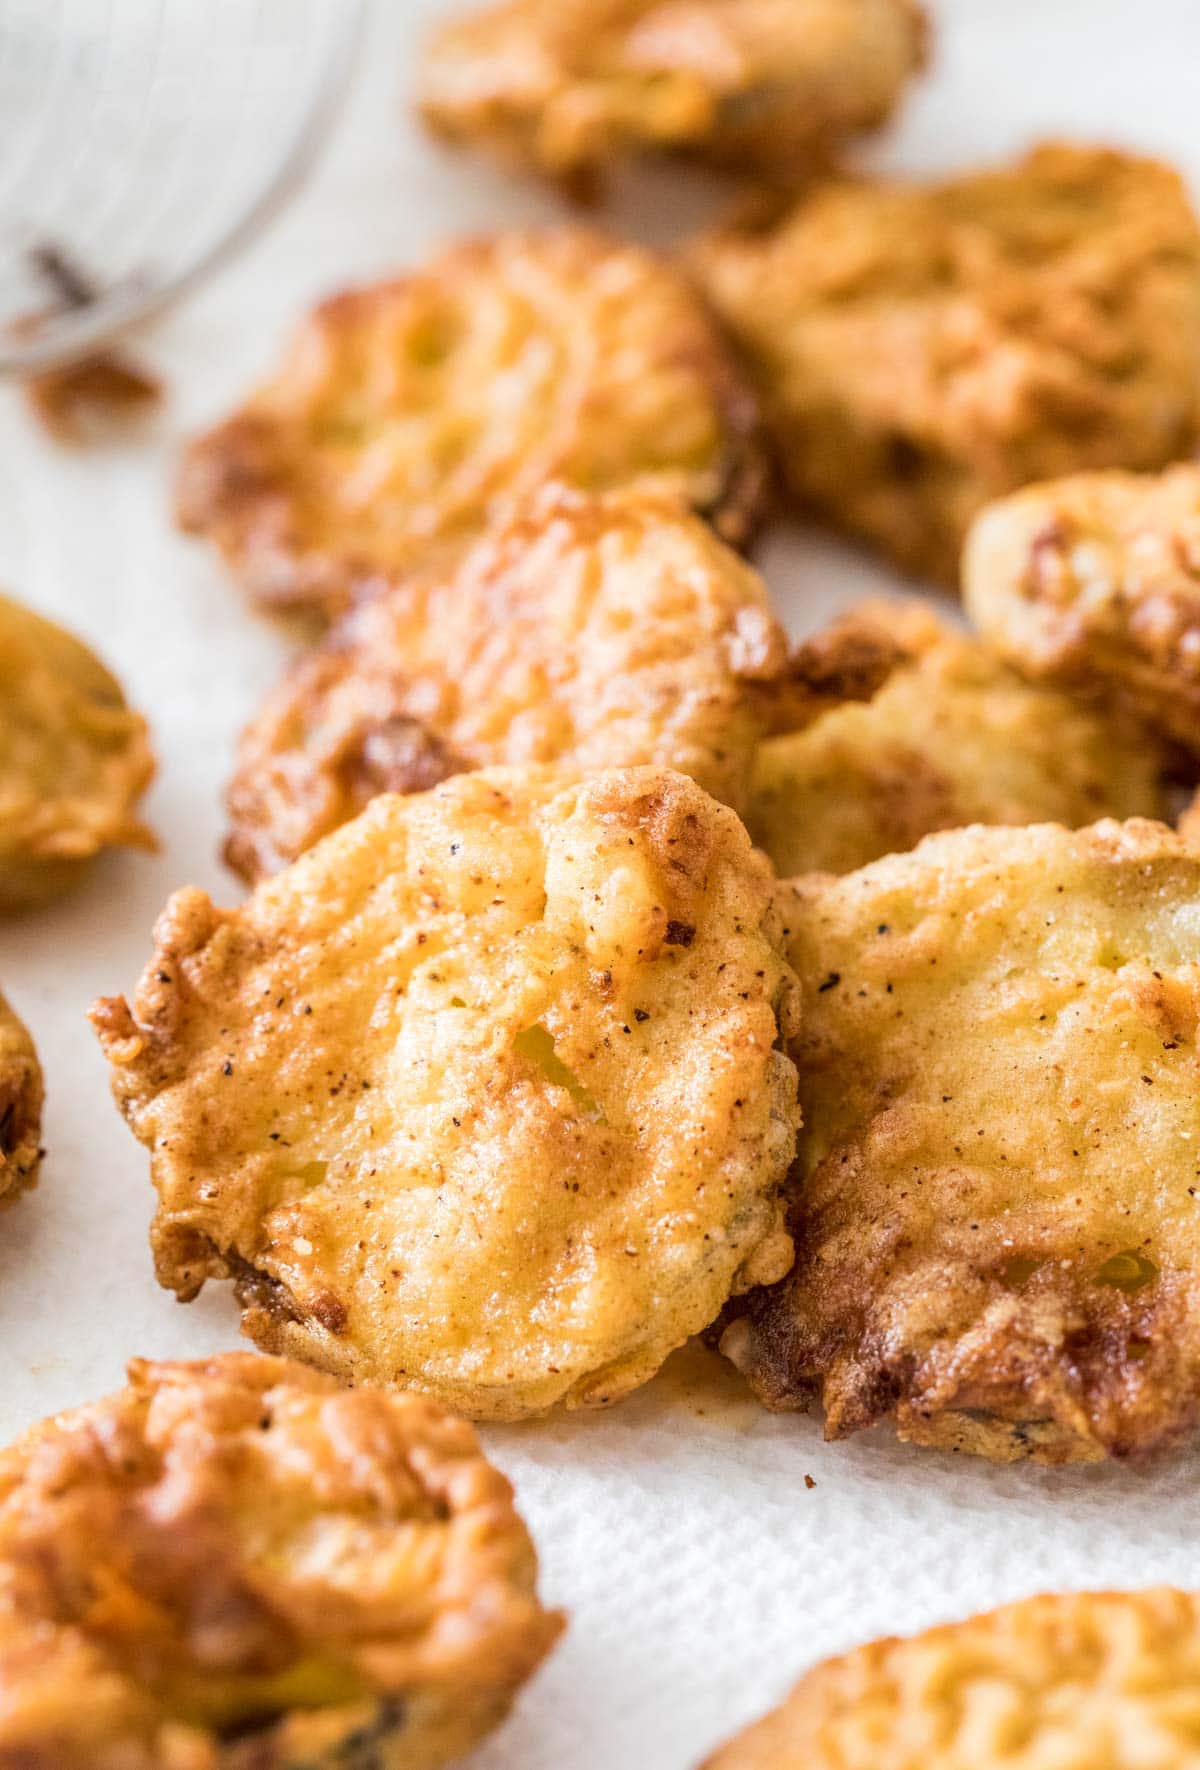
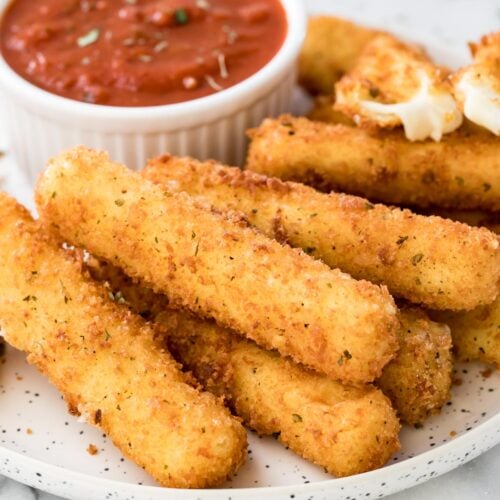
Did you know? Know that fried pickles are actually shockingly easy to make at home? That you don’t need to wait until the next time you’re bar-side or at a restaurant in order to indulge in them? That you can make them with basic kitchen ingredients and no deep fryer? They’re made much the same way as many of my other fried recipes (like my kettle chips, homemade mozzarella sticks, and donut holes), simply and on the stovetop. All you need is a heavy-bottomed pot, some neutral cooking oil, and a thermometer (and yes, you do need the thermometer, but you should really have one in your kitchen for a hundred reasons besides just to make fried pickles)! When testing this recipe I was moving along happily towards thinner, barely breaded pickles when I found a variation I liked even better. Today’s recipe features a crispy, more prominent batter (paired with a more thickly sliced dill pickle, so as not to overwhelm the taste), and they’re the absolute best fried pickles you’ll ever taste.
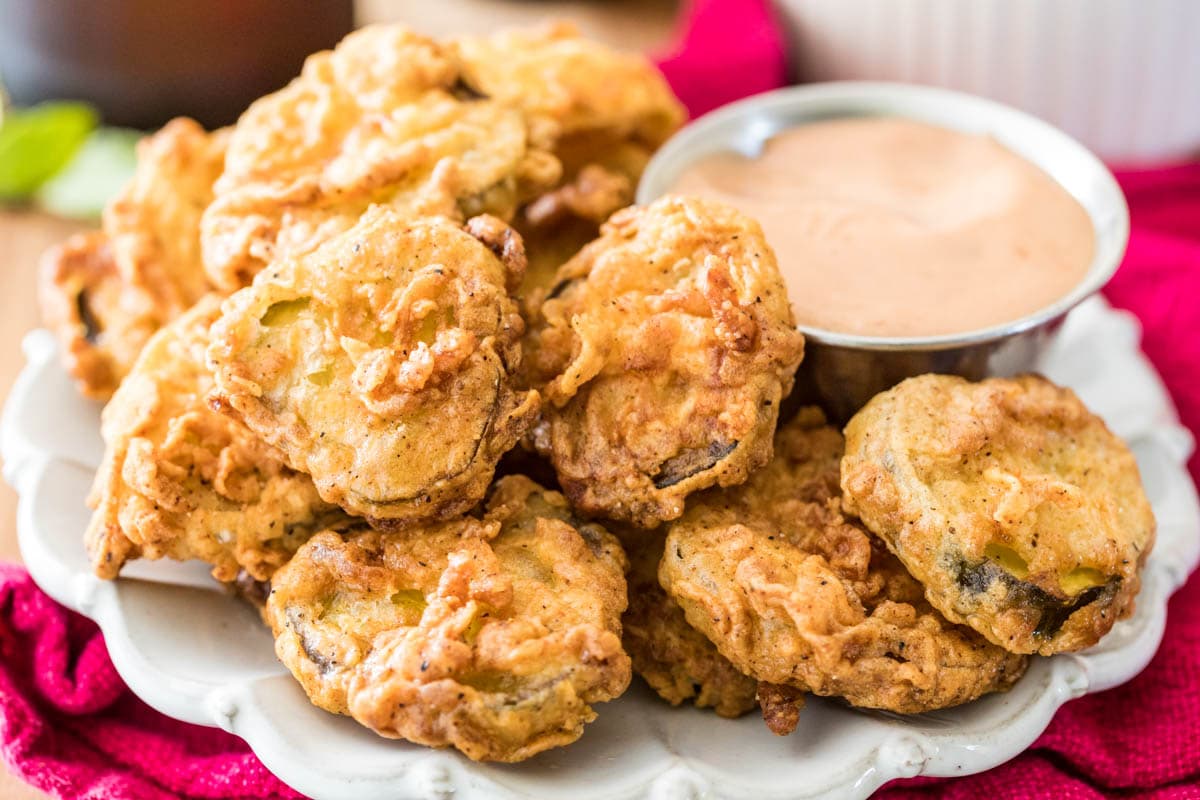
Why you’ll love my recipe:
No deep fryer required!Includes tips for perfectly crispy (not soggy!) pickles.Takes just 20 minutes from start to finish.Uses a few basic ingredients you’ll already have on hand.Tastes great with ranch dressing or my zesty dipping sauce (included in the recipe).
What You Need
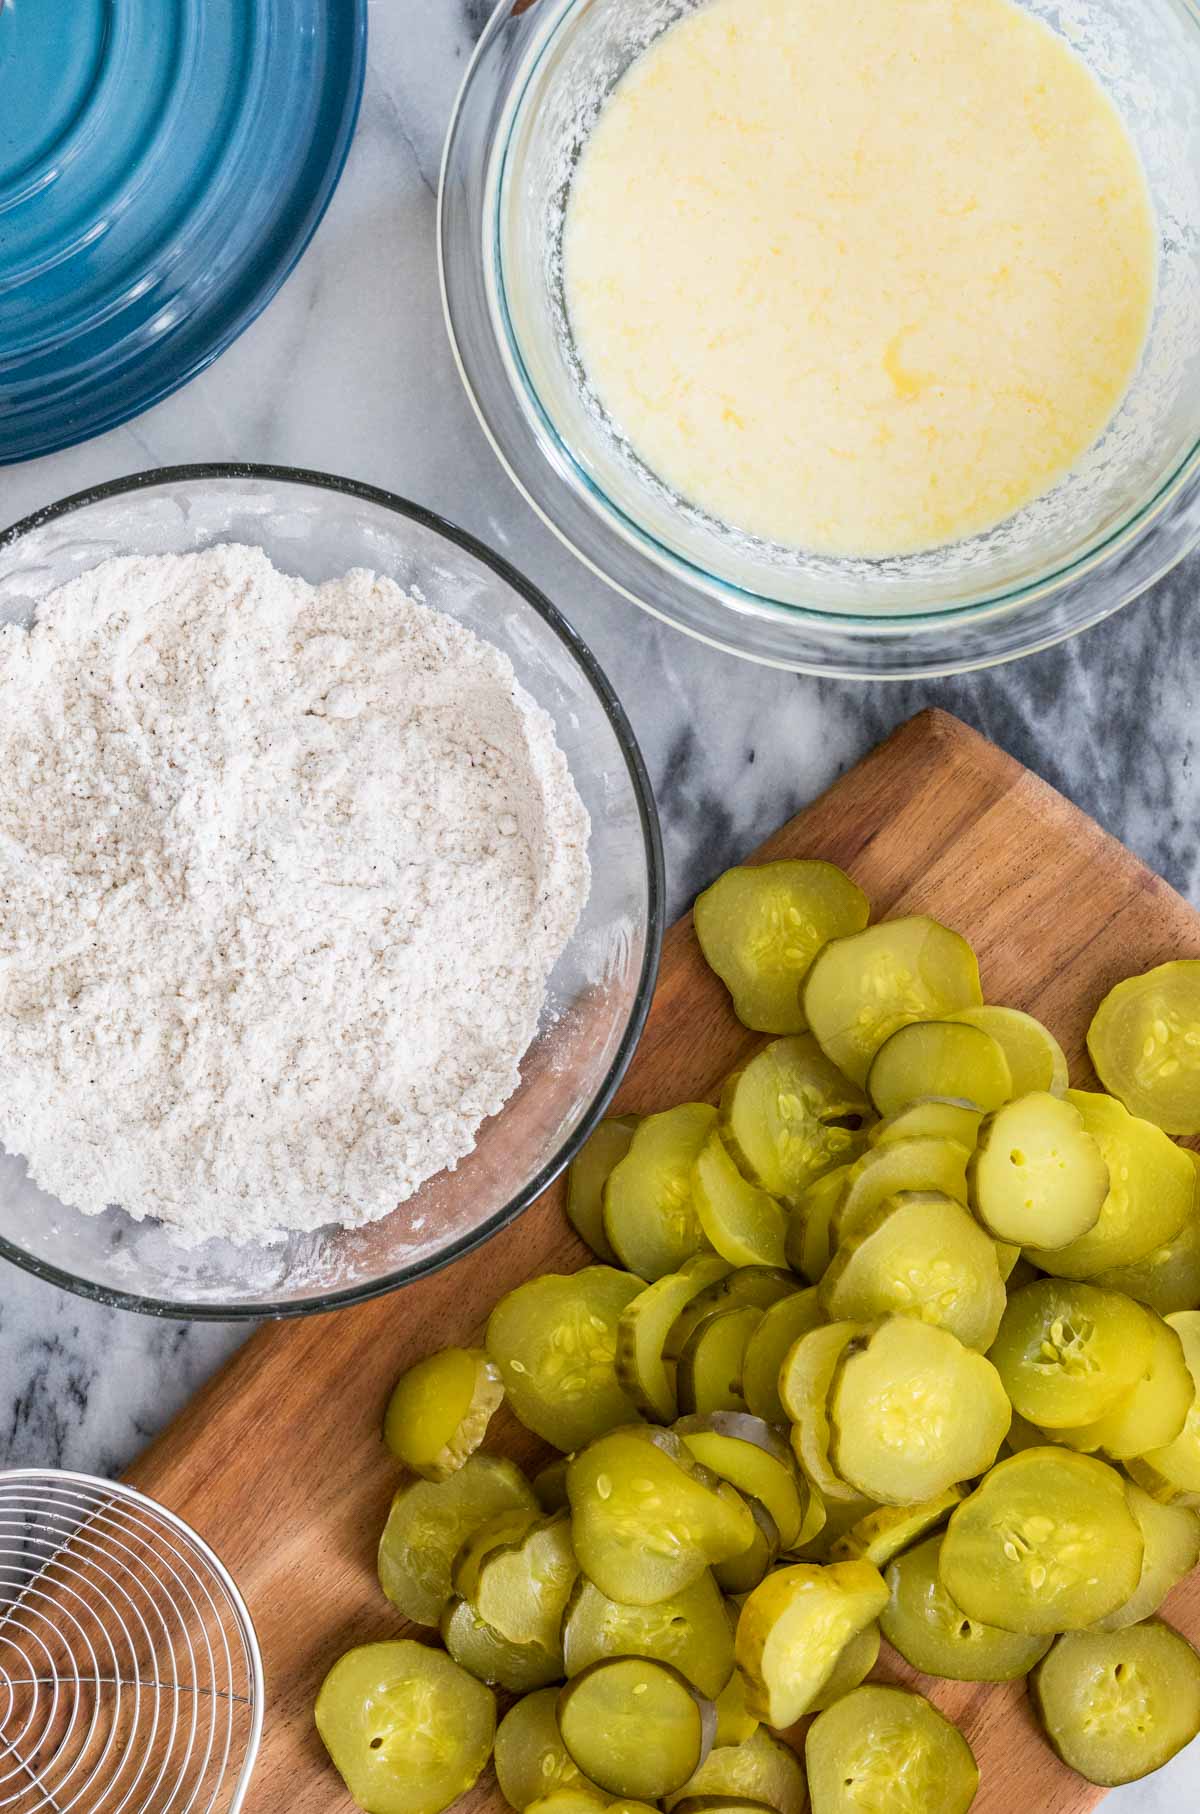
You only need a few ingredients to make fried pickles at home:
Buttermilk. The tangy flavor of the buttermilk is the perfect complement to dill pickles. If you don’t have buttermilk on hand, you can use my easy buttermilk substitute, which just requires milk (preferably whole milk) and either a splash of lemon juice or vinegar.Whole Pickles. You can start with pre-sliced dill pickle chips, but I prefer to cut my own from whole kosher dill pickles. I find I have better control over the width of the pickle this way!Oil. Use a good, neutral frying oil, like vegetable, peanut, or canola. Olive oil is not recommended here.Spices. We’ll season our breading with salt, pepper, paprika, cayenne pepper, and garlic powder. Feel free to play around with adding some of your favorite spices.
SAM’S TIP: The thickness of your pickle slice matters! I found that the thin pickle slices I originally was going for became overwhelmed by this batter. When I tried them this way, it was kind of just like eating deep fried batter (tasty, but not what we’re aiming for!). Slices that were just shy of ¼″ thick provided the perfect amount of pickle. This way you can actually taste the pickle and experience that satisfying pickle crunch in every bite. Any thicker and they became awkward, two-bite snacks! Remember, this is just an overview of the ingredients I used and why. For the full recipe please scroll down to the bottom of the post!
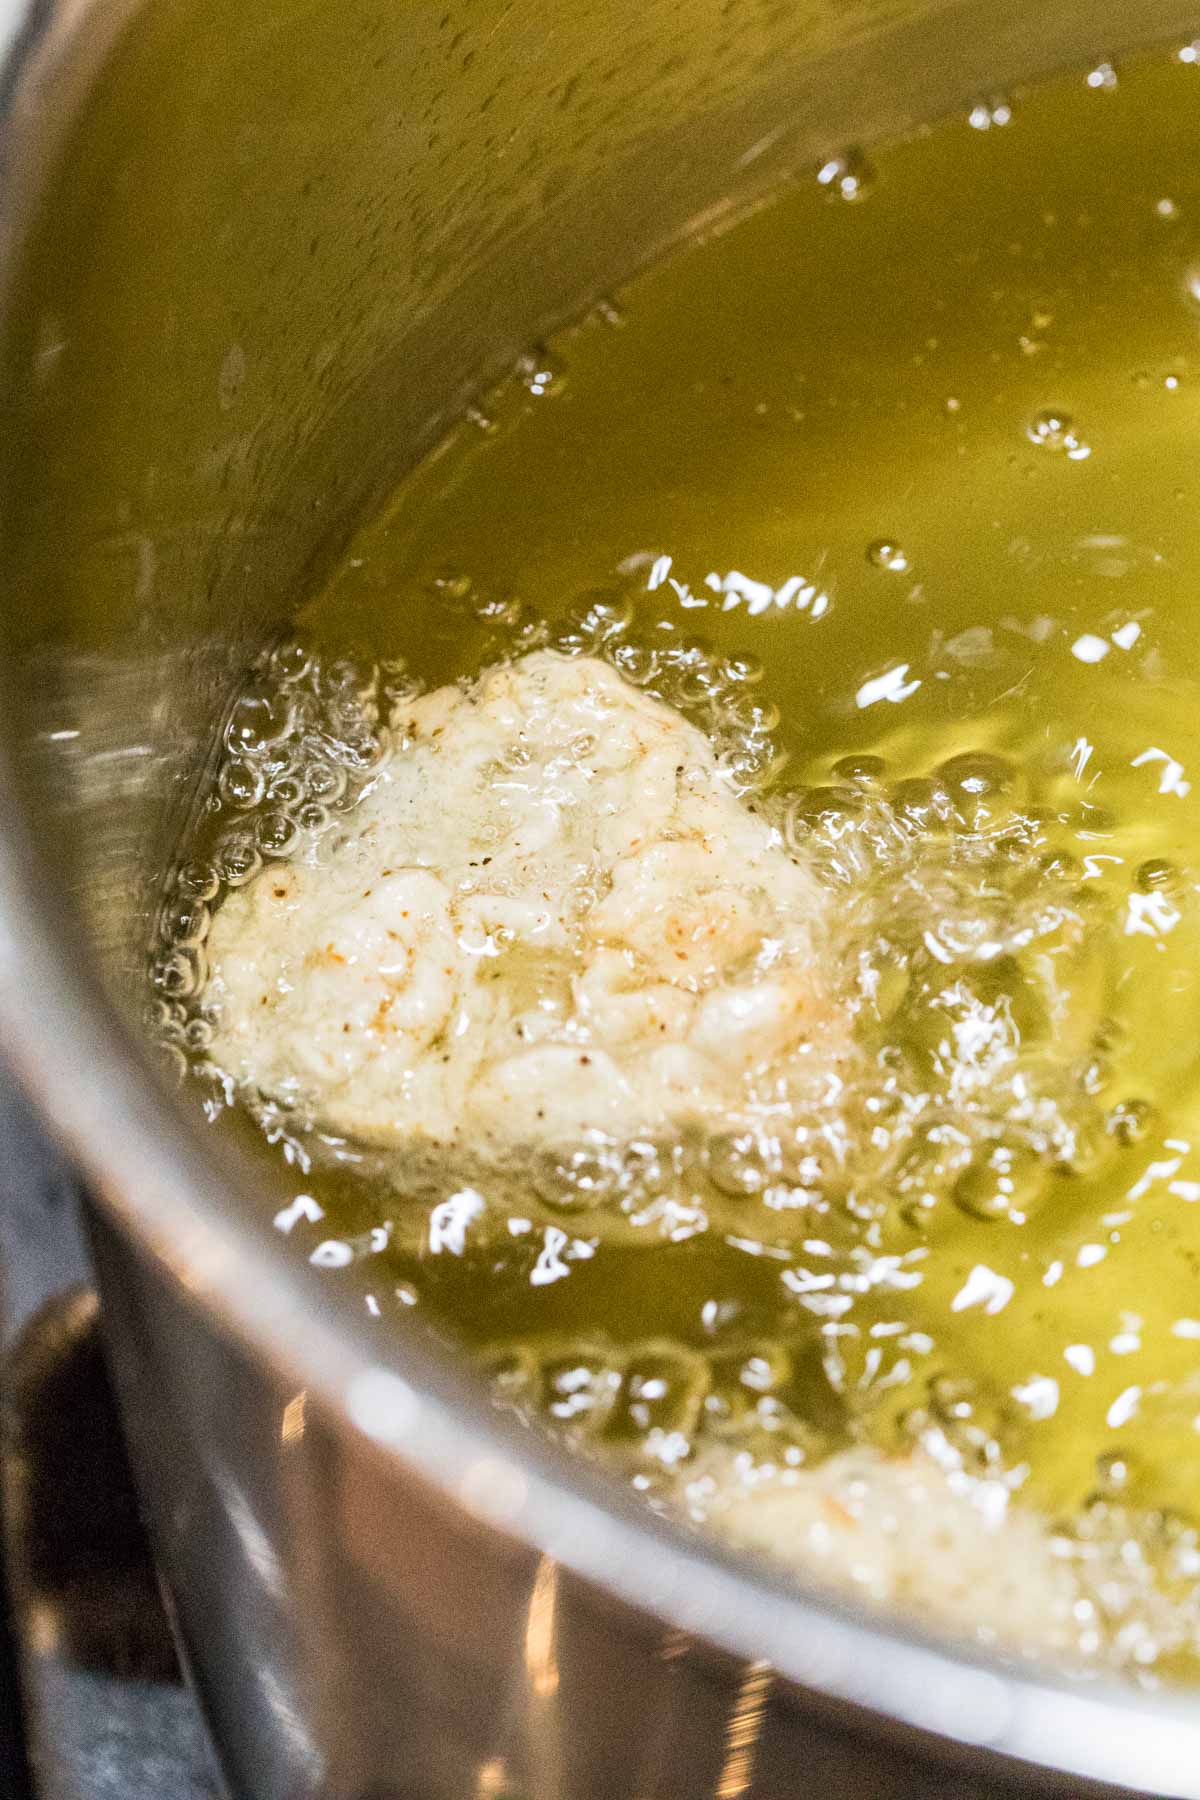
Pickle-Frying Basics
SAM’S TIP: Pickles tend to float while frying, so remember to flip them over during the cooking process so both sides get evenly golden! You can also dip these in my homemade BBQ sauce–yum! Enjoy! Let’s bake together! I’ll be walking you through all the steps in my written recipe and video below! If you try this recipe, be sure to tag me on Instagram, and you can also find me on YouTube and Facebook
Related Recipes