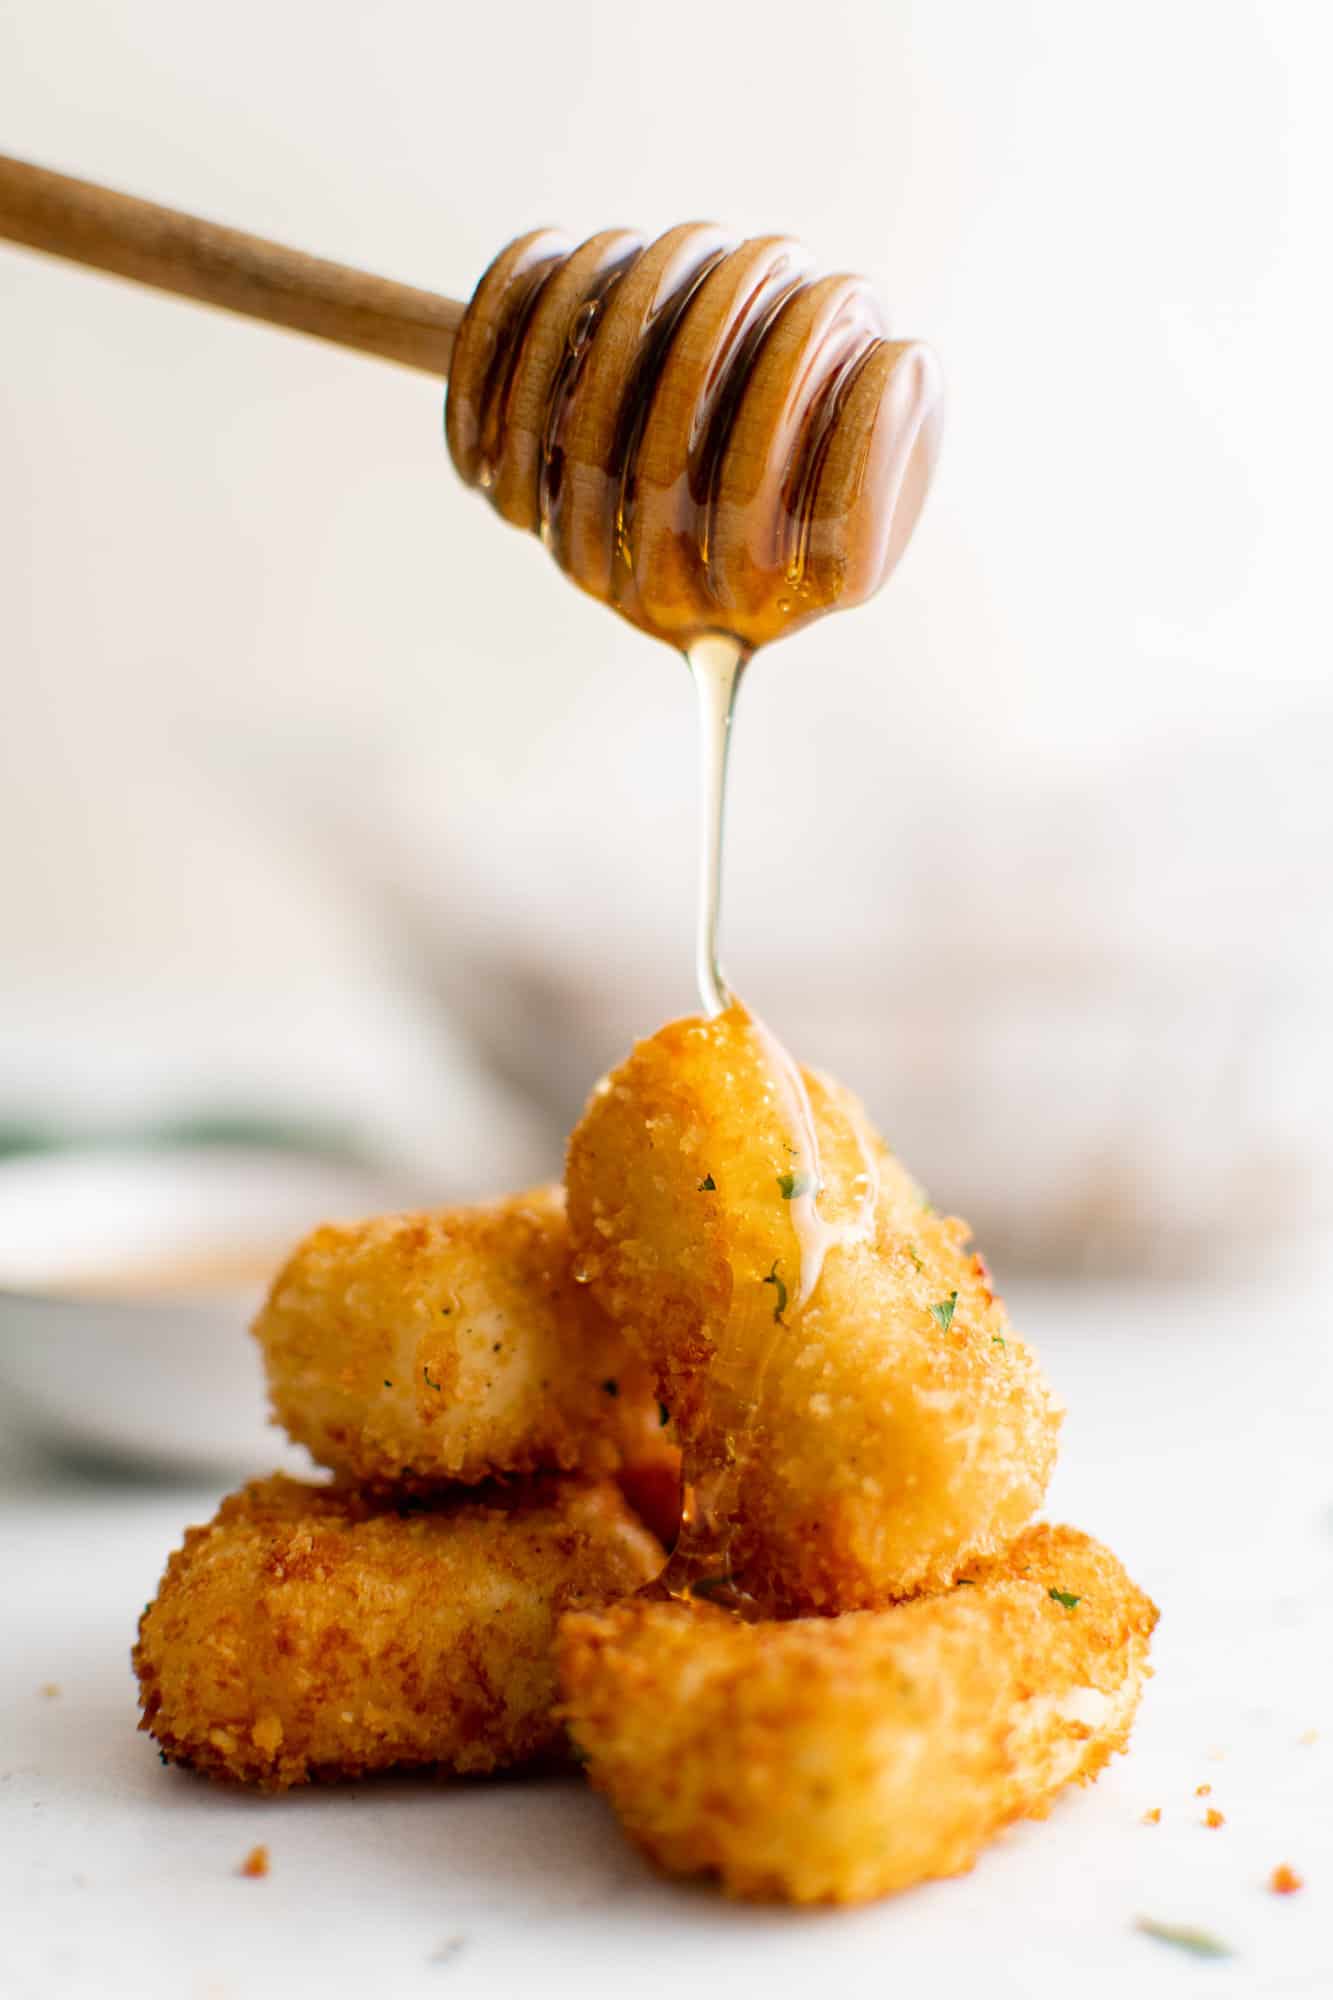
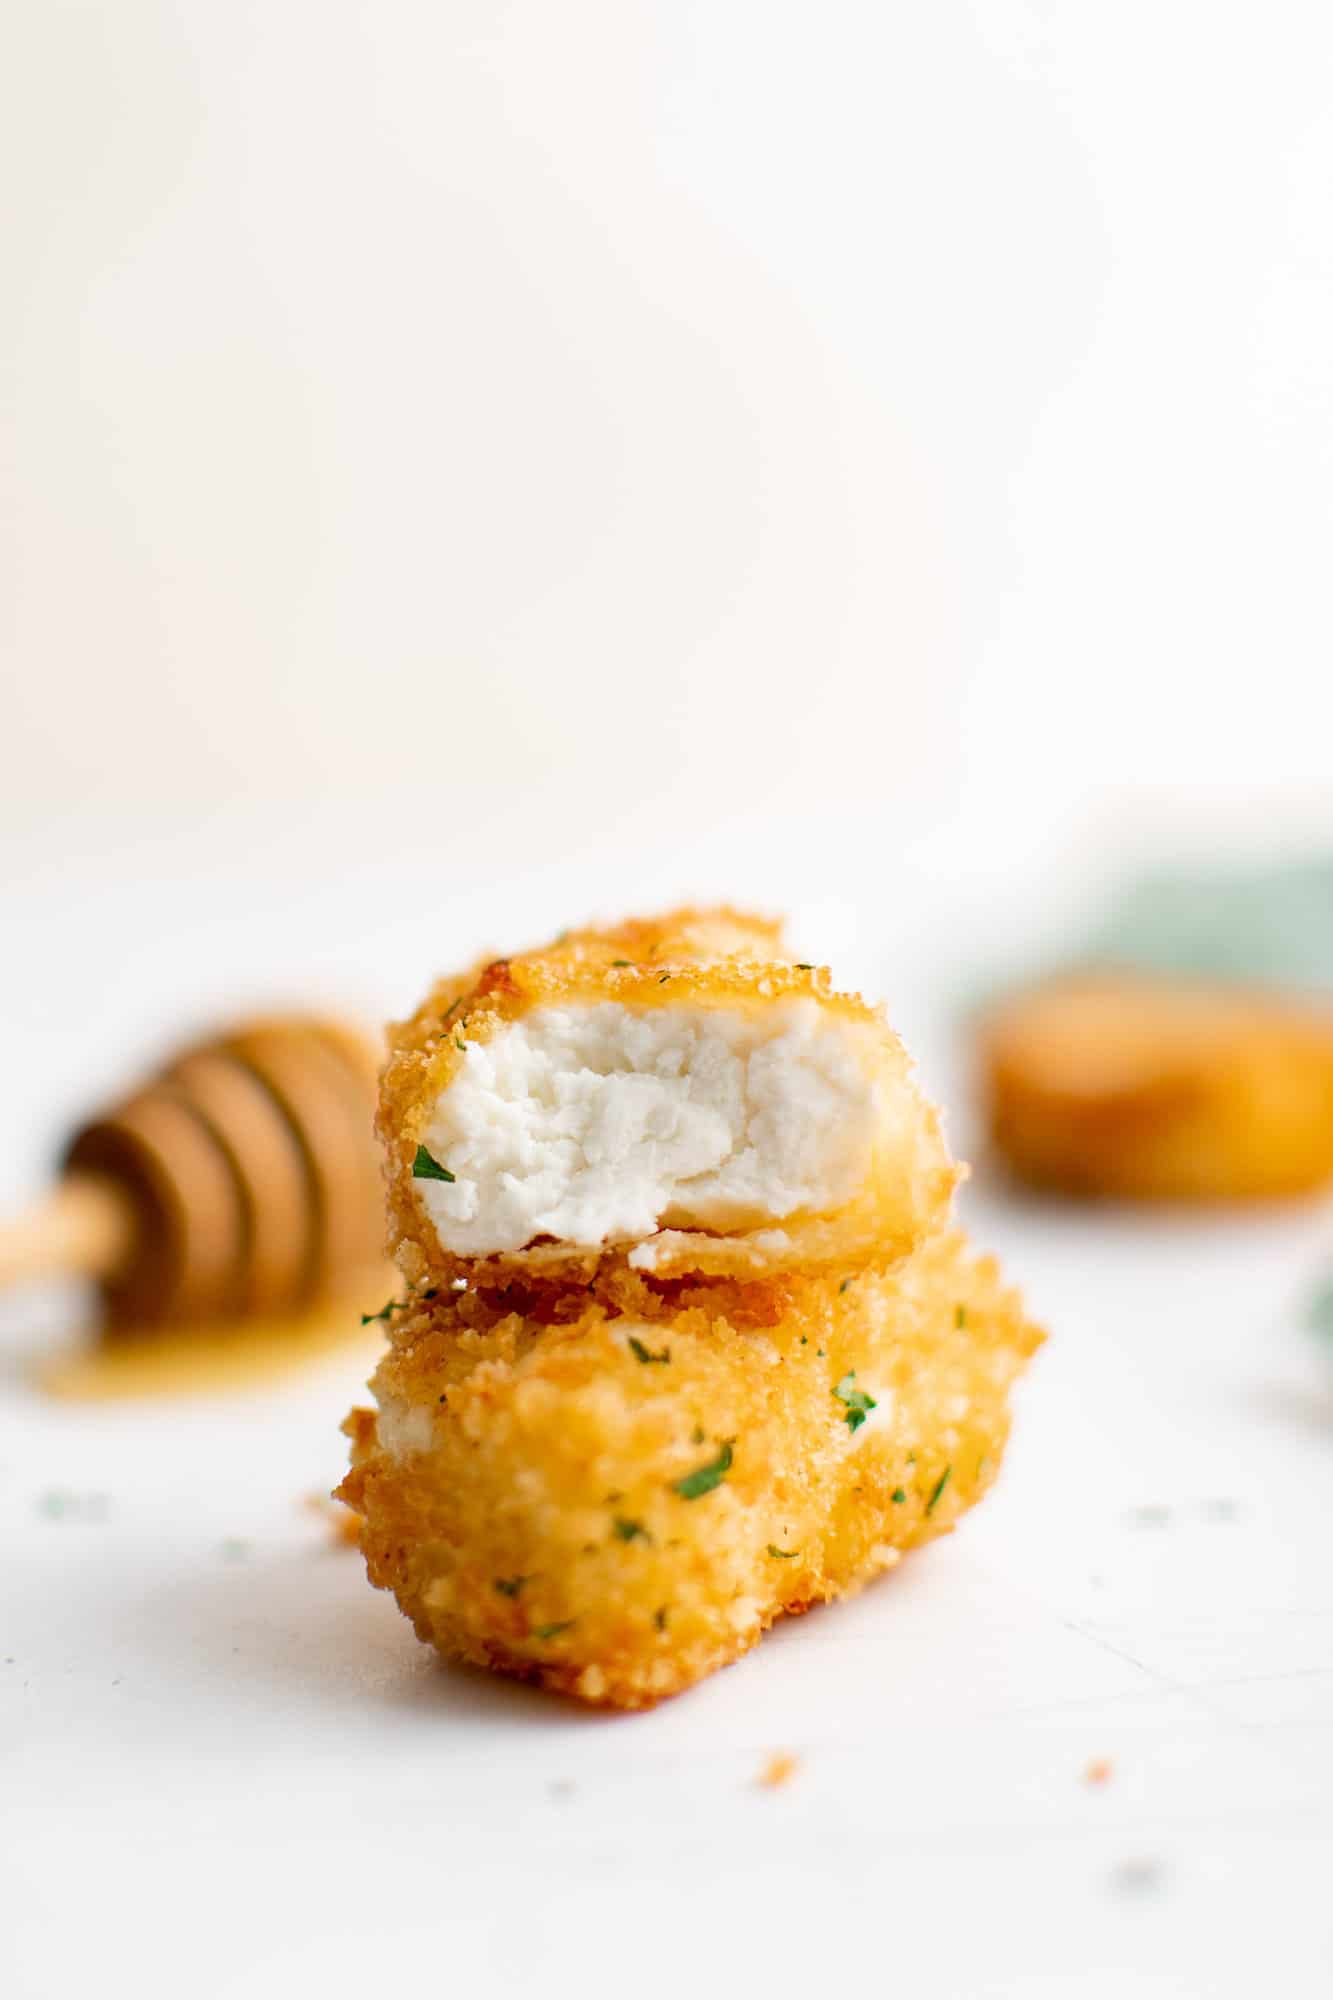
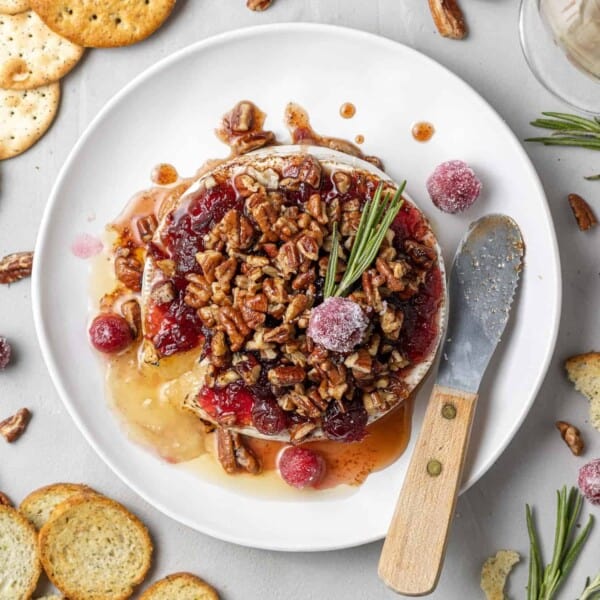
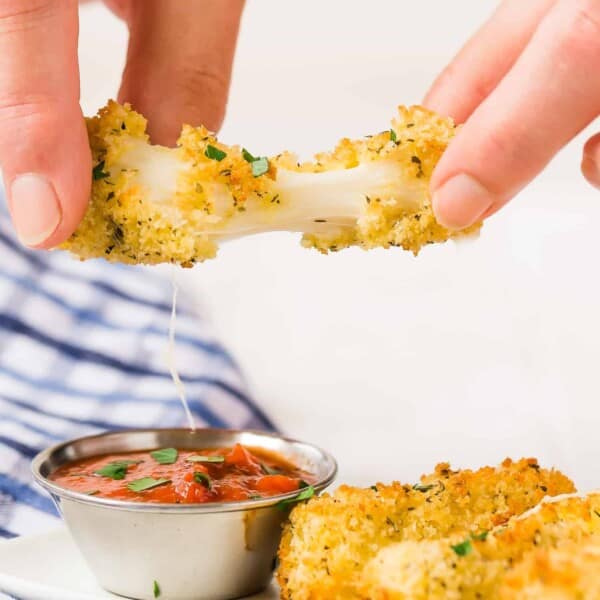
Light, crispy and tangy, these melt-in-your-mouth fried goat cheeses are a grown-up version of classic fried mozzarella cheese sticks. How long it takes: 15 minutes to prep, at least 4 hours to chill, and up to 30 minutes to fry Equipment you’ll need: strong thread or dental floss, skillet Servings: makes 12 to 14, depending on thickness Maybe I should say sister or brother instead of grown-up? I mean, who doesn’t love crispy melty mozzarella sticks dipped in marinara sauce? Those definitely aren’t reserved for the kids in my family. We all enjoy them. But truthfully, you may be more inclined to serve fried goat cheese appetizers to your book club or at a cocktail party than fried mozzarella sticks which seem to have a more sporty, casual vibe. Maybe it’s all that stretchy, stringy melty cheese. Elegant or casual, serve fried goat cheese up with a drizzle of honey or another favorite topping to take your party or game night to the next level! Fried goat cheese is super good on salads, too. Put a few crispy rounds on this roasted cauliflower salad with arugula and sweet potatoes. Yum!
About This Recipe
While this won’t be the quickest or easiest recipe you’ll ever make, I’d say it’s totally worth it. The prep work shouldn’t take you much more than 15 minutes or so. You’ll use a simple 3-step breading process: a dip in flour, a dip in beaten eggs, and then panko for the final step. Then you’ll stick the breaded goat cheese slices in the freezer to firm up. Allow four to eight hours (or more, if you want) for them to freeze solid. Because they need the time in the freezer, this makes this appetizer a good make-ahead recipe. Finally, the breaded goat cheeses are fried in oil until they’re crispy. You’ll have to do that in batches but each batch takes only about 5 minutes to fry to a nice golden brown.
What You’ll Need
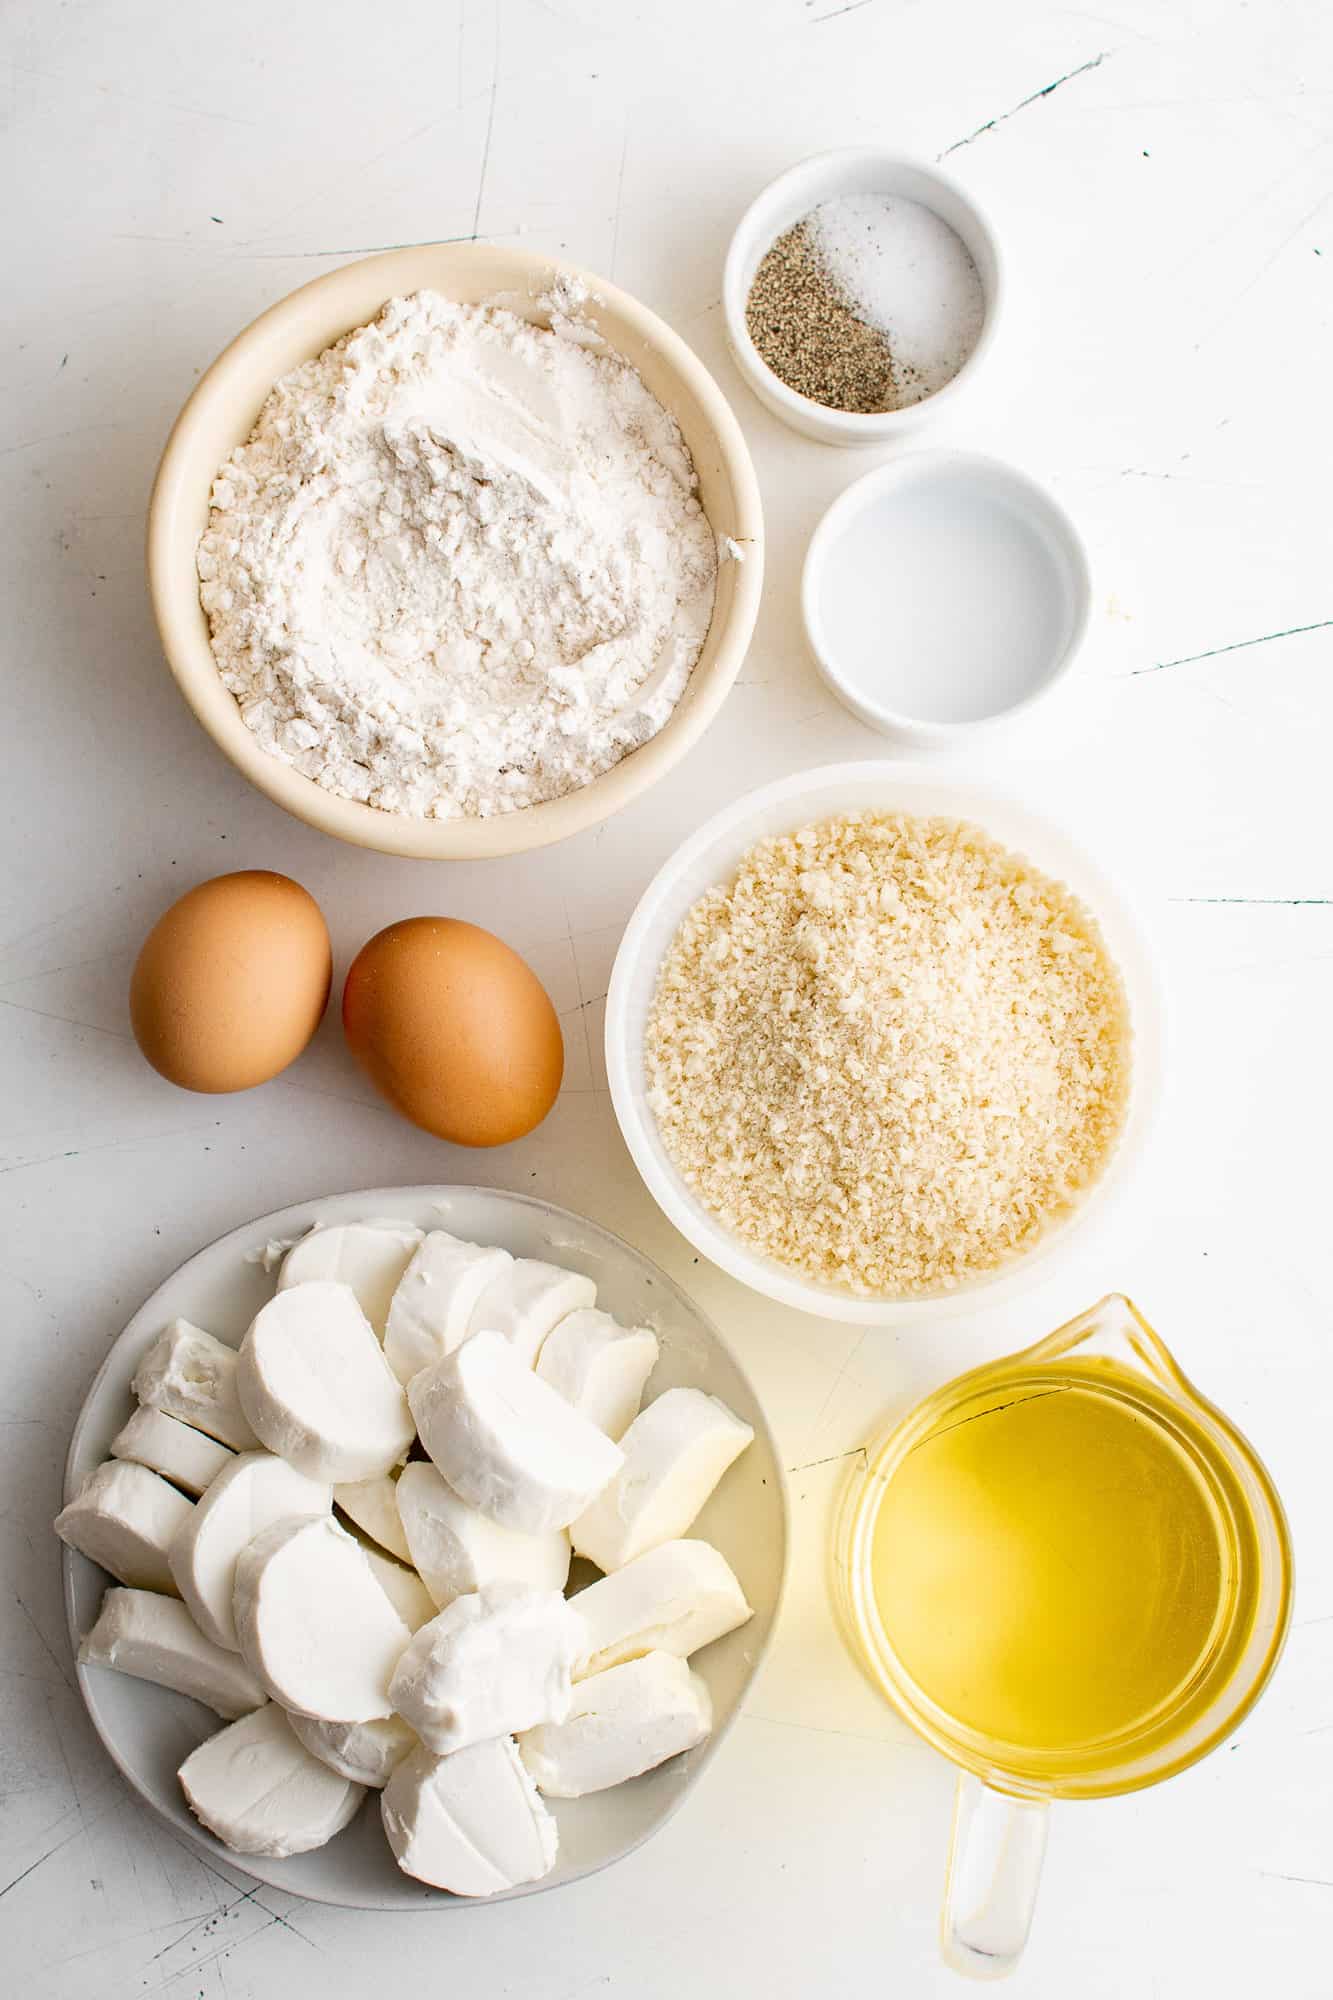
Goat Cheese: Look for a 10 ounce log of fresh goat cheese, or 2 smaller logs. It’s usually sold vacuum-packed and keeps for up to 2 months in the refrigerator. Refer to the “Use by” date on the package. All-Purpose Flour, Salt and Pepper: These three ingredients are mixed together for the first step of the breading process. Egg: Egg and water are whisked together for the second step of the breading process. They are the glue that attaches the breadcrumbs. Panko Bread Crumbs: Panko is coarser and airier in texture than regular bread crumbs. This results in a crispier breading. Did you know it’s easy make your own bread crumbs? It’s a good way to use up slightly stale bread. Vegetable Oil: Since the oil is used for deep frying the goat cheese, choose a vegetable oil with a high smoke point. Try canola, corn, sunflower, avocado, or peanut oil. Optional for Dipping or Drizzling: honey, hot honey, strawberry basil jam, balsamic reduction, pomegranate syrup, a dab of tomato jam, etc.
How to Fry Goat Cheese
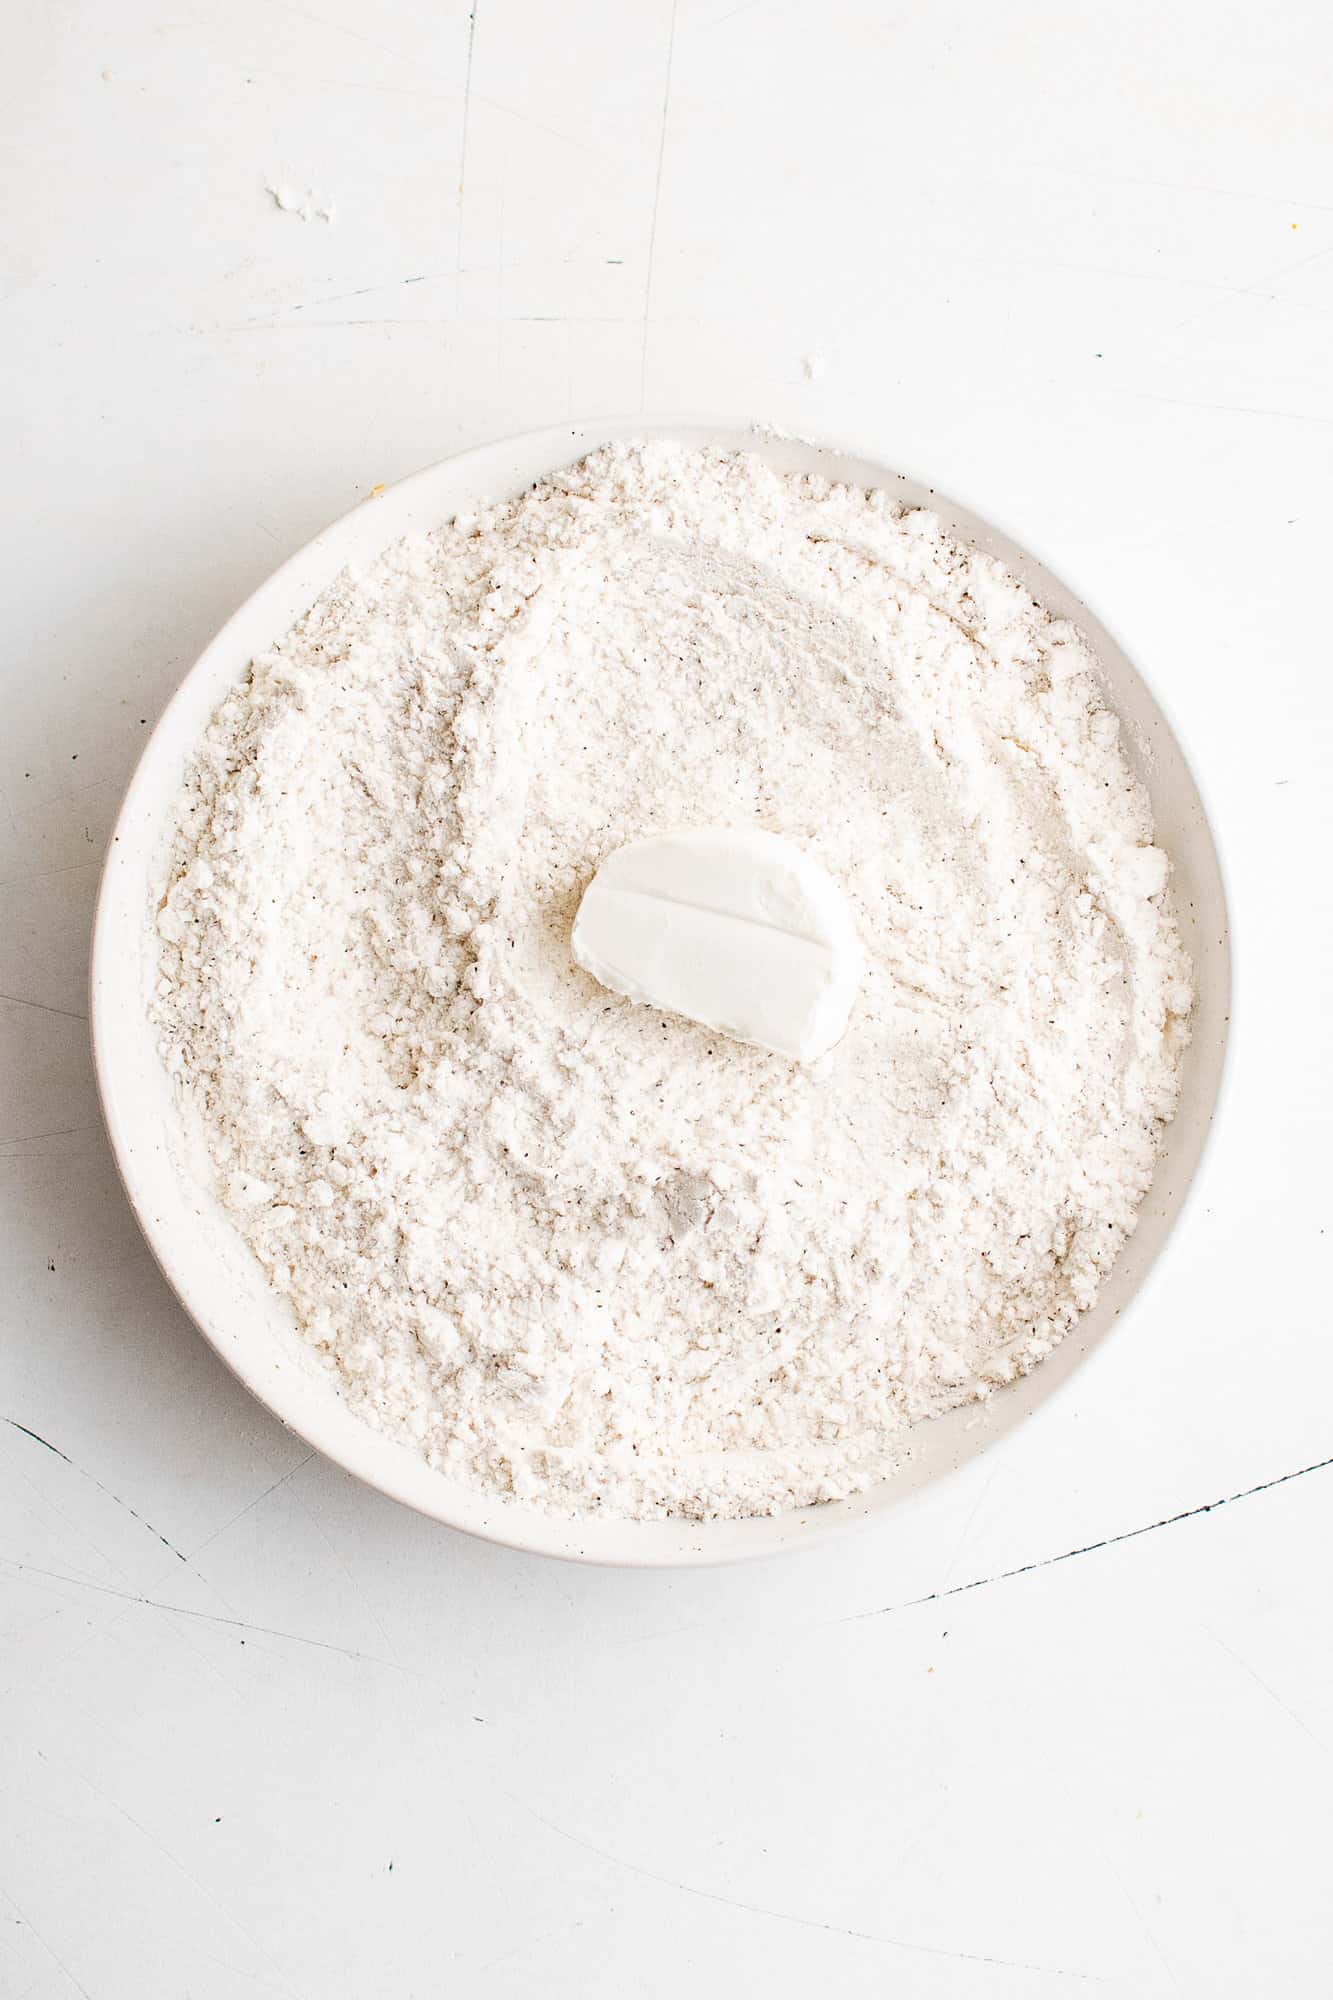
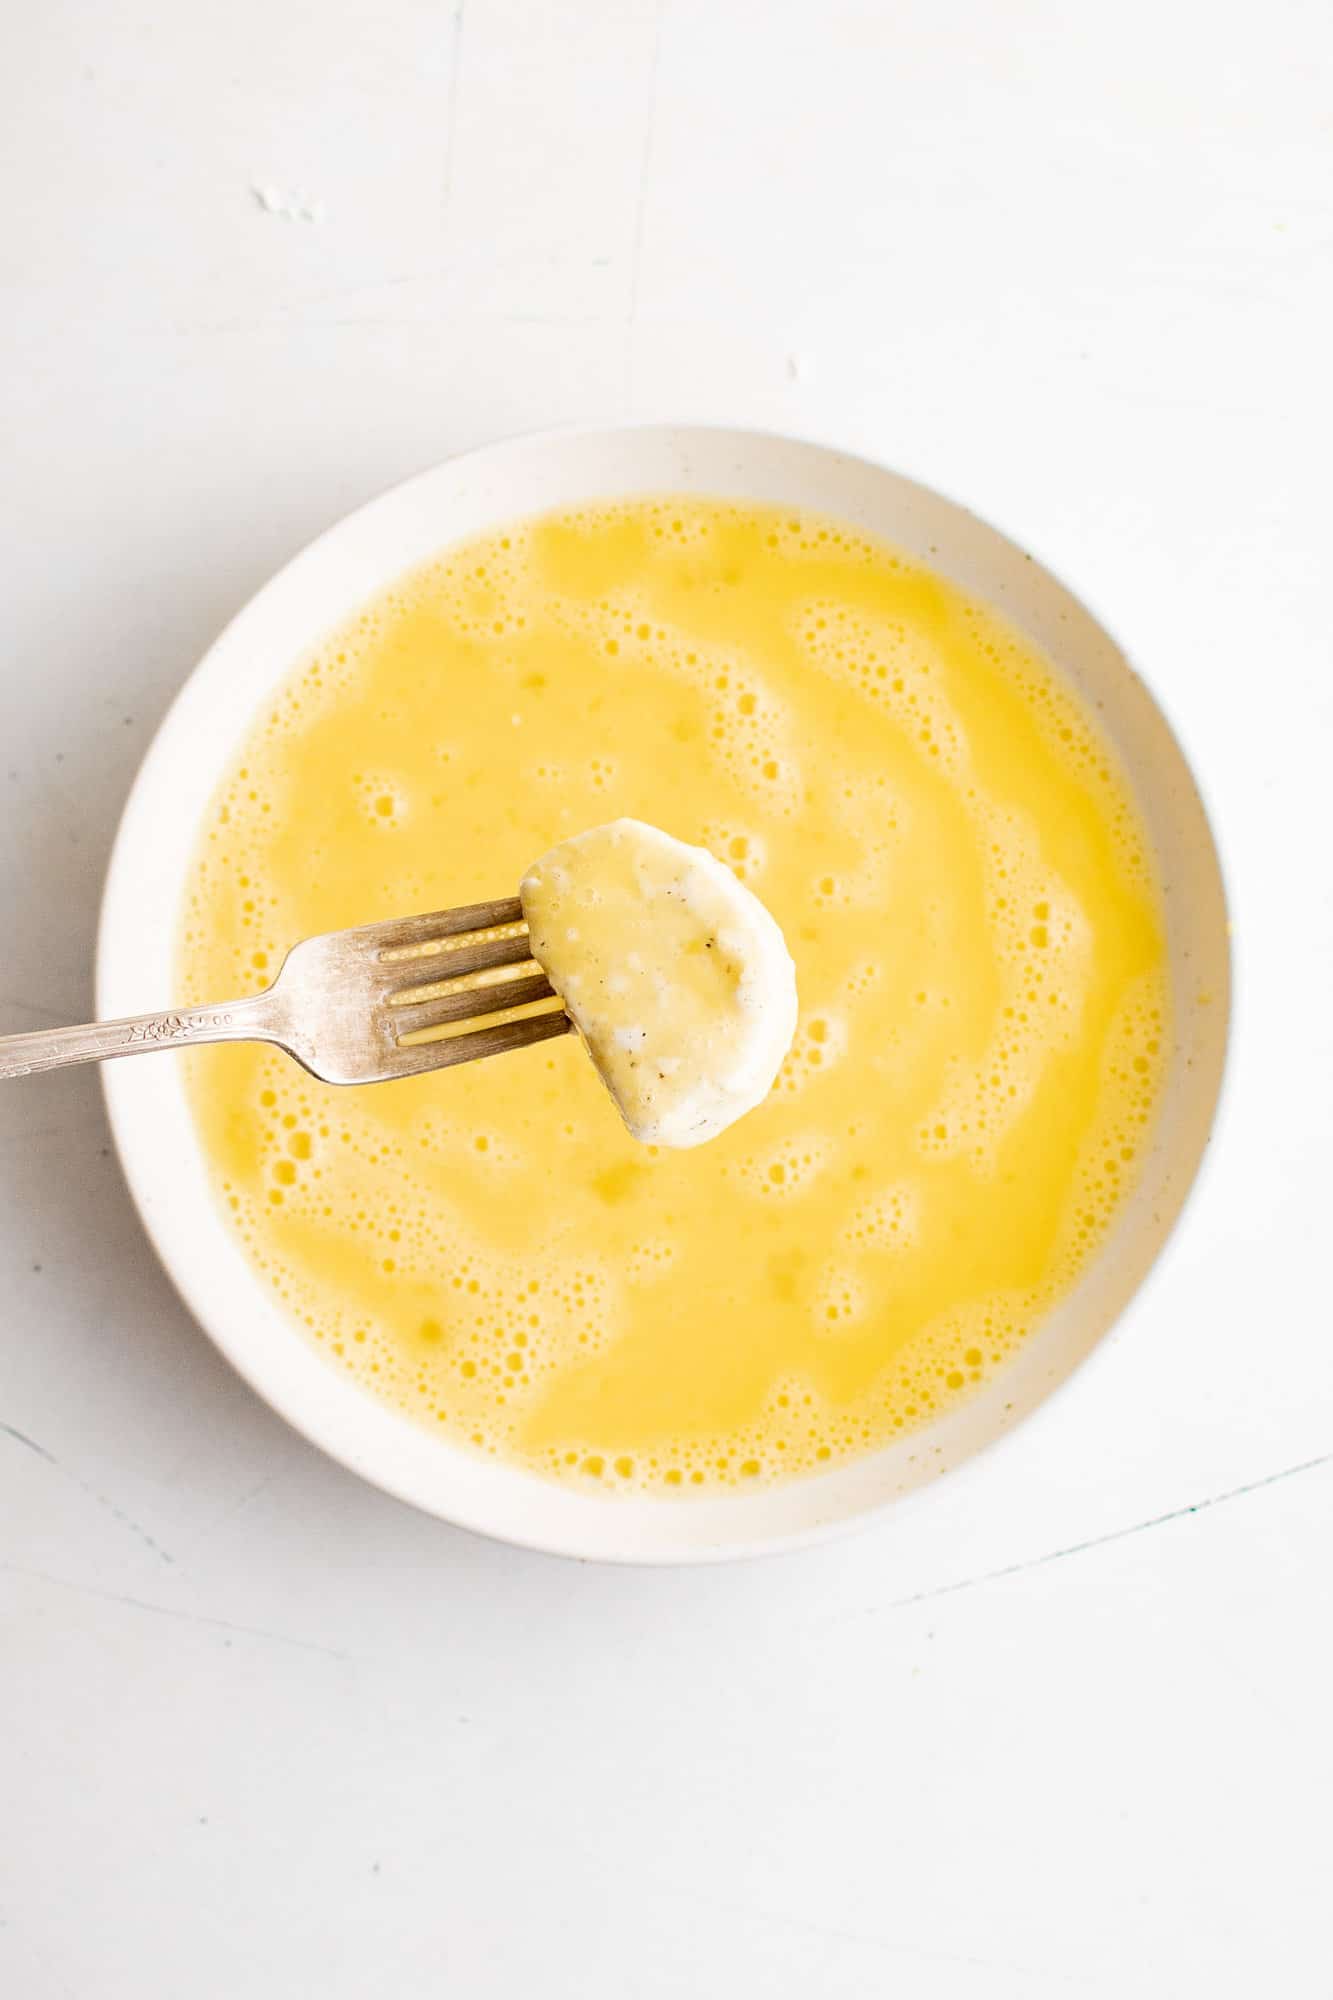
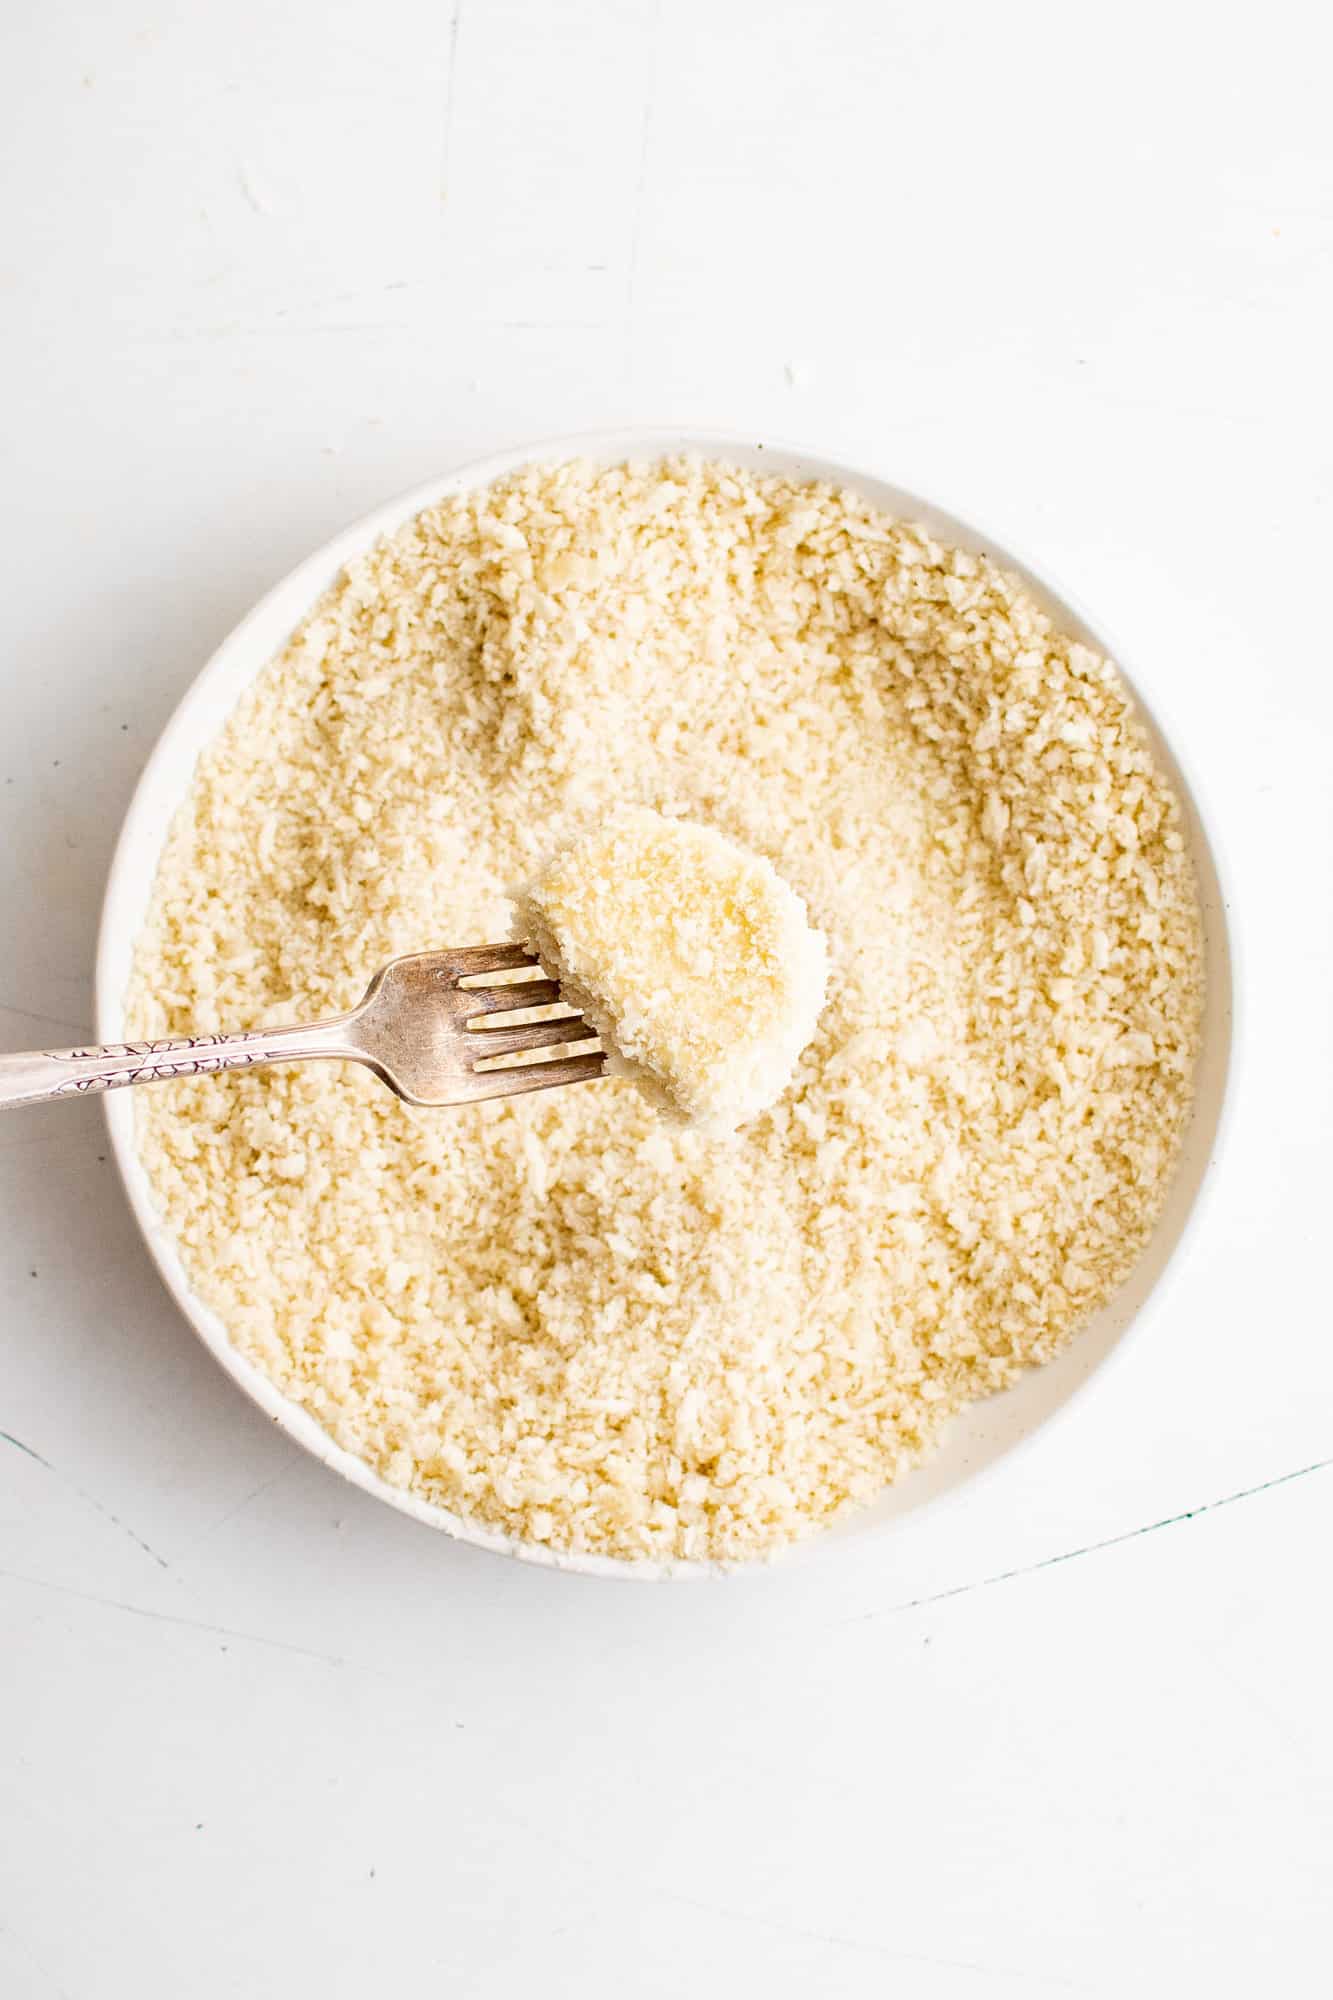
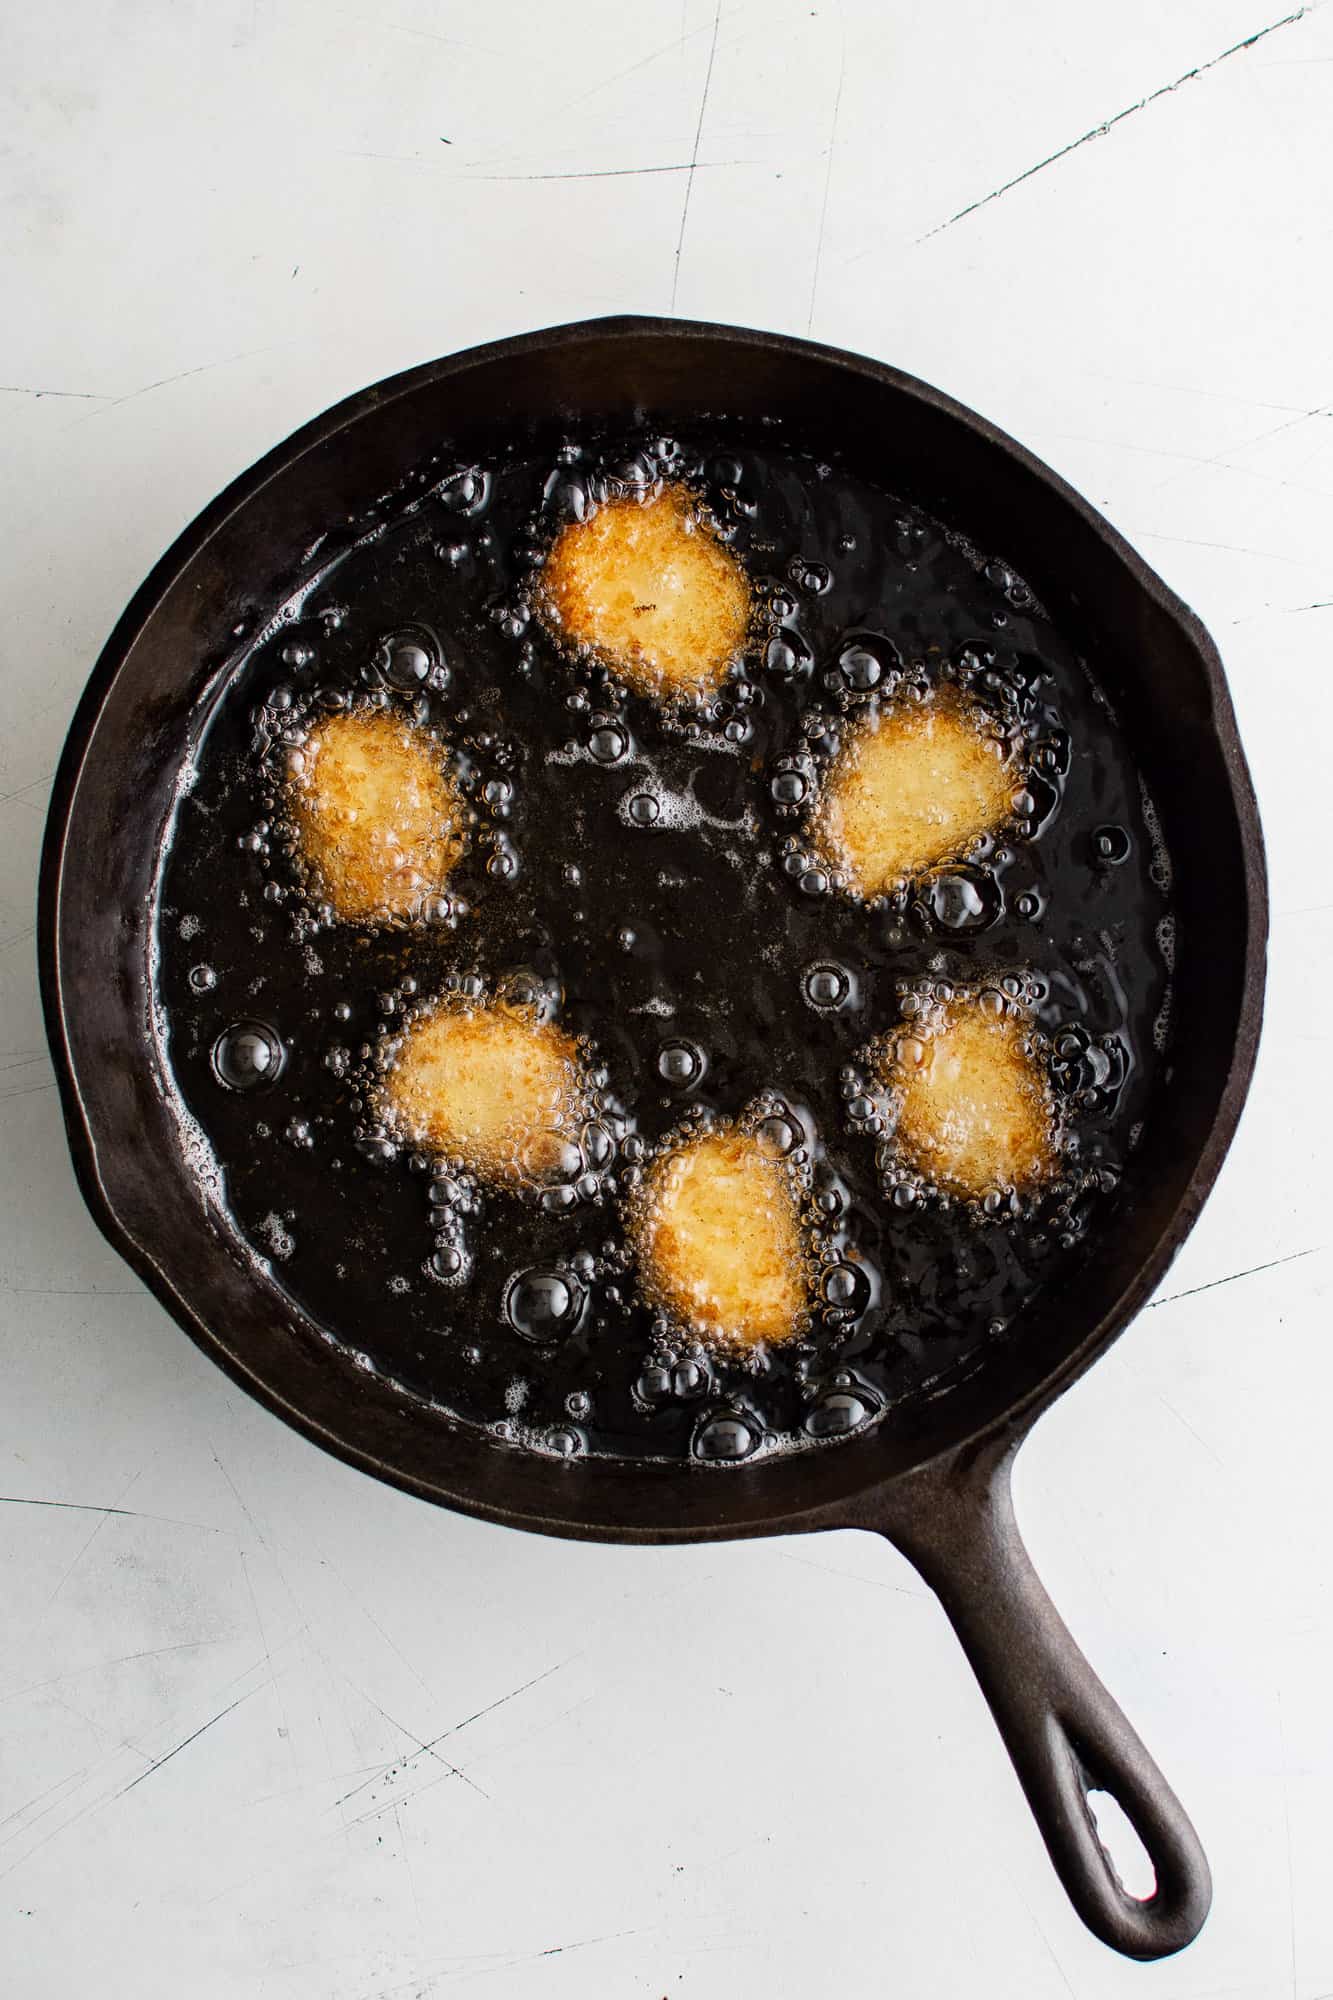
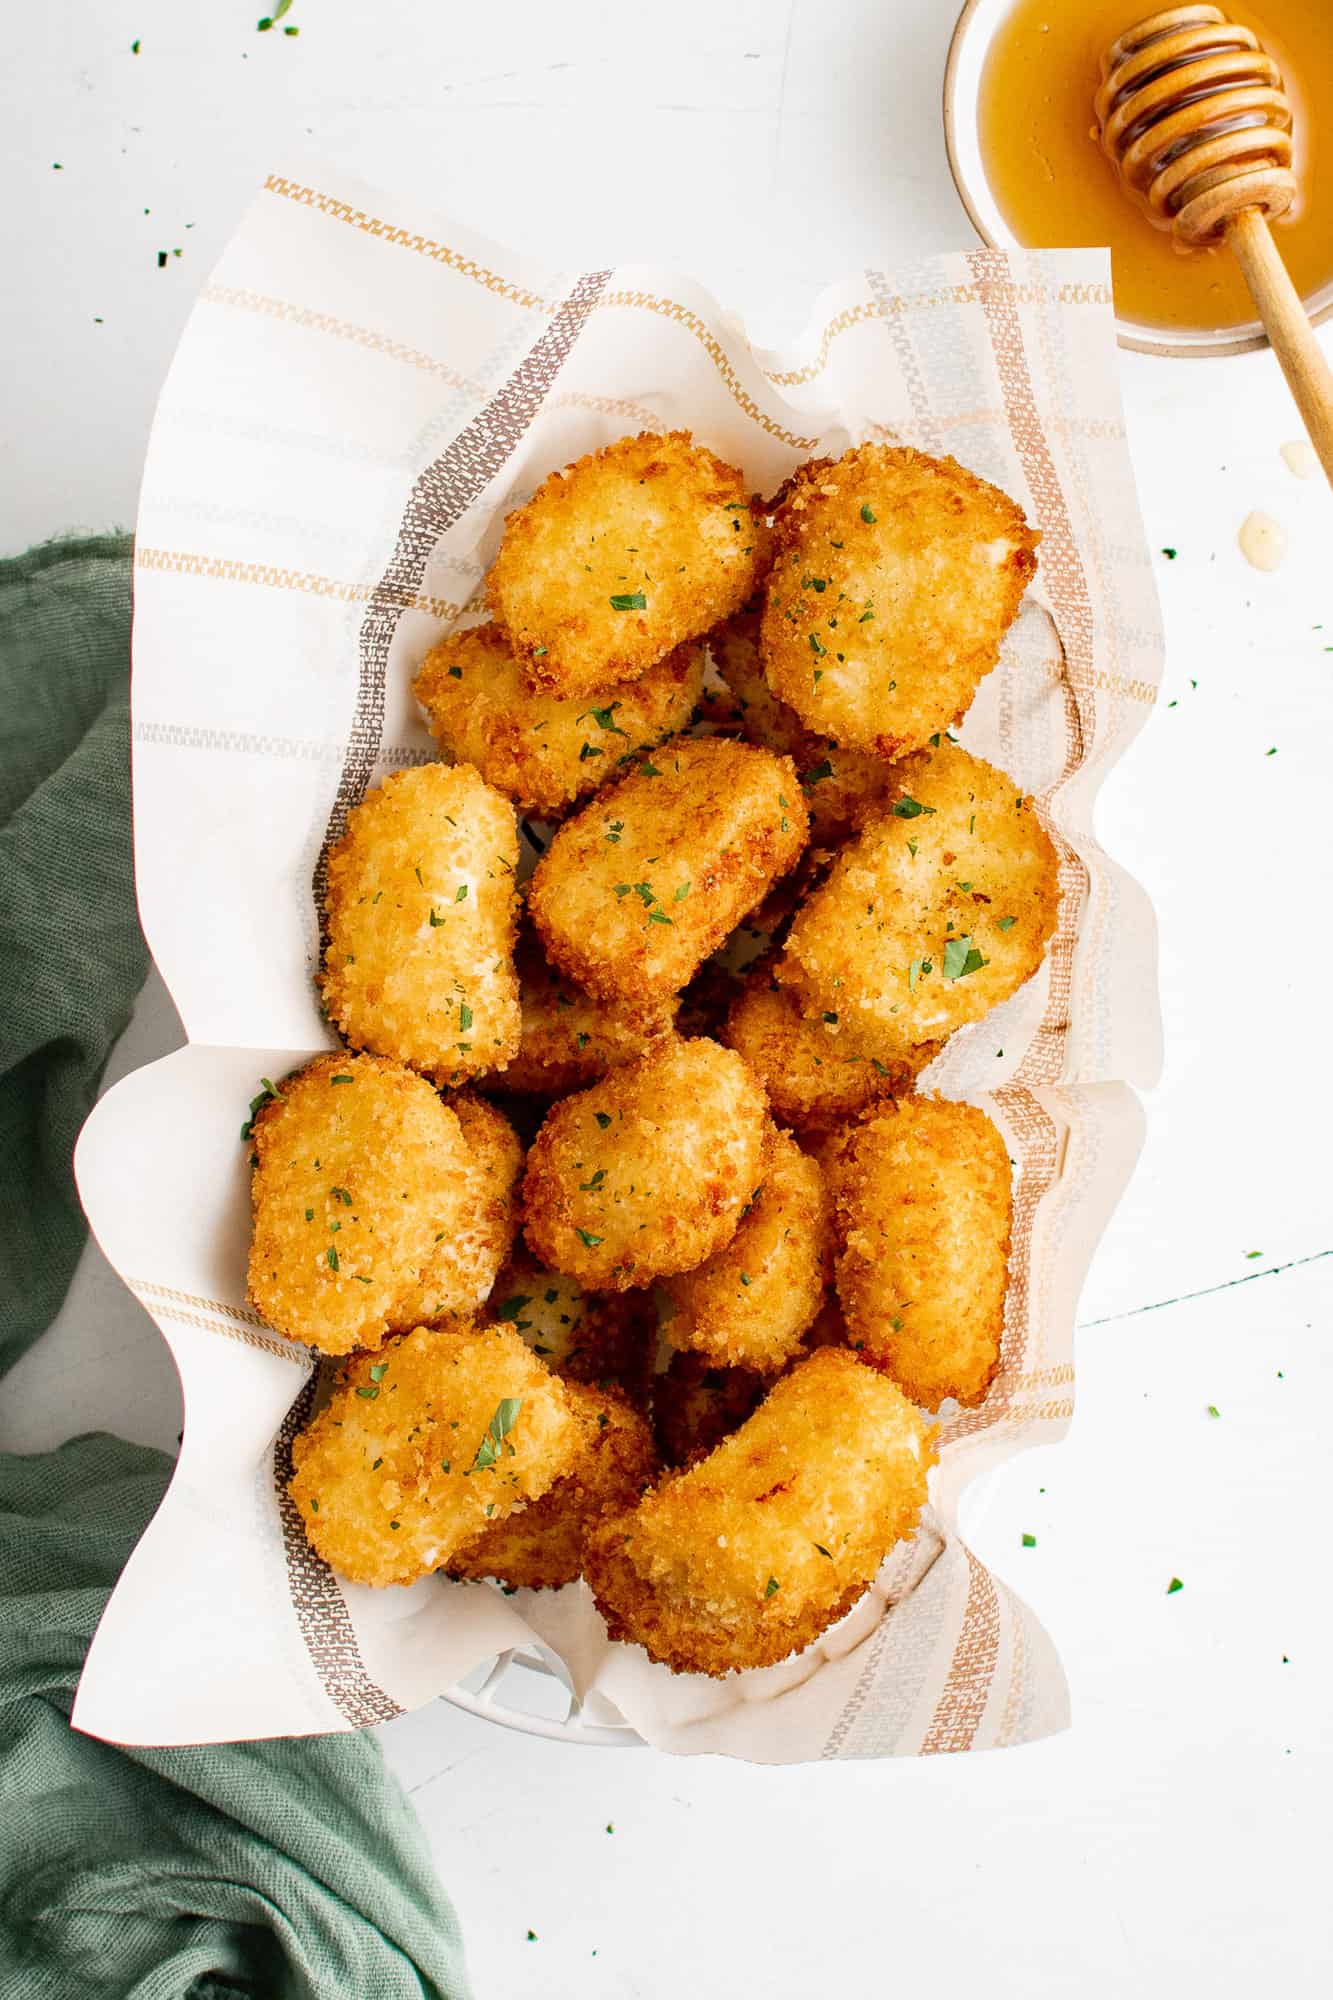
Begin by getting your “assembly line” ready. You’ll need three shallow bowls. In the first bowl, mix together the flour, salt, and pepper. In the second bowl, whisk the egg with a bit of water. In the third bowl, measure out the panko bread crumbs. We experimented with a variety of knives, including a sharp cheese knife. However, not one of the knives worked nearly as well as thread. I know, that sounds kind of strange, but a length of strong thread neatly and easily slices through the soft cheese. Unflavored dental floss also works great for this task! Prepare a baking sheet or tray by lining it with parchment paper or waxed paper. Make sure it will fit into your freezer. Slice the chilled goat cheese log using a strong thread (see above). The slices should be around a quarter-inch thick. Don’t worry if they are a little thicker than that. You don’t have to get a ruler out to measure each one. Dip each goat cheese slice in the flour mixture first, making sure it’s well covered. Shake off any excess flour. Next dip the goat cheese into the egg mixture. Don’t leave any bare spots. Let the excess egg drip off and then put the slice into the panko. Press it down lightly into the panko so the crumbs adhere, then flip it over to coat the other side. As you finish breading each slice, place it on the parchment-covered tray, sides not touching. Once you’ve breaded all the cheese, place the tray in your freezer, cover it with plastic wrap, and let it hang out there for four to eight hours. When you’re ready to fry the goat cheese rounds, pour oil into a heavy skillet until it’s roughly one and a half inches deep. Heat the oil to 300℉. You can use an instant read thermometer to check the temperature. Line a plate with a paper towel. Place the breaded goat cheese rounds in the hot oil in a single layer. You will need to do them in a couple of batches. Fry them for two or three minutes per side. Tongs work perfectly to flip them. They should be golden brown on both sides. When they’re nice and toasted, place them on the paper-towel-lined plate to drain and cool a bit while you finish up frying the rest of the cheese. Serve the fried goat cheese with honey and a sprinkle of fresh parsley, if desired. They are wonderful on a salad or burger, too.
Make It Your Own
Toppings: Varying the toppings you serve with goat cheese can change the flavor profile drastically. Use sweet toppings like honey, hot honey, pomegranate molasses, or any type of jam. Alternatively, go savory with pizza sauce, BBQ sauce, salsa, or hot sauce. Seasoning: Season the flour with any seasoning blend you like. I kept it simple with salt and pepper but you could substitute my all-purpose seasoning, fajita seasoning, or seasoned salt. Fry them in your air fryer. You’ll find the how-to’s on the recipe card below. Looking for a breading with no egg? Try one of these nine alternatives from Pantry & Larder.
Make-Ahead Ideas
Bread the sliced goat cheese, freeze it until firm, and place in a freezer safe container for up to 3 months.
Storage & Reheating Tips
Fried goat cheeses can be stored in an airtight container in the fridge for up to 3 days. Reheat in a 350°F oven for 5 to 8 minutes or until crispy again. They can also be reheated in an air fryer. Quick-Start Guide!