You’re going to love this homemade pizza dough. It’s easy to make, especially if you have a stand mixer, and the taste is phenomenal! There’s really nothing quite like homemade crust: yeasty, warm, chewy, crisp. It’s the best! How long it takes: 1 hour (from start to finished pizza) Equipment you’ll need: stand mixer preferably, but it can be accomplished by hand Servings: makes 2 crusts Do you have to be a baking expert or pizzeria maestro to make it? Absolutely not! The dough is easy to make and it’s super forgiving. I promise you won’t have to spin it in the air like those amazing pizza guys do. How do they do that anyways?! So impressive!
About This Pizza Dough Recipe
This recipe doesn’t take all day. It’s a basic pizza dough recipe that can get pizza (or cheesy bread) on your table in about an hour, or maybe an hour and fifteen minutes, if you have two kids who want to get involved in the process.
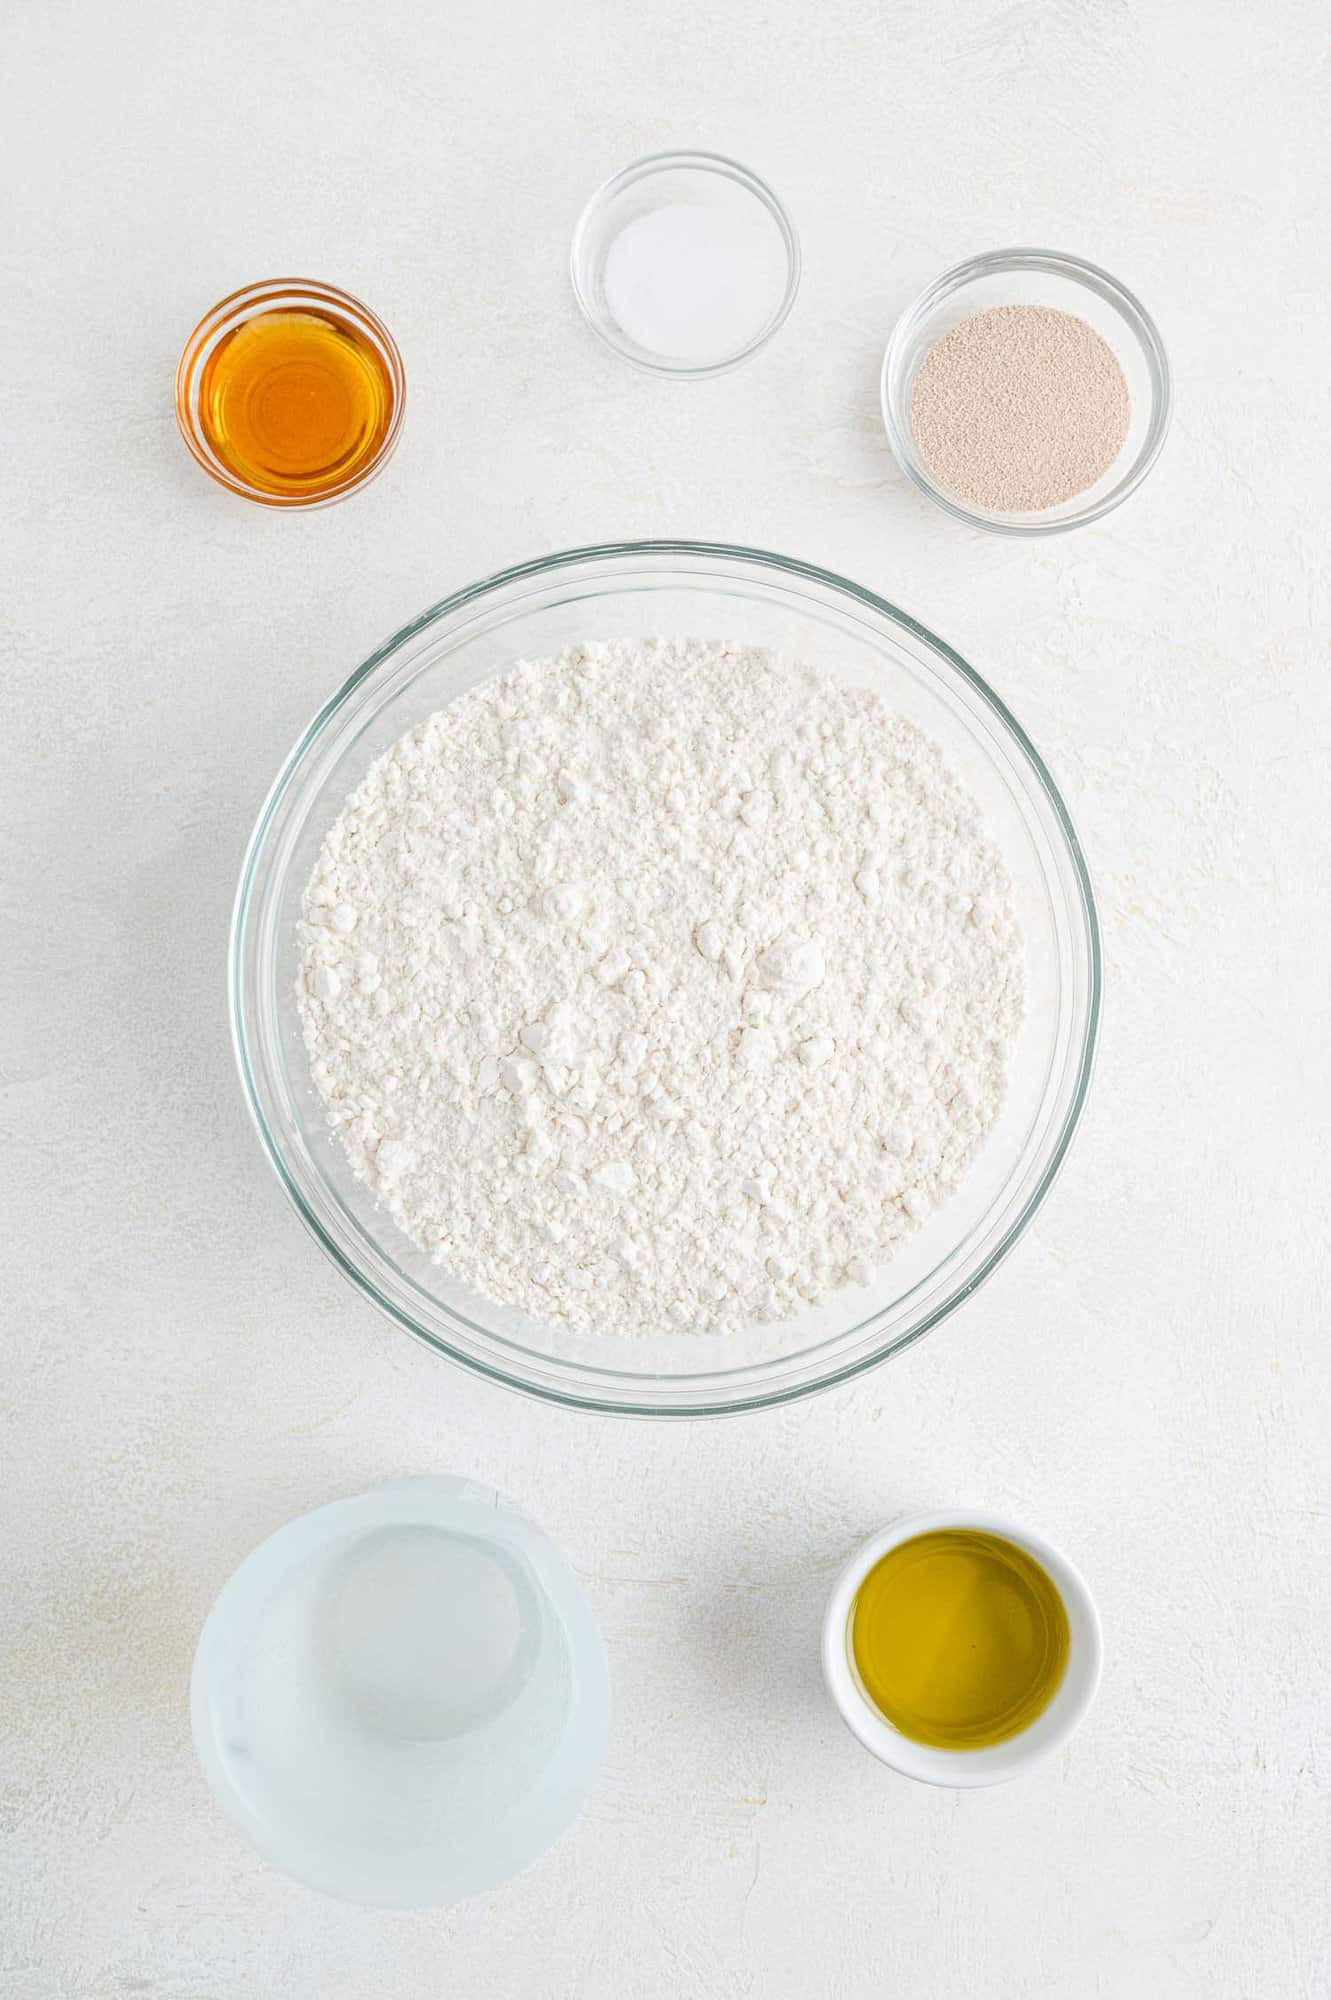
Only a few ingredients. The easy pizza dough recipe consists of all the essentials: flour, yeast, olive oil, honey, and water.
No kneading. Basically, if you have a stand mixer, you let the mixer do most of the work for you. If you don’t have a stand mixer, don’t worry, because pizza dough is completely doable using just your two hands (and it’s quite satisfying to knead your own). If you have a pretty powerful hand mixer with a dough hook, that will do the job, too.
Short rising time. Once you have the pizza dough mixed up and kneaded, it only needs to rise for about 30 minutes. In the meantime, you can decide on your toppings. Shred the cheese, slice the mushrooms, have a mini dance party!
Makes 2 crusts. The recipe makes enough for 2 medium sized crusts, depending on how thick you roll them. If you like thin and crisp, the pizzas will be larger; if you prefer thick and chewy, the pizzas will be smaller. Divide the dough up and make several mini pizzas so everyone can style their own pizza.
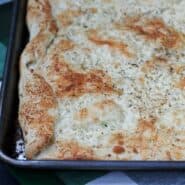
Versatile. You can use the dough to make cheesy bread. You can make bread sticks or stuffed pizza bites or homemade hot pockets. Keep reading for more ideas and links.
What You’ll Need
All-Purpose Flour: Regular flour is all you need. If you like whole wheat, go ahead and replace up to half of the flour with whole wheat flour. I wouldn’t do it 100% whole wheat unless you’re ready for a truly hearty crust. Active Dry Yeast: There are a few types of yeast. Be sure to buy the correct kind, regular active dry yeast. If you use packets, you’ll need 2 of them. If you buy yeast in jars, you’ll need to 4½ teaspoons. Olive Oil: Most pizzerias probably don’t use good quality olive oil in their crusts. That’s one reason why homemade pizza dough tastes so much better! Honey: Just a touch of honey adds a note of sweetness to counterbalance the savory flavors of your pizza. Honey also helps feed the yeast. Salt: Salt is needed to control the yeast and to keep the dough from tasting bland. Warm Water: It’s important to get the correct temperature for the water, around 110°F to 115°F. More about that later… Pizza Sauce, Cheese, and Toppings: There’s no right or wrong way to top a pizza! Use the toppings you like (or what you happen to have in your fridge). I like to make my own marinara-style pizza sauce. It’s easy and it tastes so much better than commercial brands. You can make a batch ahead of time and keep it in the fridge or freezer.
How To Make Pizza Dough
Okay, are you ready to turn your kitchen into a pizzeria? Let’s get started! Make sure you have all the ingredients ready to go. Ideally, everything should be at room temperature. Probably the trickiest part of this easy pizza dough recipe is the warm water. Yeast needs warm water to activate or to start growing (proofing). If the water is too cool, the yeast doesn’t get going. Too hot, and the yeast is killed (yikes!). Tap water is fine. Run the water until it’s warm to the touch but not scalding. You should be able to put your wrist in the water and feel the heat, but not so much that you have to move. That’s the unscientific method. The most accurate way to determine the water temperature is to use your instant-read thermometer. The temperature should be between 110°F to 115°F. I usually put the point of the thermometer directly into the stream of running water. When it’s in the correct range, I measure the water with a liquid measuring cup. Use it right away; don’t let it cool down.
Make The Dough
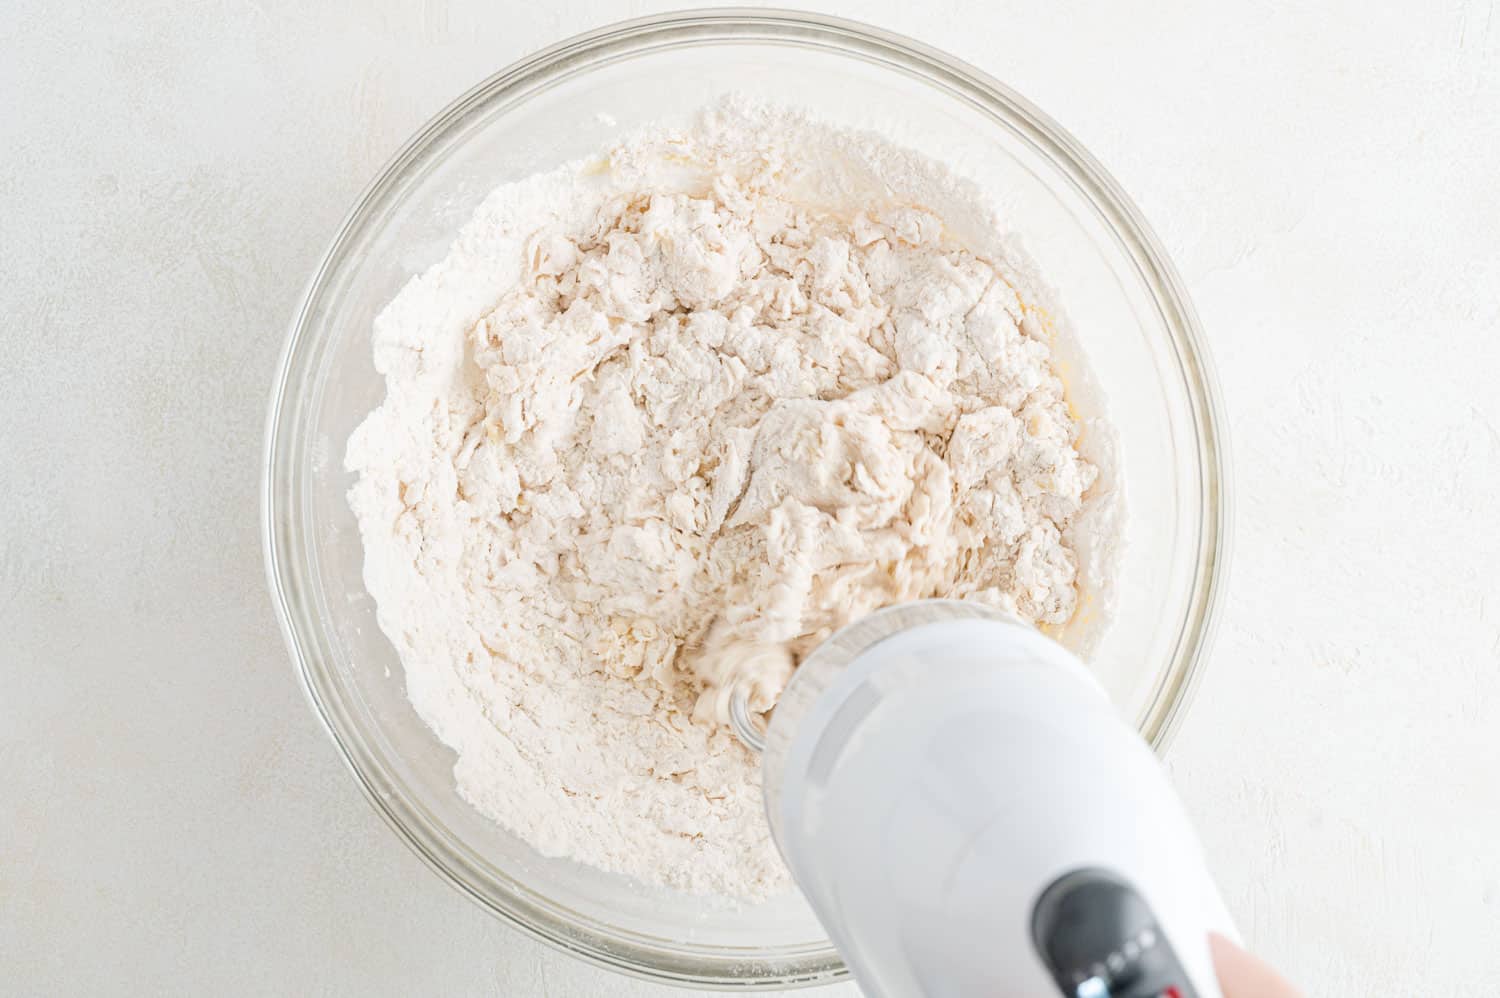
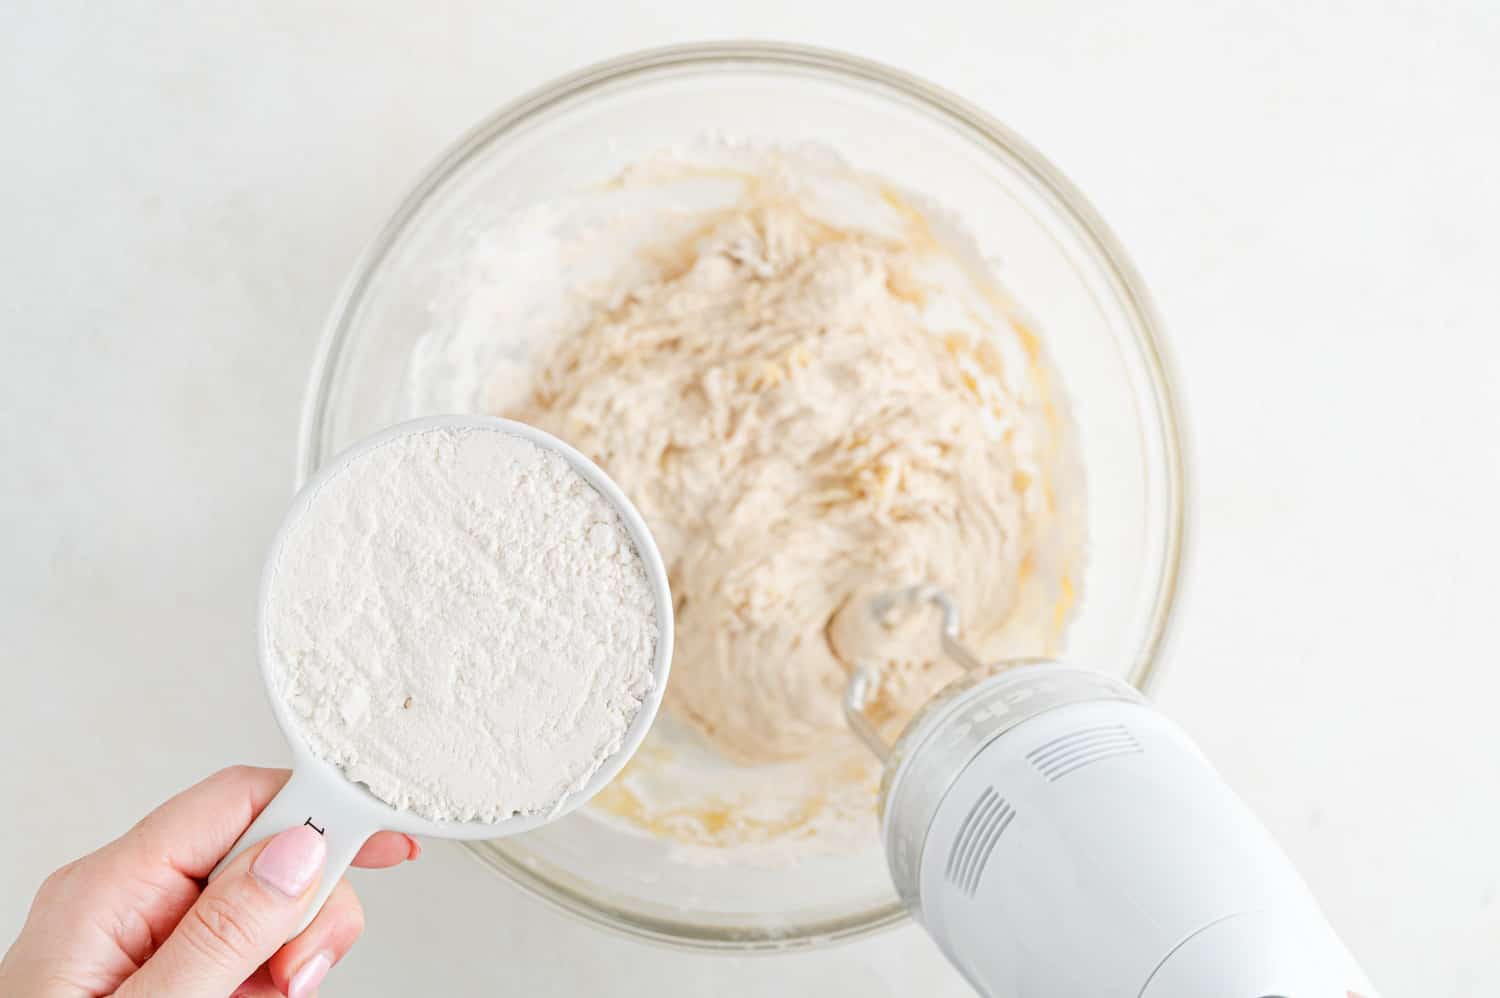
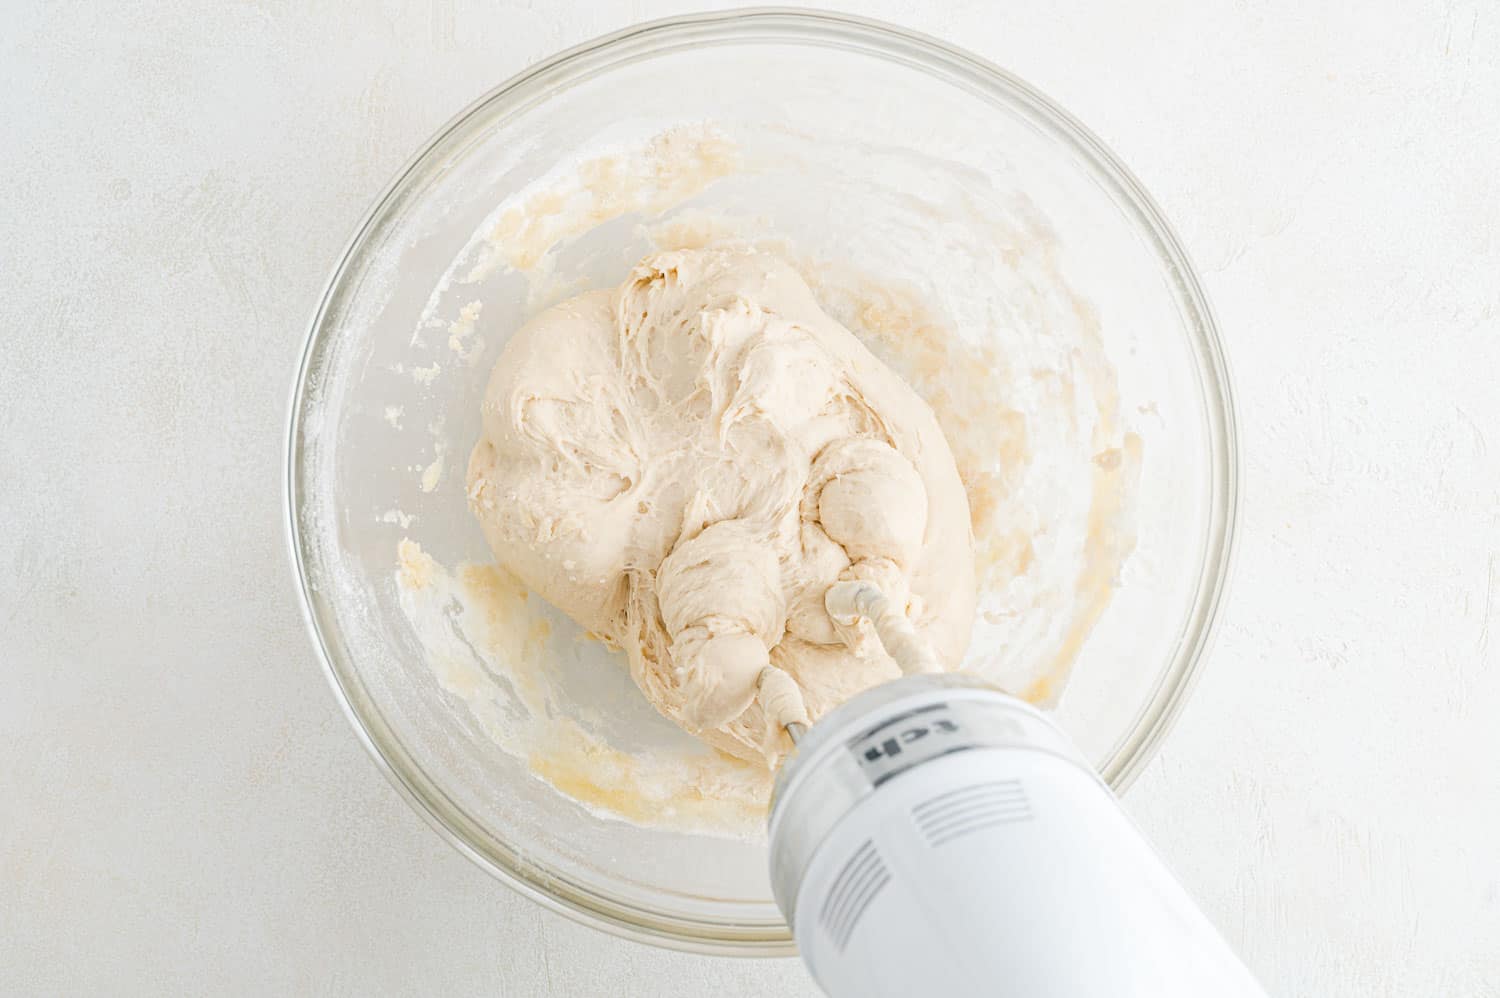
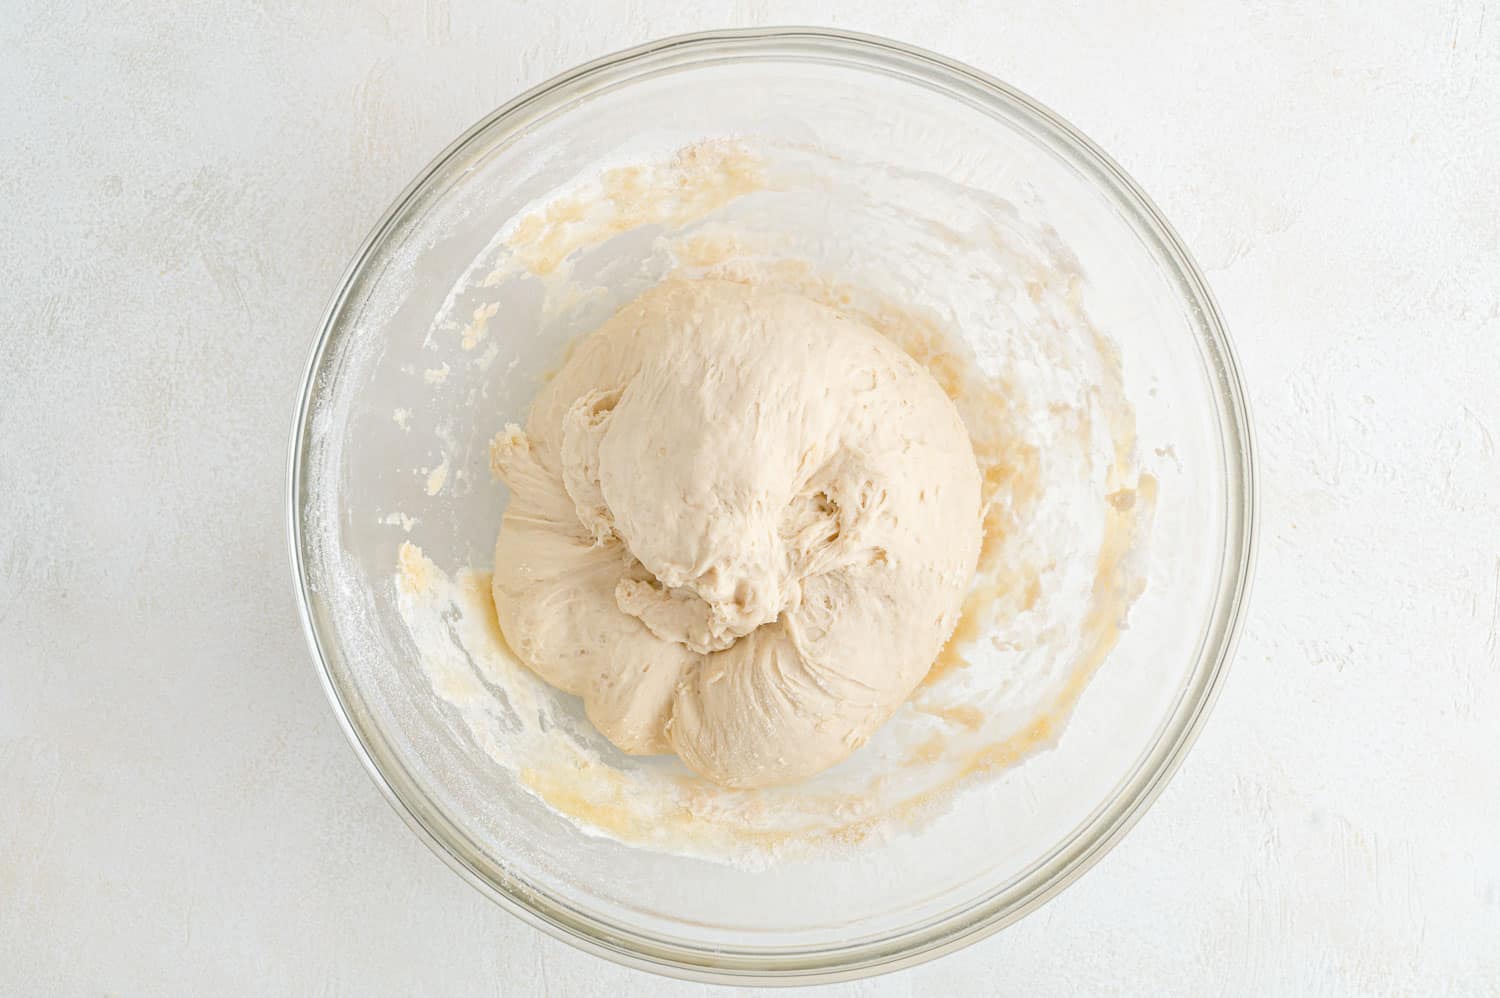
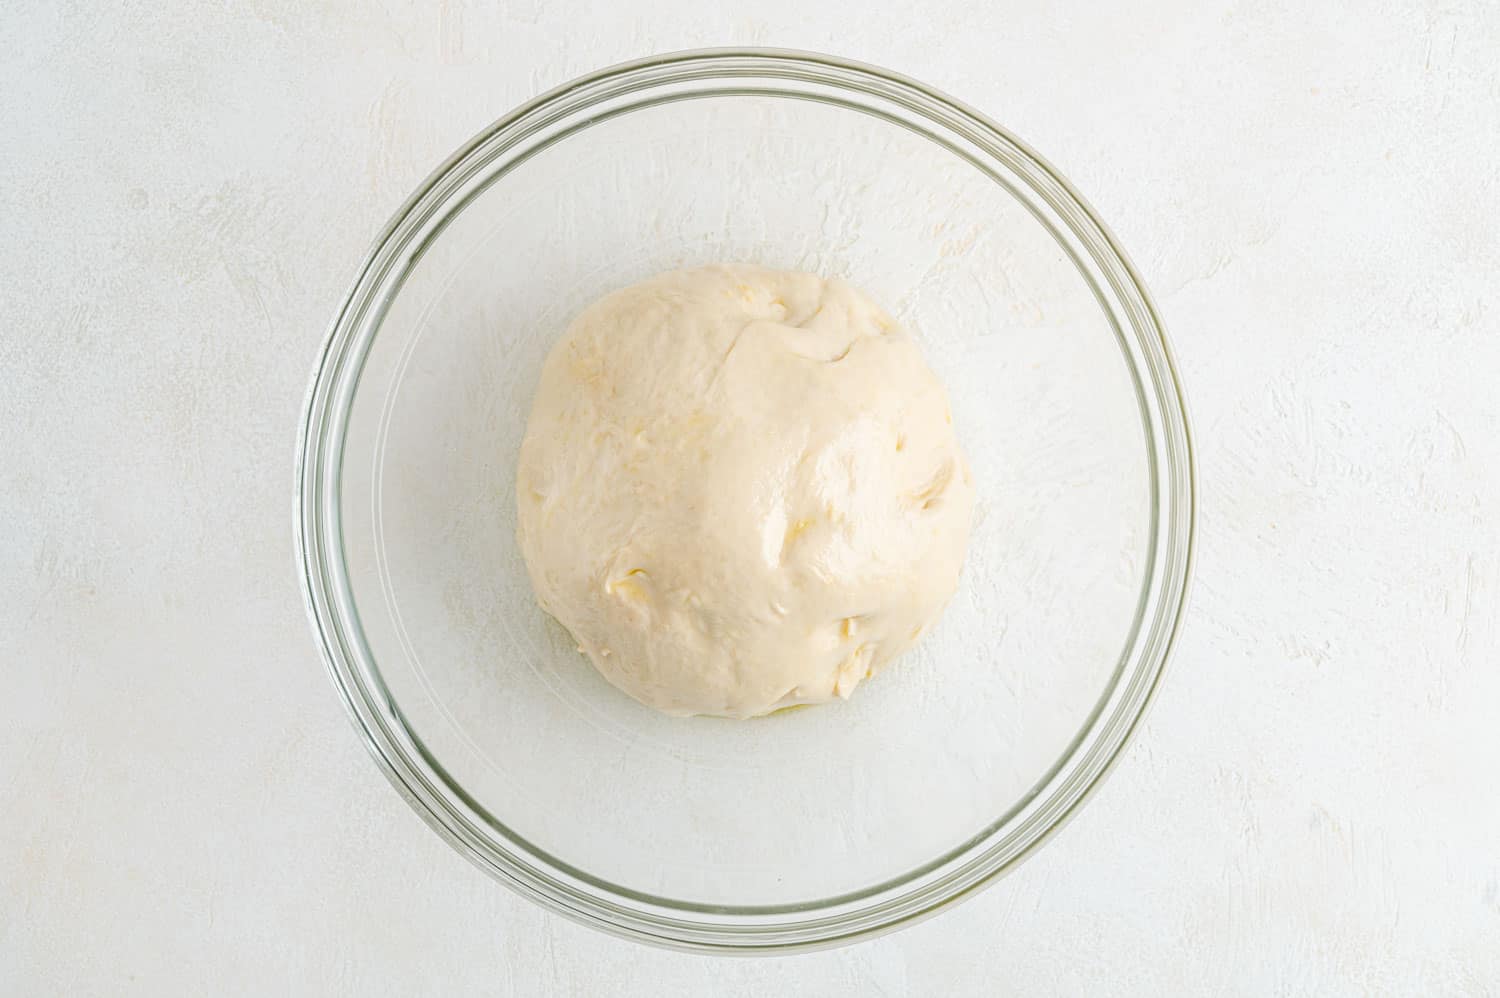
Pour the water into the bowl of your stand mixer, fitted with the dough hook. Add the yeast, oil, and honey. Add three cups of the flour (not all of it). Blend the mixture on low speed. Turn the mixer to medium low, which is #2 on a KitchenAid. Slowly add the final cup of flour. You may not need it all. Stop adding flour when the dough forms a nice smooth ball that pulls away from the sides of the bowl. Continue kneading the dough for eight minutes. When the time is up, turn the mixer off.
Let The Dough Rise
Grease a separate bowl with olive oil, add the dough ball to the bowl, and flip it over once or twice to coat it with oil.
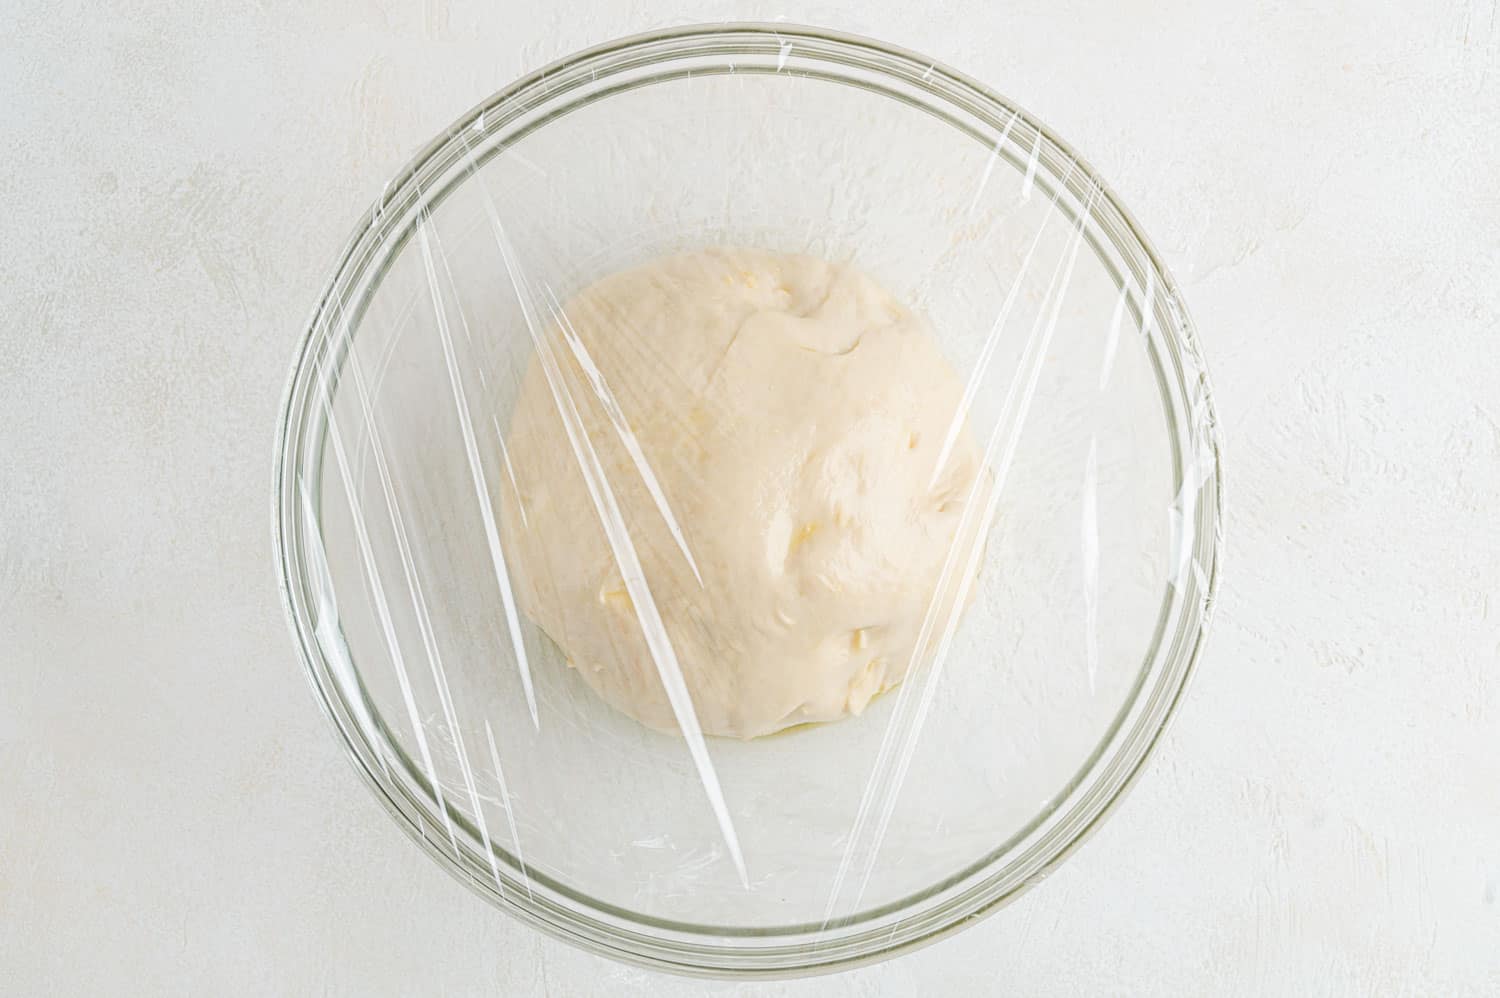
Cover the bowl tightly with plastic wrap and put it in a warm place to rise for about 30 minutes.
If you prefer, before you let the dough rise, you could put the dough into the refrigerator to use later. It will keep for a couple of days. Take it out the fridge at least an hour ahead of time to let it warm up and do the 30 minute rise.
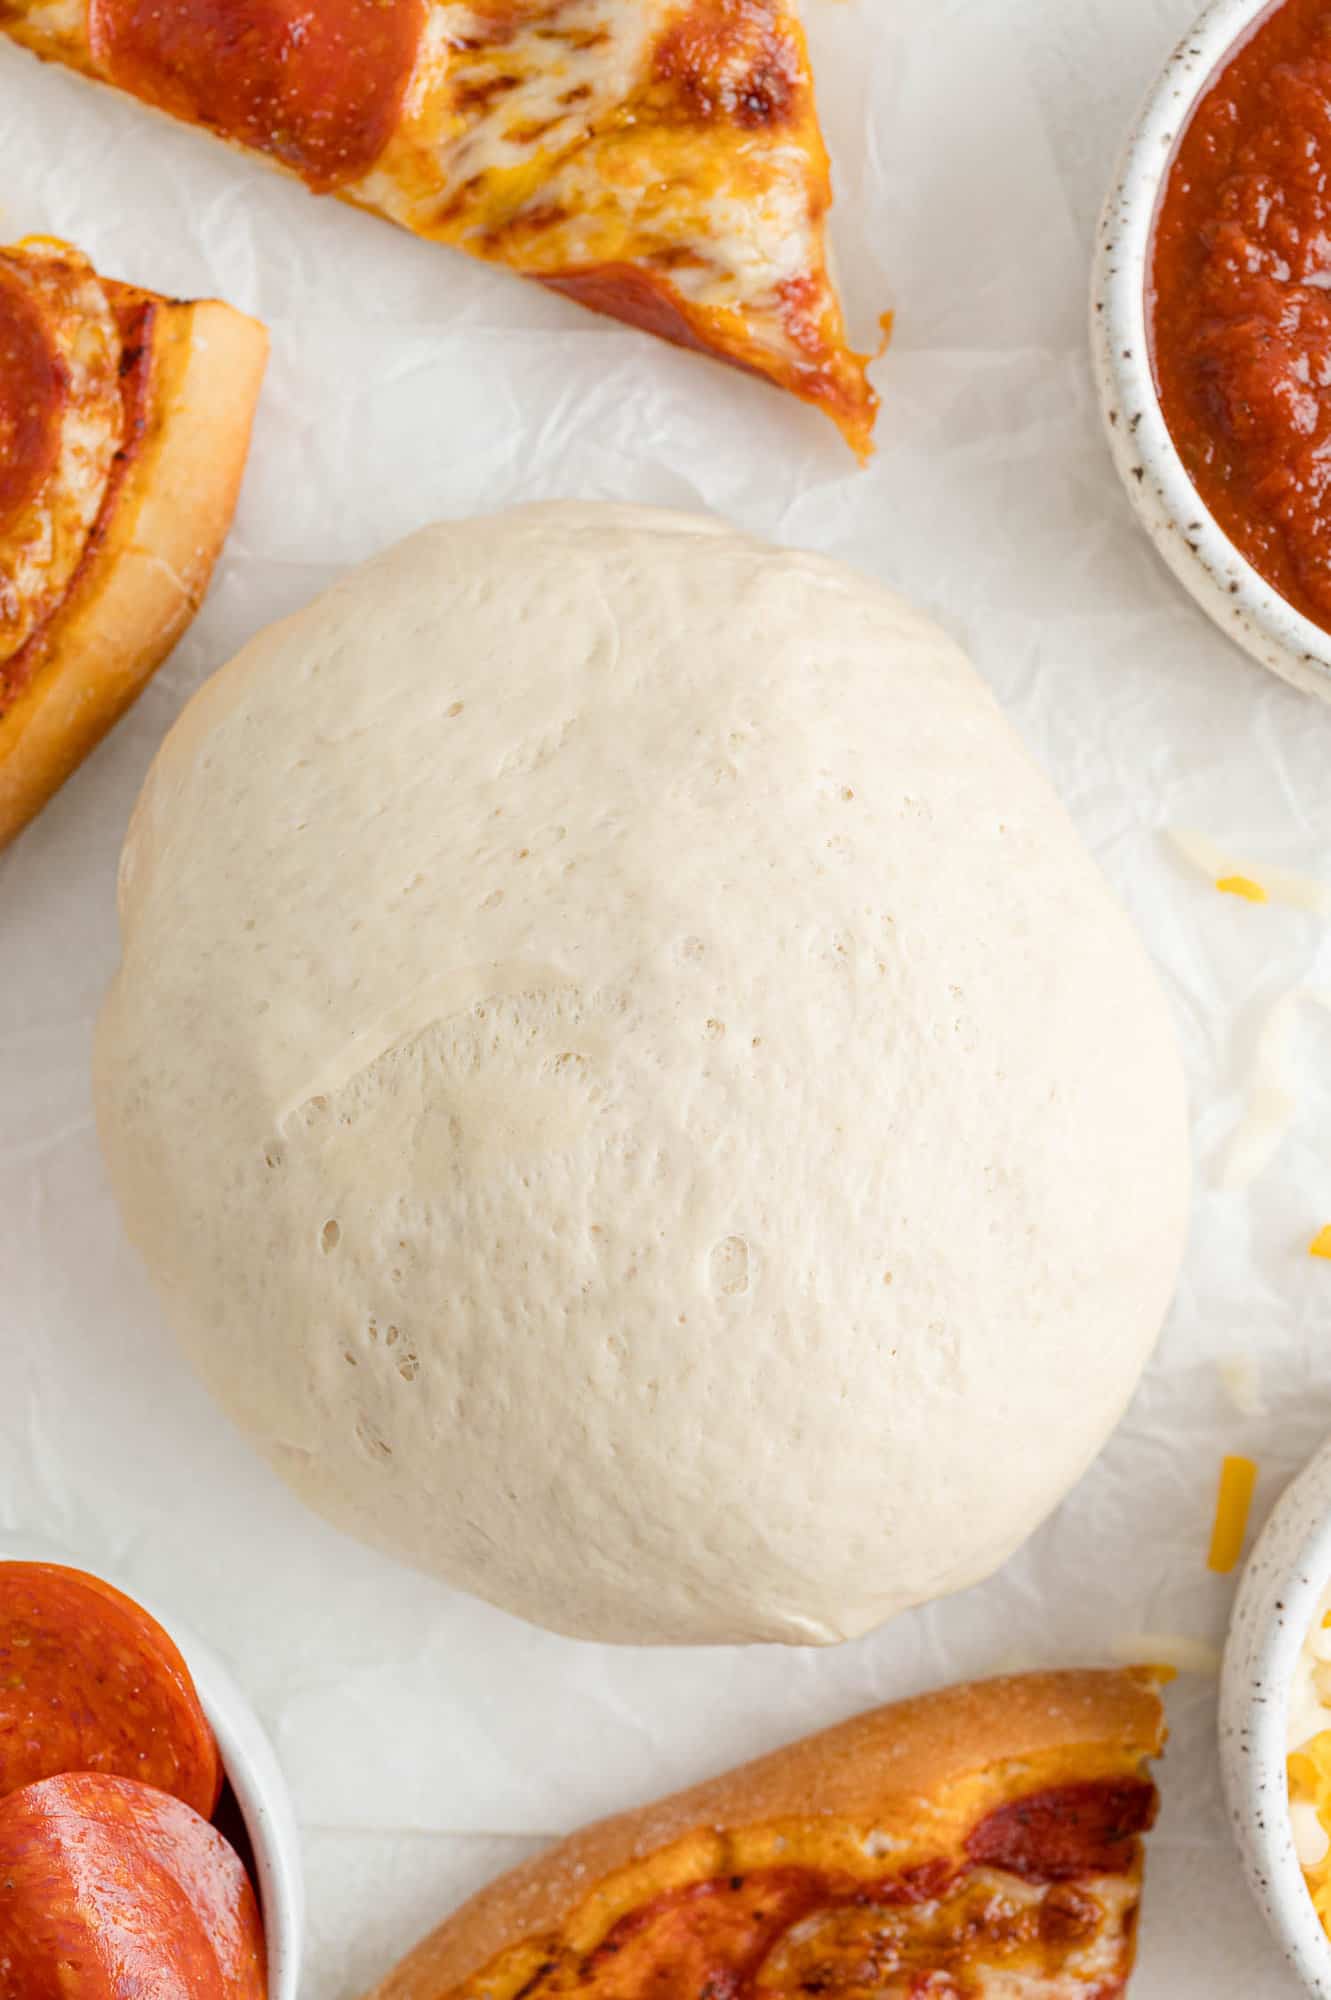
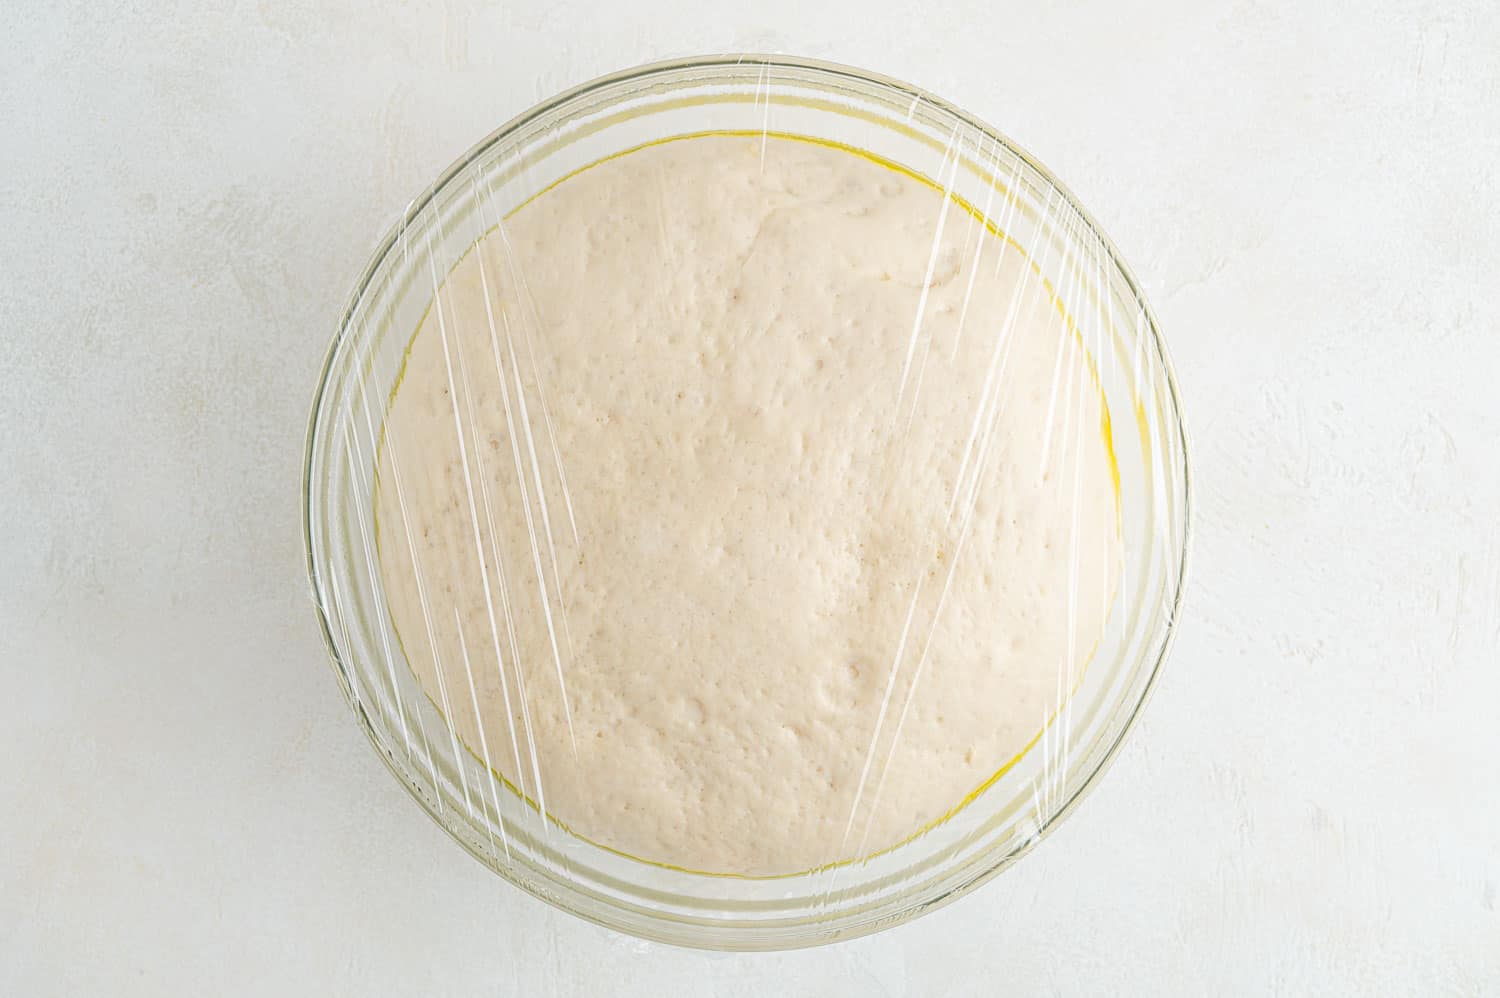
Okay, when your dough is ready, it should be doubled in size. I always hate it when recipes say that, but there isn’t really any other way to describe it. How can you tell if it’s doubled or not? In any case, it should be quite a lot bigger than it was originally and more puffy.
Preheat The Oven
At this point, you should turn the oven on to preheat. A good hot oven is essential to making a good pizza. Put the rack in the lower third of the oven. This dough also does great on the grill, since it’s not too sticky.
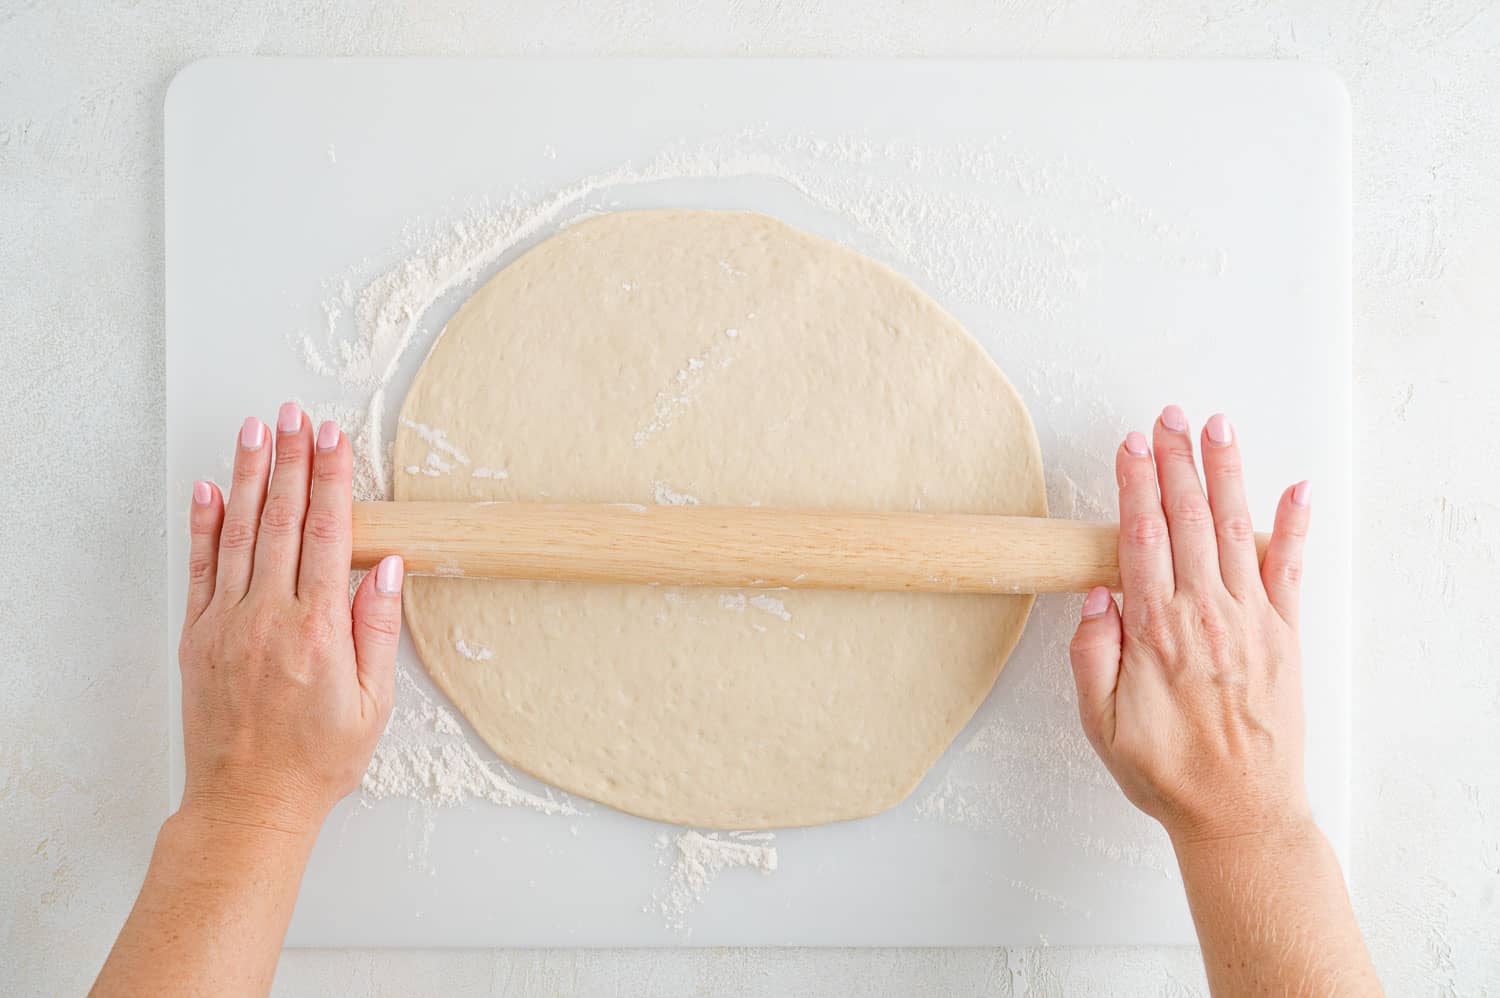
Roll The Dough Out
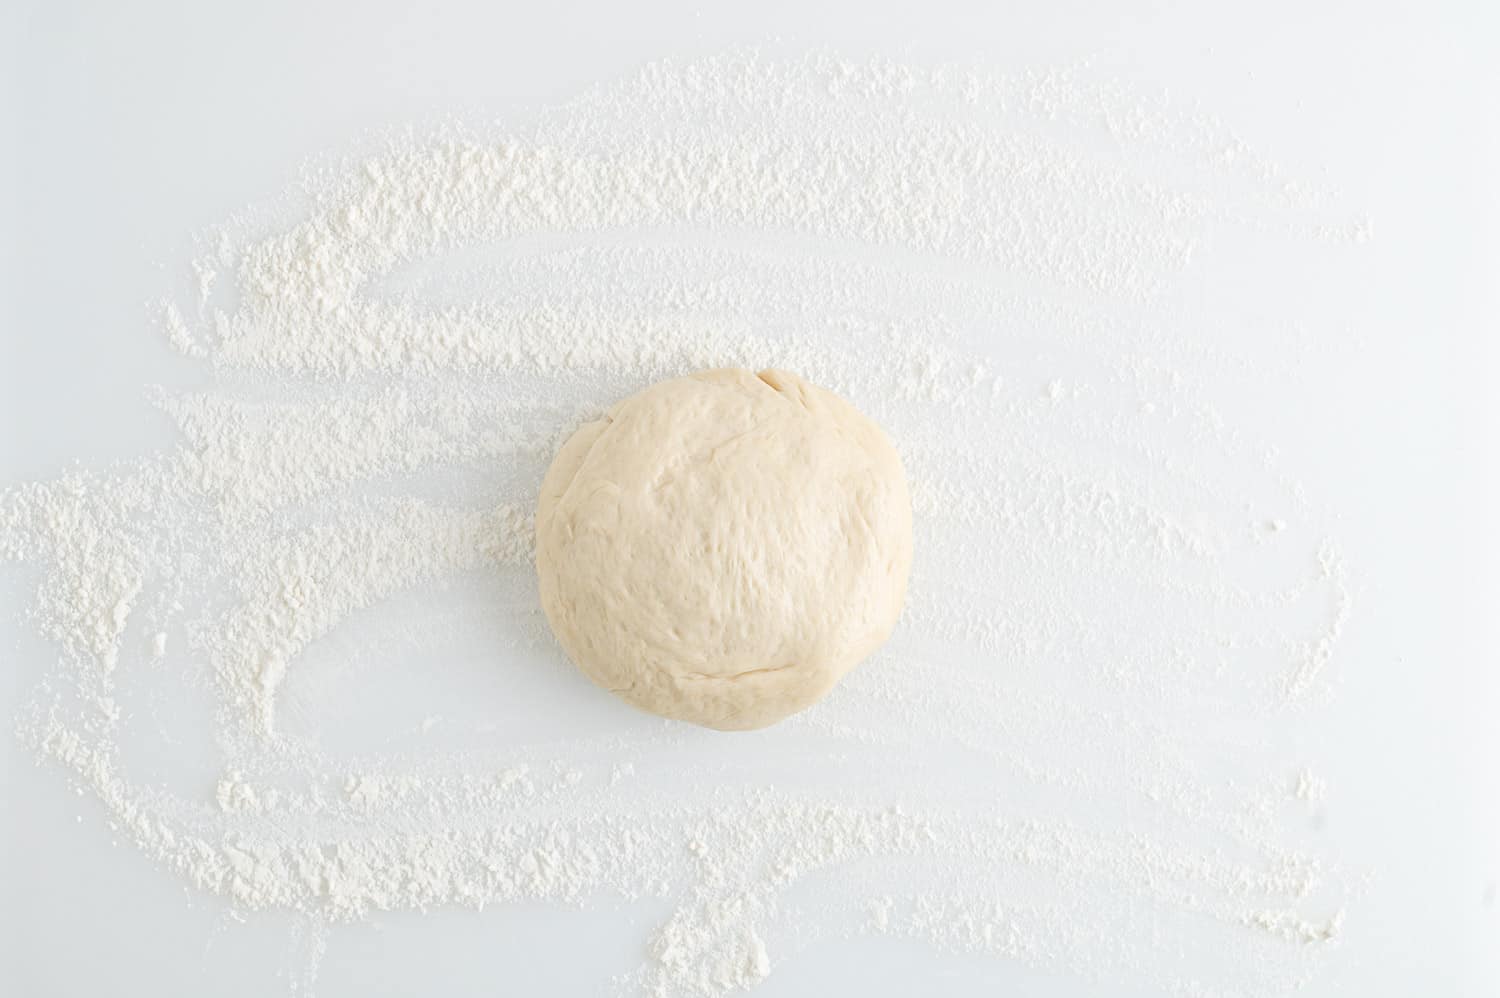
Divide the dough into two halves if you’re making 2 pizzas. If you want four pizzas, divide it into quarters. If you want one giant pizza, don’t divide it at all. Roll out the dough on a flour or olive oil coated countertop. Here’s how to do it with oil: Pour about a teaspoon of oil straight onto your counter, rub it around so the surface is well coated. Rub a little on your rolling pin as well, for good measure. This will keep your dough from sticking and it also tastes great. Win-win. And here’s how to do it with flour: Sprinkle a generous amount on the counter, put the dough on top of it and flatten it out slightly. Flip it over once or twice to make sure it isn’t sticking. If it is, add a bit more flour. Roll the dough to the desired size and thickness, depending on whether you want thin crust or thicker, fluffy crust. Shape isn’t all that important: round, oval, square, rectangular, free form, doesn’t matter. Once the crust is rolled, put it on an oiled baking pan. If you like, sprinkle a little cornmeal on the oiled pan before you put the dough on it for a nice crisp bottom.
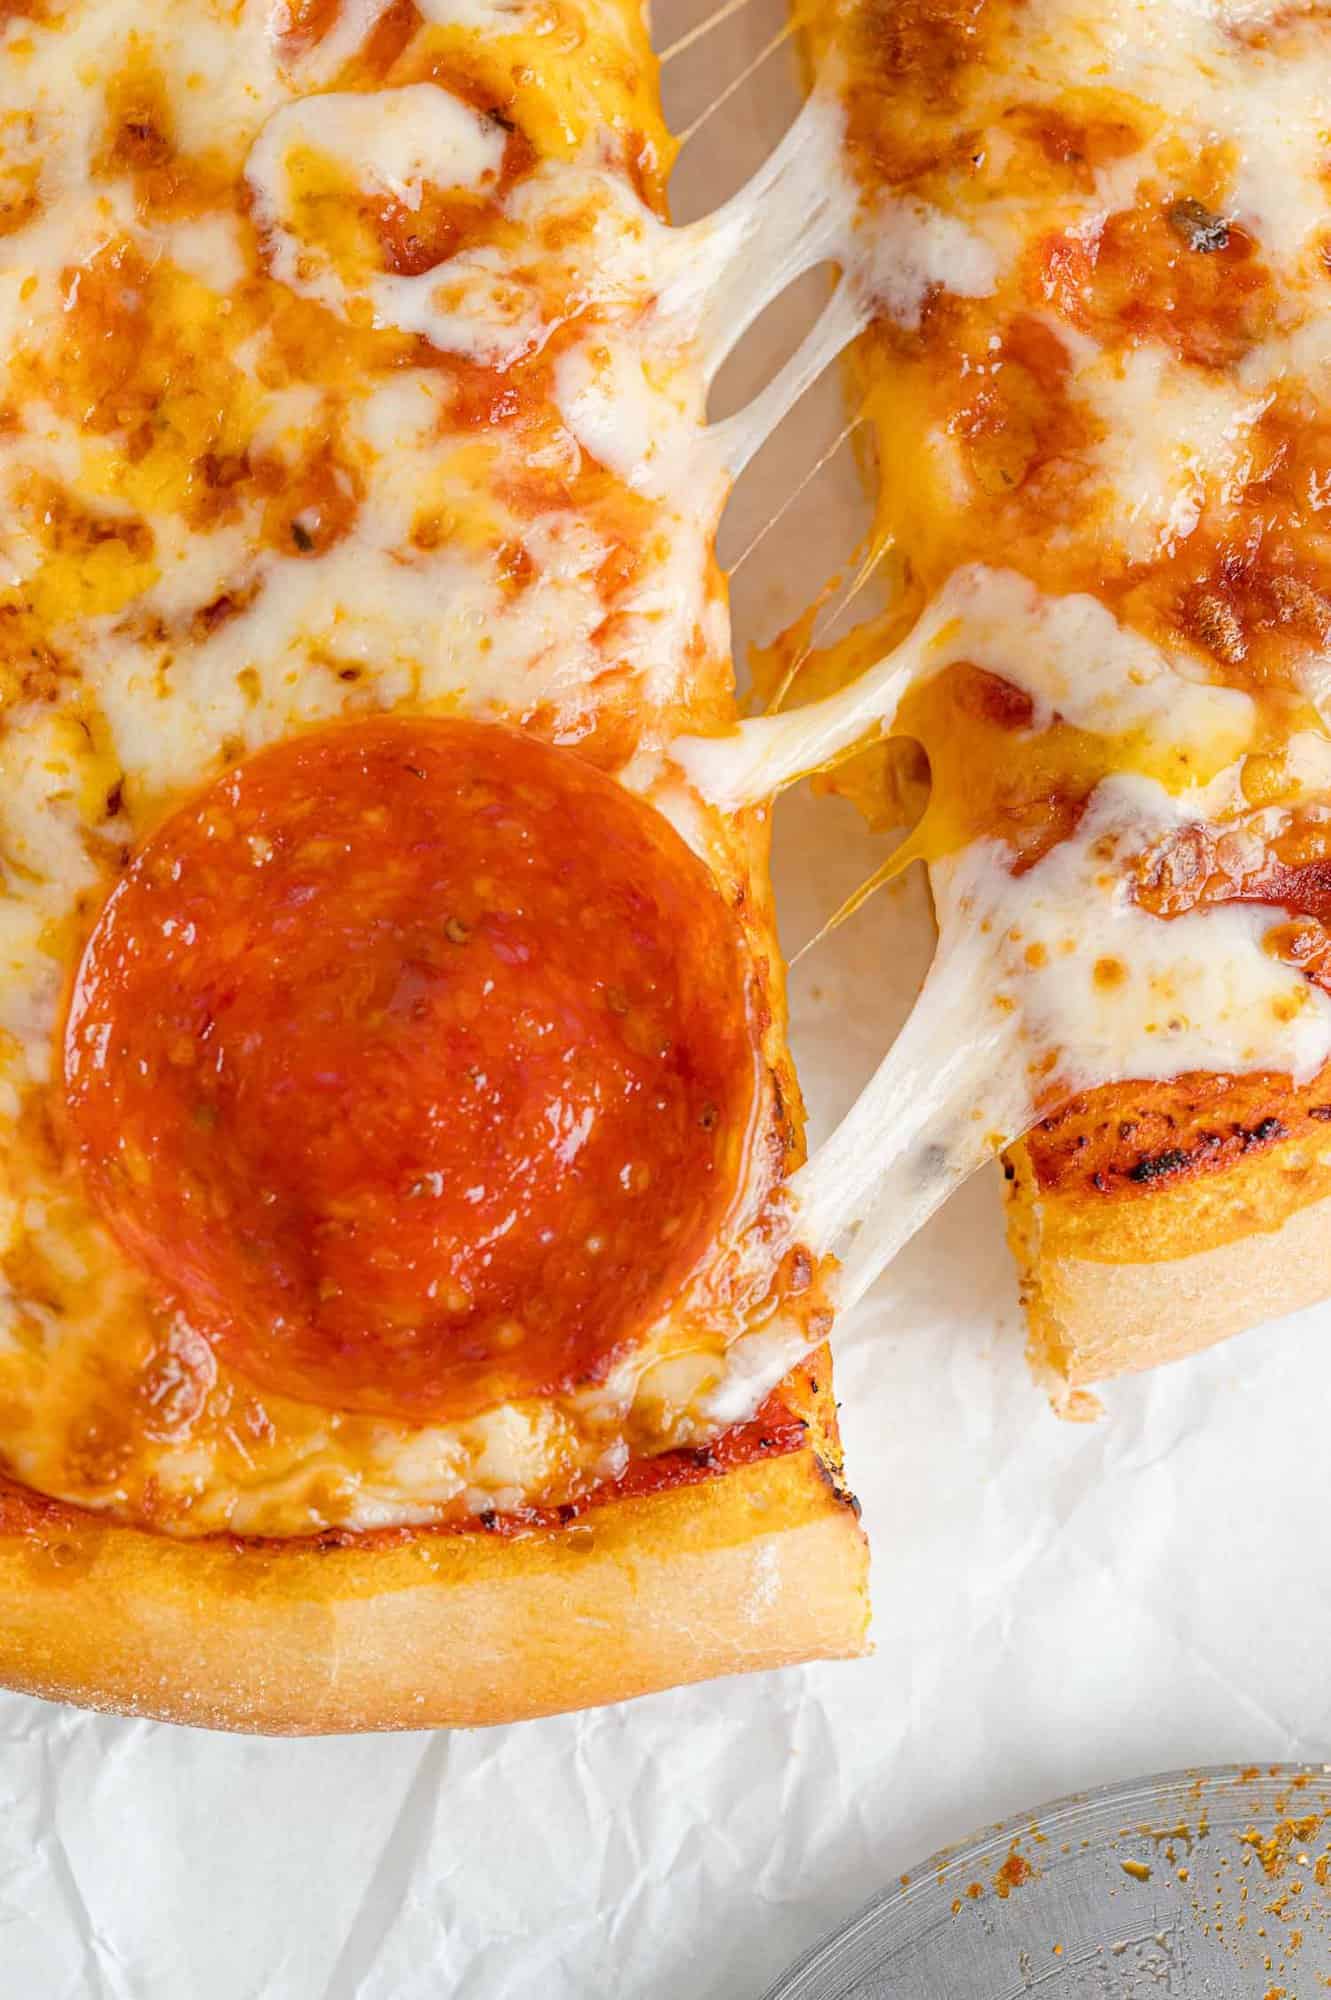
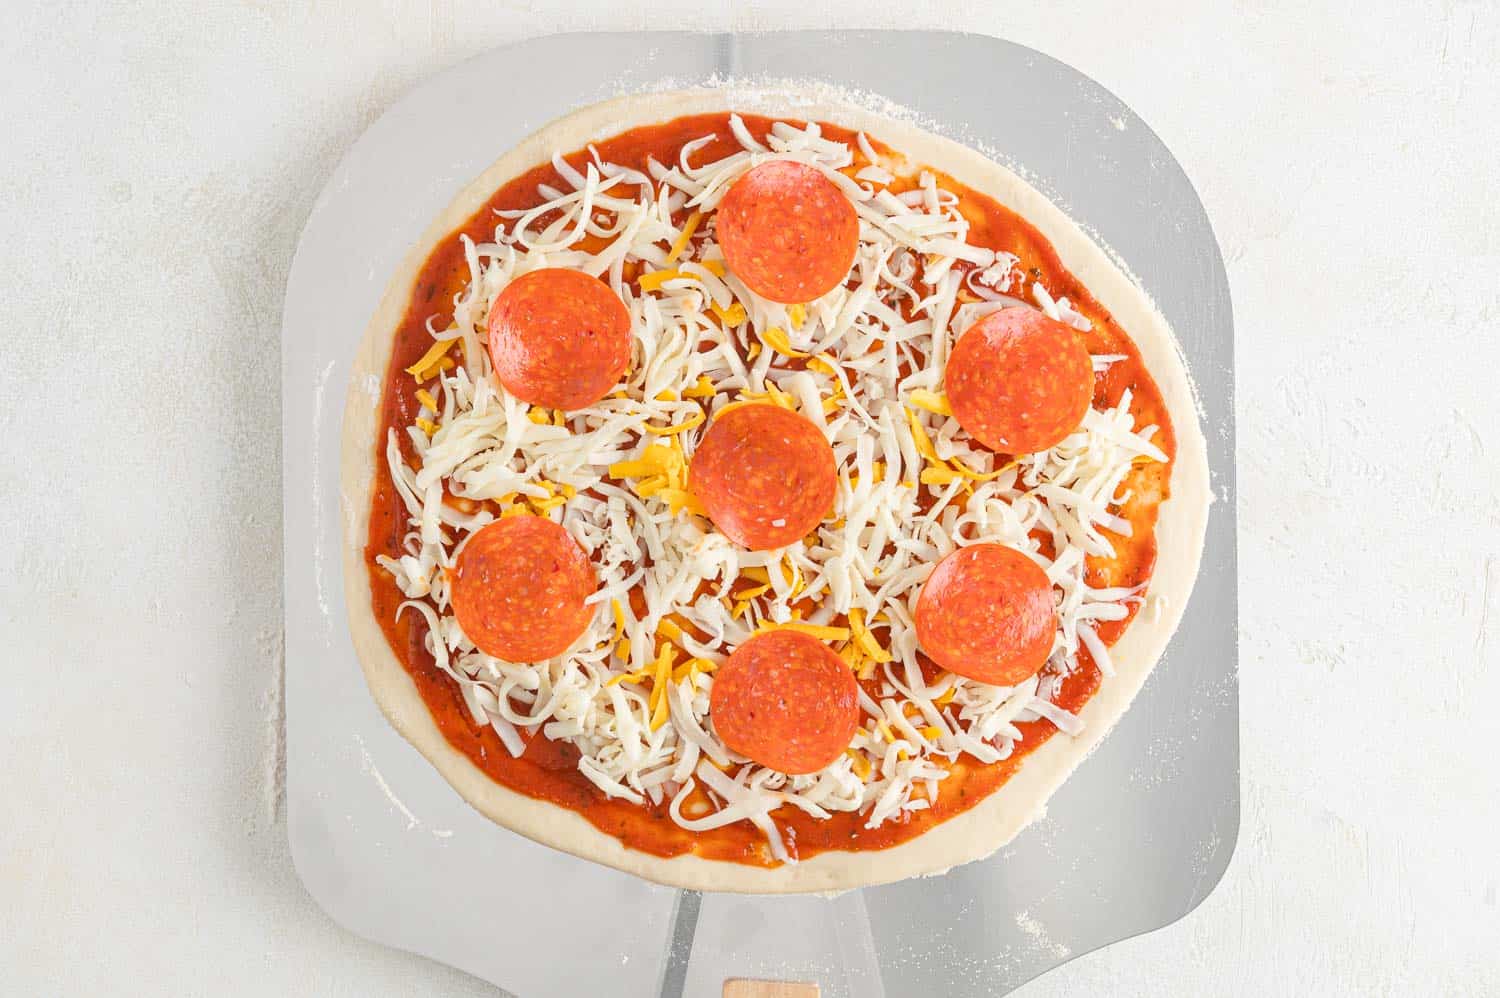
Add The Toppings & Bake
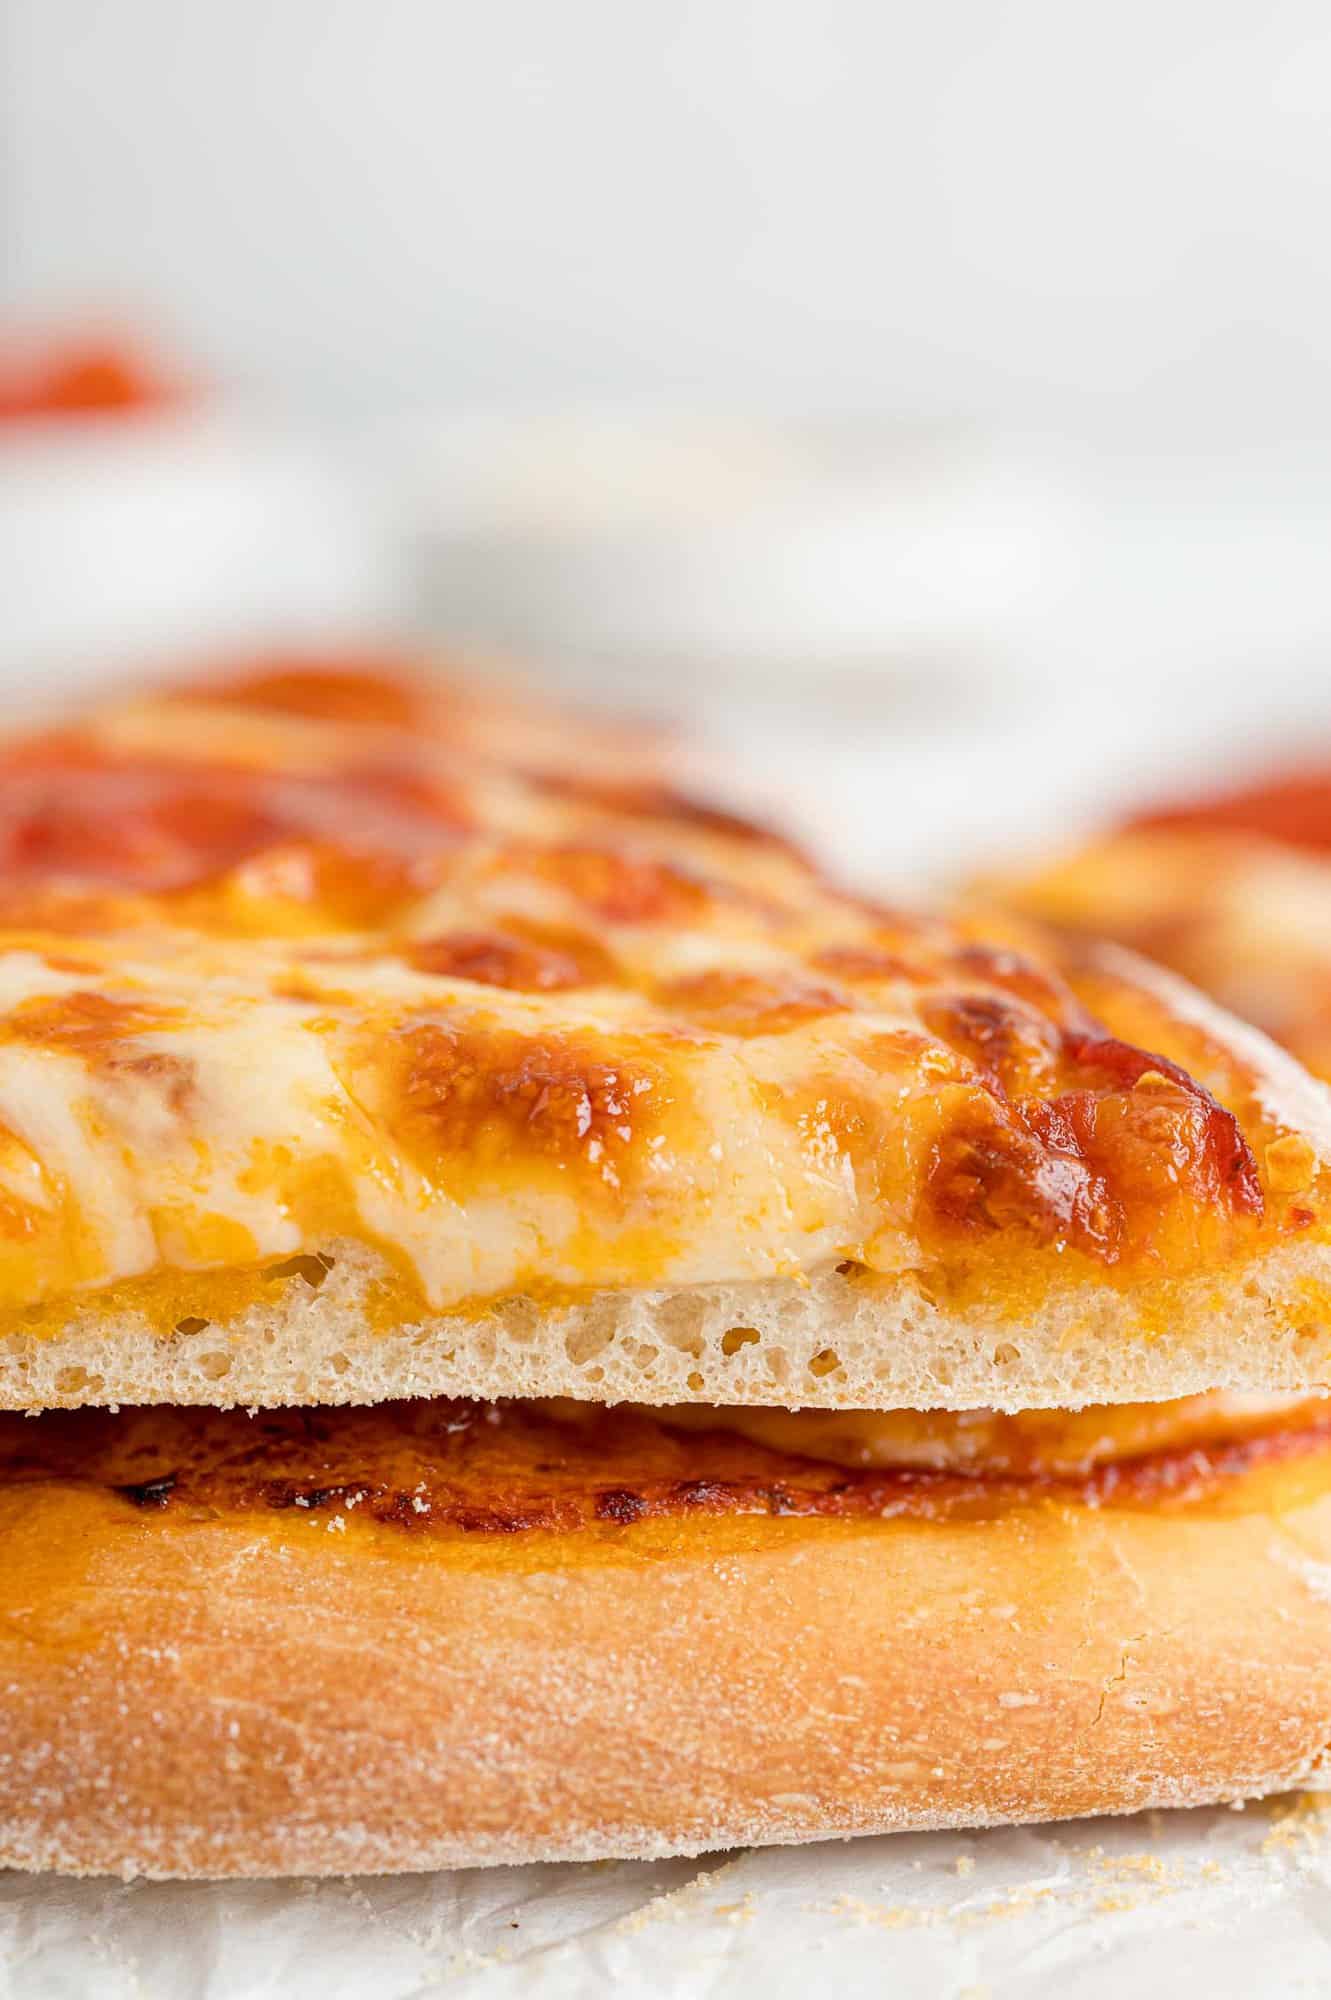
Now, it’s time for toppings. Spread on a good amount of sauce and top with cheese, cheese, and more cheese. You can add other toppings as well, of course. Bake the pizza until it’s golden brown on the bottom and the cheese is melted and lightly browned in spots. Remove it from the oven and let it cool for 10 minutes or so. We don’t want anyone to burn themselves. That sauce and melted cheese can be pretty doggone hot. Waiting a couple minutes before slicing also prevent the cheese from sliding off when you slice it. Enjoy!
Make It Your Own
This dough is ready for anything you throw at it, or should I say, on it!
Use it to make cheesy bread. Who doesn’t love cheese bread? I always order some type of cheese bread when we get pizza. My kids love it! You’ll find instructions on the recipe card for cheesy bread. Make homemade hot pockets or stuffed pizza bites: perfect for a quick meal, snack, or appetizer. Stuff them with your favorite pizza toppings. Use your culinary imagination to create all sorts of pizza delights. Here are some ideas to get your creative juices flowing (and I’m not talking about drooling!). BBQ chicken pizza Grilled Pizza with Pesto and Tomatoes Grilled Pizza with Arugula Pesto, Corn, & Ham Tuna Pizza with Green Peppers (surprisingly good!) Bean and Cheese Taco Rolls
Make-Ahead Ideas & Storage Tips
This pizza dough can be stored in the fridge for a couple days or frozen for a month. To refrigerate: Store dough (before the 30 minute rise) in a resealable bag or tightly covered bowl. It will keep anywhere from a couple of hours, a day, overnight, or even for a couple of days. At least an hour ahead of time, remove chilled dough from the refrigerator and put it into a greased bowl; cover, and let rise until doubled. To freeze: Wrap the dough securely to prevent freezer burn. Wrap it in foil or parchment paper before putting it into a freezer safe bag. Label the bag, and store for up to a month in the freezer. To use, thaw overnight in the refrigerator. Remove the dough ball from the wrapping, and put it into a greased bowl. Cover, and let rise for at least an hour, or until doubled in size.