Dulce de Leche
Well, here’s the easiest “recipe” I’ve ever shared. Just one ingredient and a couple of hours and you can have your own sweet, caramel-ly dulce de leche. This is a key ingredient in many recipes (including one I have coming up for you on Wednesday). I talk a lot more in this post than you would think is necessary for a one ingredient recipe, so without further ado let’s get to it.
What IS Dulce de Leche?
Dulce de leche is actually quite similar to caramel (or, when it’s heated, to caramel sauce). It’s gooey, sweet, and is essentially caramelized milk and sugar. It’s of Latin American origins (originating in Argentina, or Uruguay, depending on who you ask… here’s a short dive into its history)!
What You Need
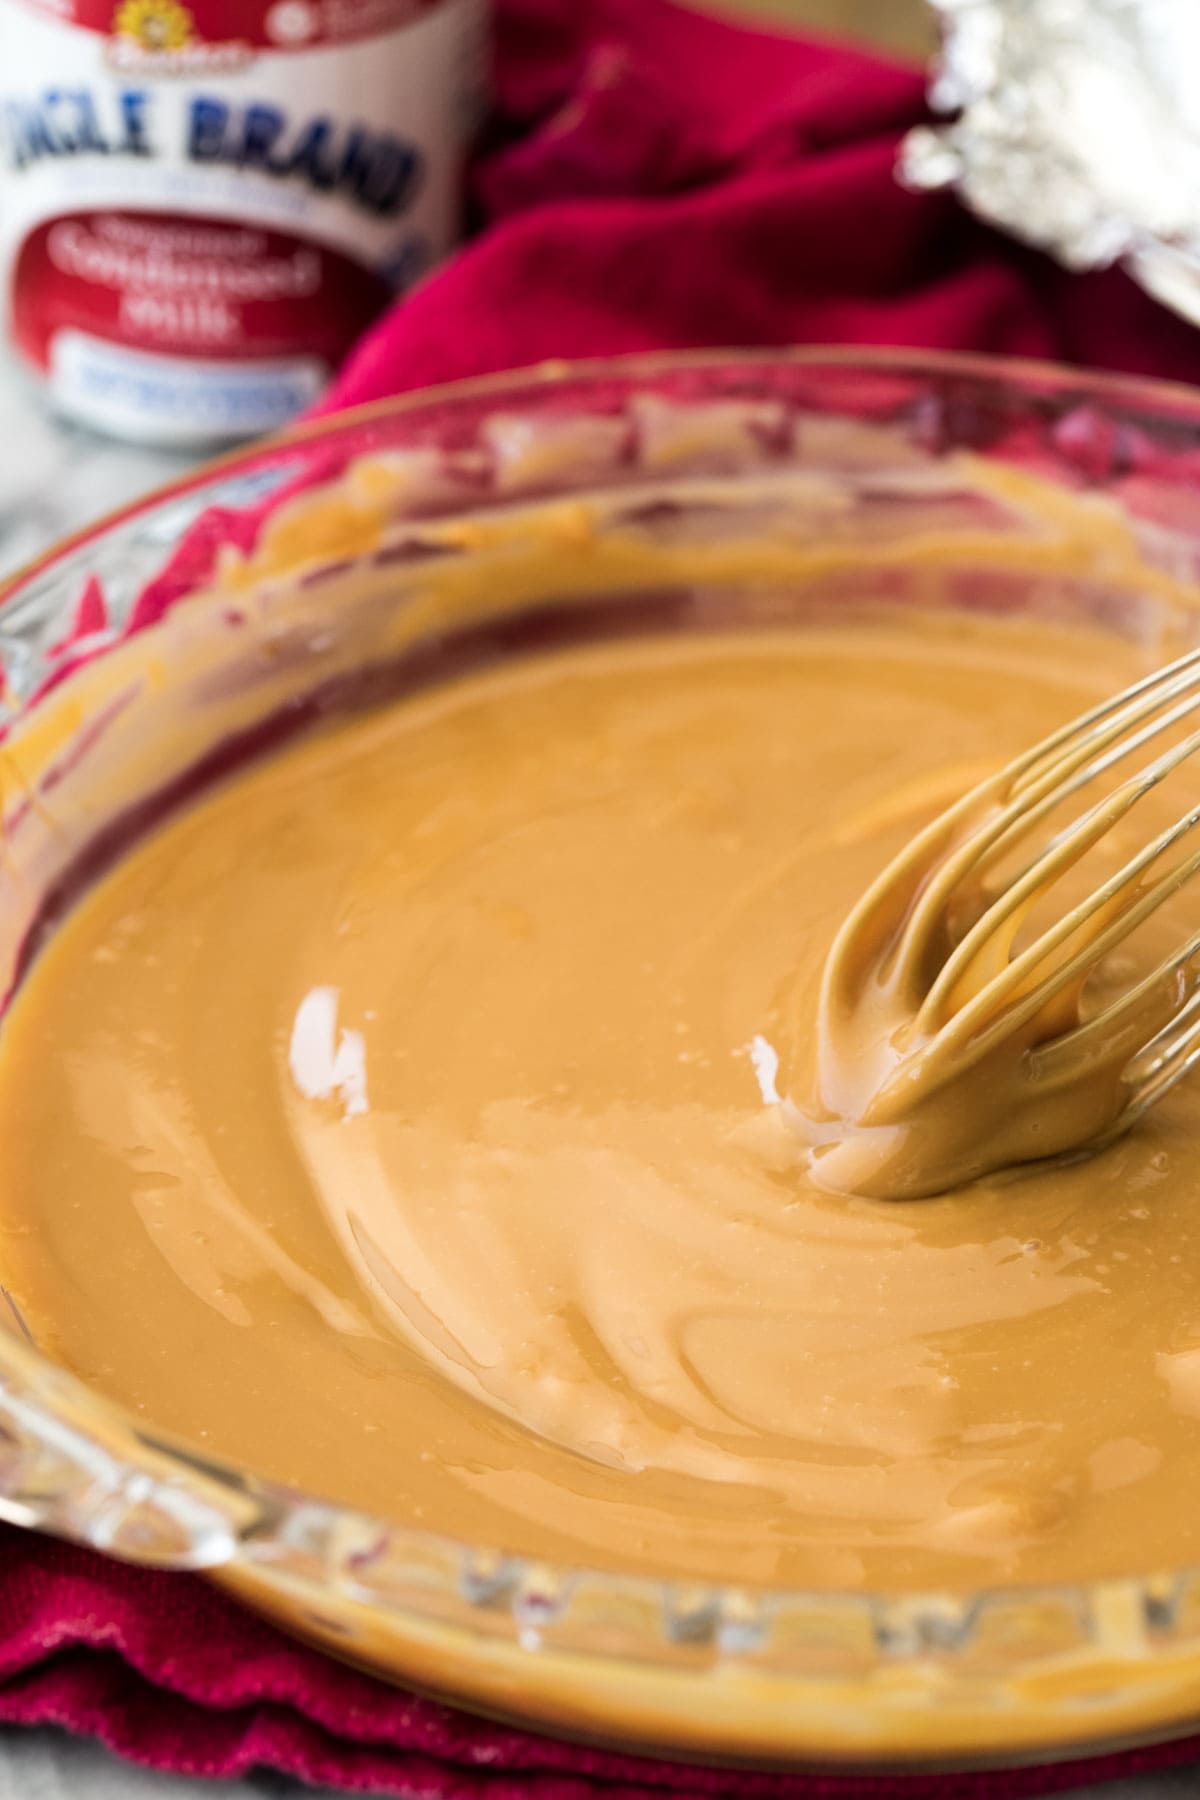
Literally all you need for this recipe is a can of sweetened condensed milk. Make sure the only ingredients on the can are milk and sugar. And no, you cannot substitute evaporated milk for this recipe, it just won’t work! If you’d like, after cooking you can add a splash of vanilla extract and a sprinkle of sea salt to taste.
How to Make Dulce de Leche:
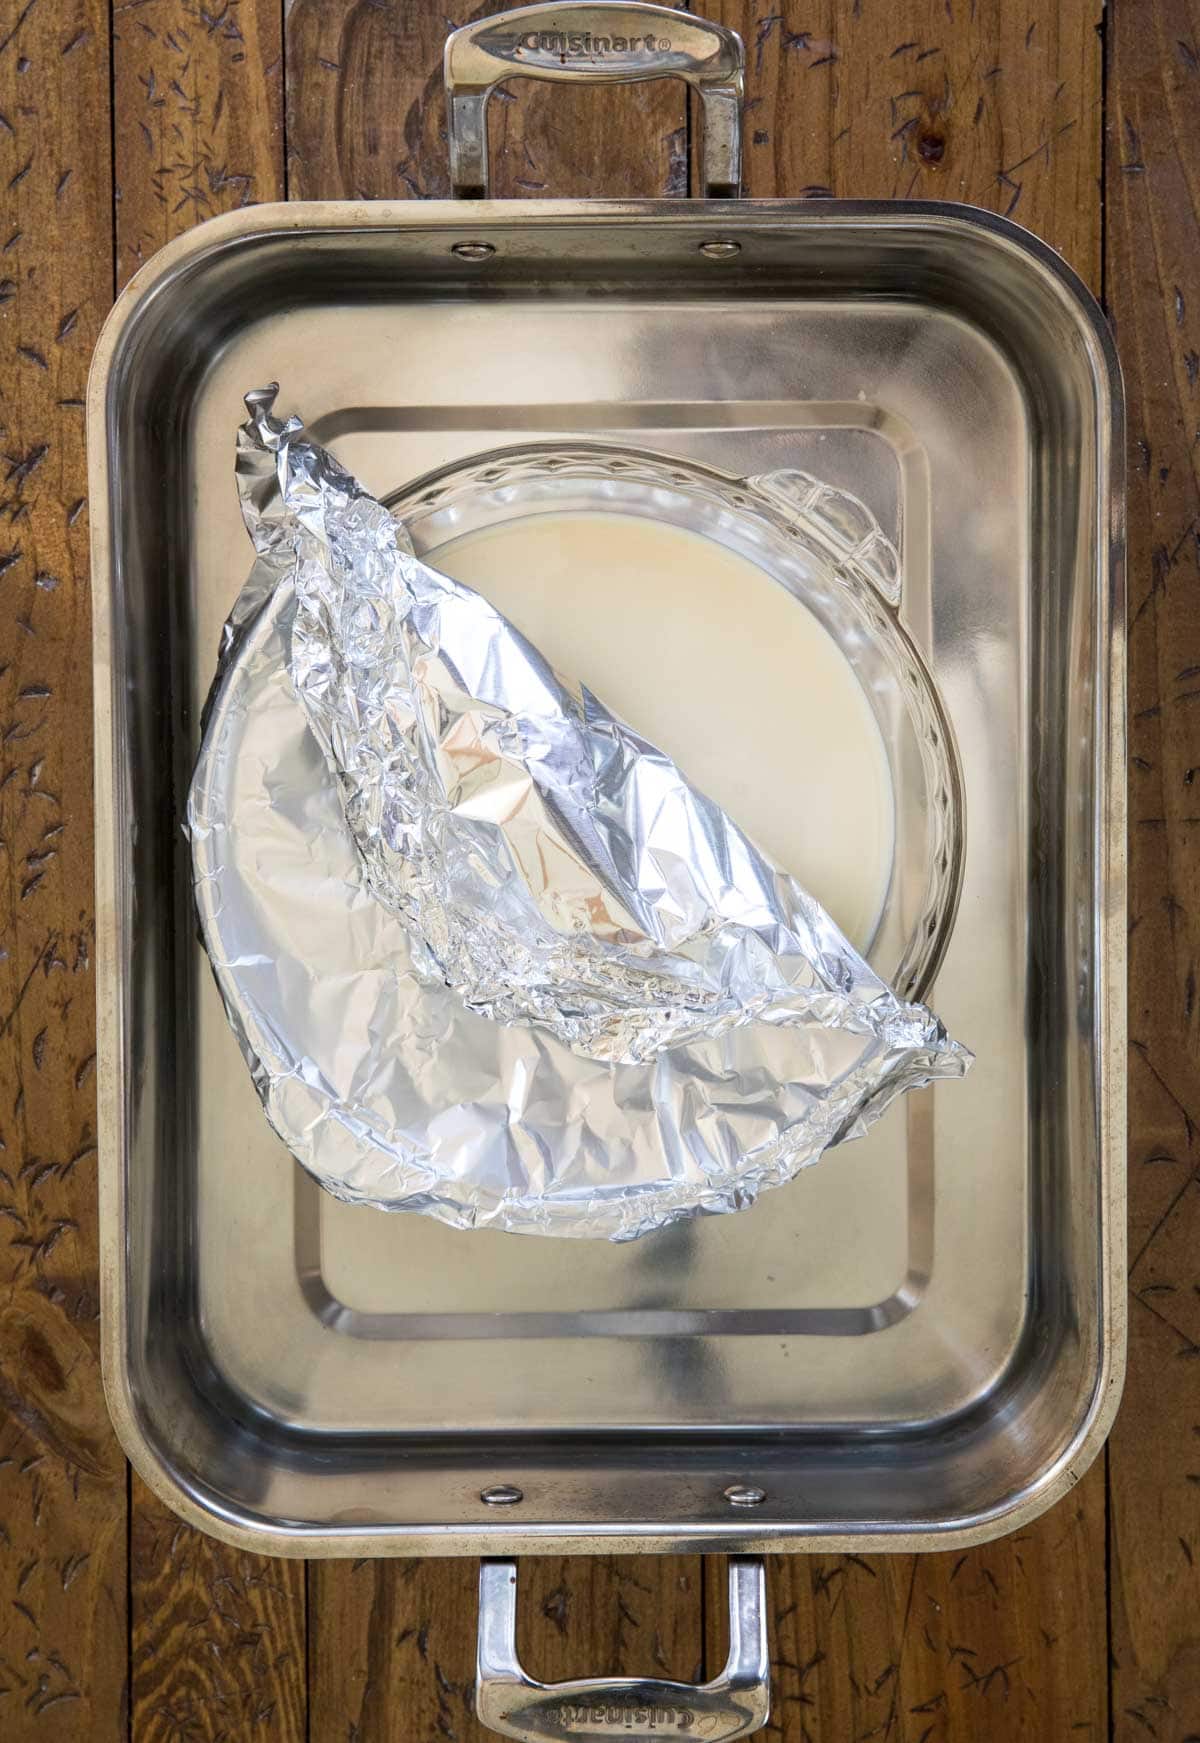
I’ve never been a big fan of water baths (you know I proudly don’t use one with my cheesecake!), but unfortunately it’s necessary here. Without one, the condensed milk is very likely to burn. Tip: Cover the pie plate tightly with foil but don’t fold it under the plate or let the foil touch the water. Remember, you’ll need to check that the dulce de leche is the right color, so make it easy for yourself to peel back the foil and take a peek at 2 hours.
Other Methods of Preparation:
There are other methods to prepare dulce de leche, but they aren’t as simple. You can boil a can of condensed milk for several hours, but there’s the chance the can could explode and there’s no way to check if the dulce de leche is cooked enough without opening it (and there’s no going back if it’s not!). Alternatively, you can make it completely from scratch with milk and sugar. Typically, completely from-scratch is my preference with things (I make my own chocolate sauce, lemon curd, and just about everything else), but I found it to yield results that weren’t much better and frankly weren’t worth the effort. Additionally, if you make dulce de leche from scratch it requires at least two hours of active stirring. I prefer the more passive method of simply letting the oven do all the work.
How Long Should I Cook the Condensed Milk?
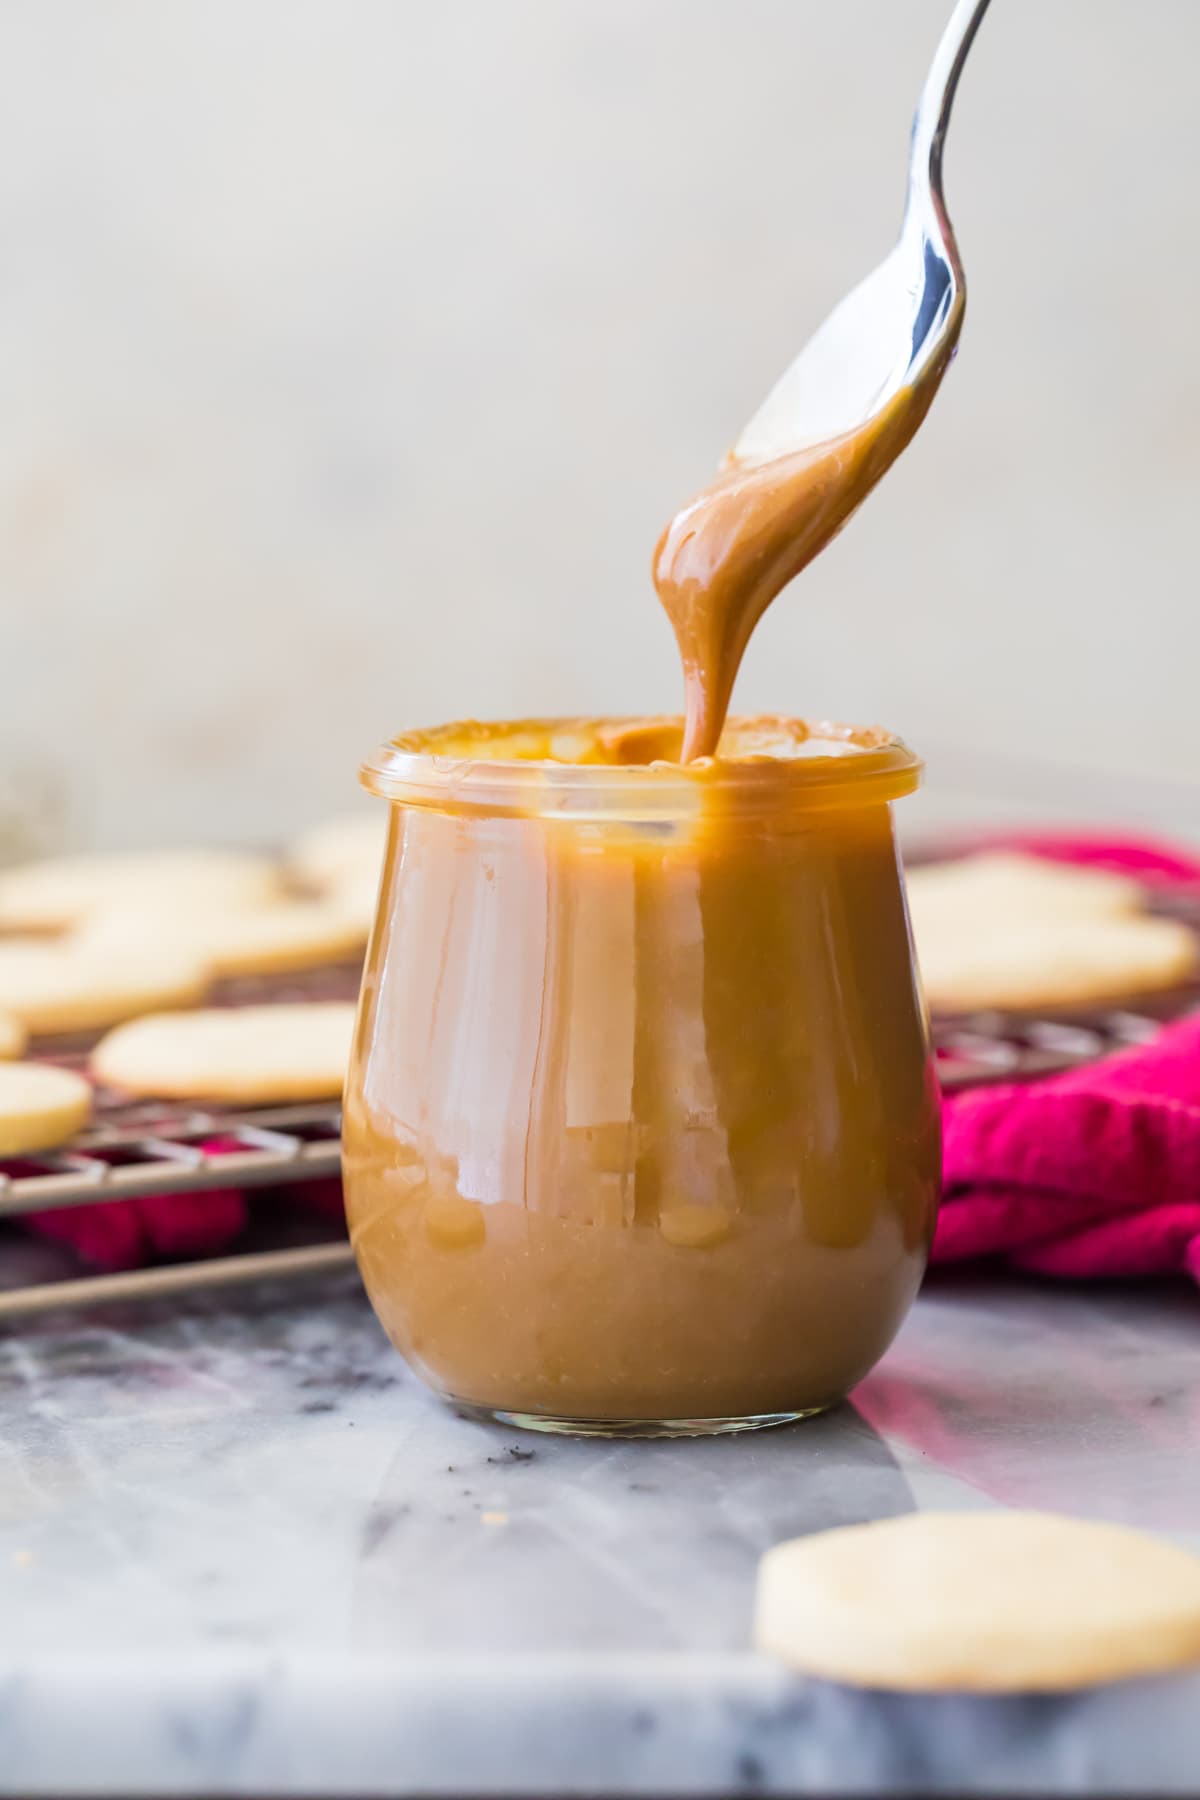
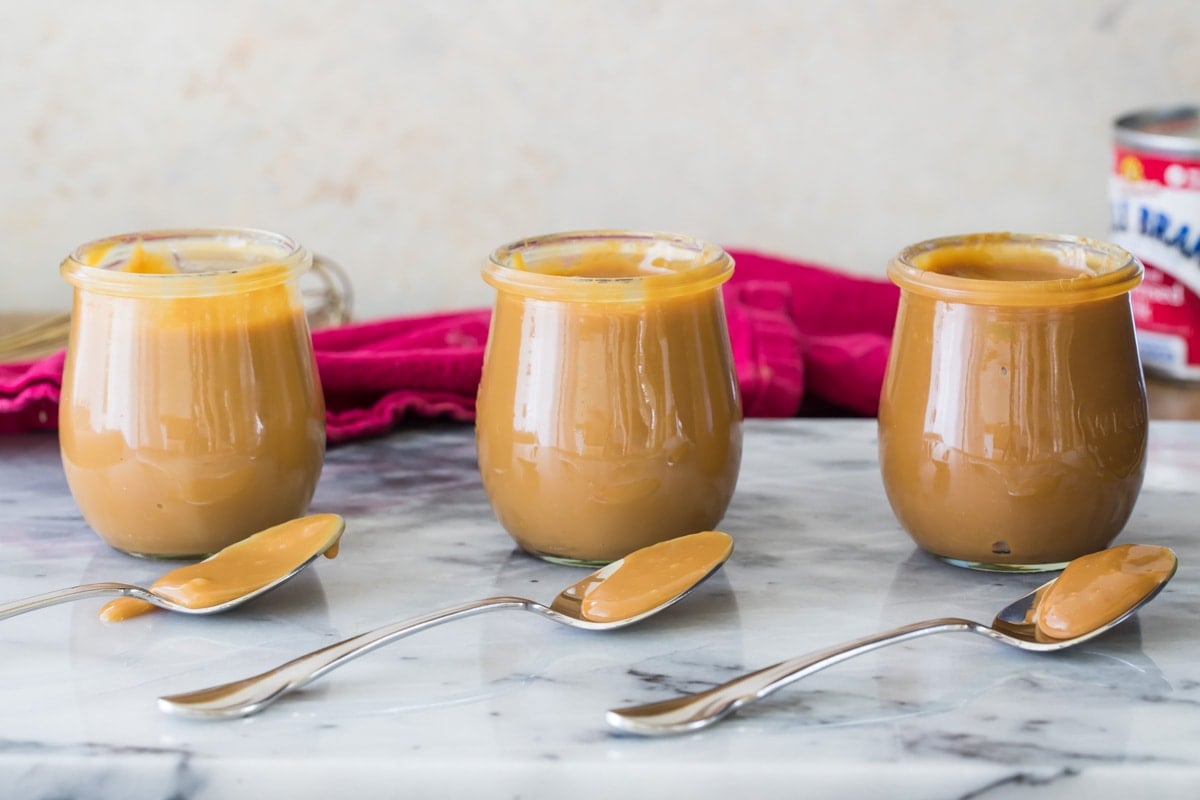
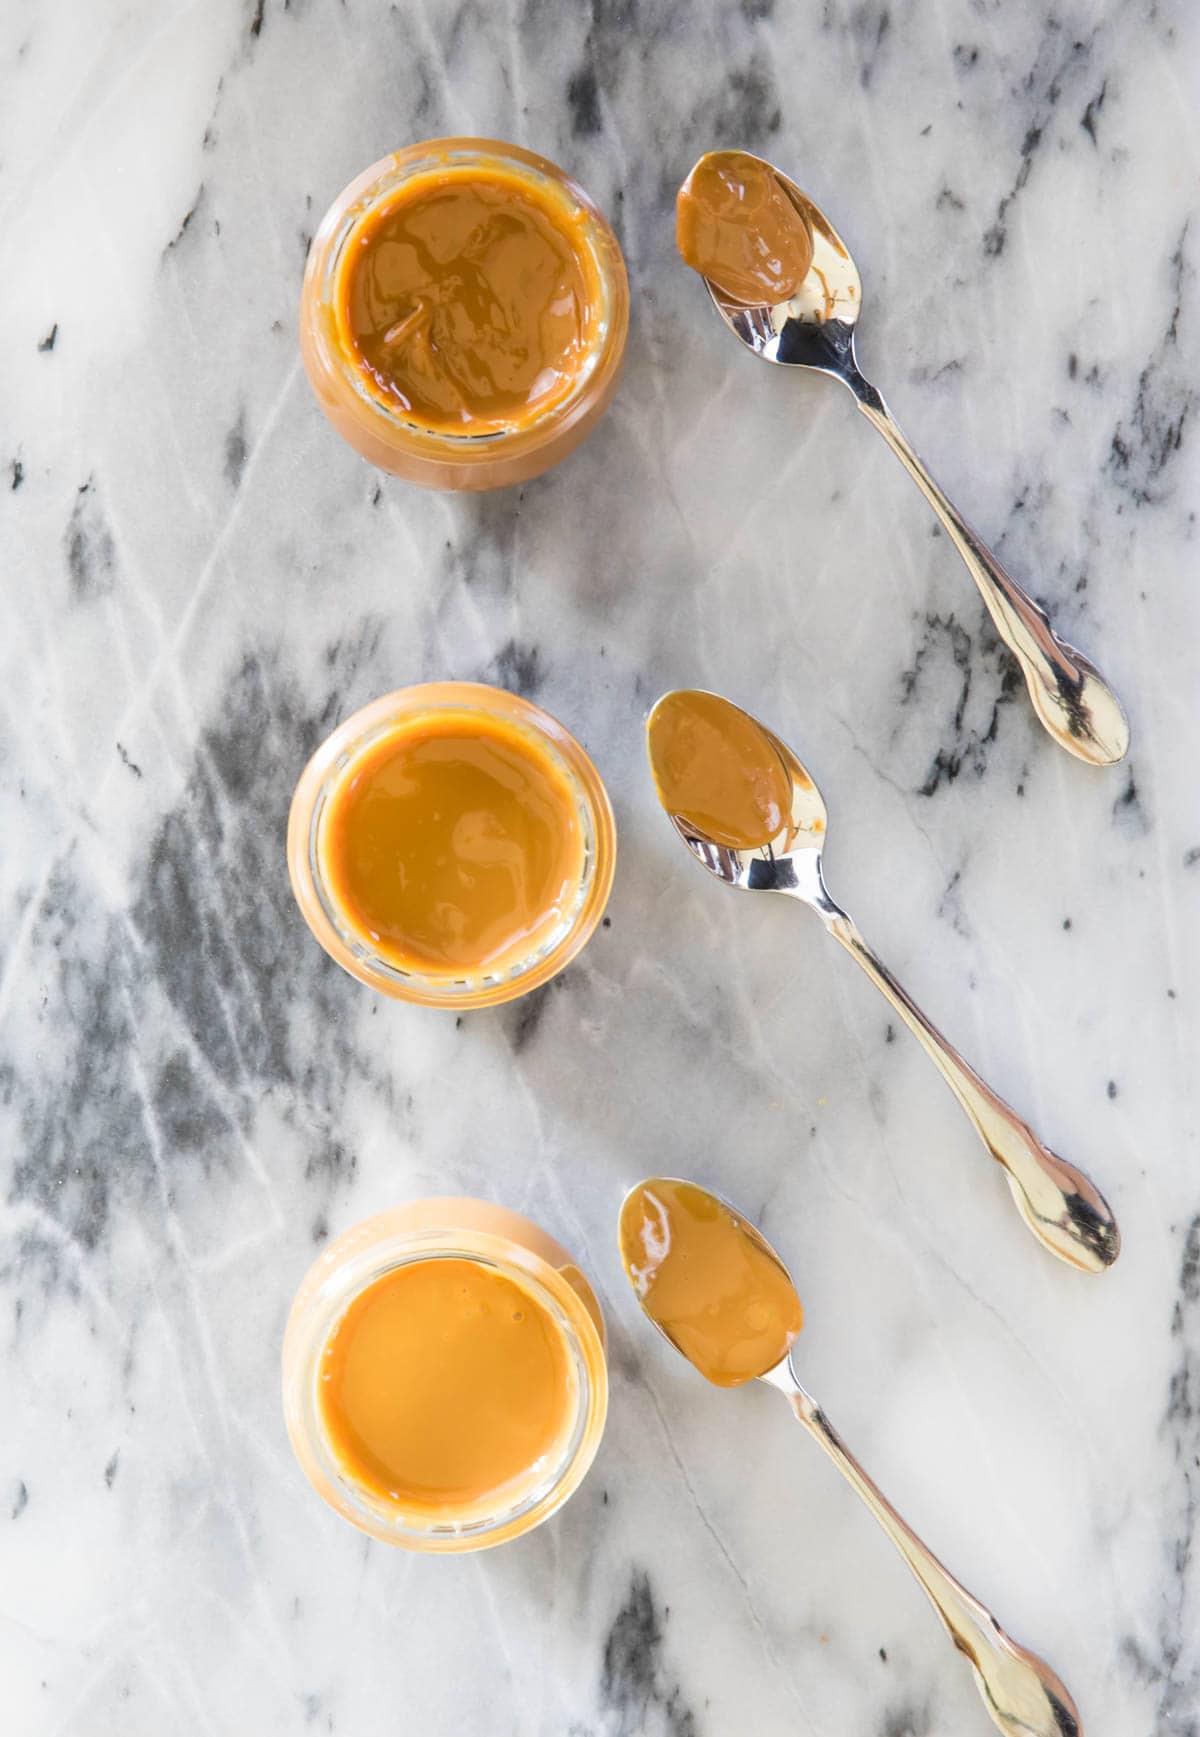
Many dulce de leche recipes recommend cooking in a water bath for 2 hours. While this will work, I personally prefer 3 hours. One hour is not long enough: it turns the condensed milk a light caramel color, but as you can see in the photo above it’s still thin and runs off the spoon. Two hours is better; the color is deeper, the flavor richer, and the dulce de leche holds its shape better, but it’s still a bit messy. Three hours is my personal preference, it’s thicker, deep in color, richly flavored, and it has the perfect thick consistency (great for using in alfajores!). I still recommend checking your dulce de leche at two hours. This way you can add water if needed and it’s better to check early just in case your oven runs hot. Take a peek at two hours and then assess from there.
What should I do with dulce de leche?
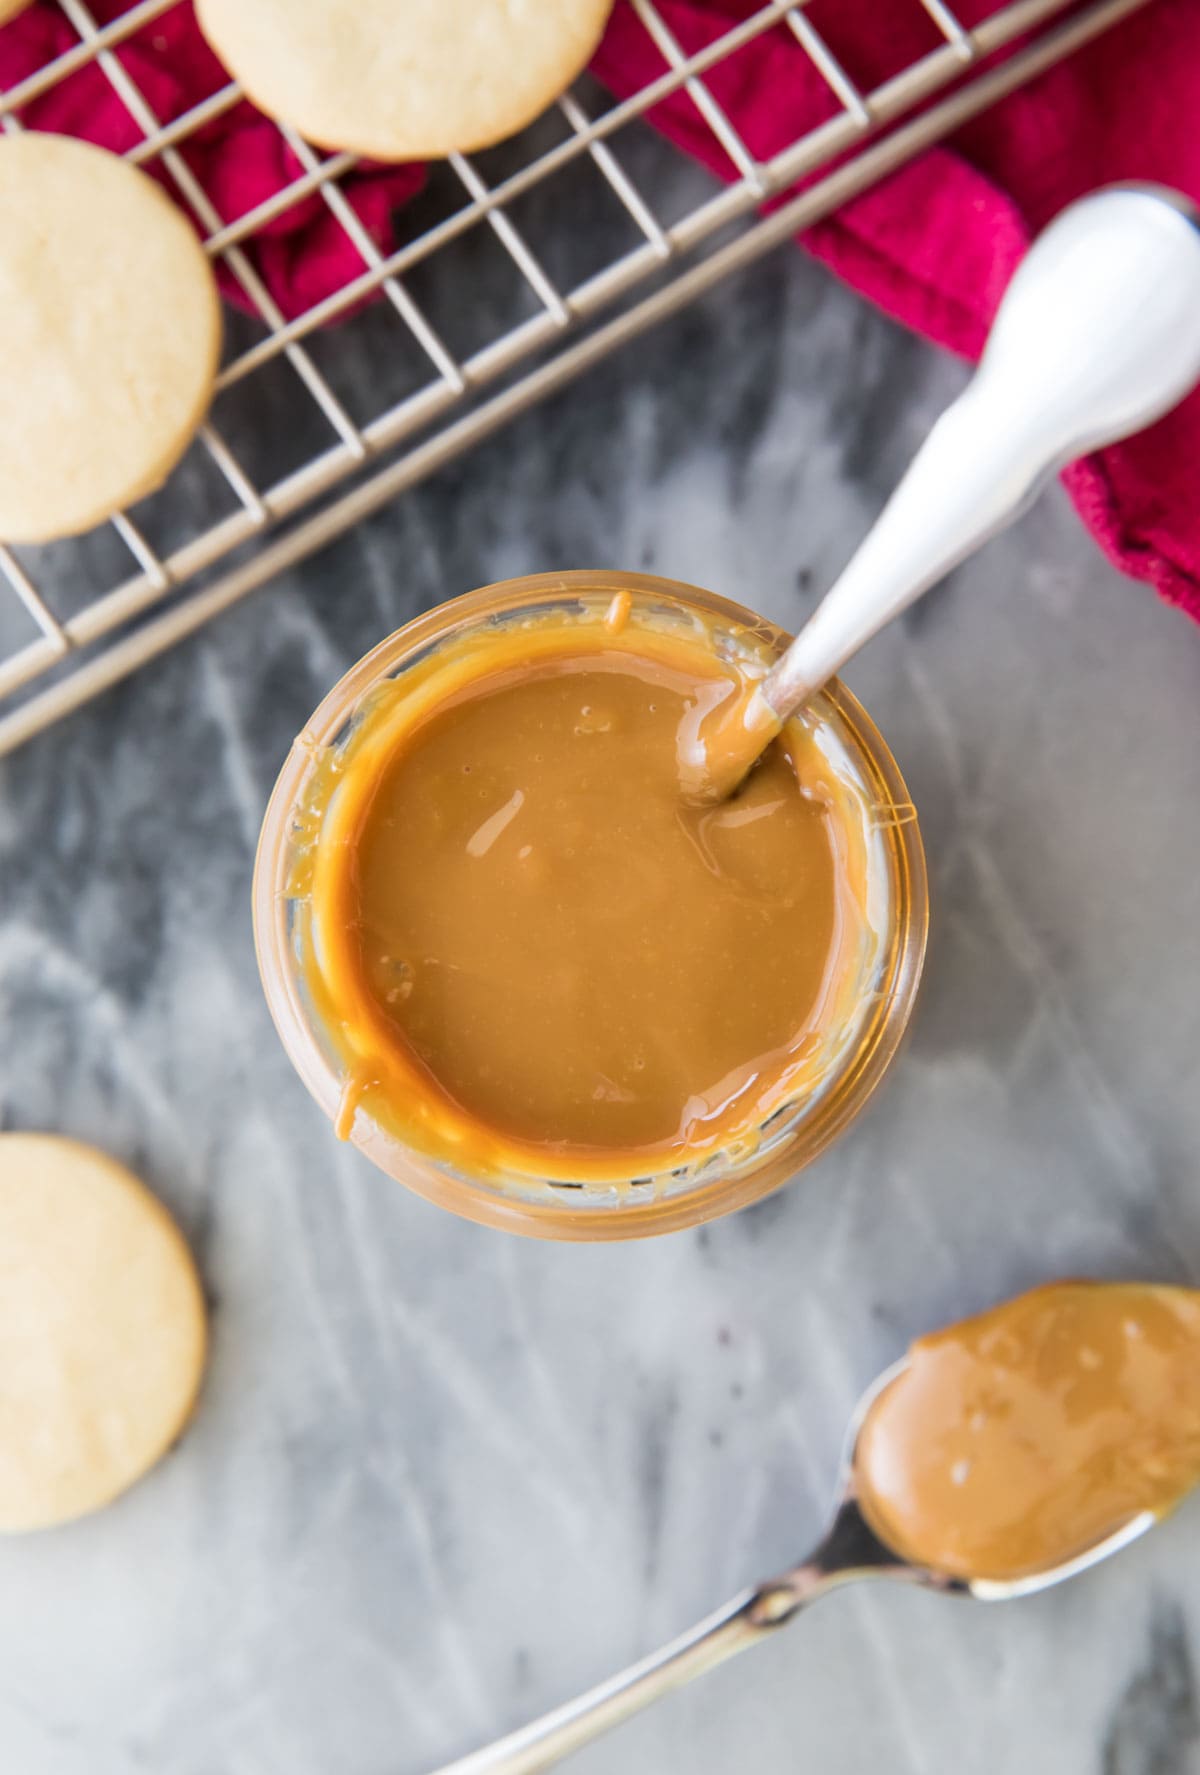
Swirl it over a batch of blondies or brownies! A few tablespoons swirled into the top of the batter with a butter knife just before baking is SO good!Drizzle it over Tres Leches Cake. Is it traditional? No, it’s not. But it is delicious! Use as a filling in Petit Fours or drizzle over your favorite cake recipe!Pour over pancakes, crepes, or waffles for a decadent breakfast treat!Make a batch (or two) and save it for Wednesday’s recipe (hint, hint)!
More Recipes/Tutorials You Might Like:
How to Make Chocolate GanacheHow to Brown ButterHow to Make Pastry Cream
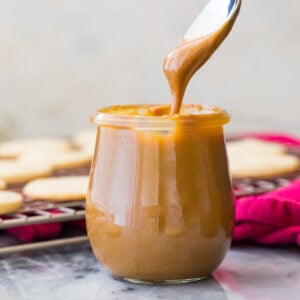
As with all of my recipes, I’ve included a how-to video in the recipe card, but honestly I felt a little silly making a video for such a simple recipe! Hopefully it’s helpful so you can see the color and consistency. Enjoy! Let’s bake together! Make sure to check out the how-to VIDEO in the recipe card!