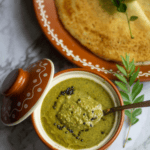
I love curry leaves, and most of my South Indian dishes call for curry leaves. They are fantastic flavor enhancers, and I feel tempering is incomplete without them. In Tamil, we call it karuveppilai, and in Hindi, it is called kadi patta. We also make rice mix with curry leaves, popularly known as karuveppilai podi. Okay, let me clarify that there is no substitute for curry leaves. If you can’t source curry leaves, please skip it and do not opt for any substitutes. Nothing can match curry leaves. These days you can find them easily in Indian groceries. Curry leaves are known for their taste and medicinal values (they help with digestion, keep anemia in control, and accelerate hair growth). We tend to discard the curry leaves that we add in sambar, rasam, or kootu, but when we make chutney with curry leaves, we can’t discard the leaves. :-) Now without any further ado, let’s see the ingredients and how to make this karuveppilai chutney.
Ingredients required
Curry leaves: It’s the key ingredient. We need approx 1 cup of curry leaves. Tender ones work best as they are less fibrous. But, there is no harm in using matured leaves. Skip the black leaves, though. Urad dal: To add texture to the chutney, we add 2 tbsps of urad dal. Please check the variation section for other options. Dried red chilies and tamarind: We add dried red chilies and tamarind for the spicy and tangy flavor. Coconut: While you can make this chutney without coconut, I love adding coconut, mainly if I serve it with idli and dosa. Adjust the measure as per your preference. Apart from these ingredients, we need oil to roast the dal and also oil and mustard seeds for tempering. And we also need asafoetida, water and of course salt.
Dietary specifications and serving suggestions
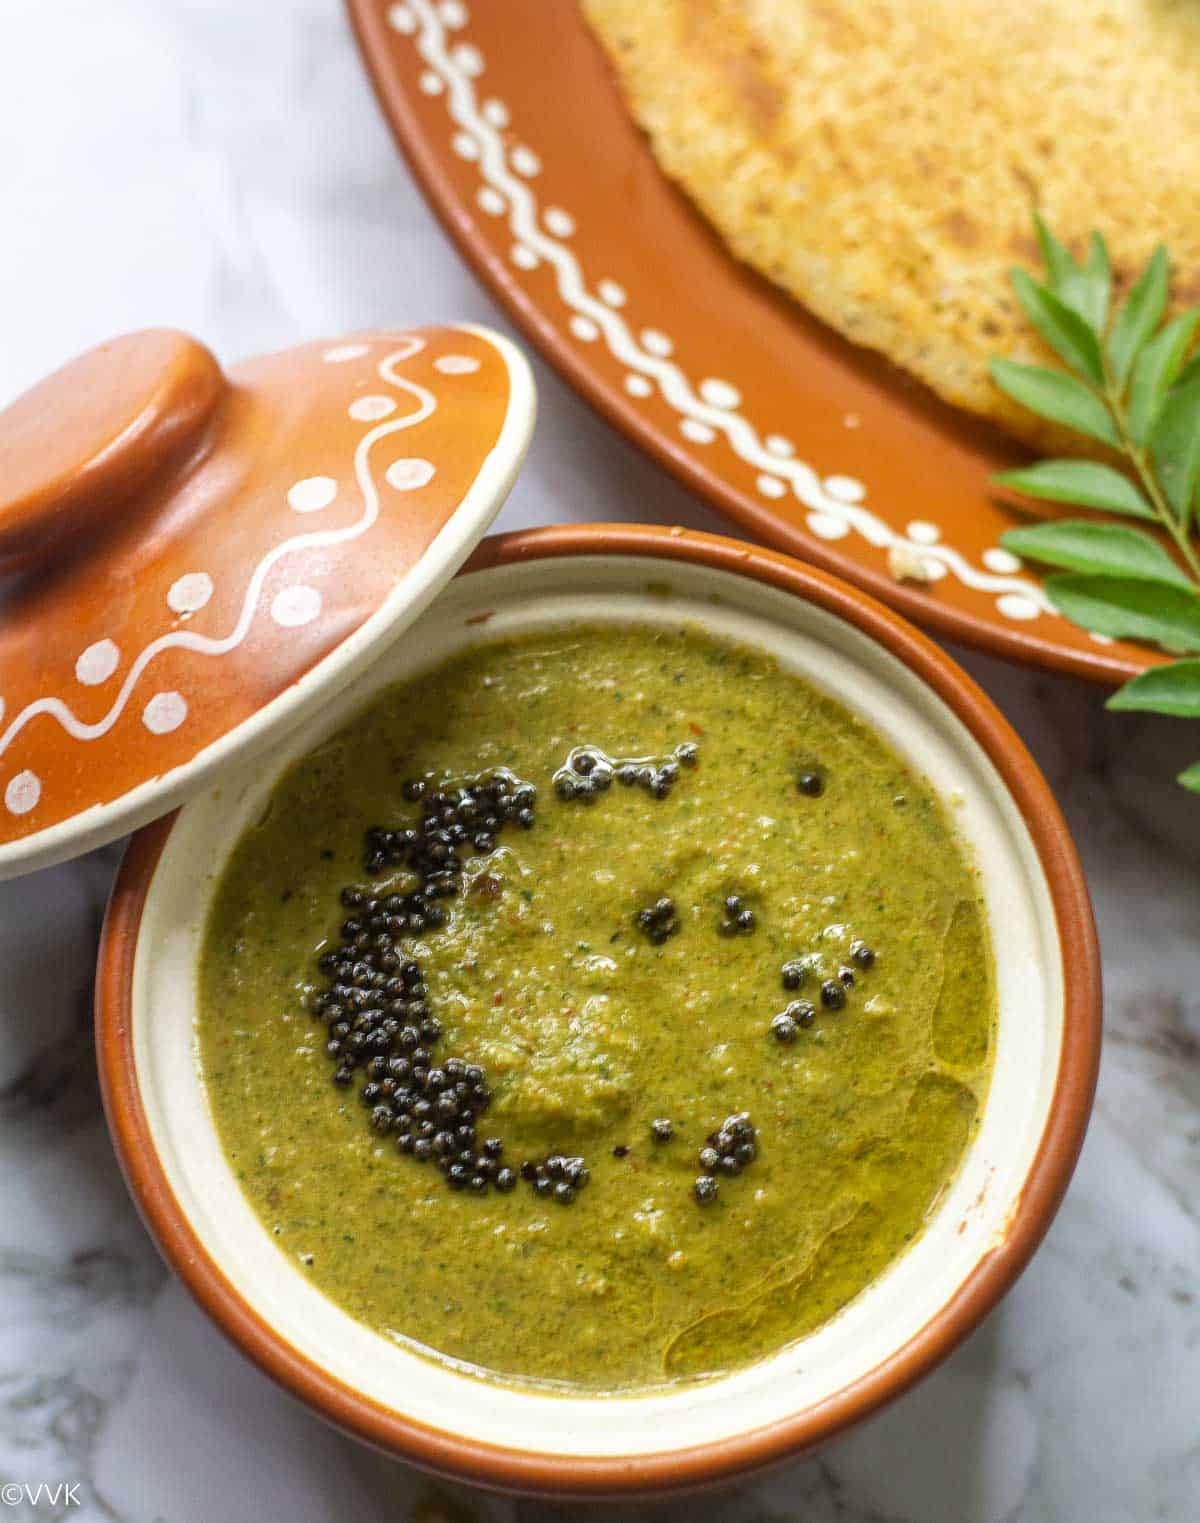
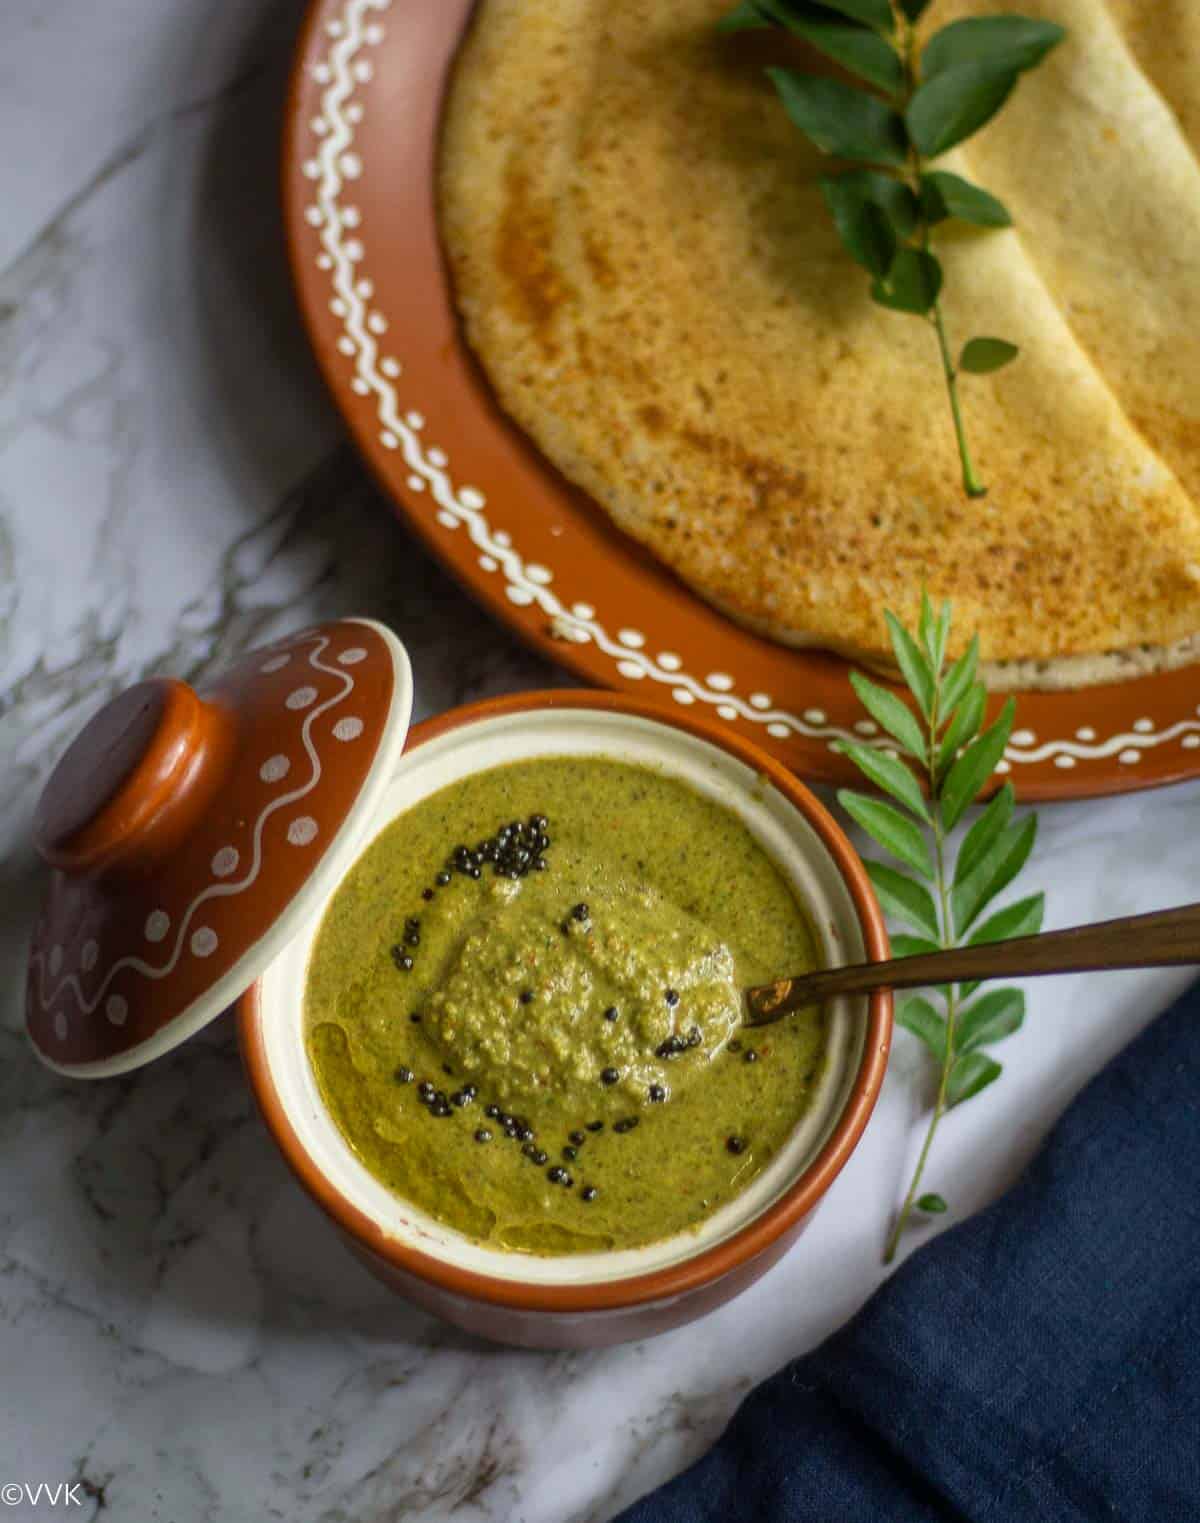
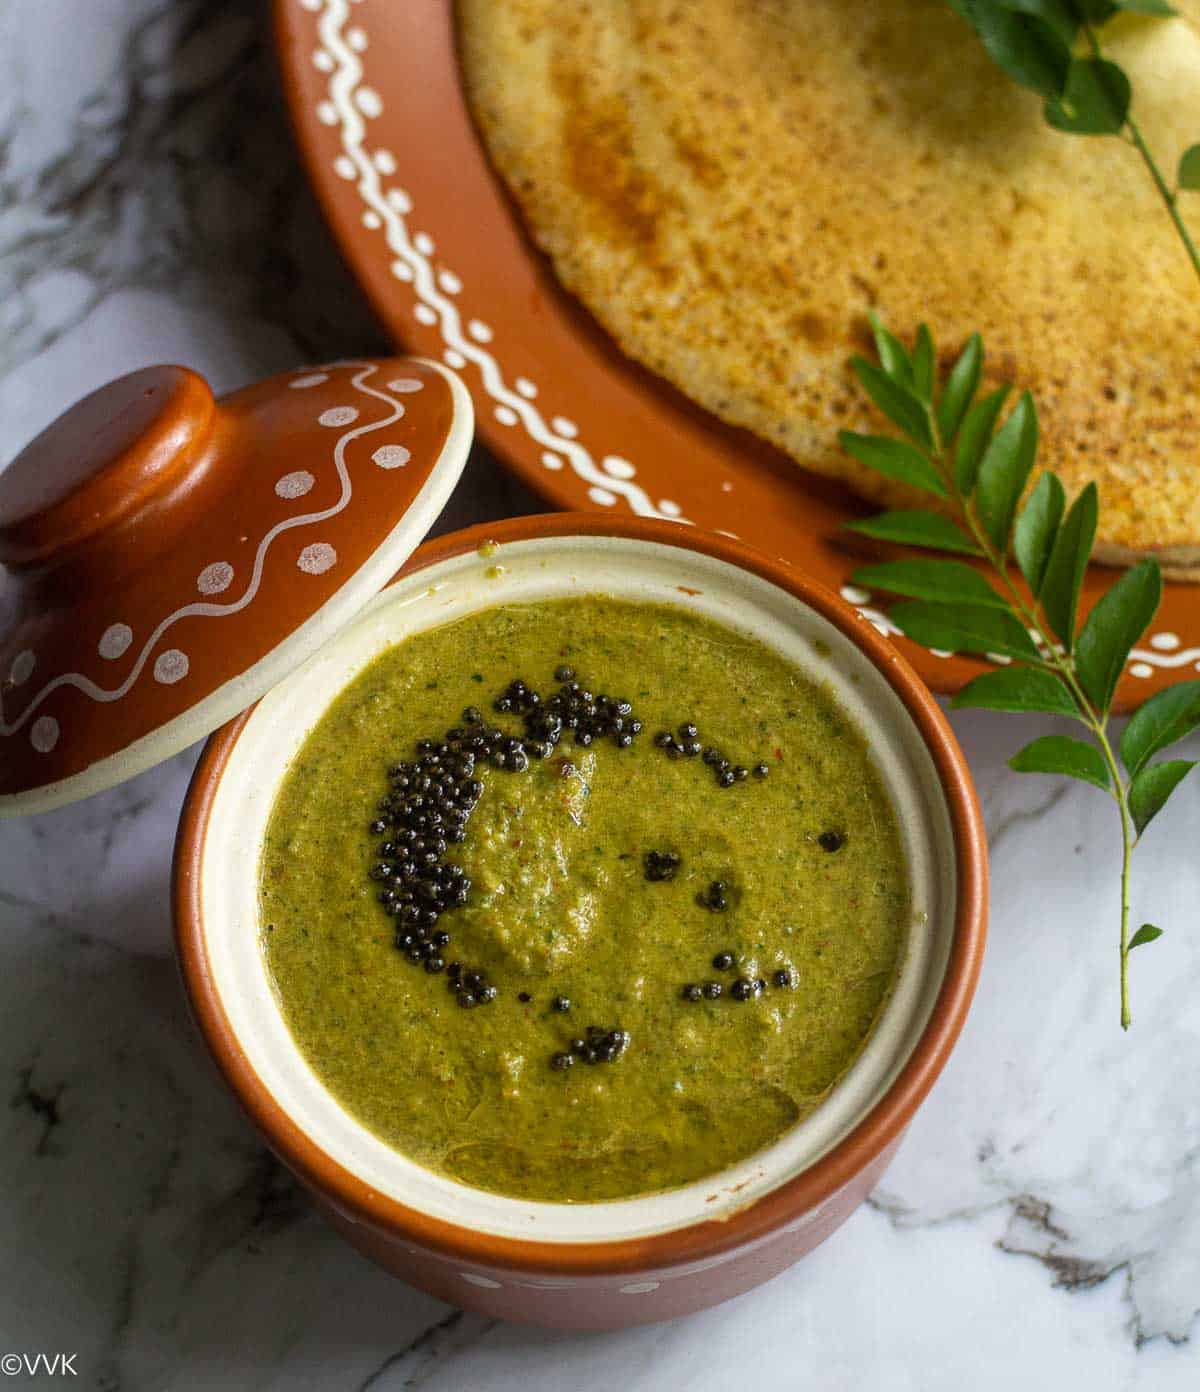
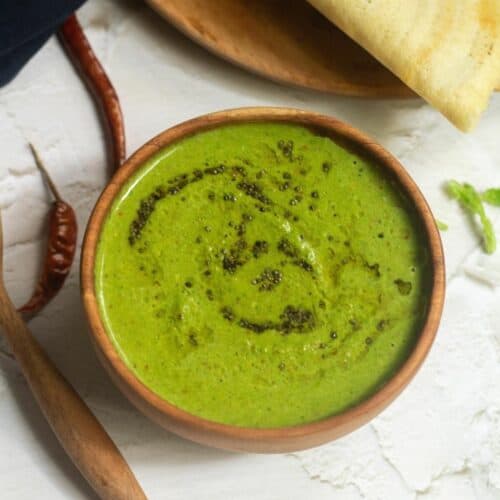
This curry leaves chutney is a vegan and nut-free chutney. For a gluten-free version, skip the asafoetida. Since this is a tangy and spicy chutney, it has a longer shelf life. But keep in mind we are adding coconut as well, so keep it refrigerated and use a clean spoon during every use. You can serve this chutney with idli, dosa, upma, and other tiffin items. Also, you can serve this with hot rice with a dollop of ghee or gingelly oil. If you plan to serve this chutney with rice, reduce the water while grinding it and make it a thick chutney.
Variations
Along with urad dal, you can add 1 tbsp of chana dal instead of 2 tbsp of urad dal; you can add 1 tbsp of urad dal and one tbsp of chana dal.You can add ¼ cup of mint leaves, cilantro, and curry leaves.
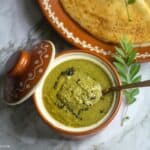
How to make karuveppilai chutney
Prep-Work
Wash the curry leaves, spread them on a towel, and pat them dry.
Procedure
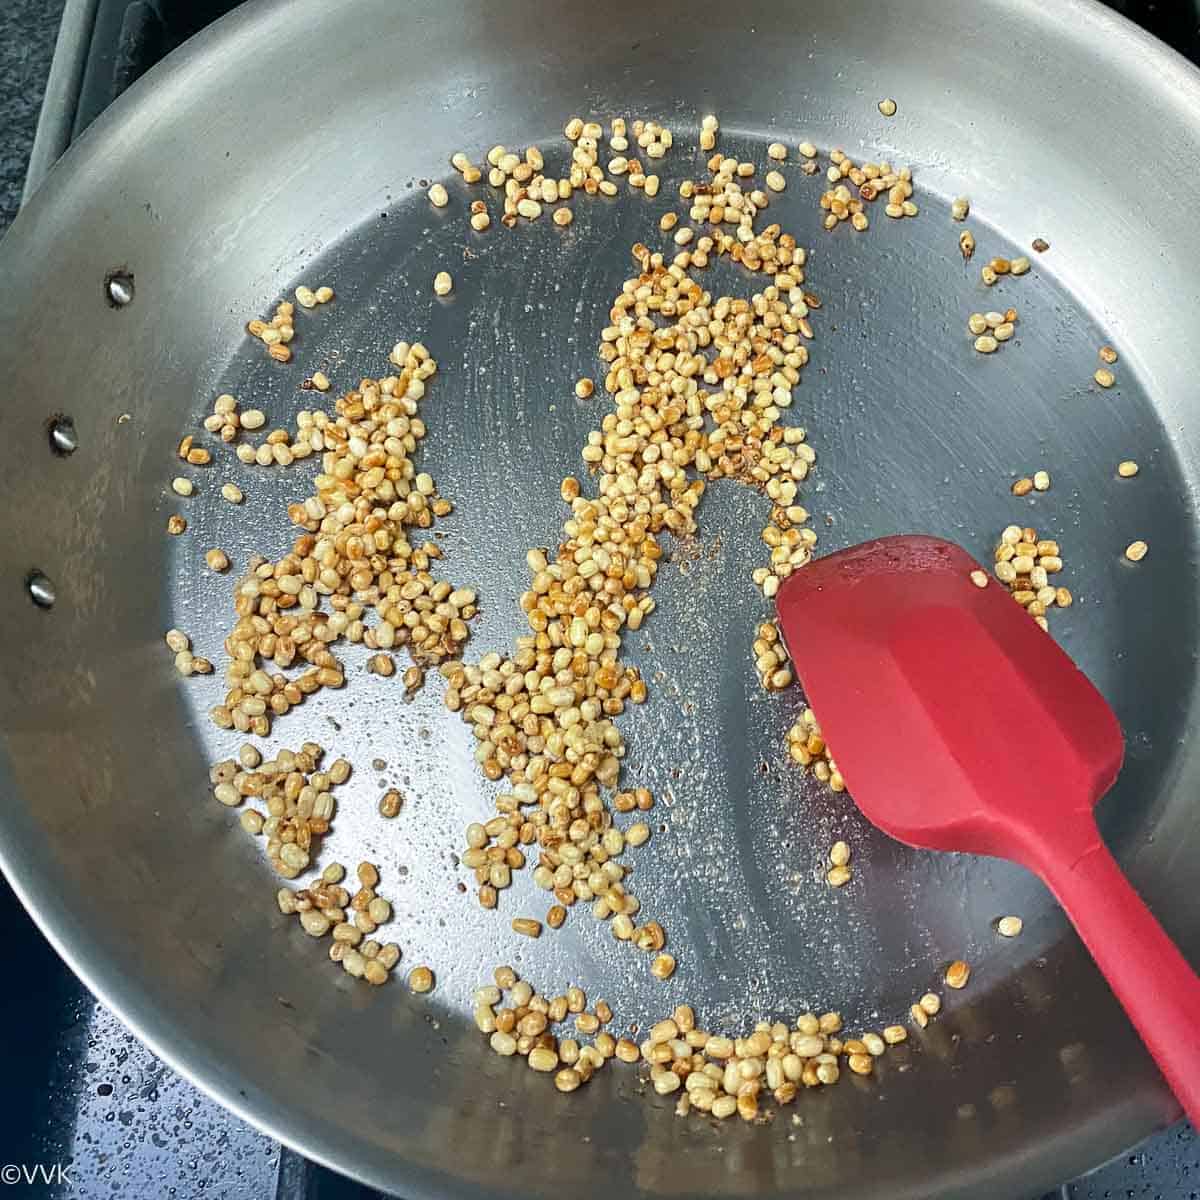
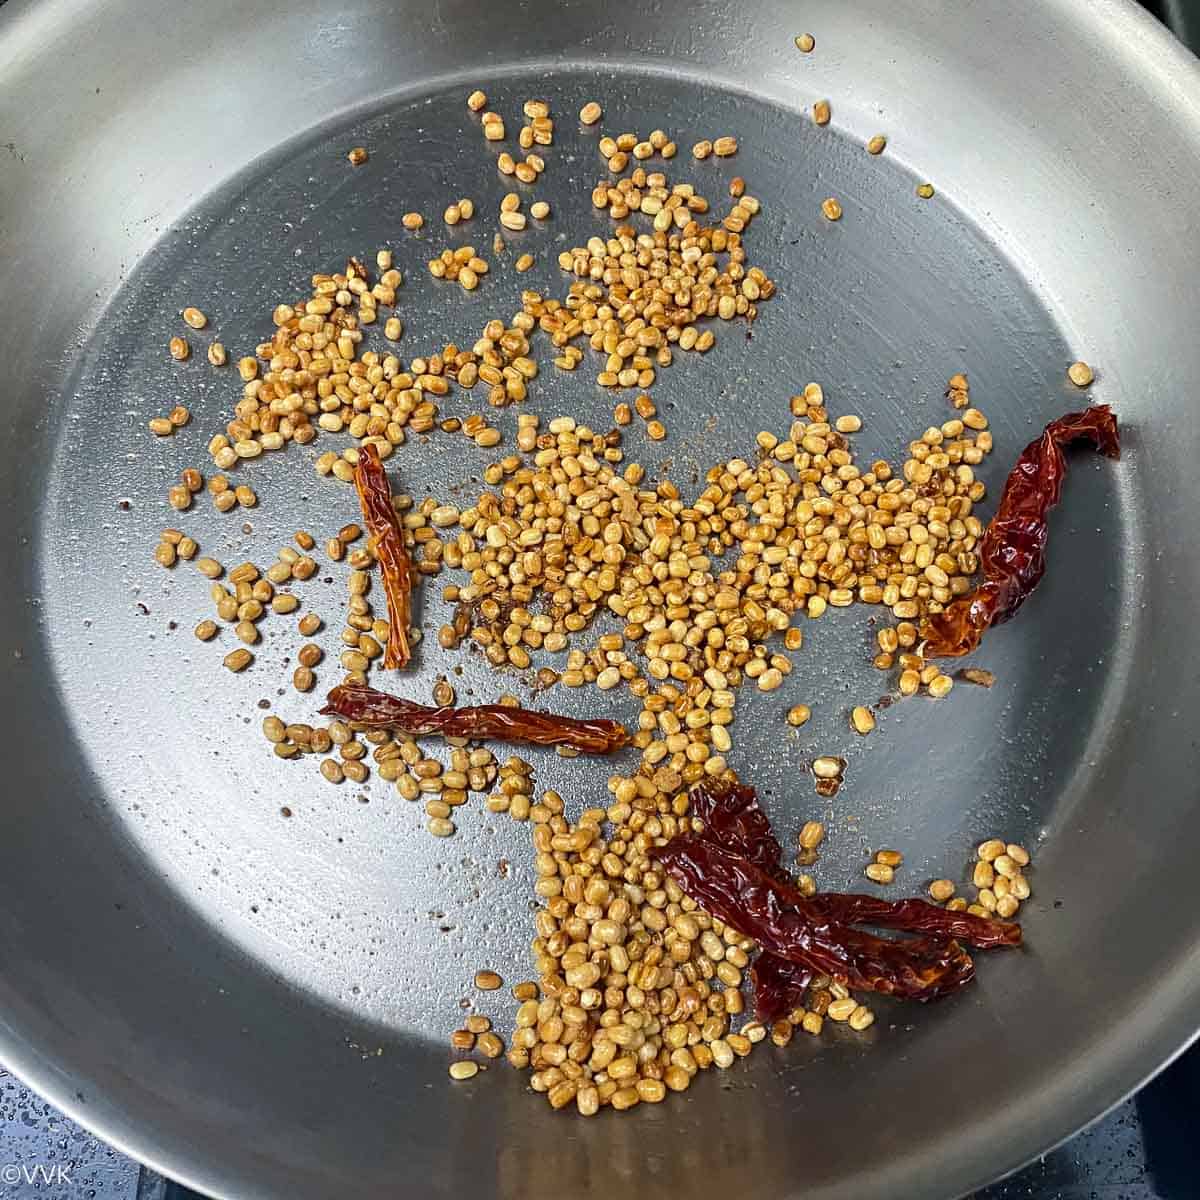
Heat a pan and add the oil. When the oil is hot, add the urad dal and asafoetida.
When it turns light golden brown, add the dried red chilies and roast until the urad dal turns deep golden brown and the chilies become crisp.
Turn off the heat and add the curry leaves and the tamarind. Let the curry leaves wilt in the heat, and the urad dal cool down.
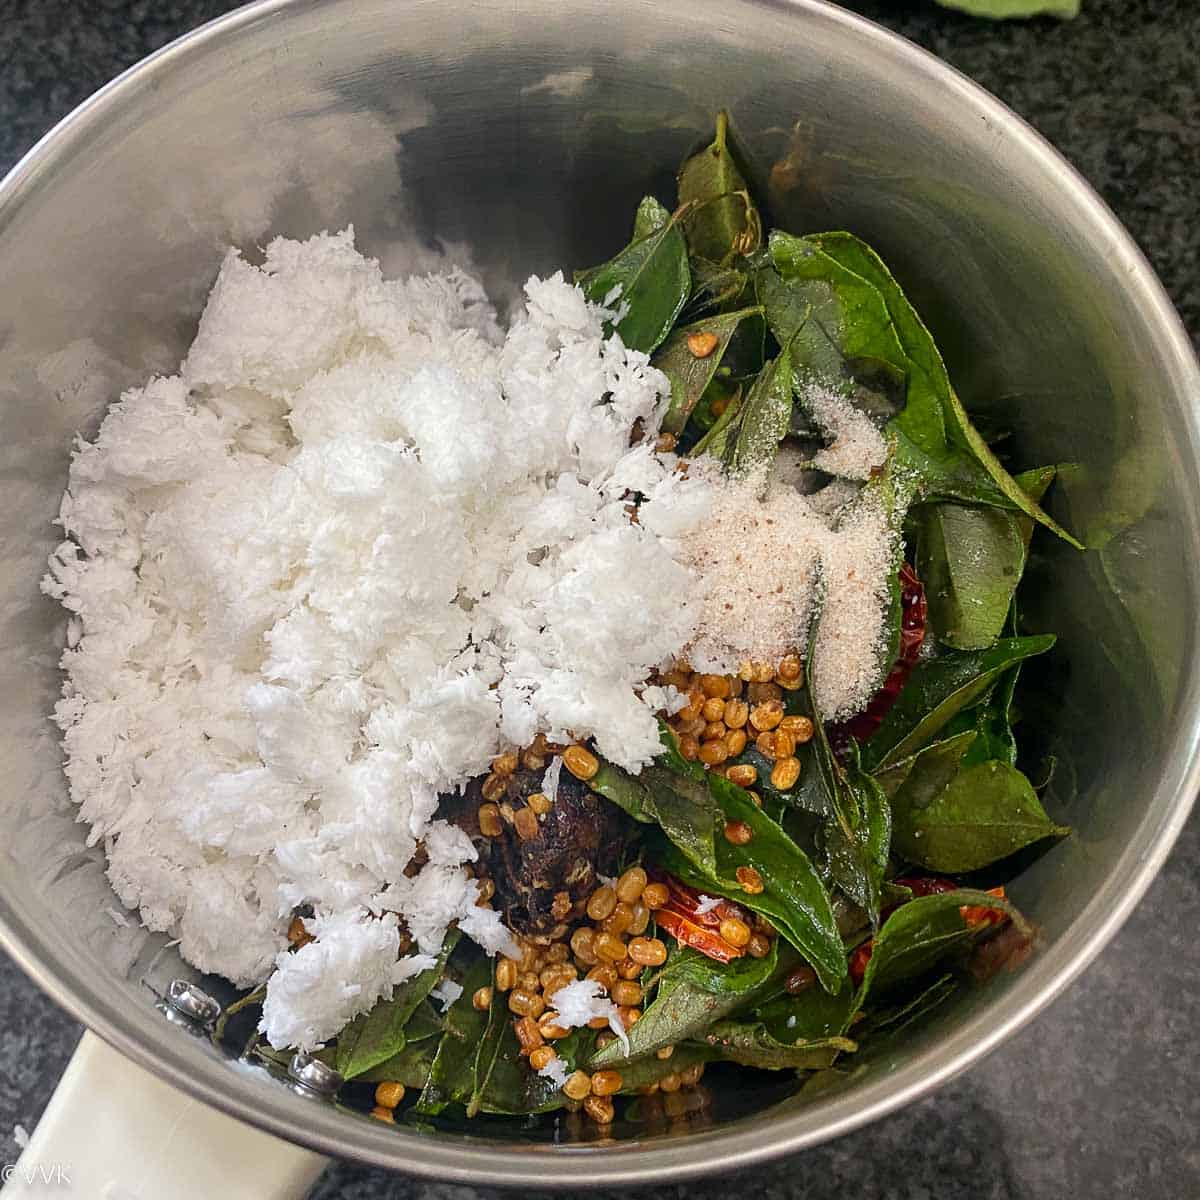
After the mixture is cooled down, transfer the mixture to the mixer jar. Add salt and coconut too.
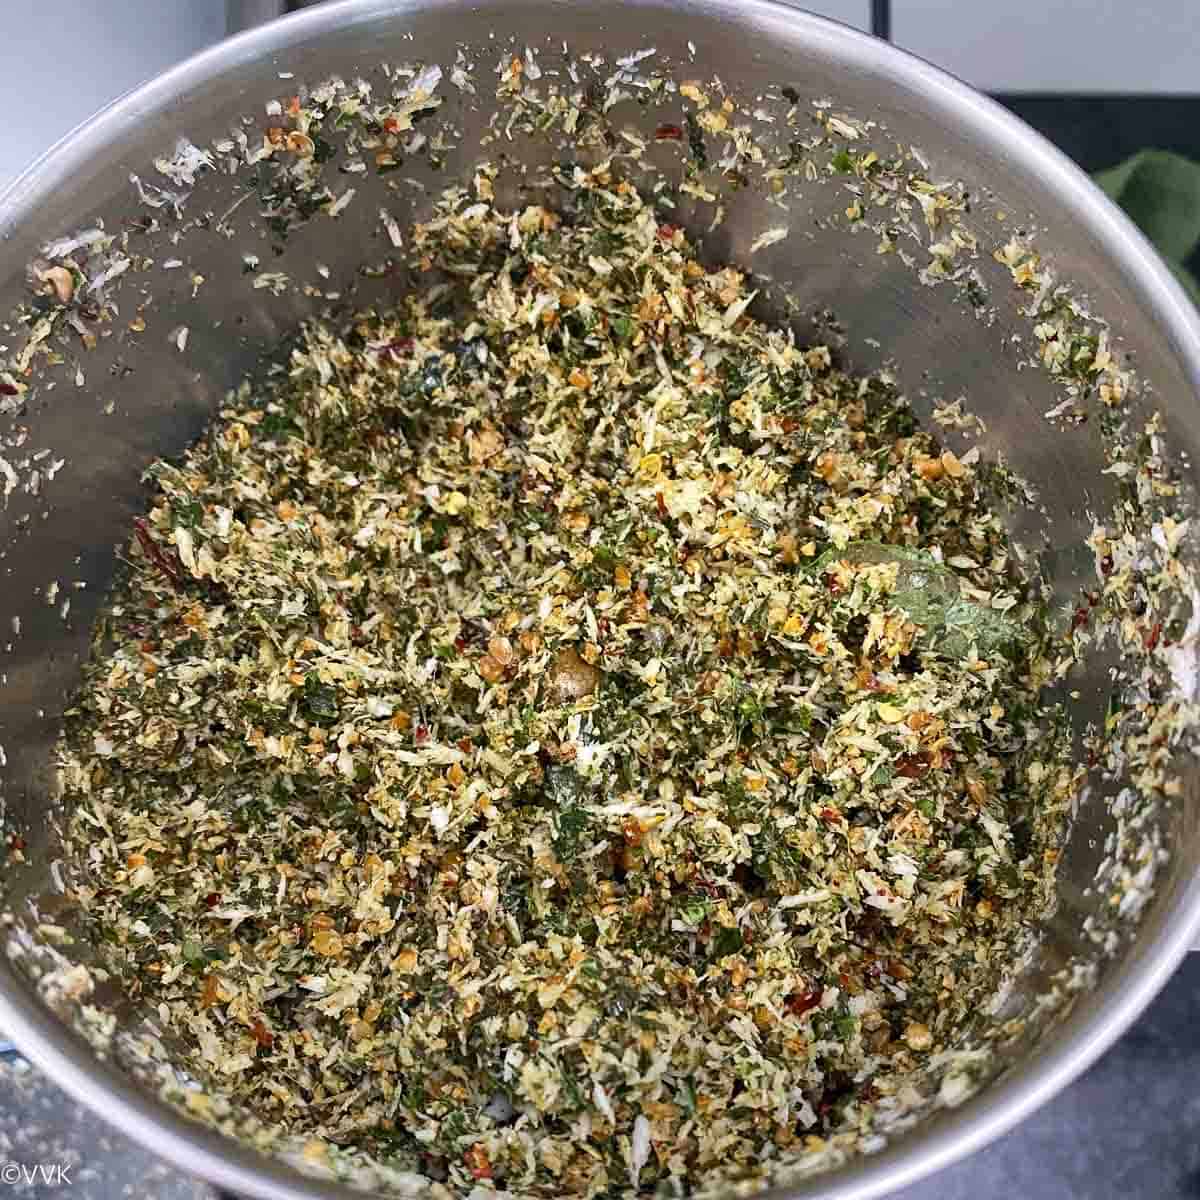
Without adding water, pulse it coarsely.
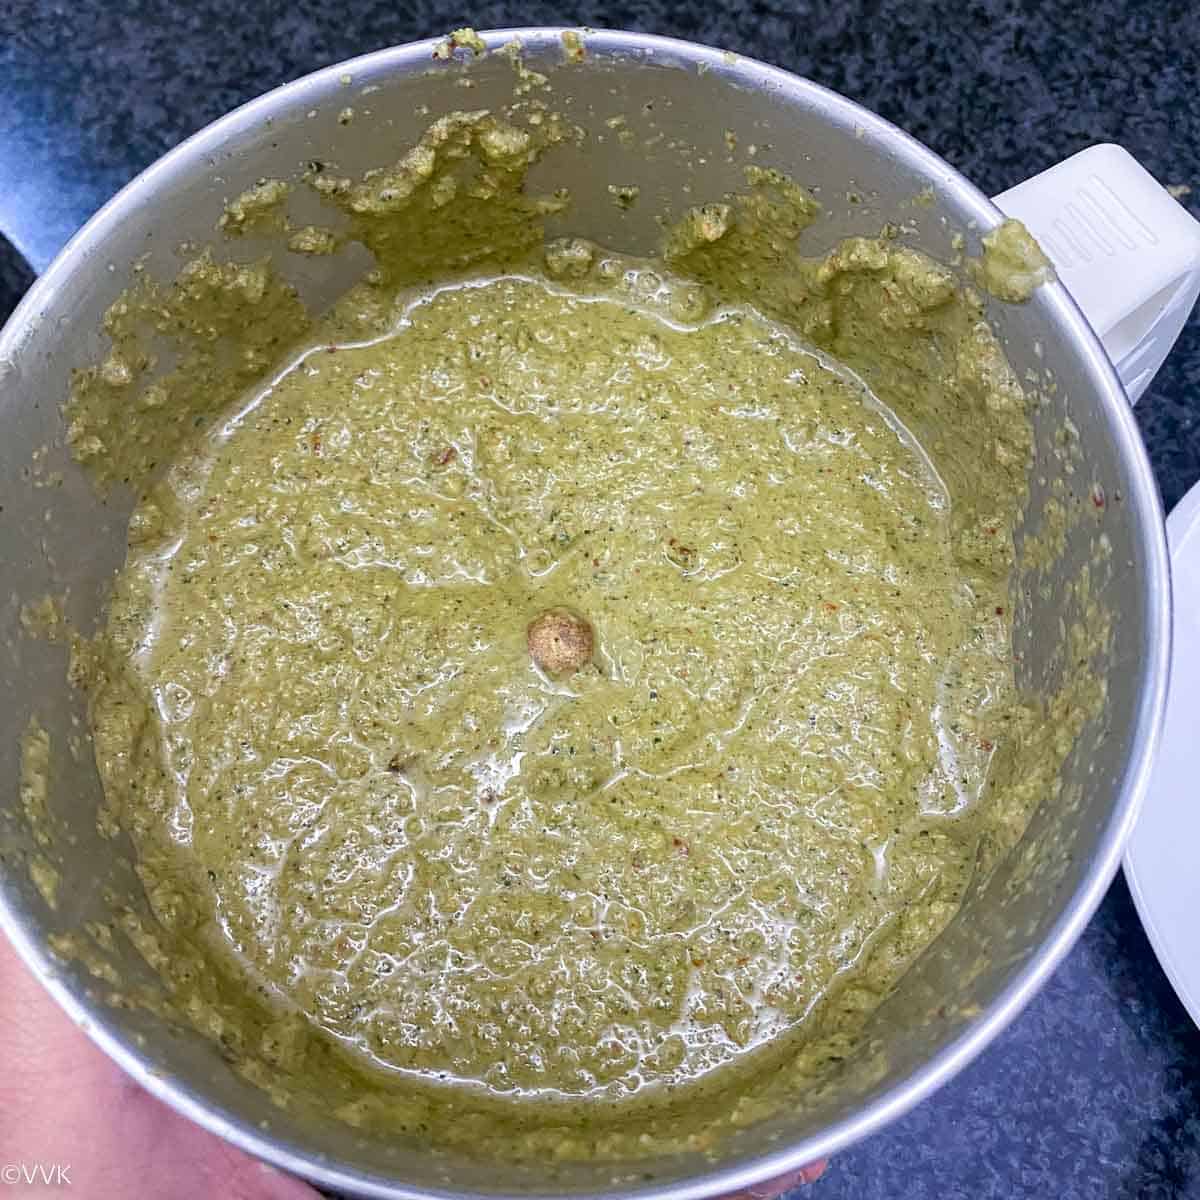
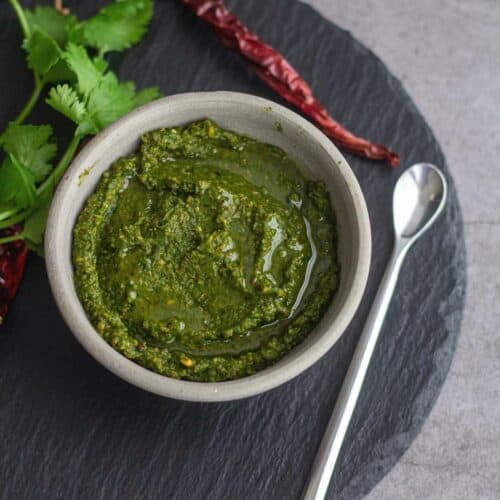
Then add the required water and grind it into a smooth paste.
In a separate tempering pan, heat the remaining one tsp of oil, and when it is hot, add the mustard seeds. When it splutters, add it to the chutney. And that’s it. The curry leaves chutney is ready.
Recipe notes
I prefer adding coconut to this chutney as it adds flavor. If you are not using coconut, you can increase the curry leaves measure to 1.5 cups.Adjust the spice, salt, and tamarind as per your preference. If you use tamarind paste, one tsp of tamarind should be sufficient for this measure.
More chutney recipes
PS: If you try this curry leaves chutney, please don’t forget to comment and rate this recipe. If you have any questions, please leave a comment, and I will get to it ASAP. Follow me on my Pinterest for more healthy and delicious ideas! Follow me on Instagram or join my Facebook Group for more recipe updates! You can also sign-up for my newsletter for weekly updates.
📖 Recipe
Update notes: Earlier posted on 2009, now updated with recipe card with nutritional information and step-wise pictures.