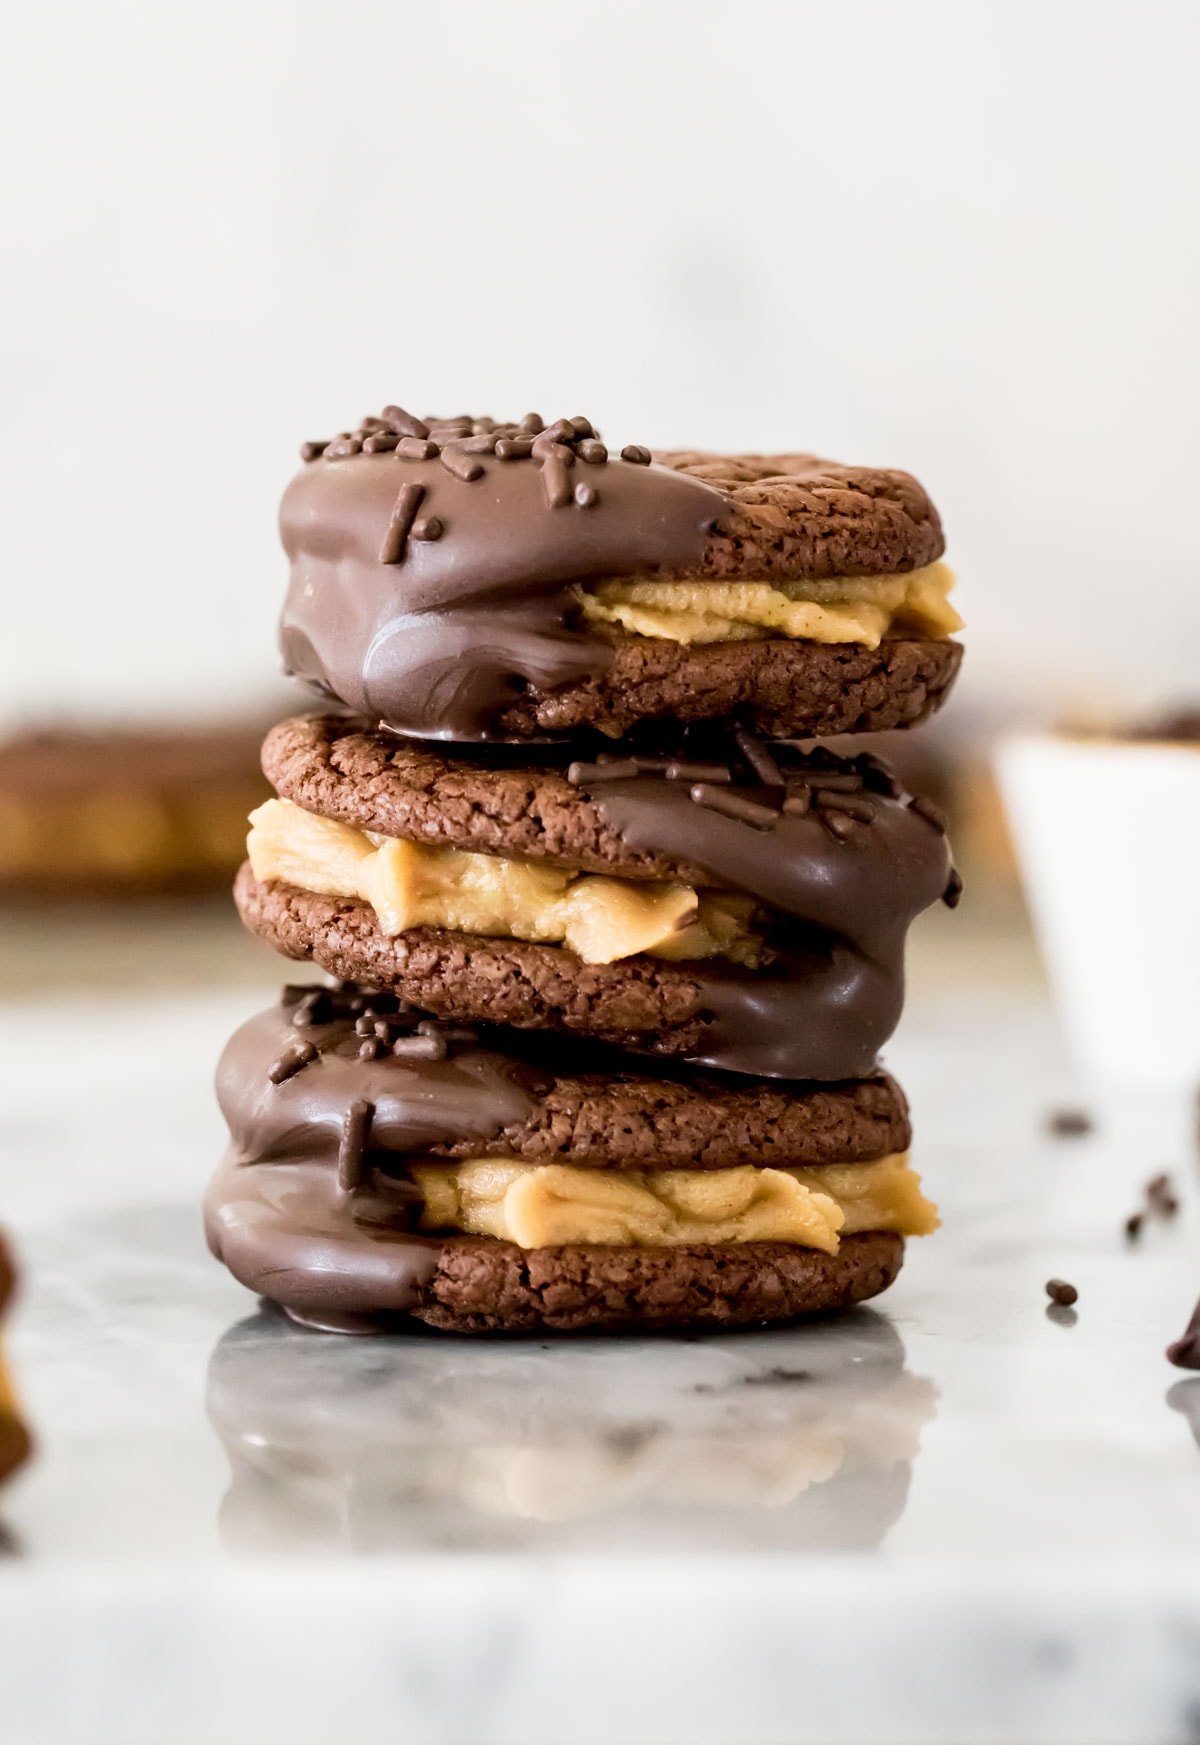
Zach and I celebrated our 12 year anniversary of our first date last weekend, and even though there are always plenty of sweets in the house, I made a special batch of one of his favorite sandwich cookies to celebrate. These chocolate and peanut butter cookies have been on the blog for over four years, and even though I’ve developed over a hundred cookie recipes since then, he still requests these more than any other. And he’s not the only one. Before I left my research job at the hospital to do cookie research, these were one of my most-requested desserts. Ever. Basically I’m telling you they’re good, and it was about time they got a refresh on the blog (and some better photos!). The thin, chocolatey cookie shells are soft and chewy and simple to make, and the filling is an easy peanut butter filling (/frosting?) that’s not too sweet and is sturdy enough to be piped. I hope you love today’s recipe as much as Zach does.
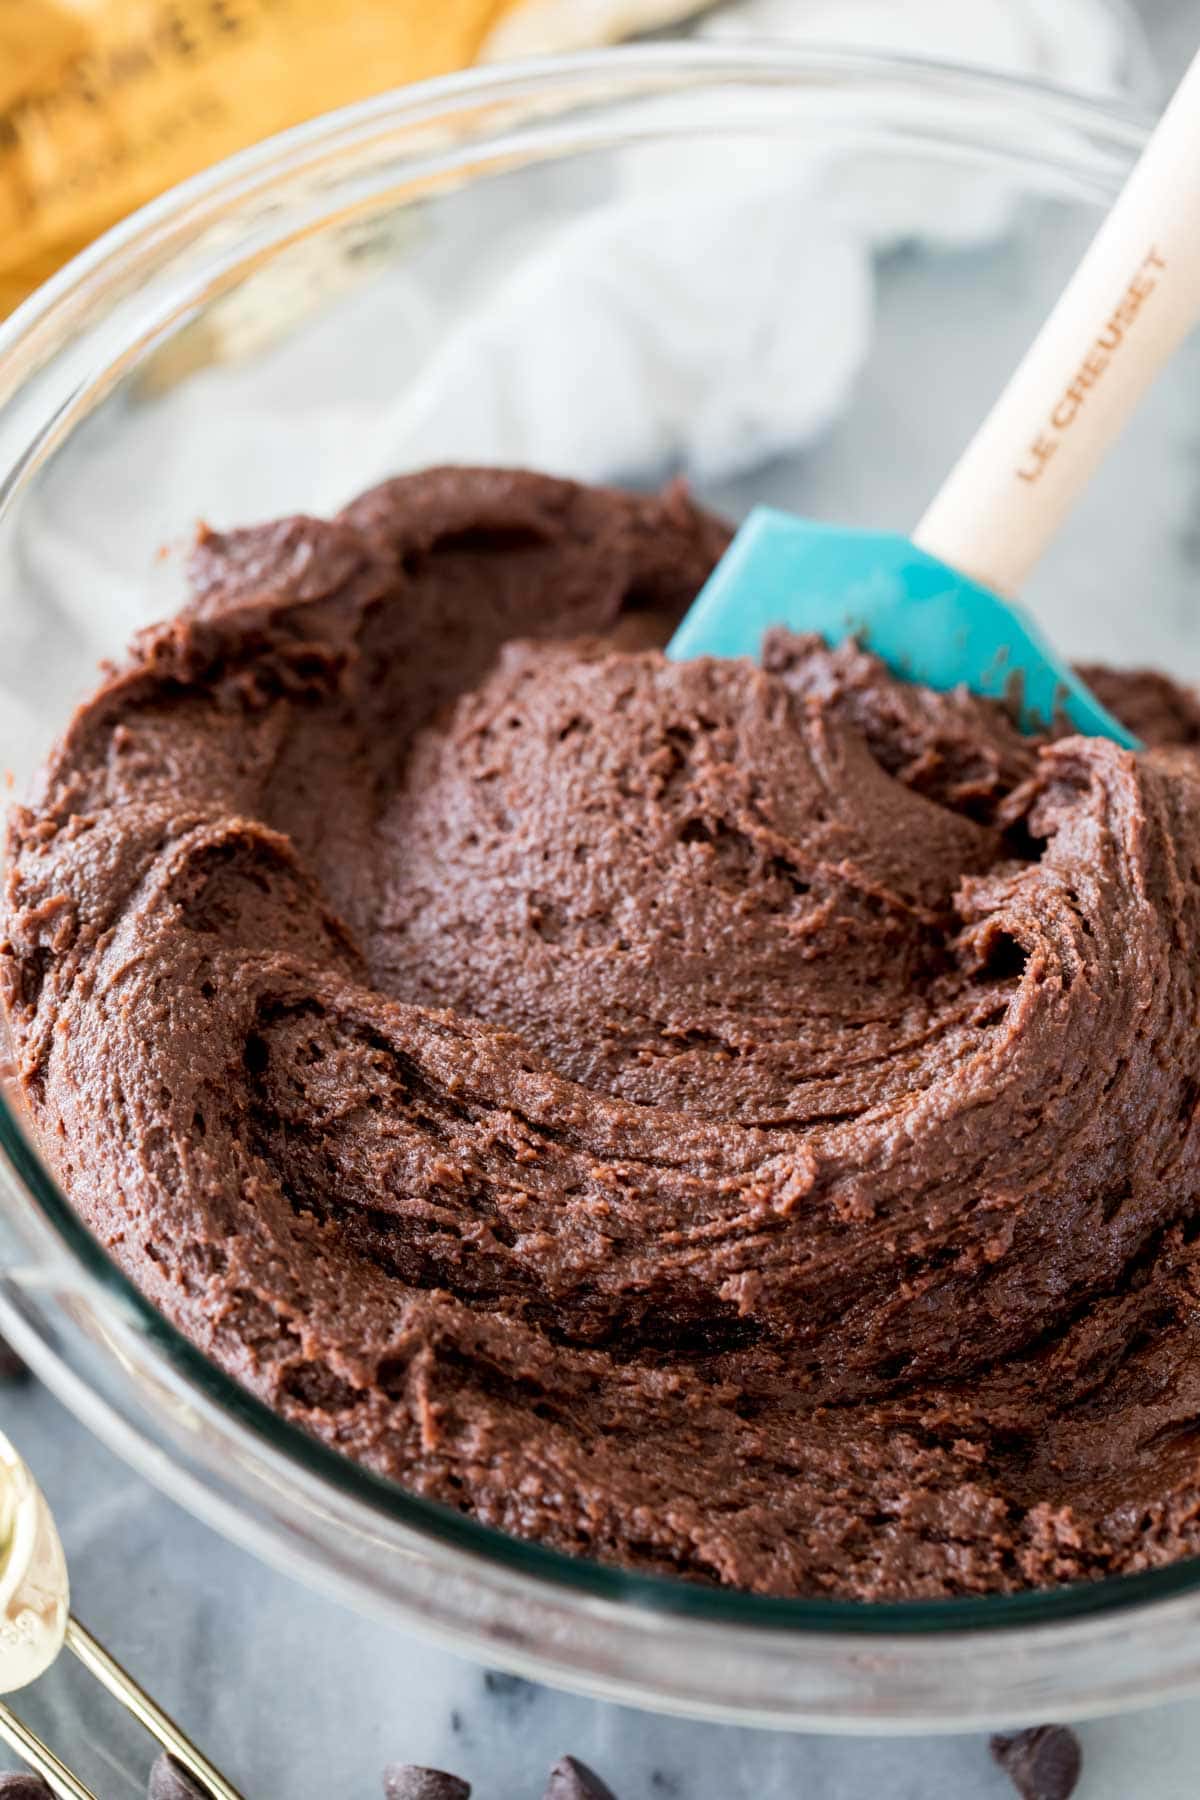
Chocolate Cookies
The cookies bake up like thinner versions of my brownie cookies. They’re soft with just the right amount of fudgy chewiness and beautiful, shiny, crackly tops (just like my favorite brownie recipe, have you made it yet?!). When you pull the cookies out of the oven, the centers may seem slightly under-done still. This is fine! Let them cool completely on the baking sheet where they’ll finish cooking all the way through. Letting them finish the baking process out of the oven keeps them from becoming over-baked and crispy. Don’t try to move them to a cooling rack too soon, they’ll be fragile and prone to falling apart. I recommend using a cookie scoop and trying to scoop the dough as uniformly as possible. You’ll want the cookies to be even in size, as you’ll be pairing them off before sandwiching.
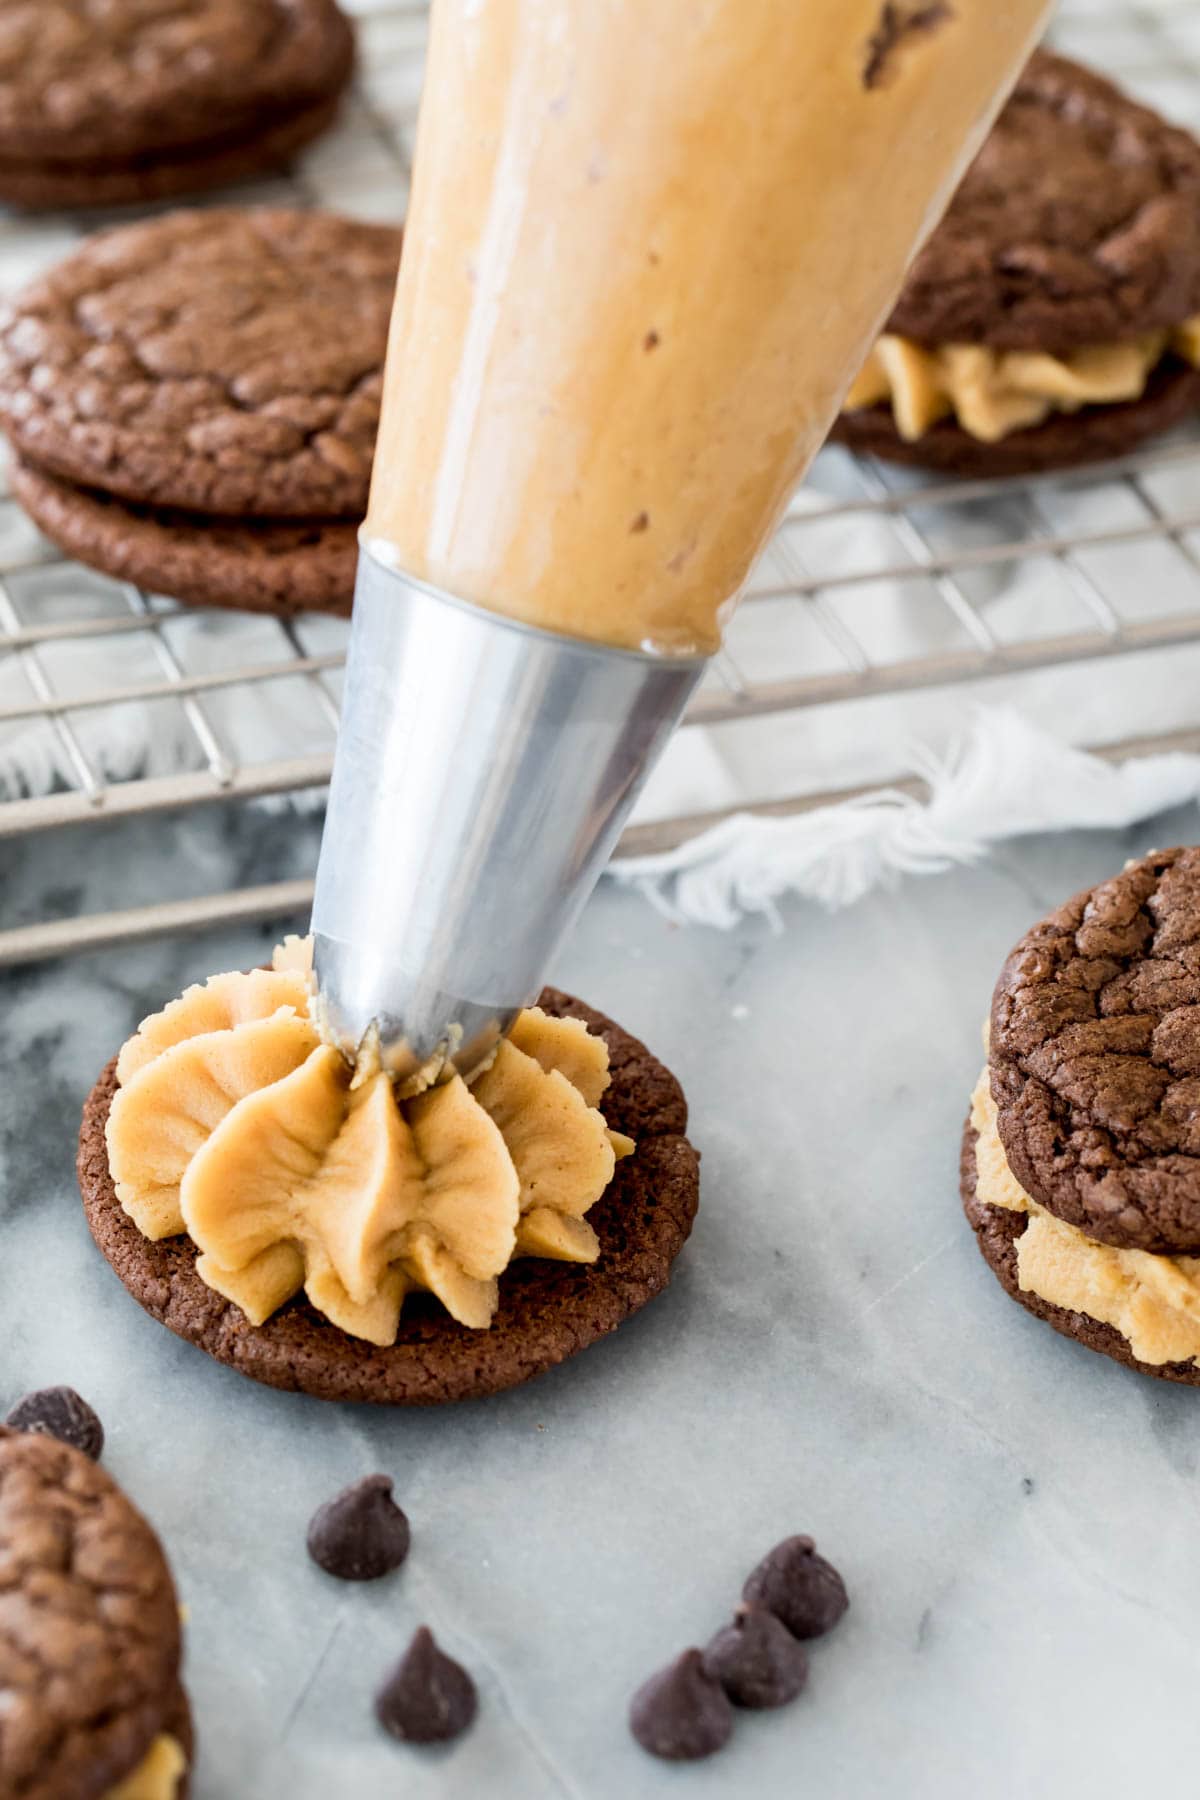
Filling for Sandwich Cookies
The filling for this recipe is similar to my peanut butter frosting, but a bit thicker and sturdier so that it doesn’t gush out the sides of the cookies when you bite into them. I recommend using an electric mixer, as the butter will need to be creamed along with the peanut butter, and while this can be done by hand it’s a bit more effort to do so. I use milk to thin the filling to the right consistency (otherwise you’re left with a very thick batter that’s similar to my buckeye recipe), and you’ll notice in the recipe I list a range for the amount needed. Start with just 2 Tablespoons and then add more as needed until you reach a consistency that’s easy to spread (or pipe). The filling is essentially foolproof, if you accidentally use too much milk, just add more sugar to thicken it. I use whole milk, but just about any type of milk (2%, almond, coconut, etc.) will work instead, as would heavy cream or half and half. Keep in mind that if you are using a milk with less fat than whole milk you will likely need a bit less milk, since they are thinner liquids.
Other Filling Options:
If you don’t like peanut butter, you can fill these sandwich cookies with just about any frosting. I recommend my cream cheese frosting, chocolate cream cheese frosting, or cookie dough frosting. Chocolate ganache would also work well; let it cool until it’s spreadable before sandwiching between the cookies.
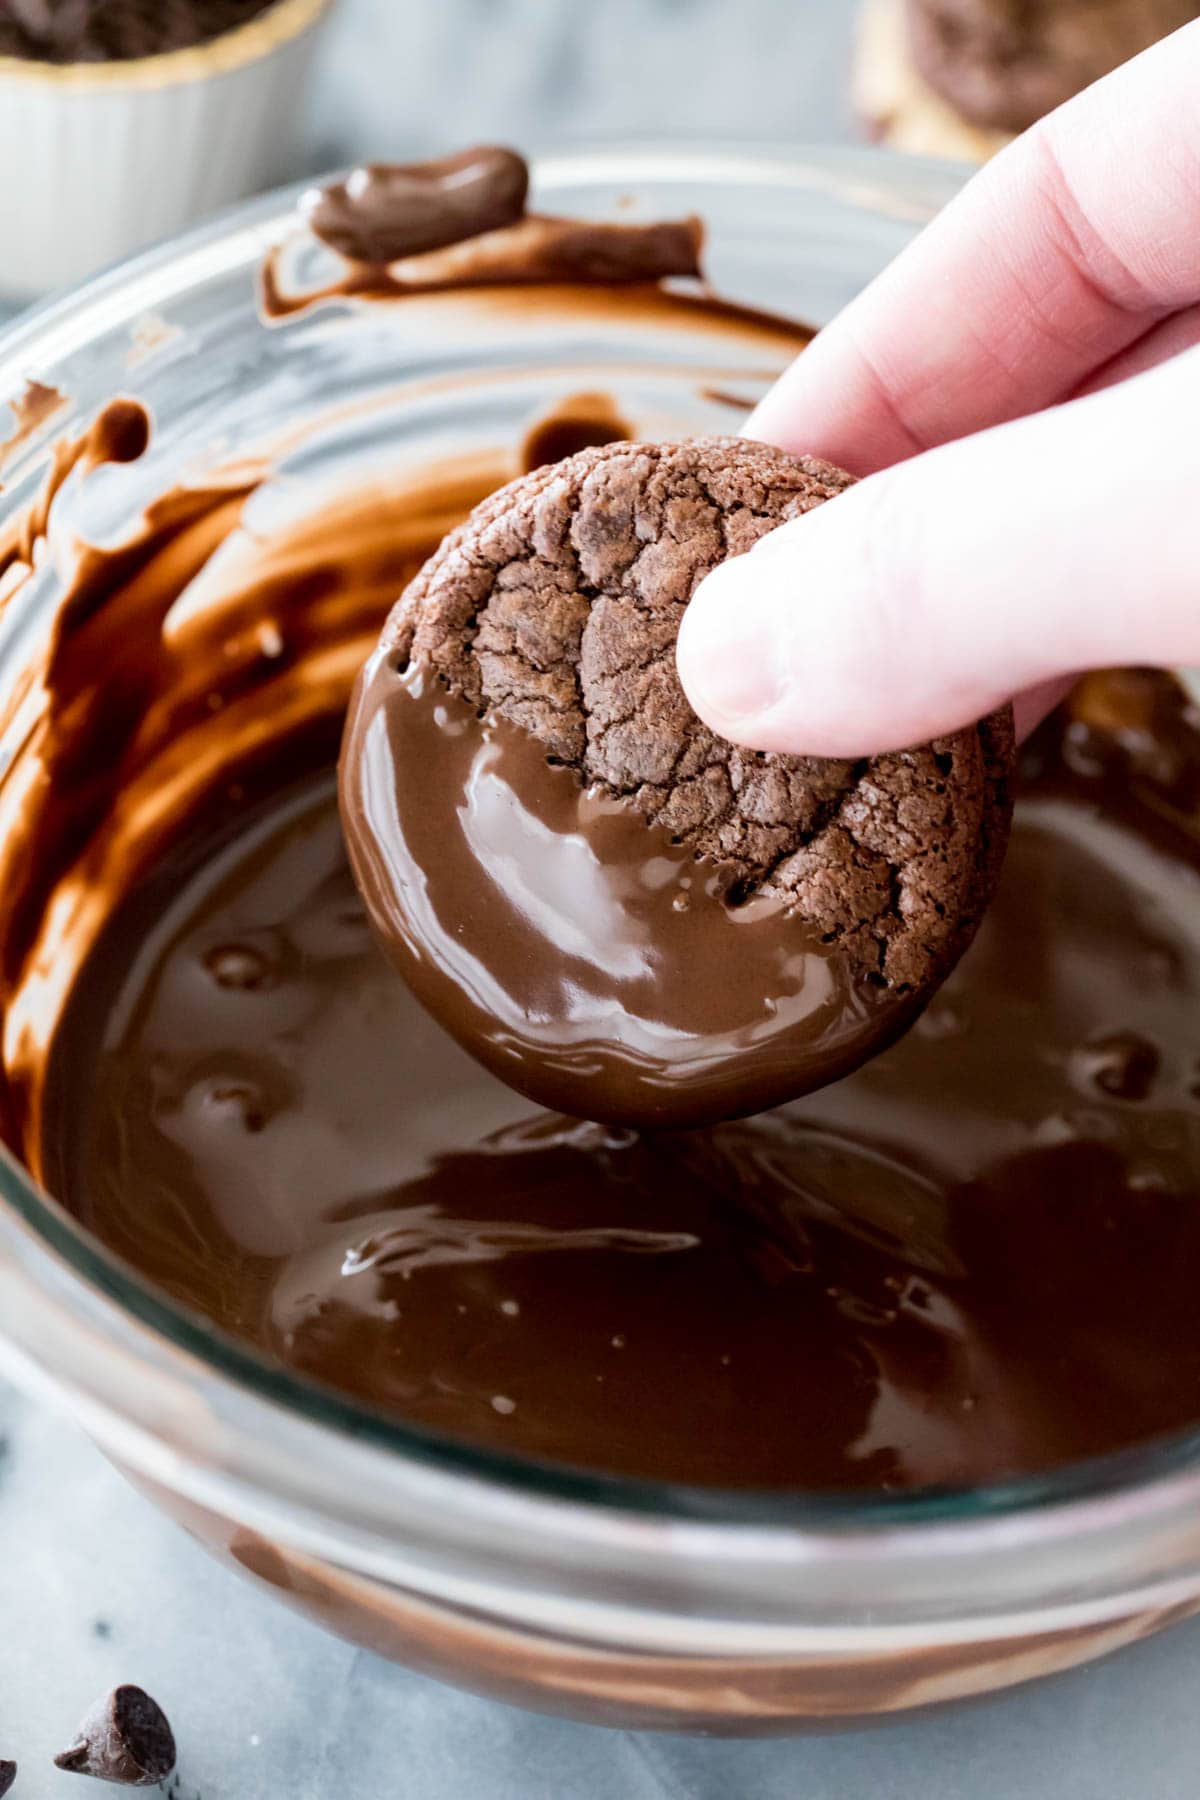
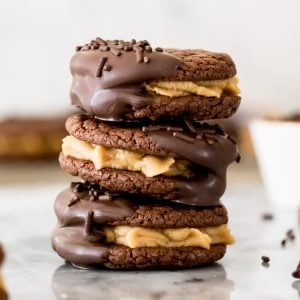
Double the Chocolate
Because I’m a certifiable chocoholic, I like to dip these already chocolatey sandwich cookies in even more chocolate before serving. I use chocolate melting wafers (Ghirardelli brand) because the chocolate melts smoothly, needs no tempering, and it hardens quickly (great for those of us with a strong sweet tooth and no patience!). If you don’t have melting wafers or can’t find them (they’re usually sold right beside the chocolate chips), you can use regular chocolate chips instead (milk, dark, or semisweet will work well). Some brands of chocolate chips are still quite thick even when melted, and if you’re having trouble dipping your cookies I recommend adding a teaspoon or two of shortening in with the chocolate to help thin it out. Any time you melt chocolate, remember to move slowly. Heat in 20-30 second bursts and stir well at every increment, otherwise the chocolate is likely to get too hot and seize into a grainy mess.
Storing
Store in an airtight container at room temperature for up to 3-5 days.
A Few Tips For Perfect Cookies:
Whenever measuring flour with measuring cups, always stir the flour, then lightly spoon it into the measuring cup before leveling it off. Read more about why it’s important to measure flour this way in my how to measure flour post. Don’t over-bake, or they’ll be crispy! When you remove the cookies from the oven, they may seem slightly under-baked in the center. Let them cool completely on the baking sheet and theyll finish baking there and will be soft and chewy once cooled. ‘Any time you are melting chocolate do so in brief increments of about 20-30 seconds and always stir in between to keep the chocolate from seizing. This applies to both when you melt the chocolate and butter together for your cookie dough and when you melt the chocolate to dip the cookies.
More Recipes You Might Like:
Peanut Butter Bars No-Bake Cookies Peanut Butter Pie Peanut Butter Blossoms Fudge Rounds
Enjoy! Let’s bake together! Don’t forget to watch the how-to VIDEO in the recipe card! If you try this recipe, please leave me a comment and let me know what you think! This recipe was first published 02/24/2016. I’ve since updated the photos, added tips, and included a step-by-step video! See an original photo below: