How to Make Chocolate Covered Strawberries
Today’s recipe is hardly a recipe. Chocolate Covered Strawberries are insanely simple to make and so, so good. My family enjoys them every year on New Year’s Eve, (though they’re a great Valentine’s Day dessert, too!) and I thought I’d share some of the tips and tricks that we’ve picked up over the years for perfect, beautiful chocolate covered strawberries every time.
Clean, DRY Berries are Key
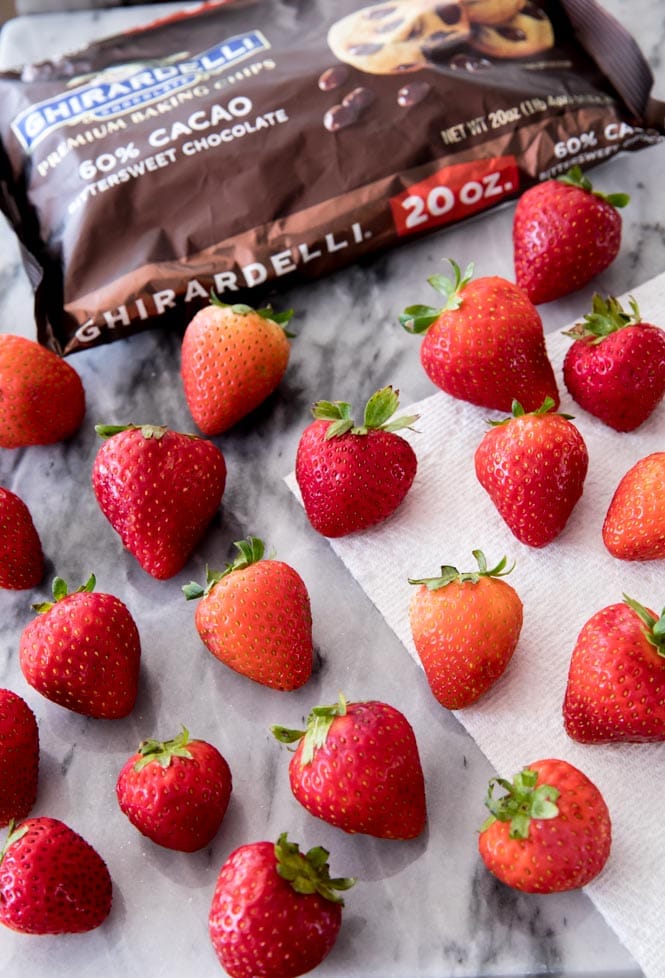
Start by preparing your berries! You’ll need 2-3 pounds of fresh strawberries. Make sure to rinse them very well, but just as importantly make sure to dry them very well. I go over every strawberry individually with a paper towel and blot as much water as I can from the berry and from the stem. If any of that water gets into your chocolate, it can end up ruining it or leave you with streaky looking chocolate. Next, you’ll need your chocolate. Chocolate bars will actually work great for this recipe, you’ll need 12 oz total and will want to chop it into chocolate-chip-sized pieces. I generally prefer to use chocolate chips, but only if they are good quality chocolate chips! Ghirardelli is my current preference, they melt beautifully. I have not been a fan of Nestle recently (did they change their recipe?) and their chocolate melts much too thickly for me. If you do choose to try with a lower quality of chocolate, I recommend stirring in a teaspoon or two of shortening to help thin it out.
How to Melt Chocolate for Chocolate Covered Strawberries
There are two ways to melt chocolate when making chocolate covered strawberries. You can do this in the microwave or on the stovetop in a double-boiler. I generally tend to prefer using the double boiler, it lets me keep a closer eye on my chocolate.
Microwave
To melt chocolate in the microwave, simply place it in a medium-sized heat-proof bowl. Be sure to reserve about 1 heaping tablespoon of chocolate, we’ll add this in at the end. Heat in 20-30 second increments, stirring really well in between, until chocolate is completely melted. It’s important that you pause frequently to stir to ensure your chocolate is heating evenly. If it gets too hot, it can end up “seizing”, which leaves you with a thick, lumpy, grainy-looking chocolate. There are some tips and tricks out there for salvaging seized chocolate, but generally I recommend starting over if this happens.
Stovetop
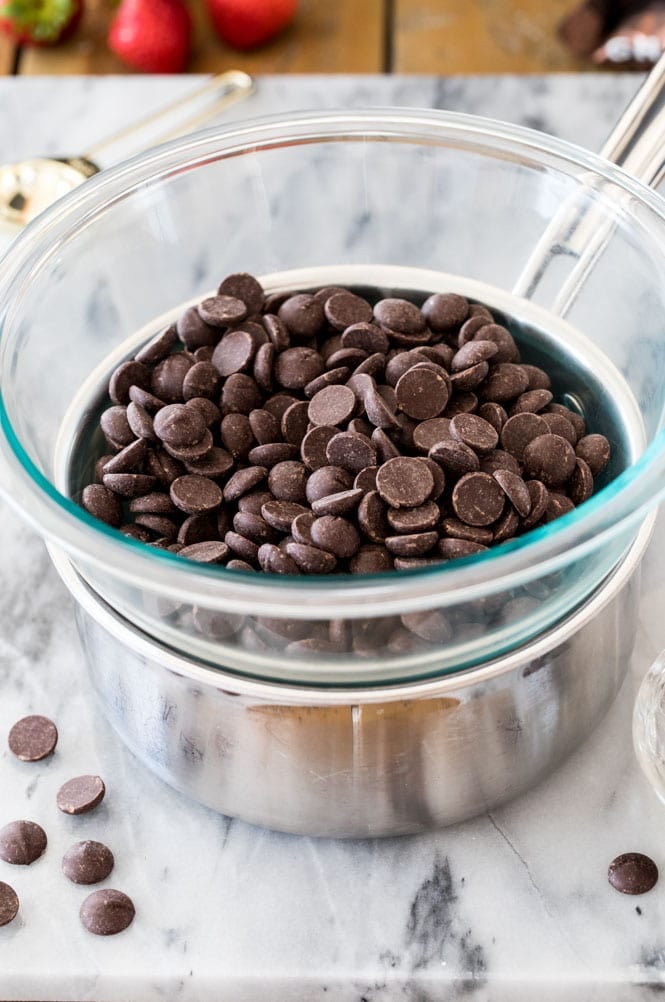
If you have a double boiler you will want to use that. If you don’t, you can make one, like I did. Fill a small saucepan with about an inch and a half of water. Fit a small heatproof bowl over the saucepan and make sure the bottom of the bowl isn’t touching the water. Remove the bowl for the time being and bring your water to a simmer. Once it’s simmering, add your chocolate to the bowl but reserve about 1 heaping tablespoon to be added later. Turn the stovetop heat down to your lowest setting, replace the bowl over the water, and stir constantly until the chocolate is completely melted. As with our microwave method, frequent stirring is critical to keep the chocolate from seizing.
“Tempering” Chocolate
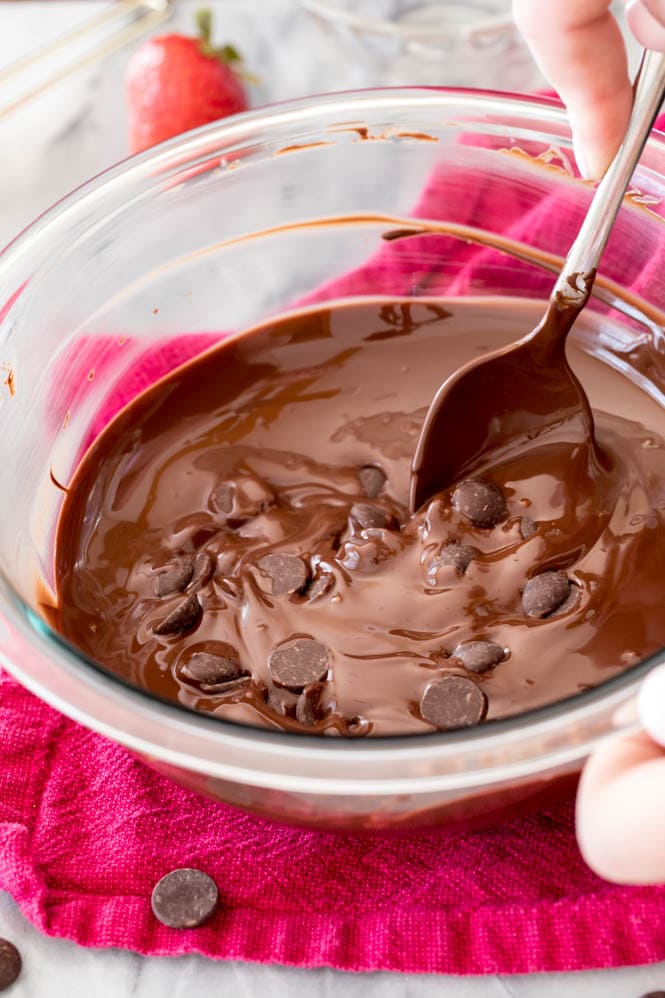
If you’ve ever coated something in chocolate before and ended up with streaky white lines throughout, it’s because your chocolate wasn’t tempered. Tempering chocolate (I use a cheater’s method, more on that below) only takes a minute and helps give our chocolate a nice, even, glossy sheen, even once it’s cooled completely. Once your chocolate is melted (whether you used the microwave or stovetop method) remove from heat (wipe the bottom of the bowl if you were using a double boiler, as condensation will have formed) and toss in the reserved chocolate from earlier. Stir this very well until it is completely melted along with the other chocolate (it may take a minute, but it will all melt). What we are doing here is tempering the chocolate. Kind of. Chocolatiers use a more exact and technical method for doing this. It involves candy thermometers: heat ⅔ of your chocolate to 113F, remove from heat, cool it to 100F, add remaining chocolate, stir until melted, and then continue. My method for chocolate covered strawberries isn’t nearly as technical, but it has worked for me for years and it’s a lot quicker.
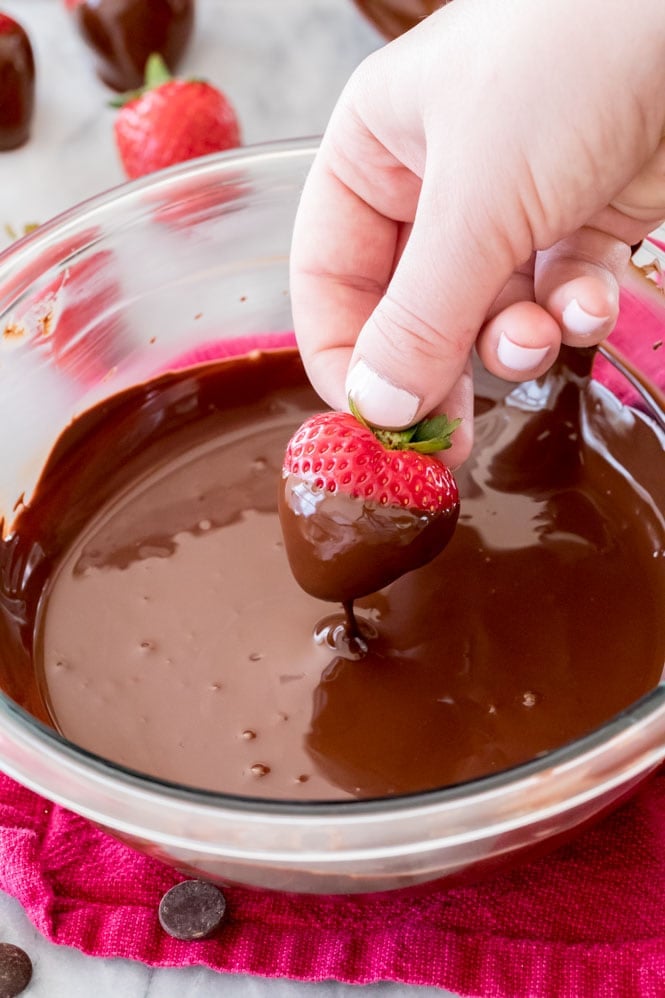
Once all of your chocolate is melted, you are ready to dip your strawberries. I like to pat them dry one last time with a paper towel for good measure. Make sure you have a wax paper lined surface or cookie sheet ready to place them once they’ve been dipped. If you’d like, drizzle the dipped strawberries with white chocolate for a pretty contrasting effect as they set. Placing these strawberries in the refrigerator for 10 minutes or so will speed up the setting process for the chocolate, but I’ll usually let them sit at room temperature until the chocolate is hardened. This can take an hour or longer.
How to Store & How Long Will They Keep:
Generally I don’t really recommend storing chocolate covered strawberries, at least not for longer than 12 hours. If you must store them, store them in the refrigerator in an airtight container for up to 24 hours. Generally I recommend dipping your strawberries the same day you intend to serve them. I also think they are best served at room temperature rather than ice cold from the refrigerator. Your sensitive-toothed friends will thank you.
Enjoy!
More Candy Recipes to Try:
Easy Fudge Recipe Potato Candy Peppermint Bark Fudge