Cheese Danishes make for a great special occasion breakfast food, they’re one of my favorite Christmas morning foods alongside Homemade Cinnamon Rolls and French Toast Casserole!
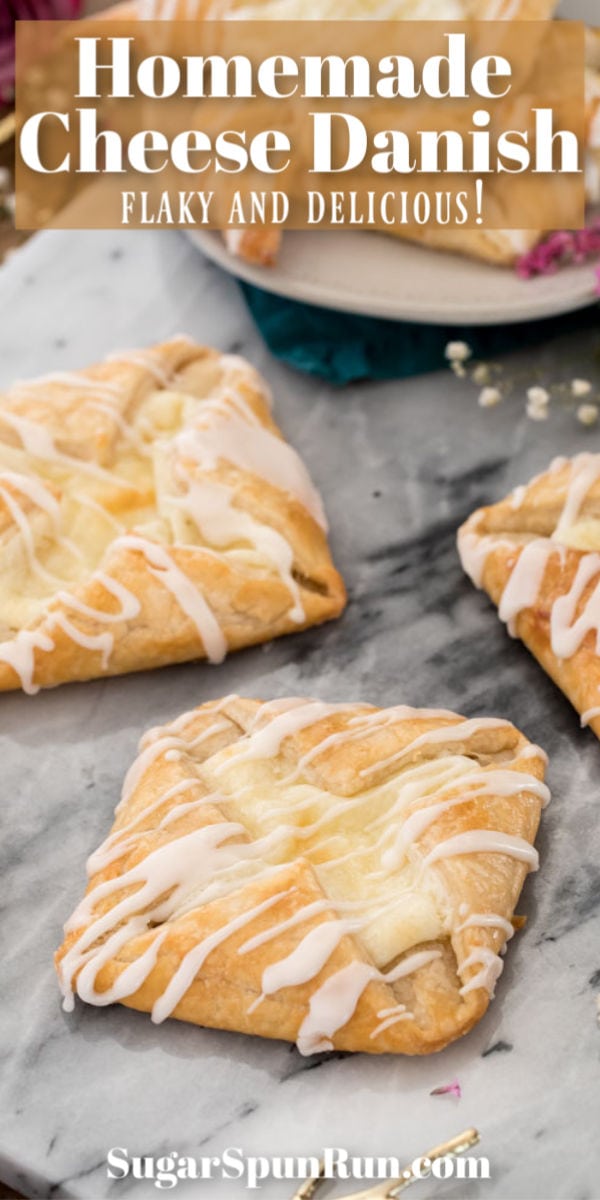
Homemade Cheese Danishes
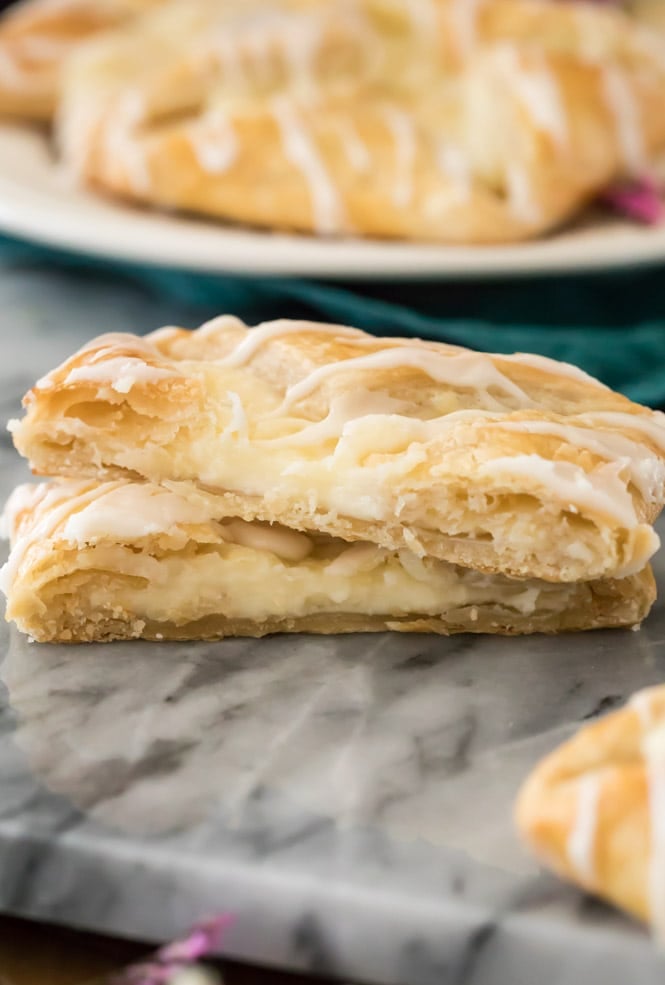
A little while back I shared my recipe for homemade puff pastry, and, if you recall, strongly encouraged you to make a few extra batches and store some in your freezer. This Cheese Danish recipe is exactly why. Once you have that pastry made, you’re only 25 minutes away from perfect homemade breakfast pastries. Perfect for brunch or holiday breakfast spreads or (let’s be real) any random Tuesday the craving happens to hit. I always thought danishes were difficult to make, and the puff pastry can be a bit time consuming, but we’ve mastered that now (and if we haven’t, there’s always store-bought). They’re not difficult, and homemade is better than any pre-packaged breakfast pastry you’ve ever tried. The filling is smooth and creamy, like a pocket of cheesecake or cream cheese frosting encased in buttery, flaky pastry. The glaze is simple and a perfect compliment to top everything off. Just. Make. These. Now.
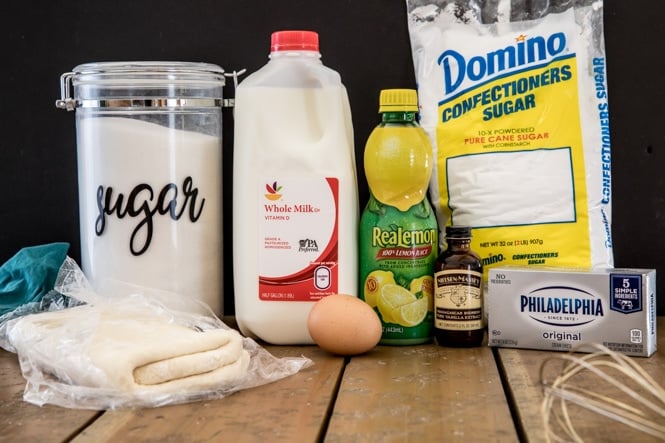
What You Need:
Puff Pastry. I highly recommend you use my “easy” homemade Puff Pastry for best taste! However, store-bought will work. You’ll need one box (/two sheets). Cream cheese, granulated sugar, lemon juice, and vanilla extract. Stir these together to make your cheese danish filling. An egg and a splash of water. This will be your egg wash which helps brown the outside of your cheese danish. Powdered sugar and milk. Whisk these together to make a glaze for drizzling over the danishes once they’ve cooled. Or while they’re still warm. No judgement here.
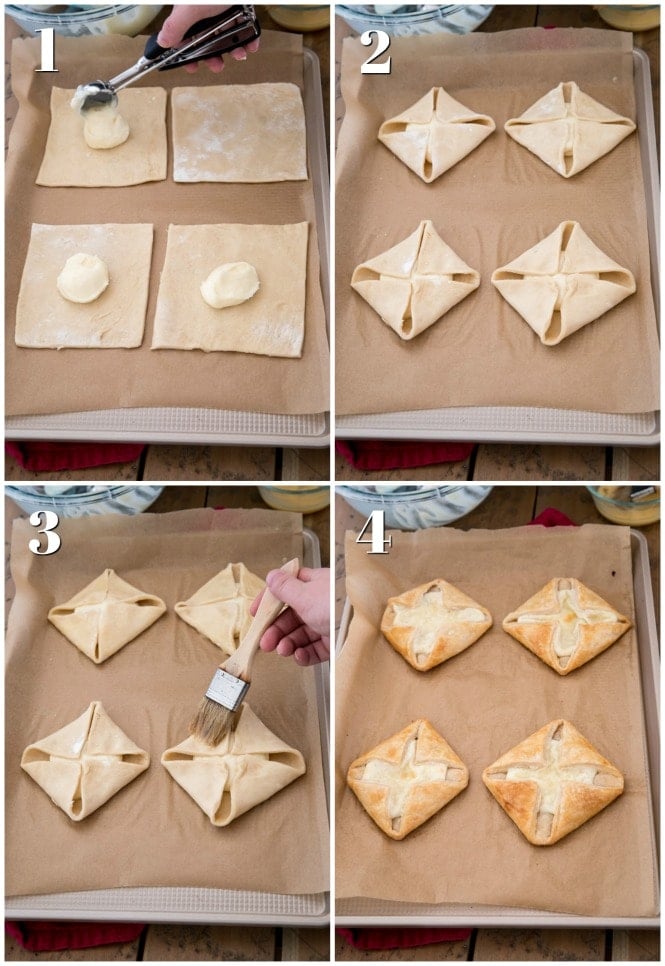
How to Make Cheese Danish
Begin by dividing your puff pastry dough in half and roll into a 12×12 square. Cut this into four even-sized squares. The steps below correspond with the step-by-step collage above.
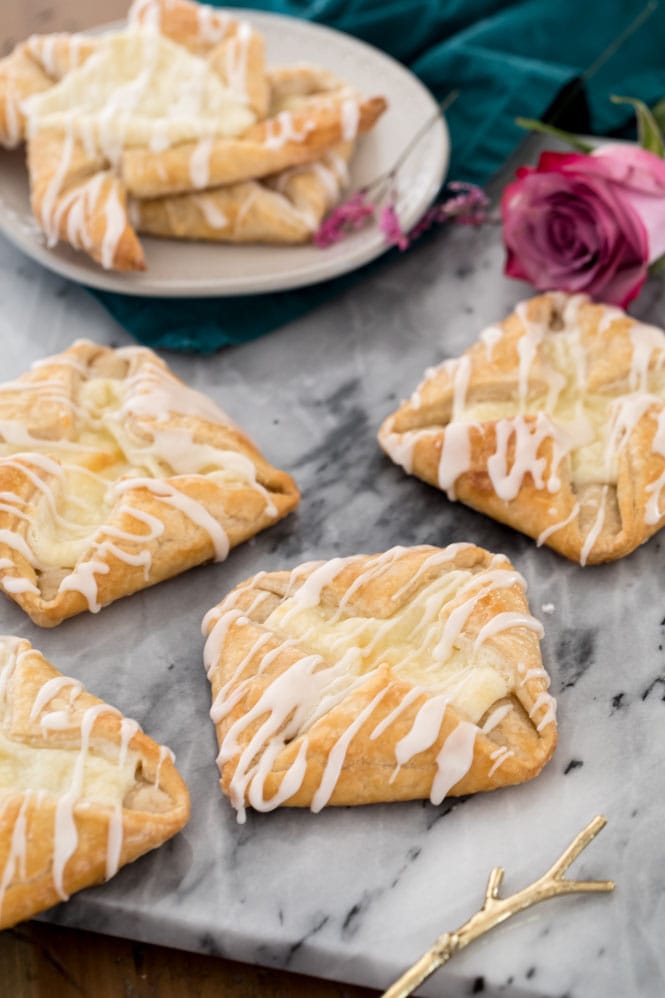
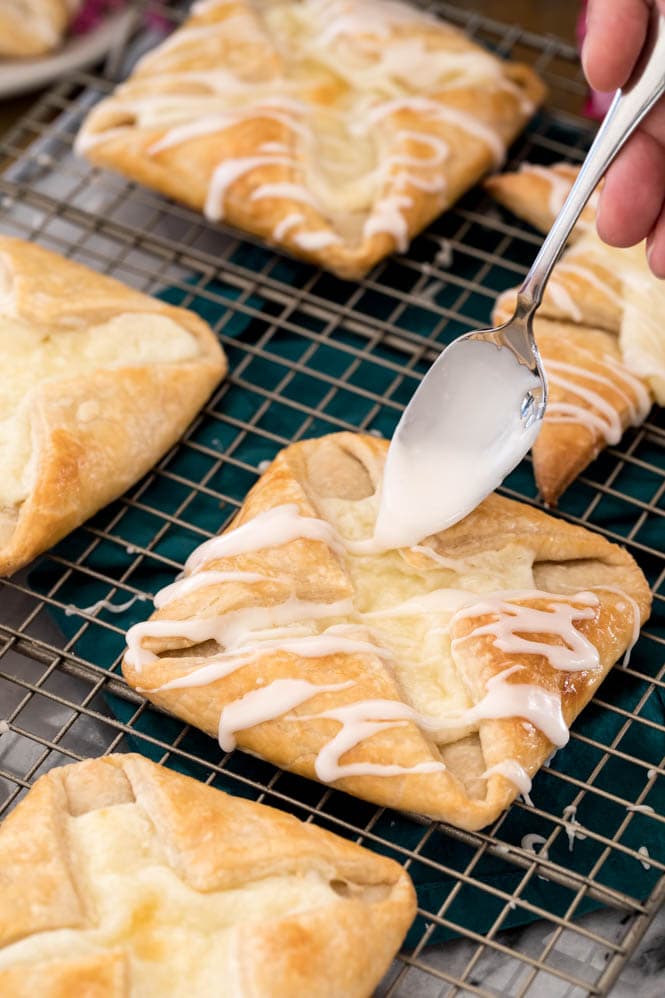
Don’t forget to drizzle everything off with a simple milk and sugar glaze. Technically you should let the danishes cool a bit before drizzling with this glaze, otherwise it has the inclination to melt alllll over the place. I personally don’t mind so long as I get to enjoy my cheese danish warm (sometimes too warm, careful not to burn your tongue). But we’re all adults here. Choose your own ending! Melty and warm or cool and tidy!
Different Danish Shapes
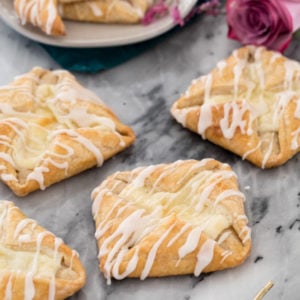
The square shape that I used in today’s recipe is is the simplest and most basic design for making cheese danishes. However, if you watch my video (below the recipe) I also share how to make a fancy-looking but surprisingly simple pinwheel design, too.
Enjoy!
More Recipes You Might Like:
Scones Crepes Popovers Apple Turnovers
Let’s bake together! Follow me on my YouTube channel where I’ve already uploaded over 200 recipe videos that you can watch for free!