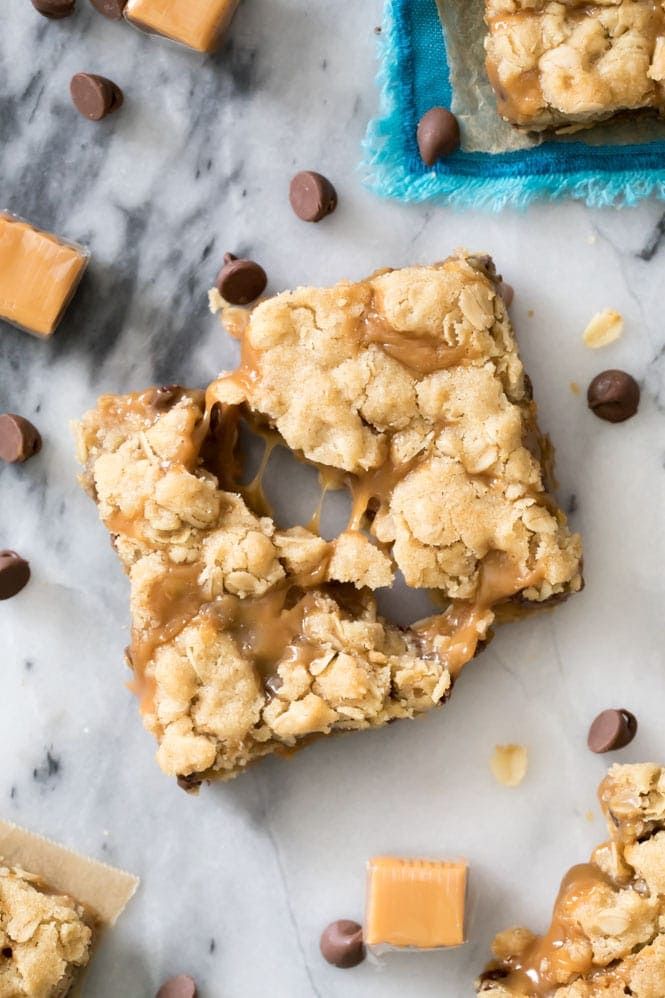
These are an incredible hybrid of cookie bars, oatmeal cookies, and caramel sauce and I think you’re going to love them! Be sure to check out the recipe video at the bottom of the recipe card!
Continuing a long-standing tradition of stuffing dessert with other dessert, today I’m sharing these chocolate and caramel stuffed cookie bars, AKA Caramelitas. I made a few batches of these Caramelitas a couple weeks ago for a bake sale fundraiser (for the dog rescue that Zach and I volunteer with) and they were a hit. It took every ounce of self-control from me to not eat them before I could wrap them and get them out of the house, and even Zach (who always prefers my savory recipes, like my taco dip, and usually snubs the sweeter treats) was tempted and kept stealing the scraps. These are easy to make, let’s get started.
How to Make Caramelitas
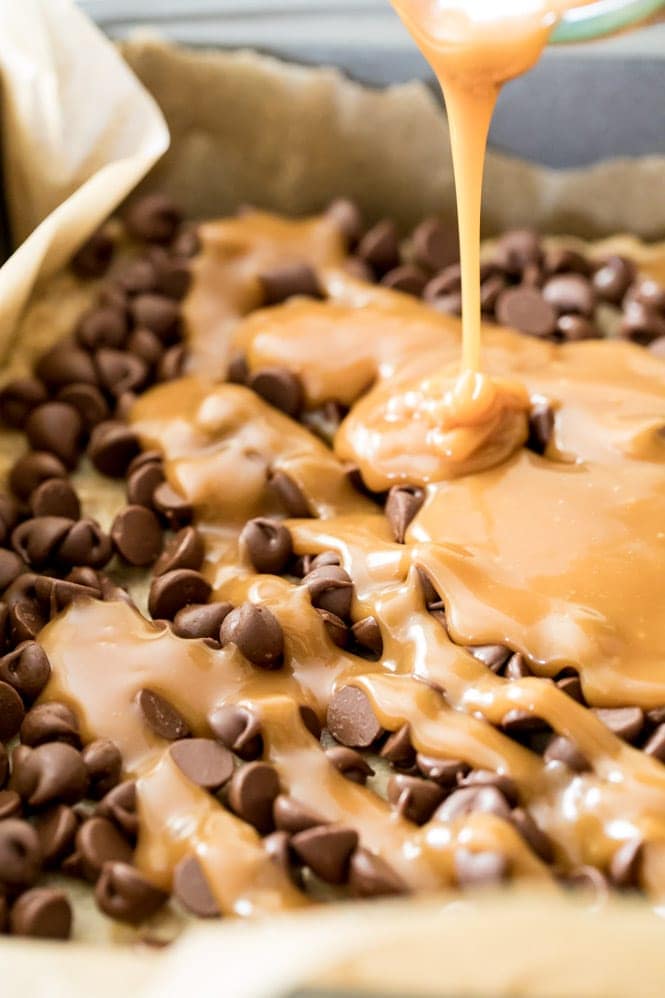
For how deliriously rich and decadent these Caramelitas are, they’re surprisingly easy to make. You start by making your oat-cookie dough, which is just 7 ingredients (no mixer required). Half of the dough is pressed into the pan and baked while you prepare your caramel filling, which is simply made of caramel candies and heavy cream that’s been melted together. Originally, the plan was to make a completely from-scratch caramel filling with no store-bought caramels involved. Well, to make a long story short, none of my homemade caramel variations worked. Actually, they worked, but they didn’t yield the gooey, melty caramel center that you want in a classic Caramelita. For this reason, I recommend keeping things simple and sticking to melting down store-bought caramels. Once the first cookie layer is finished baking, you’ll sprinkle it with chocolate chips, drizzle those with caramel, and then top everything off with the rest of your cookie bar mixture (careful not to touch the caramel when you’re adding your top layer, it’s hot!) and then bake everything again until golden brown.
Tips for Making Caramelitas
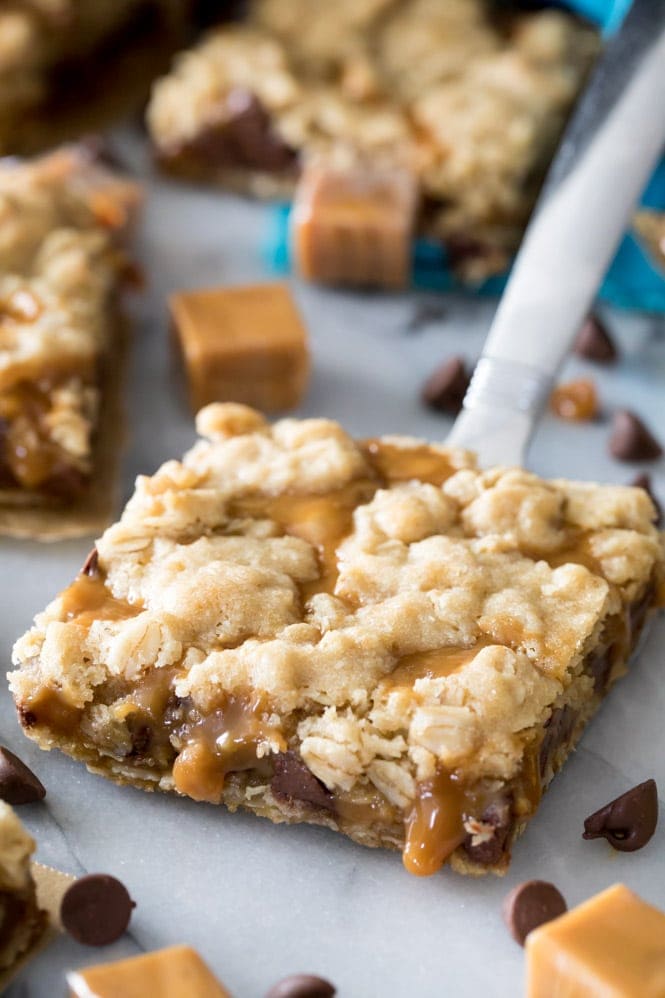
Melt your butter before you begin and allow it to cool for several minutes. If it’s too hot it can make your cookie dough too greasy and difficult to work with. I used milk chocolate chips for this recipe, but you could substitute semisweet or dark chocolate chips instead. White chocolate could also work but would make them quite sweet. Pecans or another favorite nut would also be a great addition to these Caramelitas! Sprinkle chopped nuts over the chocolate chips before pouring your caramel. I used a metal 9×9 baking pan for this recipe. If you don’t have a metal one, a glass one will work but it will take longer to bake. I don’t recommend using an 8×8 pan. Use parchment paper to line your baking pan when making your Caramelitas and use enough that it hangs over the sides of the pan. I know I talk about this with a lot of my recipes (like my homemade brownies) but it not only makes cleanup a breeze, it also will allow you to easily lift these finished cookie bars out of the pan and slice them once they’ve finished cooling. Oh, and about that cooling… Please, be patient! Let your Caramelita bars cool completely — for at least 1-2 hours — before lifting them from the pan, slicing, and serving. It’s tempting to dig in right away but I promise you you will have a huge mess on your hands if you do (and possibly some mild caramel-induced burns…). I don’t recommend putting your Caramelitas in the refrigerator to cool faster because that actually makes the chocolate/caramel center too firm, and you want the center to be soft and gooey and refrigerating the bars kind of ruins that.
Enjoy! My video for these Caramelita Bars is at the bottom of the recipe! If you enjoy watching my cooking videos, I’d love it if you would consider subscribing to my YouTube channel <3