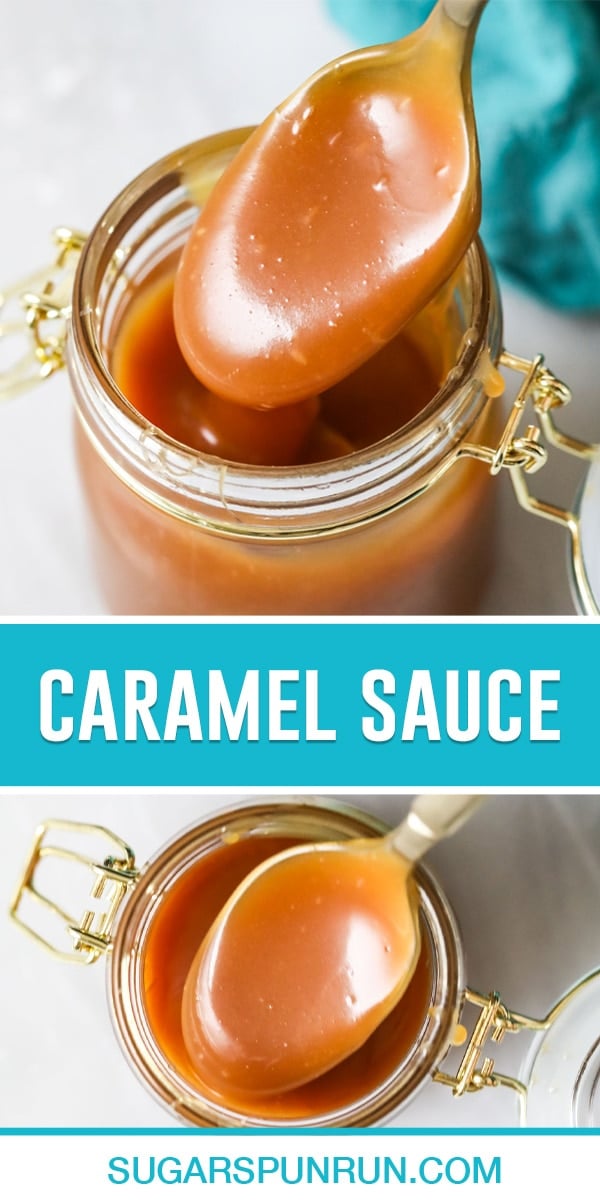
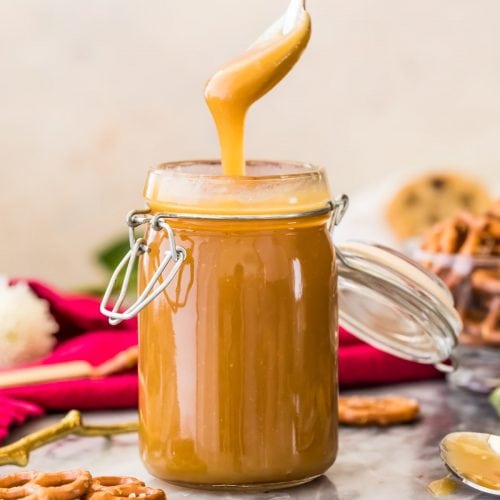
Perfect Homemade Caramel
If you’ve been following along for a little while, you might be thinking: “Doesn’t Sam already have a caramel sauce recipe?” And you’re absolutely right, I do! However, that recipe–my quick & easy salted caramel sauce–isn’t actually a real caramel by standard definition. It’s still incredibly tasty though, and it’s the perfect fast and simple caramel for drizzling over brownie sundaes (yum). Today’s recipe is a true caramel. It starts with a granulated sugar base (a hallmark of real caramel — like my homemade caramel candy!) that cooks slowly until it becomes a perfectly golden and thick sauce that’s just glorious. The preparation is a bit different from my other recipe, but it’s still fairly quick and easy.
5 things to know about this recipe:
Customizable consistency: use less cream for a thick sauce or more for a thinner sauce. Makes a great salted caramel: I include instructions on how much salt to add depending on your preference and intended purpose. Requires patience: caramelization takes time! Don’t walk away from your stove and don’t crank up the heat to speed things up. You should be used to this advice if you’ve made any of my candy recipes 😊 Candy thermometer required: I know how intimidating it can be to whip one of these out, but I promise this caramel is easy! Many recipes just go by visual cues and scent, but I like using a thermometer to be as accurate as possible and so everyone can be successful.
Before we start, let’s quickly go over which version of this sauce you should make for your intended use.
Thick VS. Thin Caramel Sauce
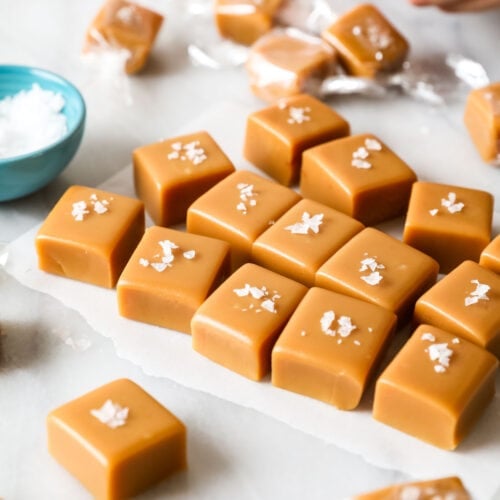
The great thing about my recipe is I include an option to make the caramel thicker or thinner, according to your preference or recipe. A thicker caramel that could be used for caramelitas has been high on my list of requests.
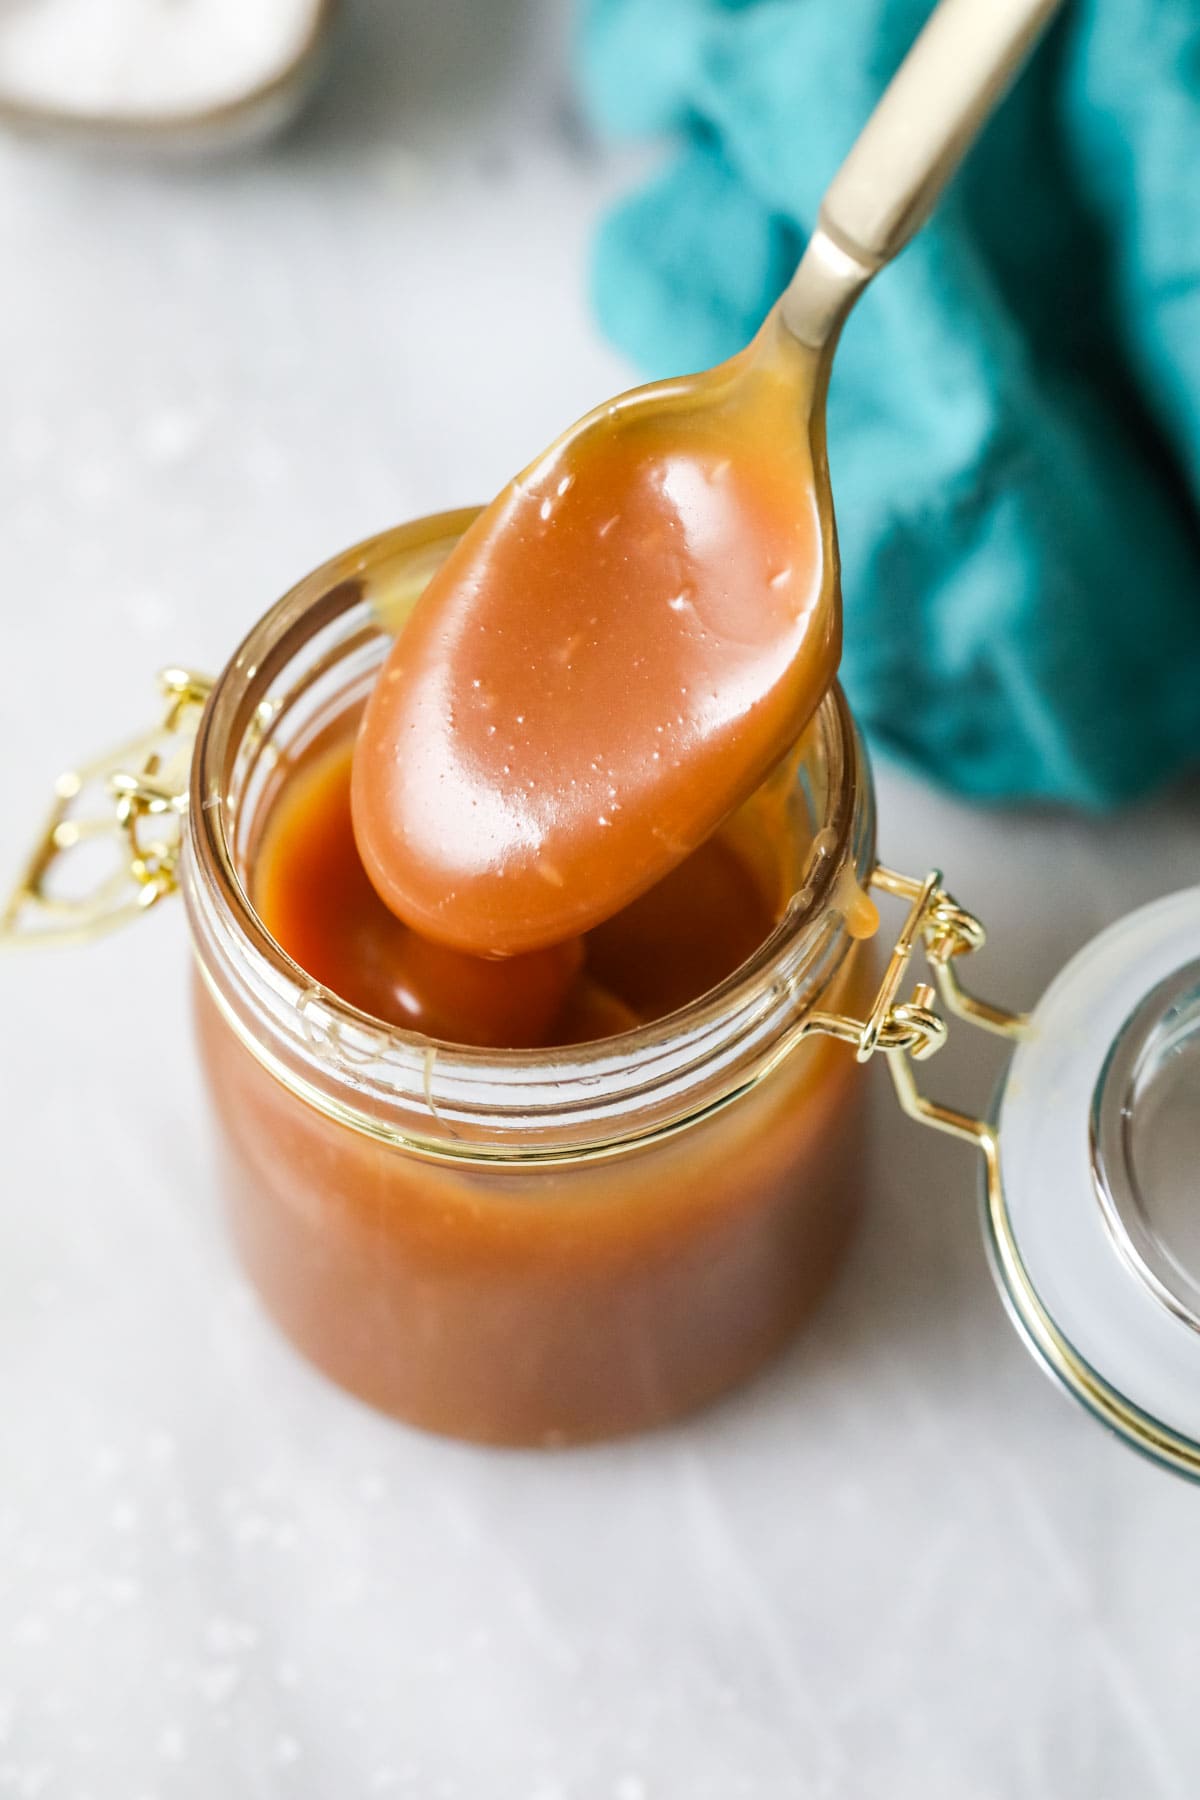
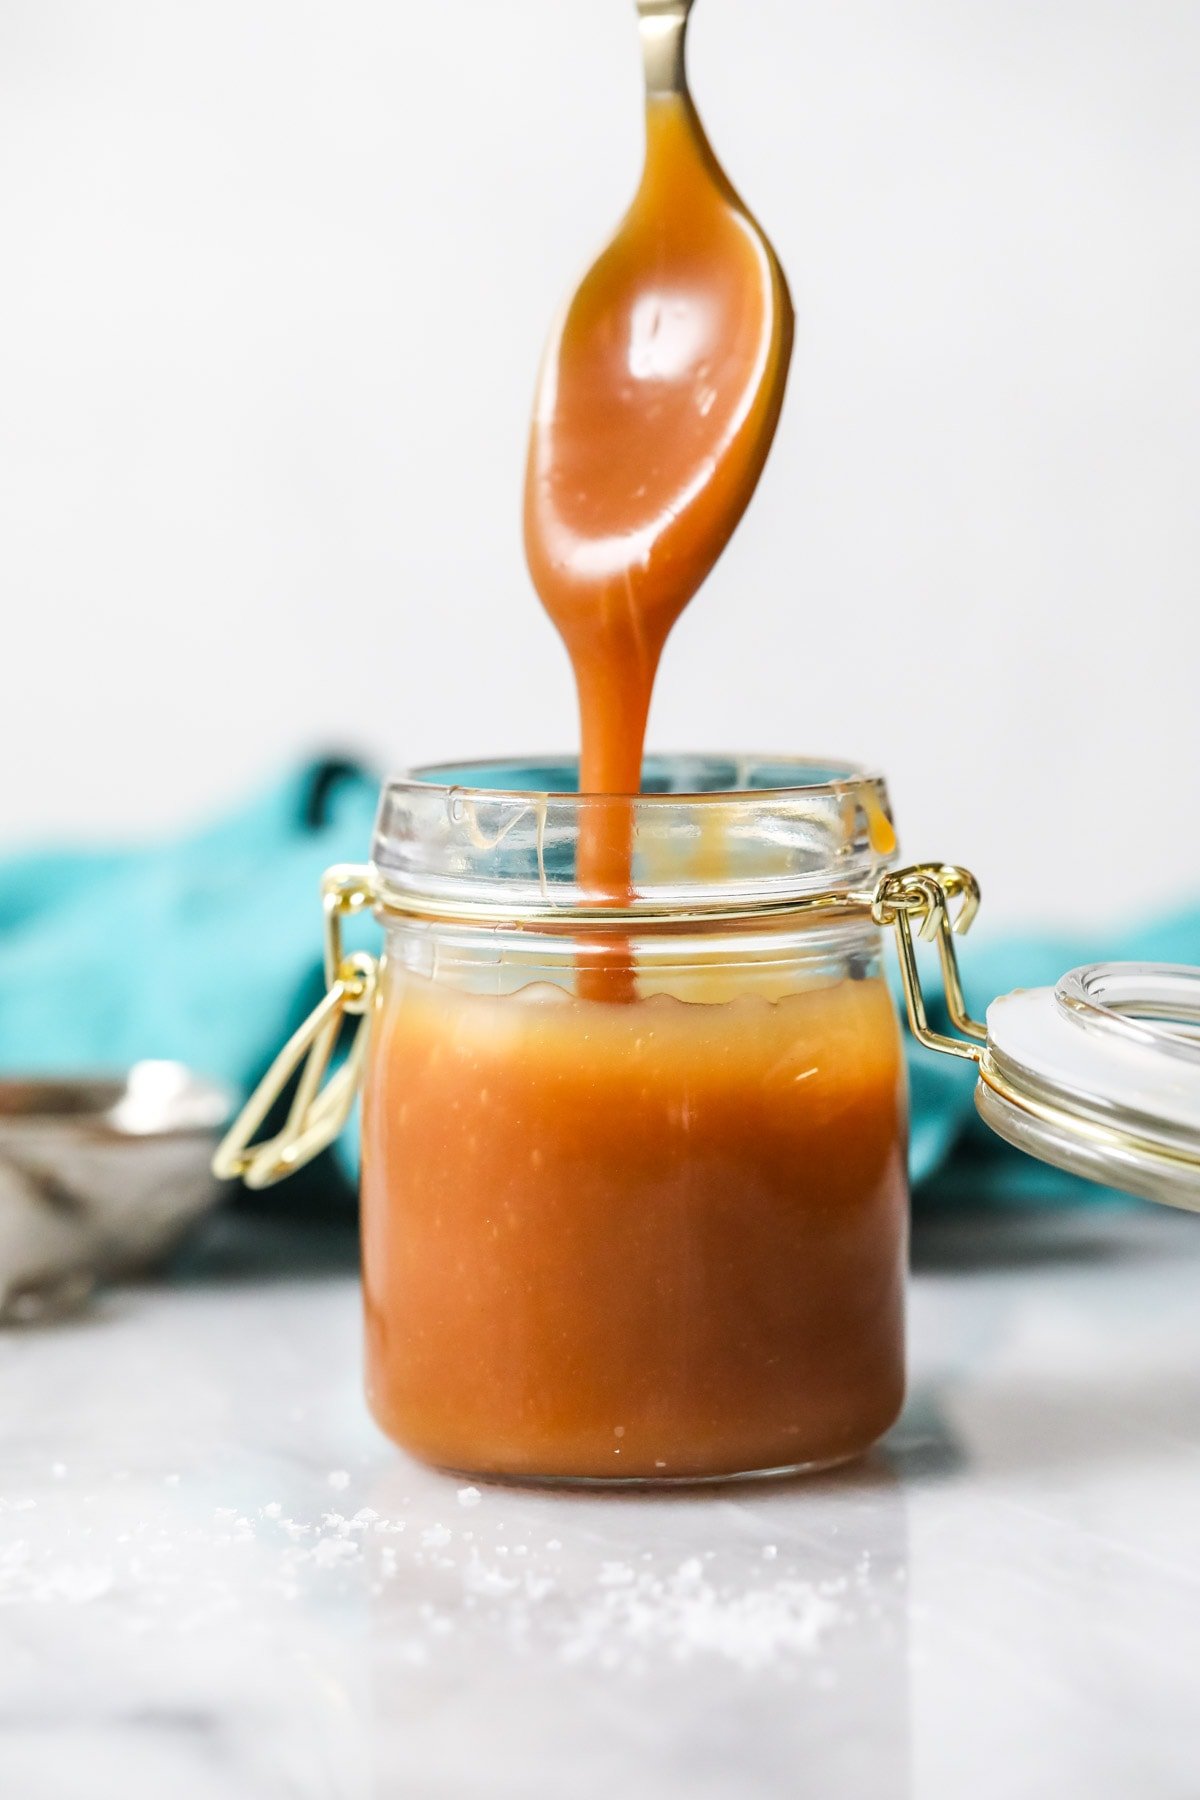
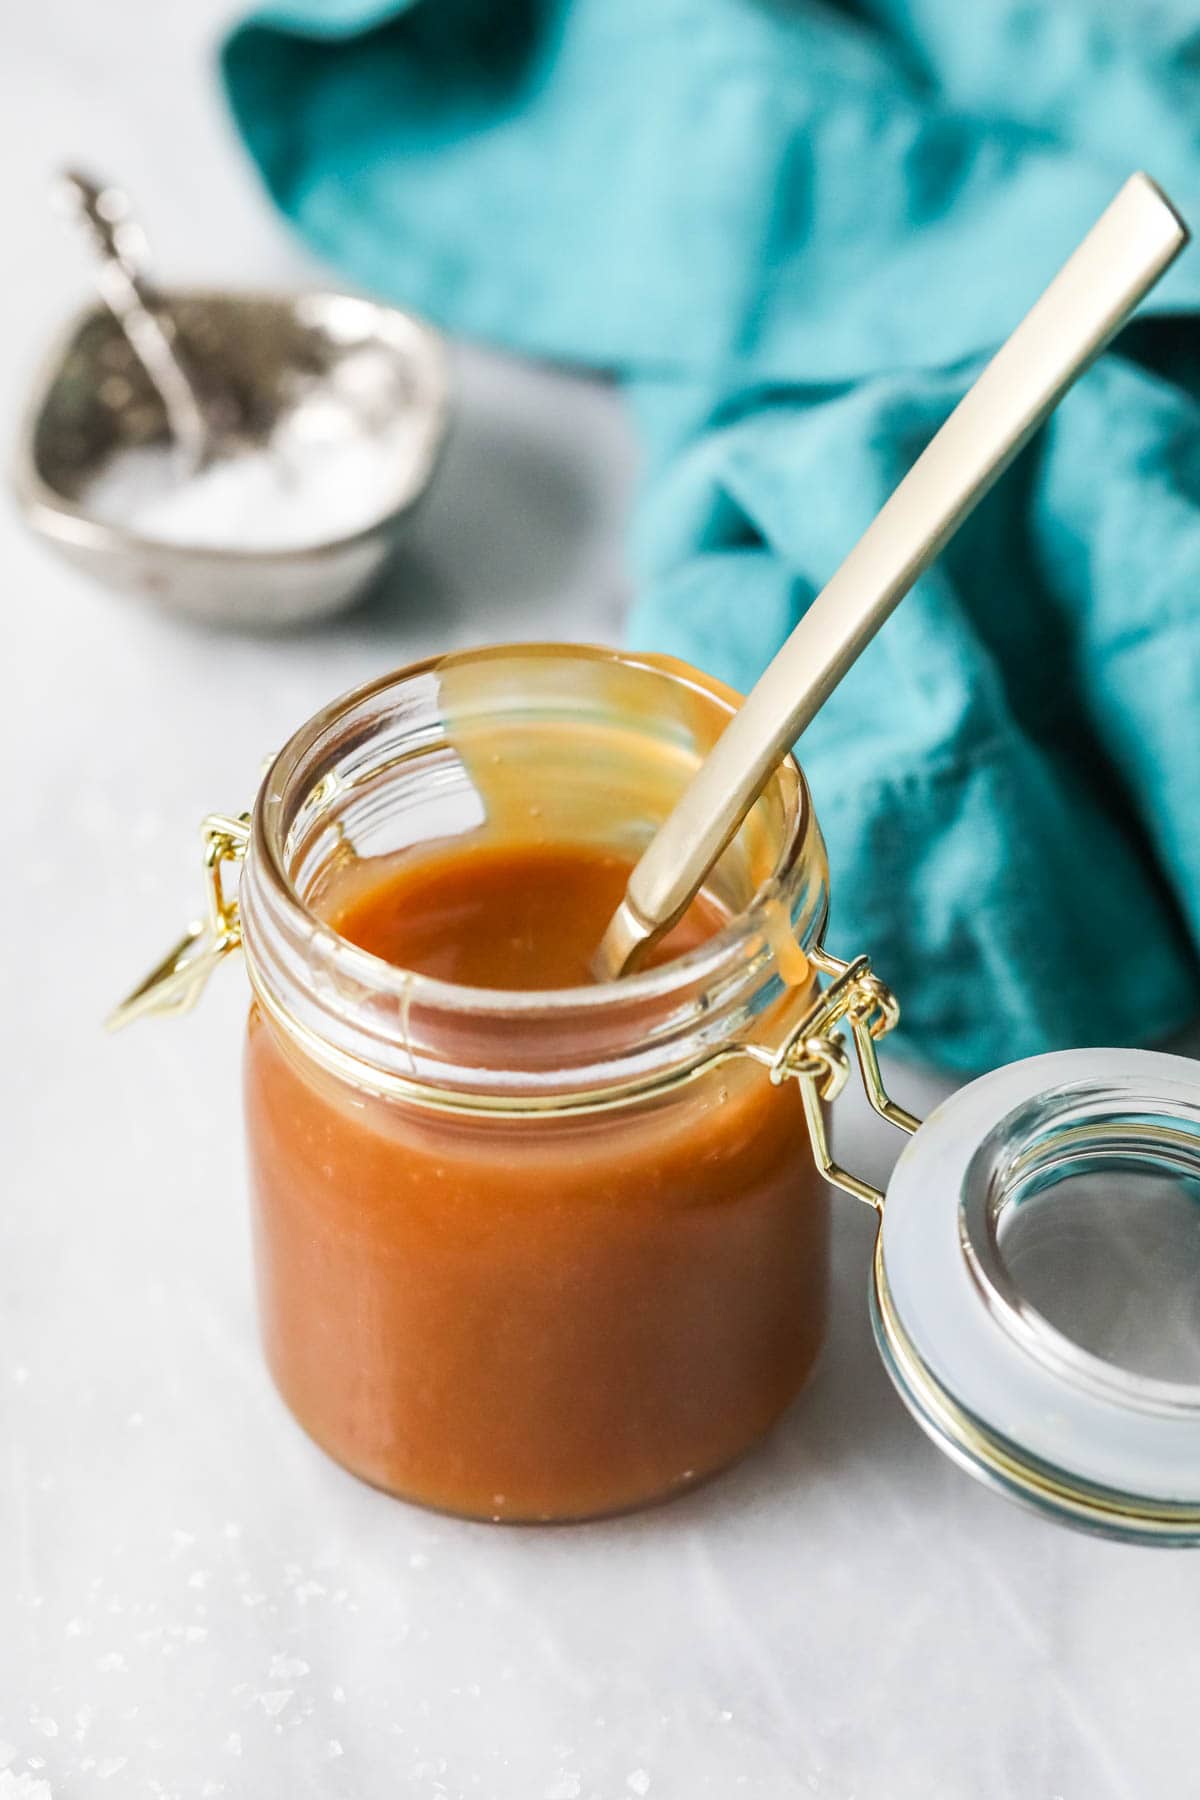
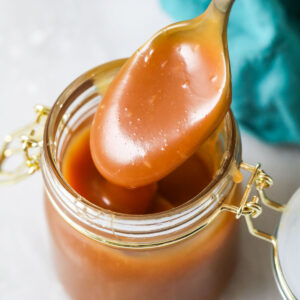
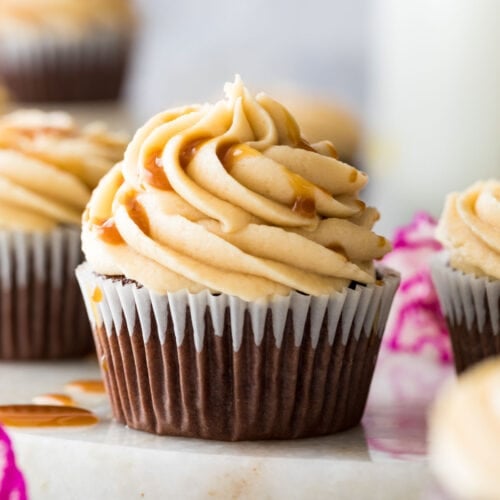
The classic recipe, as written, is still quite thick despite being the thinner of the two. It will spread and spill over any flat edge. I tend to use it in desserts that need to be refrigerated (like my salted caramel cheesecake–coming soon!) since it’s easier to bite and chew when cold. Use this version for drizzling over ice cream, a slice of cake, or in your morning coffee.
What You Need
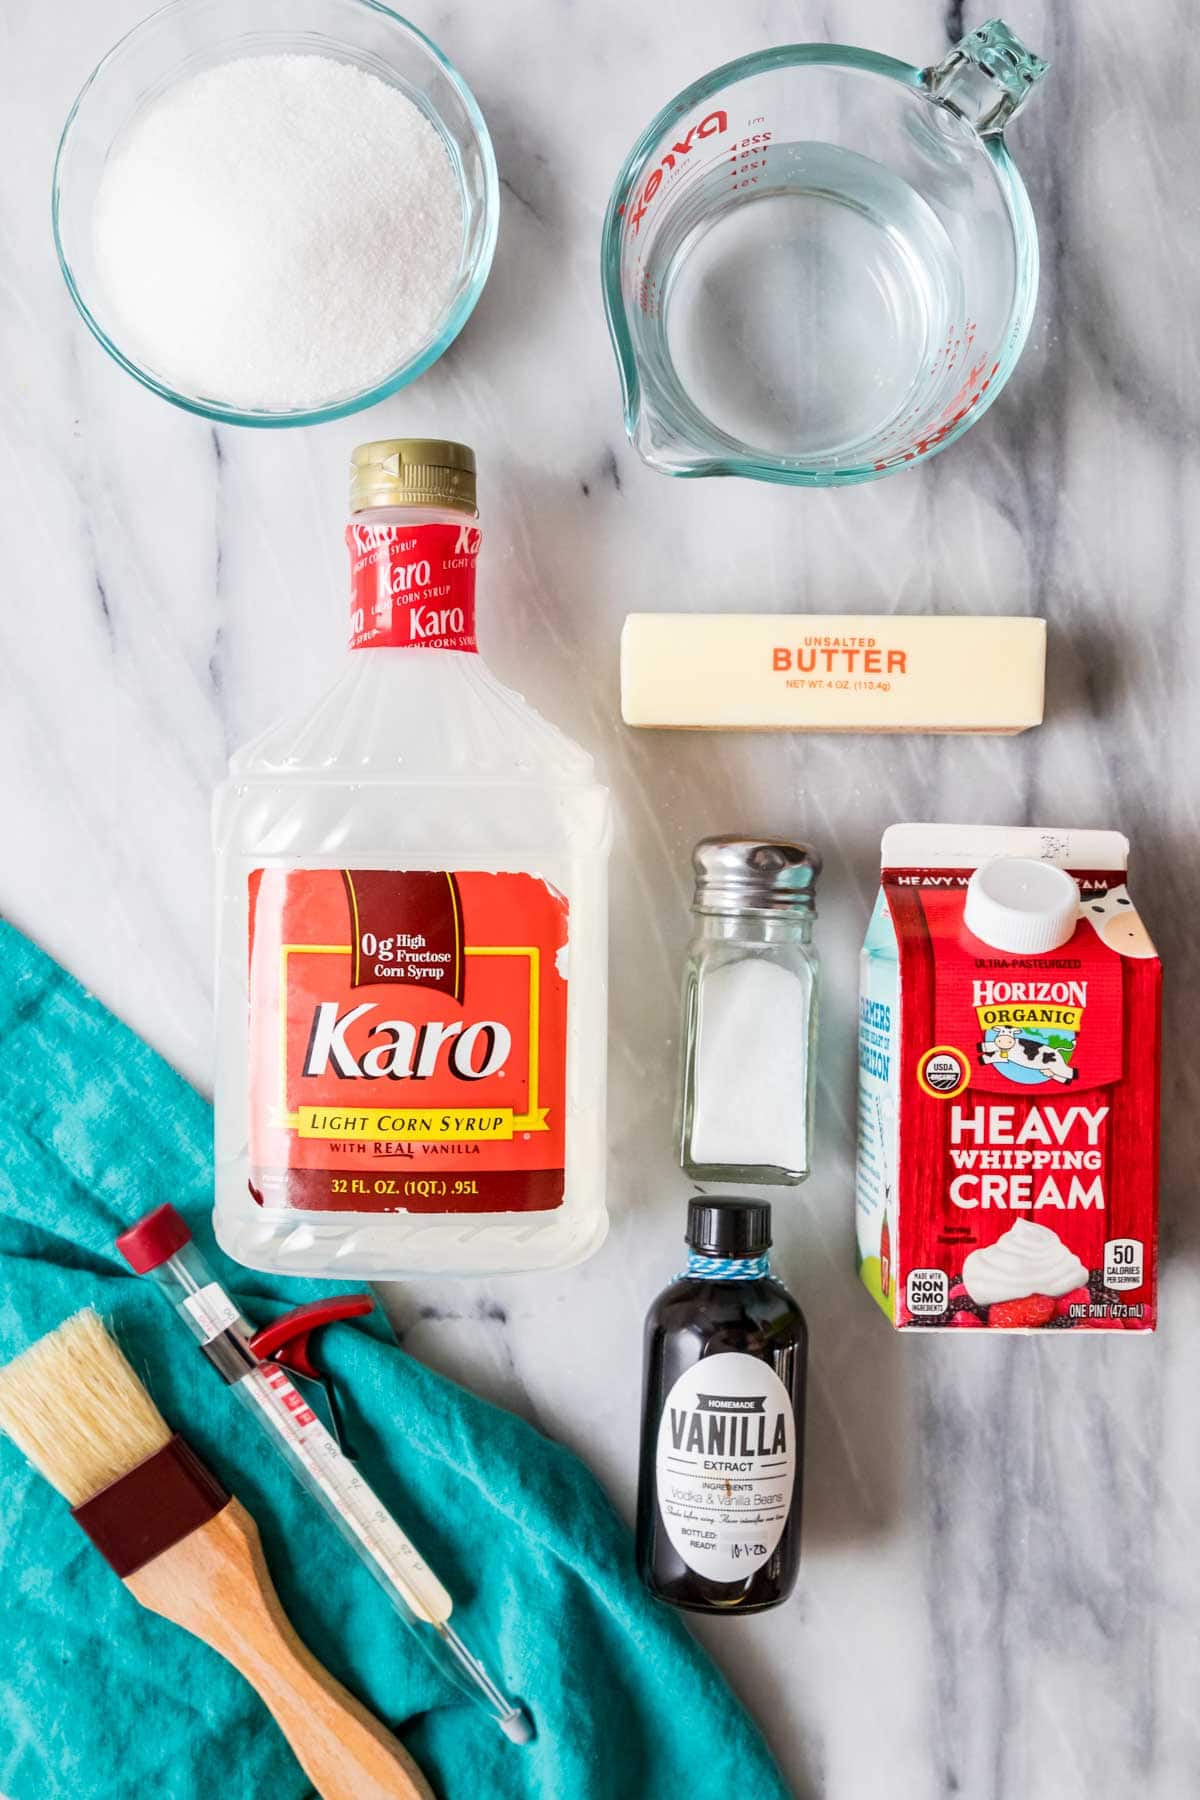
My caramel sauce uses classic caramel ingredients (sugar, butter, cream) plus a few others for flavor and proper consistency.
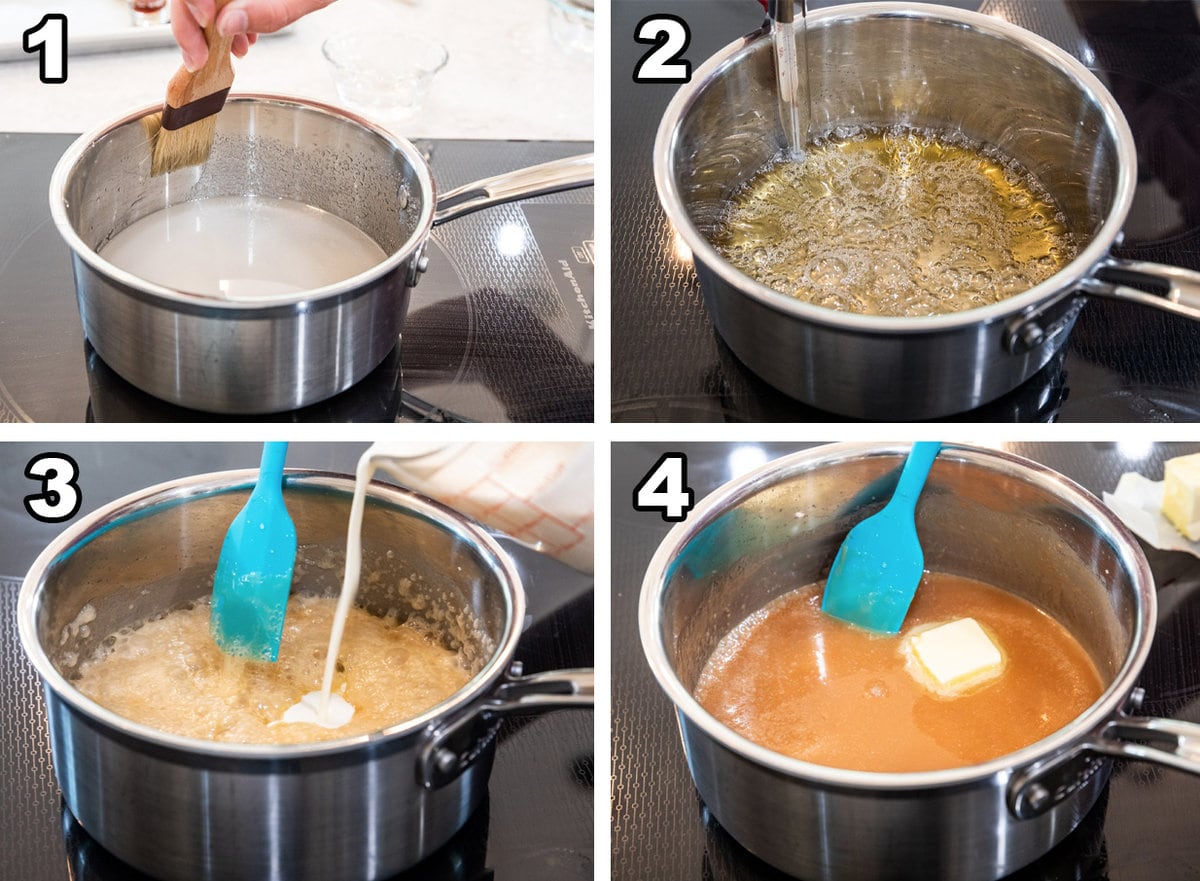
Granulated sugar. While my quick & easy salted caramel sauce recipe begins with brown sugar (that’s one of the things that makes it so quick & easy!), we are sticking with traditional granulated sugar today. Heavy cream: Your caramel will be thinner the more cream you add. For this recipe and classic caramel sauce (best for draping over ice cream or a slice of cheesecake), we use ½ cup (120ml) cream. However, for a very thick, chewy caramel (but one that’s still viscous), you can reduce to ¼ cup (60ml) heavy cream. Unlike my other caramel recipe, this recipe adds the cream at the end; I explain the reasoning behind this in more detail below. Water. Water is necessary to help the sugar dissolve and heat evenly. It also prevents crystallization. Corn syrup. This is optional, but I add corn syrup (not the same thing as high fructose corn syrup!) to prevent the sauce from turning grainy. Golden syrup will also work. Vanilla + salt. Both vanilla extract and salt enhance the flavor of the caramel. Don’t skip either!
You will also need a candy thermometer and, optimally, a pastry brush. We’ll be heating our caramel sauce to 340-345F (171-173C), so a candy thermometer is a must here (an instant read is not recommended). We’ll use the pastry brush to clean up any crystallization that occurs while the sugar is dissolving. SAM’S TIP: If you want a salted caramel sauce, use ½ teaspoon of salt. If you just want regular caramel, use ¼ teaspoon. Remember, this is just an overview of the ingredients I used and why. For the full recipe please scroll down to the bottom of the post!
How to Make Caramel Sauce
Adding the cream at the end vs. the beginning: Adding the cream at the end of the cooking process is intentional! I do this because it’s important to first cook the sugar to the point of caramelization; during this process, the heat breaks down the sugar molecules and gives us the distinct caramel taste and amber color. If we added the cream at the beginning with the sugar, the sugar just wouldn’t caramelize as effectively. Plus it would lower the temperature of the sugar as it cooks. So adding the cream at the end is best. I developed the thicker version of this caramel sauce by request for use in my caramelitas (this is the exact amount needed for that the recipe!). If you plan to do this too, just know that the caramel layer won’t be quite as distinct and some sinks to the bottom, but it’s still a very tasty dessert, and it means you don’t have to use store-bought caramels! Enjoy! Let’s bake together! I’ll be walking you through all the steps in my written recipe below! If you try this recipe, be sure to tag me on Instagram, and you can also find me on YouTube and Facebook
Related Recipes