How long it takes: 30 minutes to prep, 25 minutes baking time, 2 to 3 hours to chill Equipment you’ll need: microwave-safe mixing bowls, 9 x 13 inch pan Servings: 24 large bars (or up to 96 bite-sized bars)
Why You’ll Love Buckeye Brownies
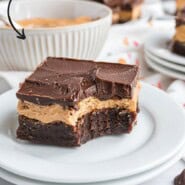
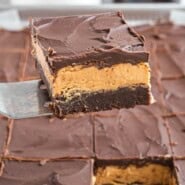
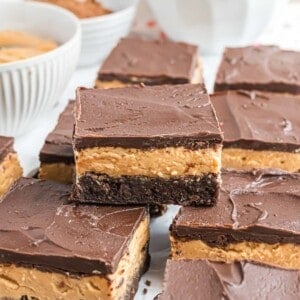
Because they’re stinkin’ good! Really, you can’t go too wrong with these bars. Marrying brownies with buckeyes is a genius move. So good! Three layers of deliciousness! Much easier to make than the candies. Many of you may be familiar with buckeyes, the chocolate peanut butter candy that’s so popular. The candy is hand-rolled into small balls, and then partially dipped in melted chocolate, leaving an “eye” open on the top, similar to a nut by the same name. The candy is delicious, no doubt about it, but buckeyes are a little time-consuming to make with all that rolling and dipping. Buckeye brownies require much less fussy hands-on time! Makes a big batch. Although you can cut the pan of brownies into 24 squares, these bars are pretty rich. I find that they can be cut into much smaller pieces, more the size of the candies. I’ll leave that up to you! Freezer-friendly. Buckeye brownies freeze well. They can safely be stowed away in the back of your freezer where you won’t be tempted to eat one every time you look at the refrigerator. But just saying, these sweet treats are as great frozen as they are thawed so the freezer may not be much of a deterrent.
Ingredient Notes
Be sure to refer to the recipe card below for the complete list of ingredients and measurements.
Butter: All three layers in buckeye brownies contain butter so you’ll need almost 16 oz. (4 sticks). I always choose unsalted butter when baking. If you only have salted butter, omit the added salt in the recipe. Don’t worry about softening the butter ahead of time because you’ll be melting it for this brownie recipe. Cocoa Powder: Look for cocoa powder in the baking section of the grocery store. Cocoa powder is unsweetened. (It’s not the same thing as instant cocoa powder that you use to make hot chocolate.) I tried both Hershey’s Cocoa and Ghiradelli Cocoa to compare; Ghiradelli has a richer chocolate flavor which we preferred. Sugar: The brownies are made with regular granulated white sugar. Eggs: I find that having the eggs at room temperature works best when making baked goods. Simply take them out of the refrigerator an hour before you begin (and don’t worry if you forget, the brownies will still turn out!). All-Purpose Flour: You’ll need only 1 cup of flour to make these fudgy brownies. Pure Vanilla Extract: As always, choose the real vanilla extract, not imitation vanilla which is made with who knows what. You’ll need vanilla for both the brownies and the peanut butter layer. Peanut Butter: There’s plenty of peanutty goodness in these bars! You’ll need 2 cups of creamy peanut butter, such as Jif or Skippy. Natural peanut butter that has to be stirred doesn’t work well for this brownie recipe. Powdered Sugar (Confectioner’s Sugar): Finely ground powdered sugar gives the peanut layer a velvety smooth texture. Semi-Sweet Chocolate Chips: For the ganache-like chocolate topping, you’ll need a package (2 cups) of chocolate chips. I prefer semi-sweet for these brownies but you can use milk chocolate if that’s your preference.
How To Make Buckeye Brownies
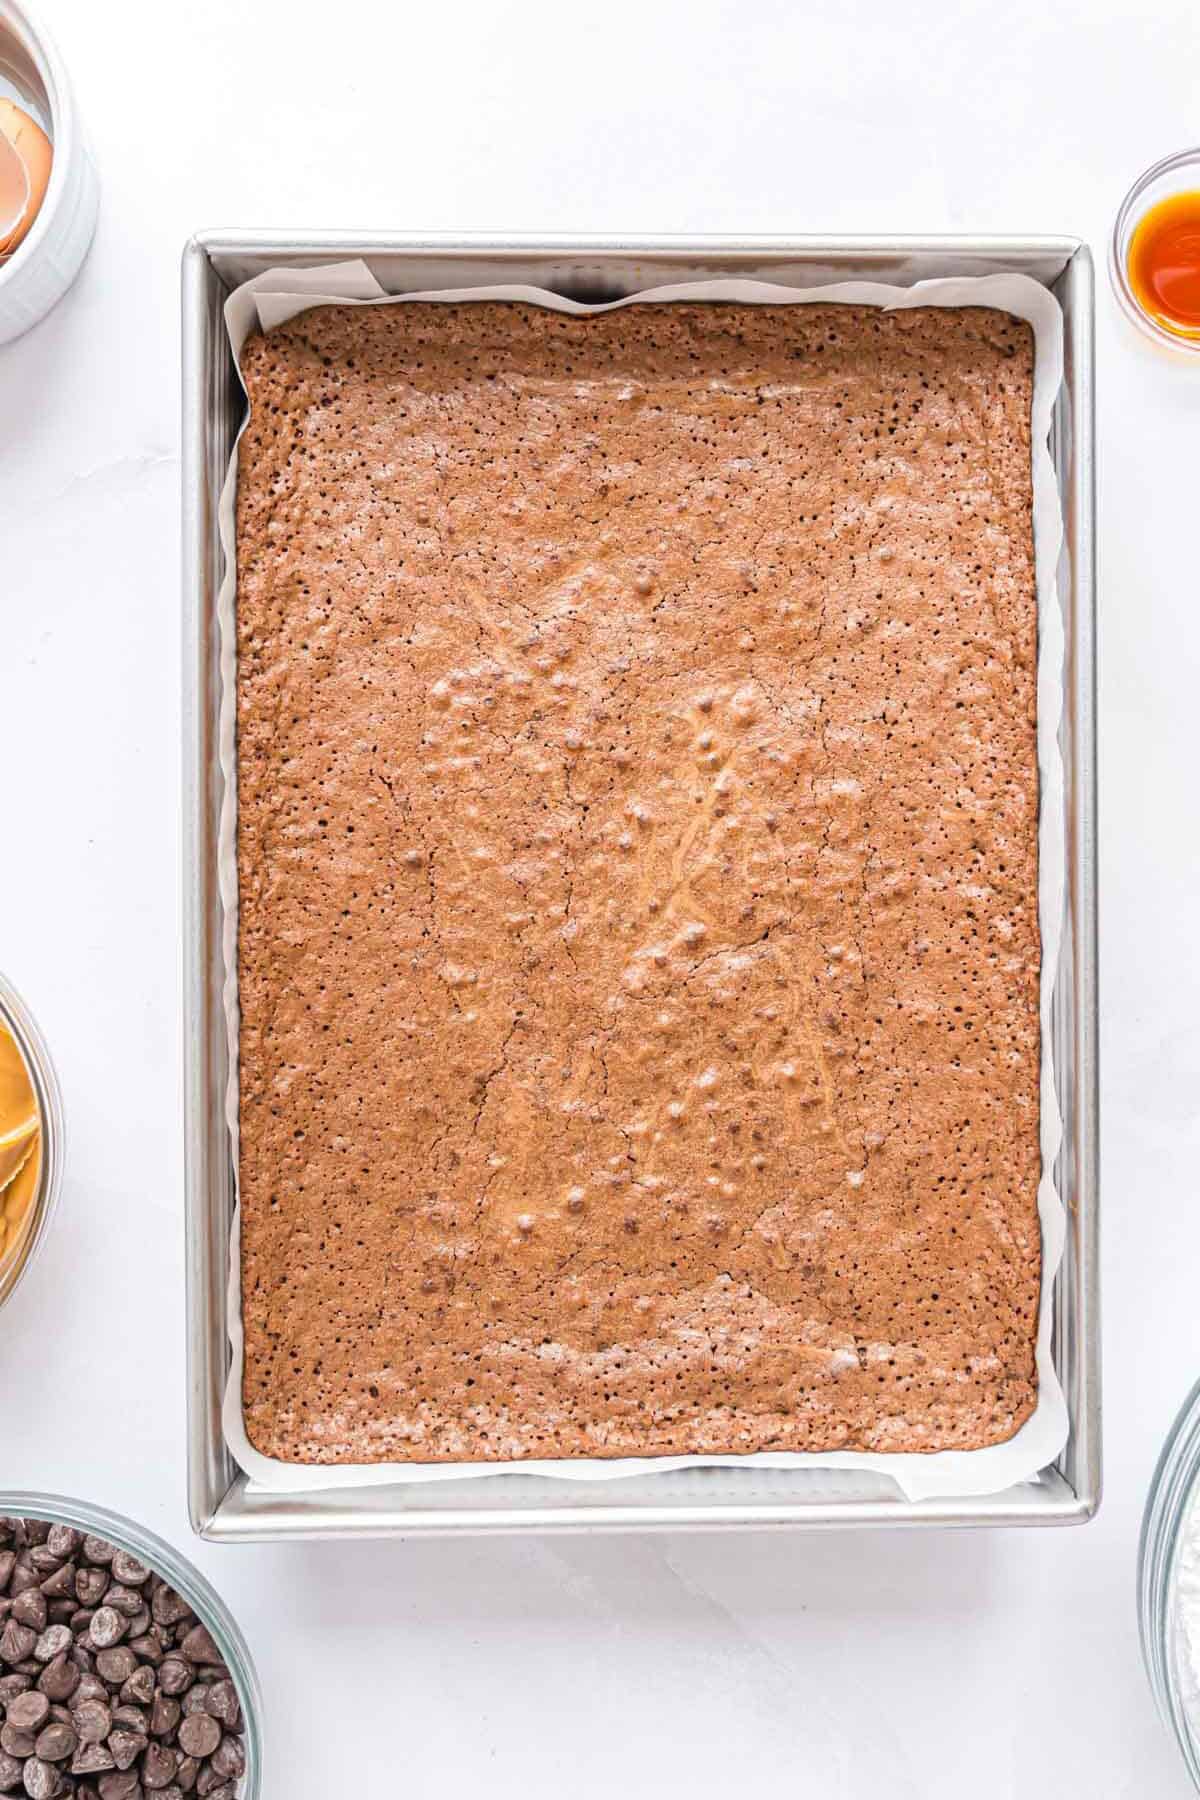
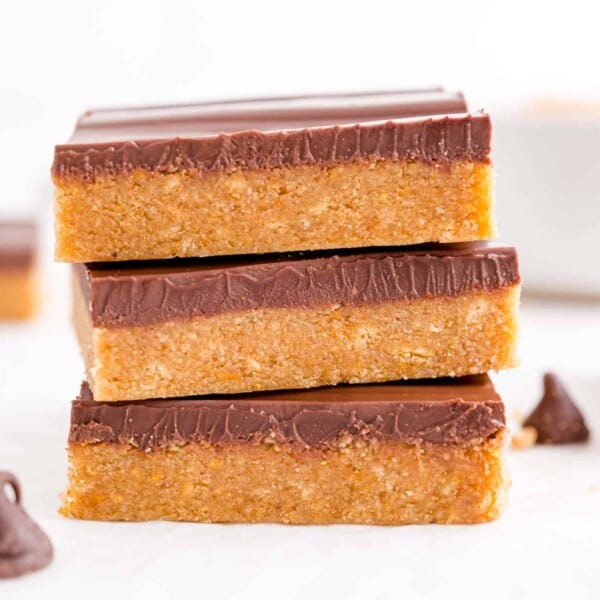
This brownie recipe has three layers. Allow extra time to chill each layer before adding the next one. Cut the paper a little larger than the pan; the extra paper forms “wings” on the sides. You can use the wings as handles to lift the bars out of the pan after they are baked. It’s much easier to cut bars on a flat surface than inside the pan. Prepare the brownies. Start preheating your oven and prep a 9 x 13 pan with parchment paper and nonstick spray (see the note above). In a large microwave-safe bowl, melt the butter in the microwave. Add the granulated sugar and cocoa powder. Stir the three ingredients together until smooth. Mixing the cocoa powder with the warm melted butter helps it to “bloom” or develop a deeper chocolate flavor. Stir in the eggs and vanilla extract. Mix well. The mixture should look glossy. Set the bowl aside. In a separate small mixing bowl, whisk together the flour, salt, and baking powder. Stir the dry ingredients into the chocolate mixture until just combined. You shouldn’t see any dry flour but don’t overstir the batter. Spread the brownie batter into the pan you prepared. Bake for 25 minutes in the preheated oven. Allow the brownie layer to cool completely before proceeding with the next step. This may take one to two hours. Add the peanut butter layer. Melt the butter in a microwave-safe bowl. Add the peanut butter, vanilla, a pinch of salt, and the powdered sugar. Stir well until smooth and blended. The mixture will be somewhat dry, similar to cookie dough. Drop spoonfuls of the peanut butter mixture onto the cooled brownies. Pat it down in an even layer with your fingers, completely covering the brownies. Set the pan aside. Top with the chocolate layer. In a microwave-safe mixing bowl, melt the chocolate and butter together in 20 second intervals. After each interval, stir the mixture vigorously. Stop when both the chocolate and butter are melted and you can blend them together. Spread the chocolate over the peanut butter layer. I find that it works best to work in sections. Spoon some of the chocolate on, spread it with an offset spatula, then add more chocolate and spread that, until the top is covered. The chocolate layer will be thin but you’ll find that it’s just right! Chill the bars in the refrigerator until the chocolate is set, about 30 minutes. The surface of the chocolate looks glossy when it’s warm but it will appear dull when it’s cold. Cut the bars into squares.
Helpful Tips
Measure dry ingredients accurately. Use a measuring cup that is made for dry ingredients. It will have a flat top, not a spout. Spoon the flour (and powdered sugar) into the measuring cup and level it with the flat side of a knife. Don’t shake it down to level it because that will compact the flour. Allow enough time for chilling. It’s essential to cool the brownie layer before adding the peanut butter layer. If it’s still warm, the peanut butter will melt and make a soupy mess. Chill the chocolate layer so it firms up before you cut the bars. Score the bars before cutting. To help prevent the top layer from cracking after chilling, I use a sharp knife to score the hardened layer into squares. Then I make the cut through the other layers using the score lines as guides.
Recipe Adaptations
Use a brownie mix. If you’re in a hurry, use your favorite brownie mix to make the first layer. A plain family-size brownie mix is best, with no added extras like chocolate chips, nuts, or caramel. Make it nut-free. Substitute sunflower seed butter (such as SunButter) for the peanut butter. Substitute milk chocolate. If you’re not a fan of dark chocolate (semi-sweet), feel free to use milk chocolate chips. Make individual buckeyes candy.
Storage & Freezing
Store brownies in an airtight container, with parchment or waxed paper between layers, for up to 4 days or in the refrigerator for up to 1 week (you might even prefer them chilled). The brownies can be frozen in a freezer-safe container for up to 3 months. My family enjoys eating the brownies right out of the freezer, or you can thaw the brownies overnight in the refrigerator before serving. Quick-Start Guide!