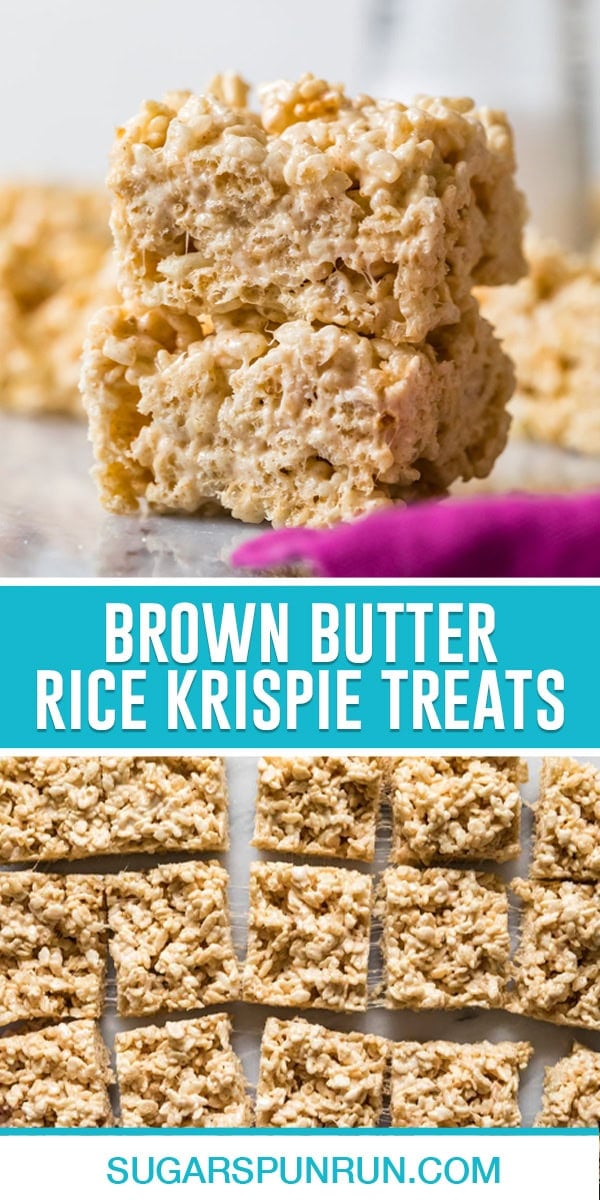
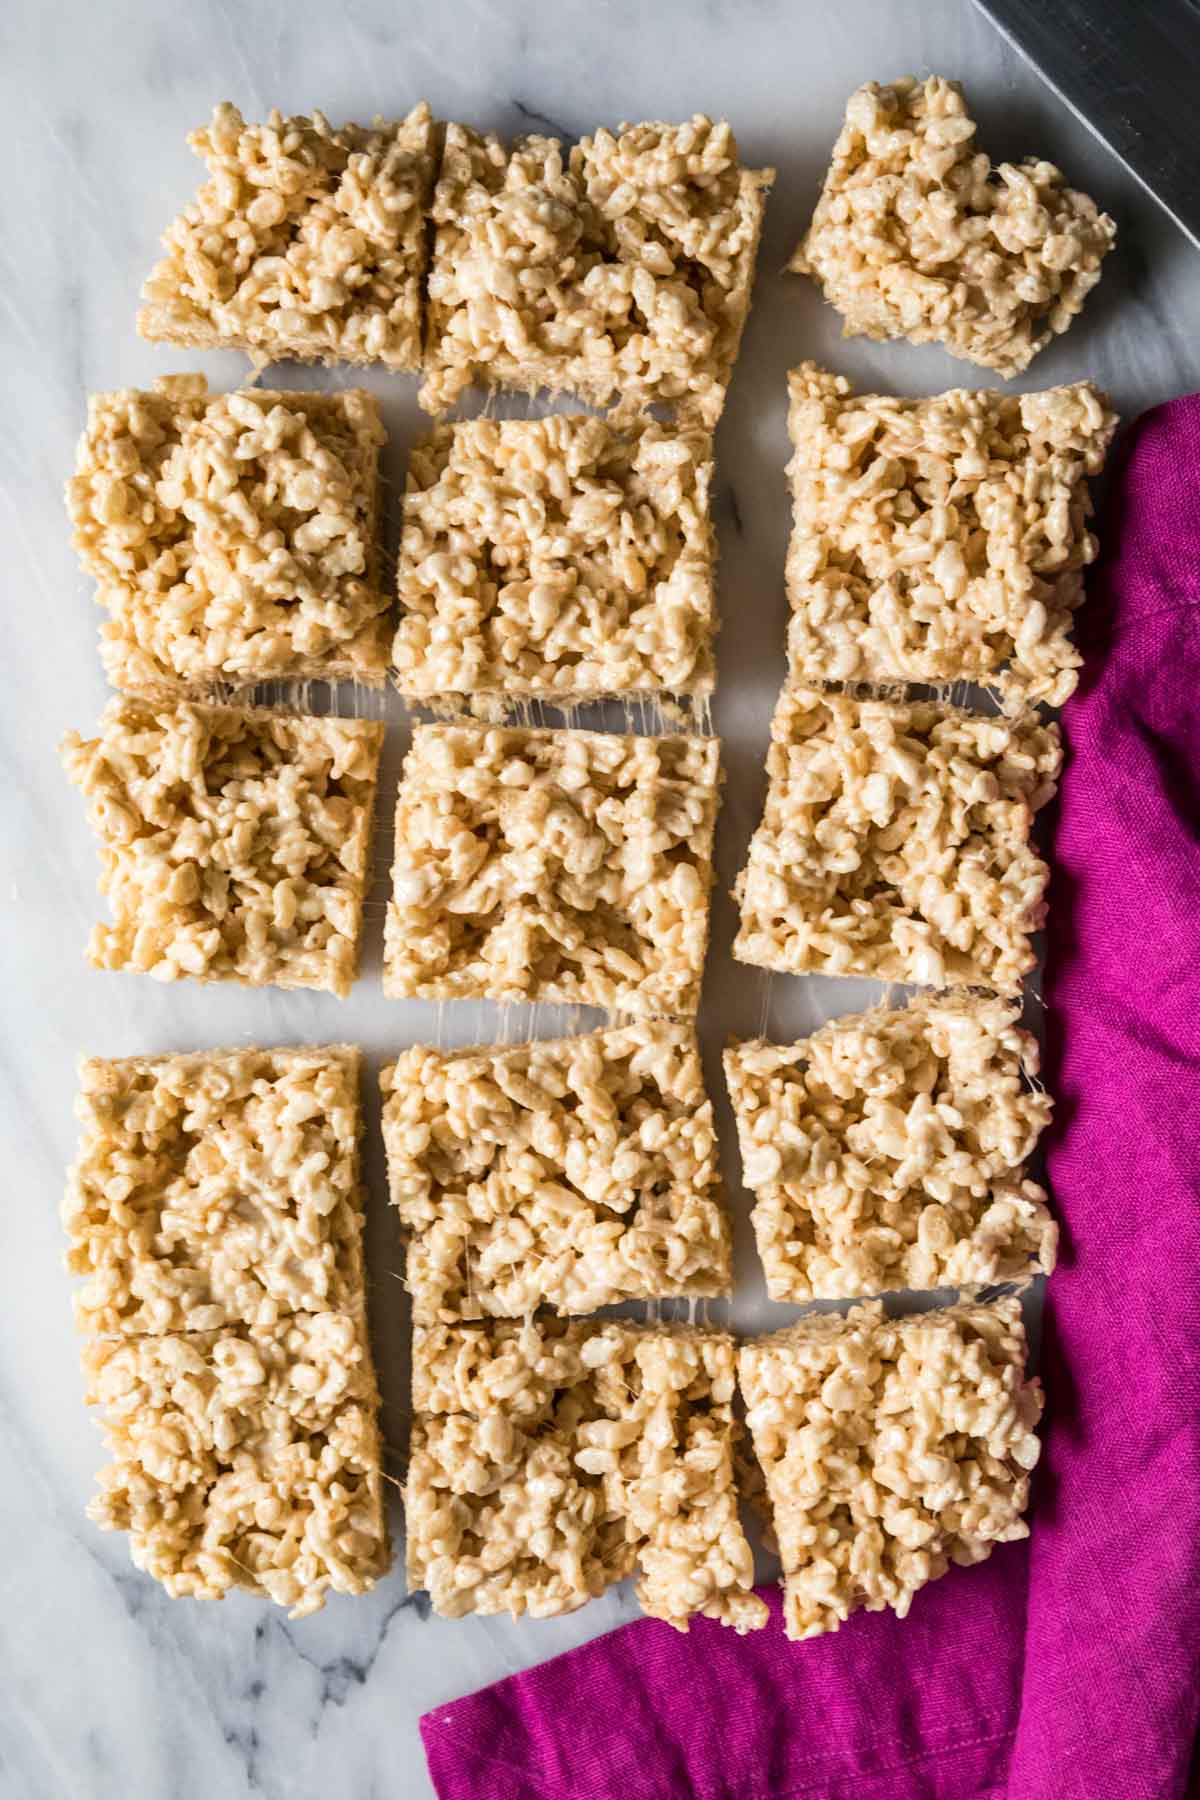
Gourmet Brown Butter Rice Krispie Treats
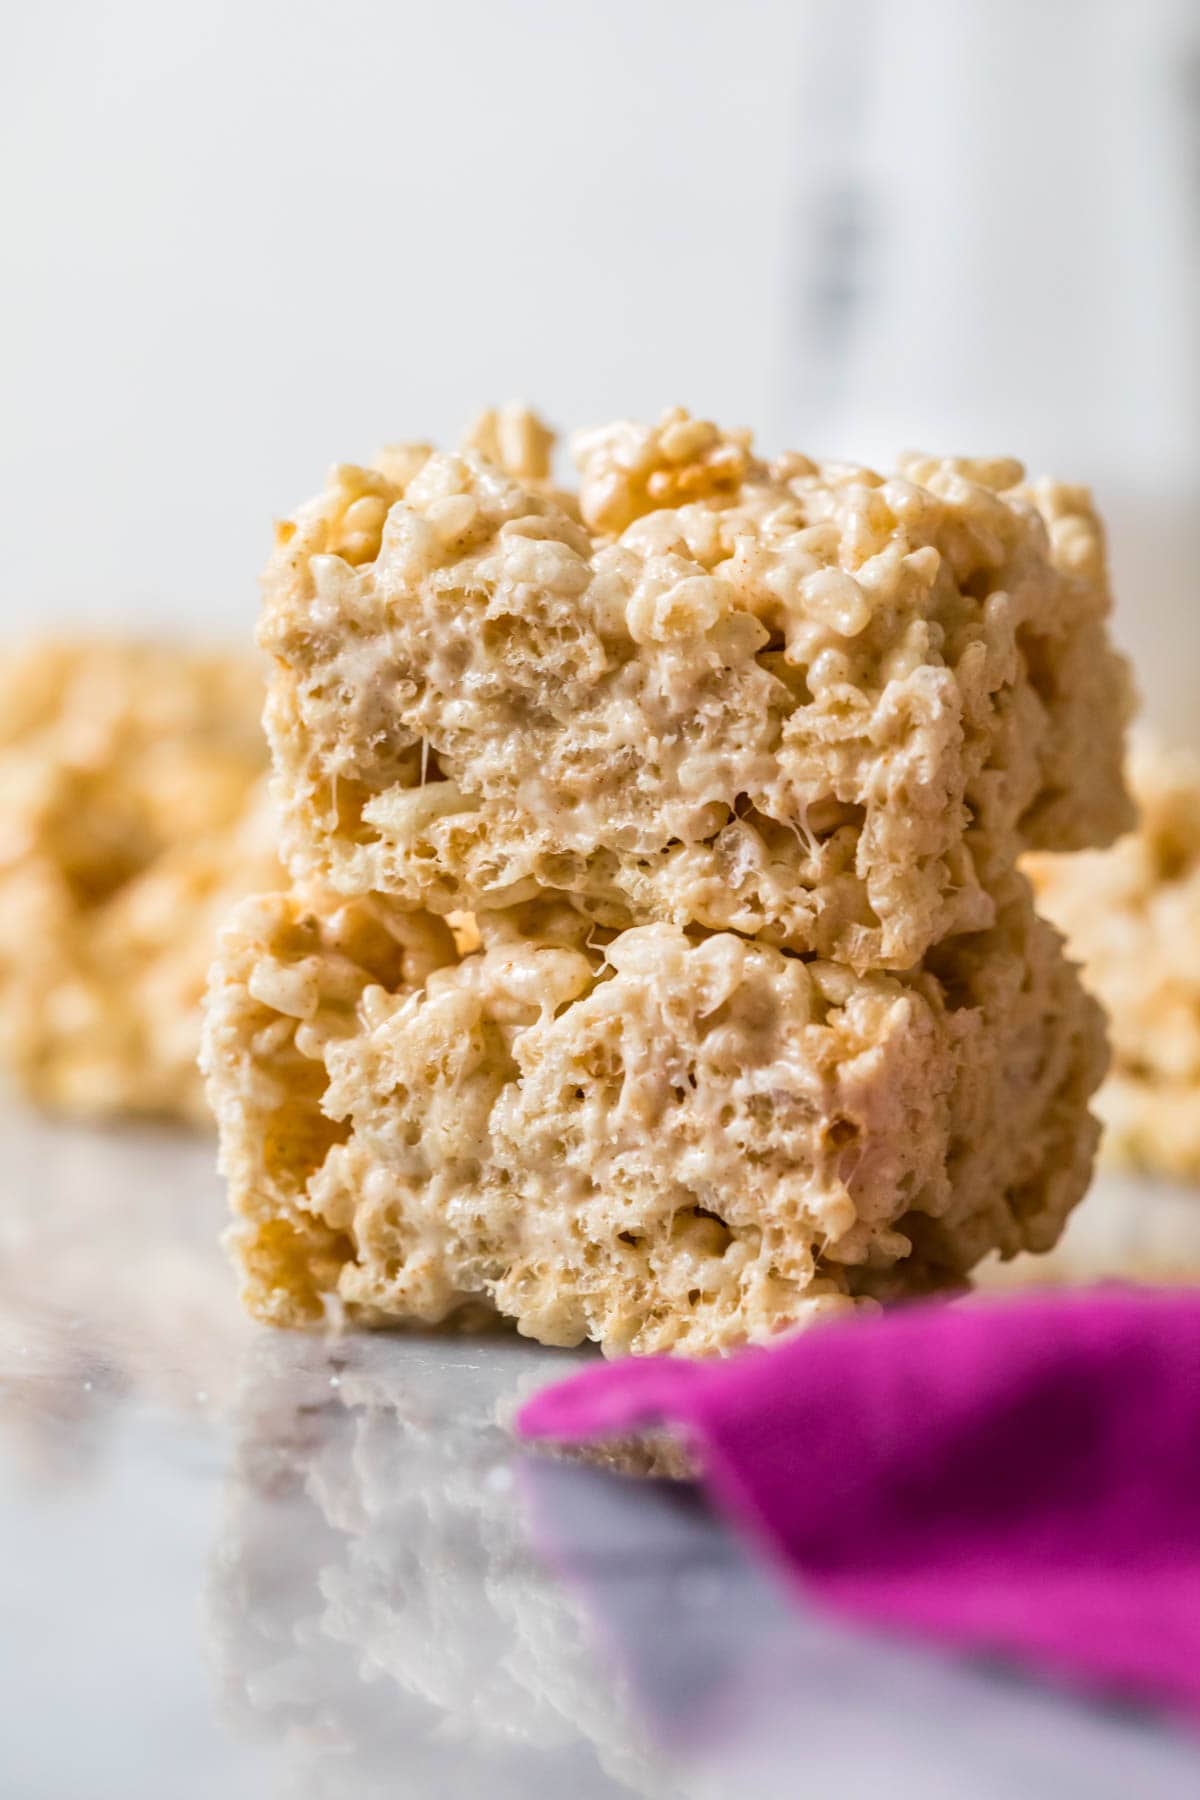
Incorporating brown butter is a simple way to elevate classic rice krispie treats to gourmet status. The brown butter flavor shines and really adds extra oomph to the final product, which is flavorful, satisfying, and simply impressive.
Why You’ll Love This Recipe
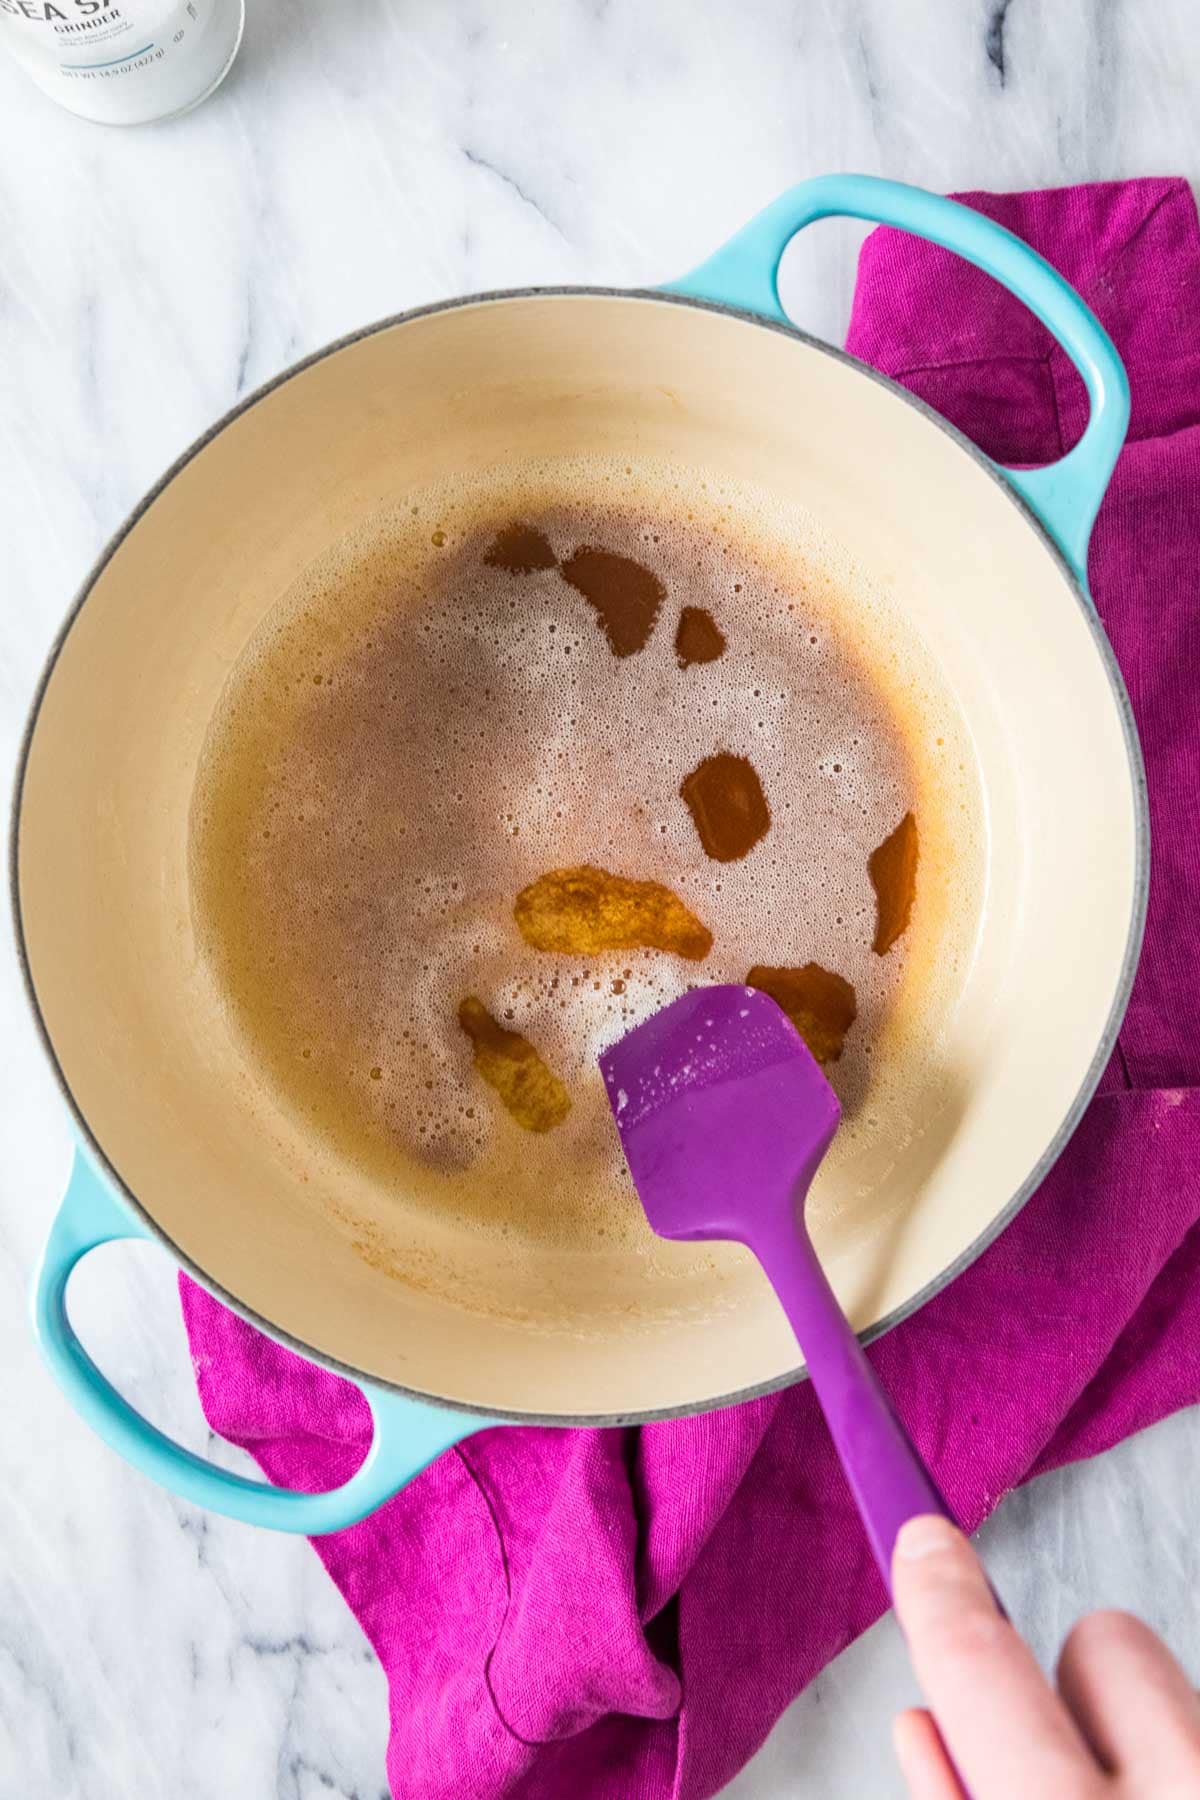
Gourmet taste with minimal effort. The hardest part is browning the butter, but even that is really simple. I have a separate post on how to brown butter if you’re especially nervous about this part. No fancy equipment or ingredients needed. Fast: only 5 minutes to prep and another 5 to cook. If you need a last-minute, impressive dessert, this is it! A sprinkle of sea salt makes this a balanced salty sweet treat, similar to my peanut butter rice krispie treats!
From my cosmic cookies and brown sugar pop tarts to my ding dong cake, I think I’ve developed something of a thing for taking nostalgic childhood treats and turning them into gourmet desserts. Today’s recipe is my latest addition.
What You Need
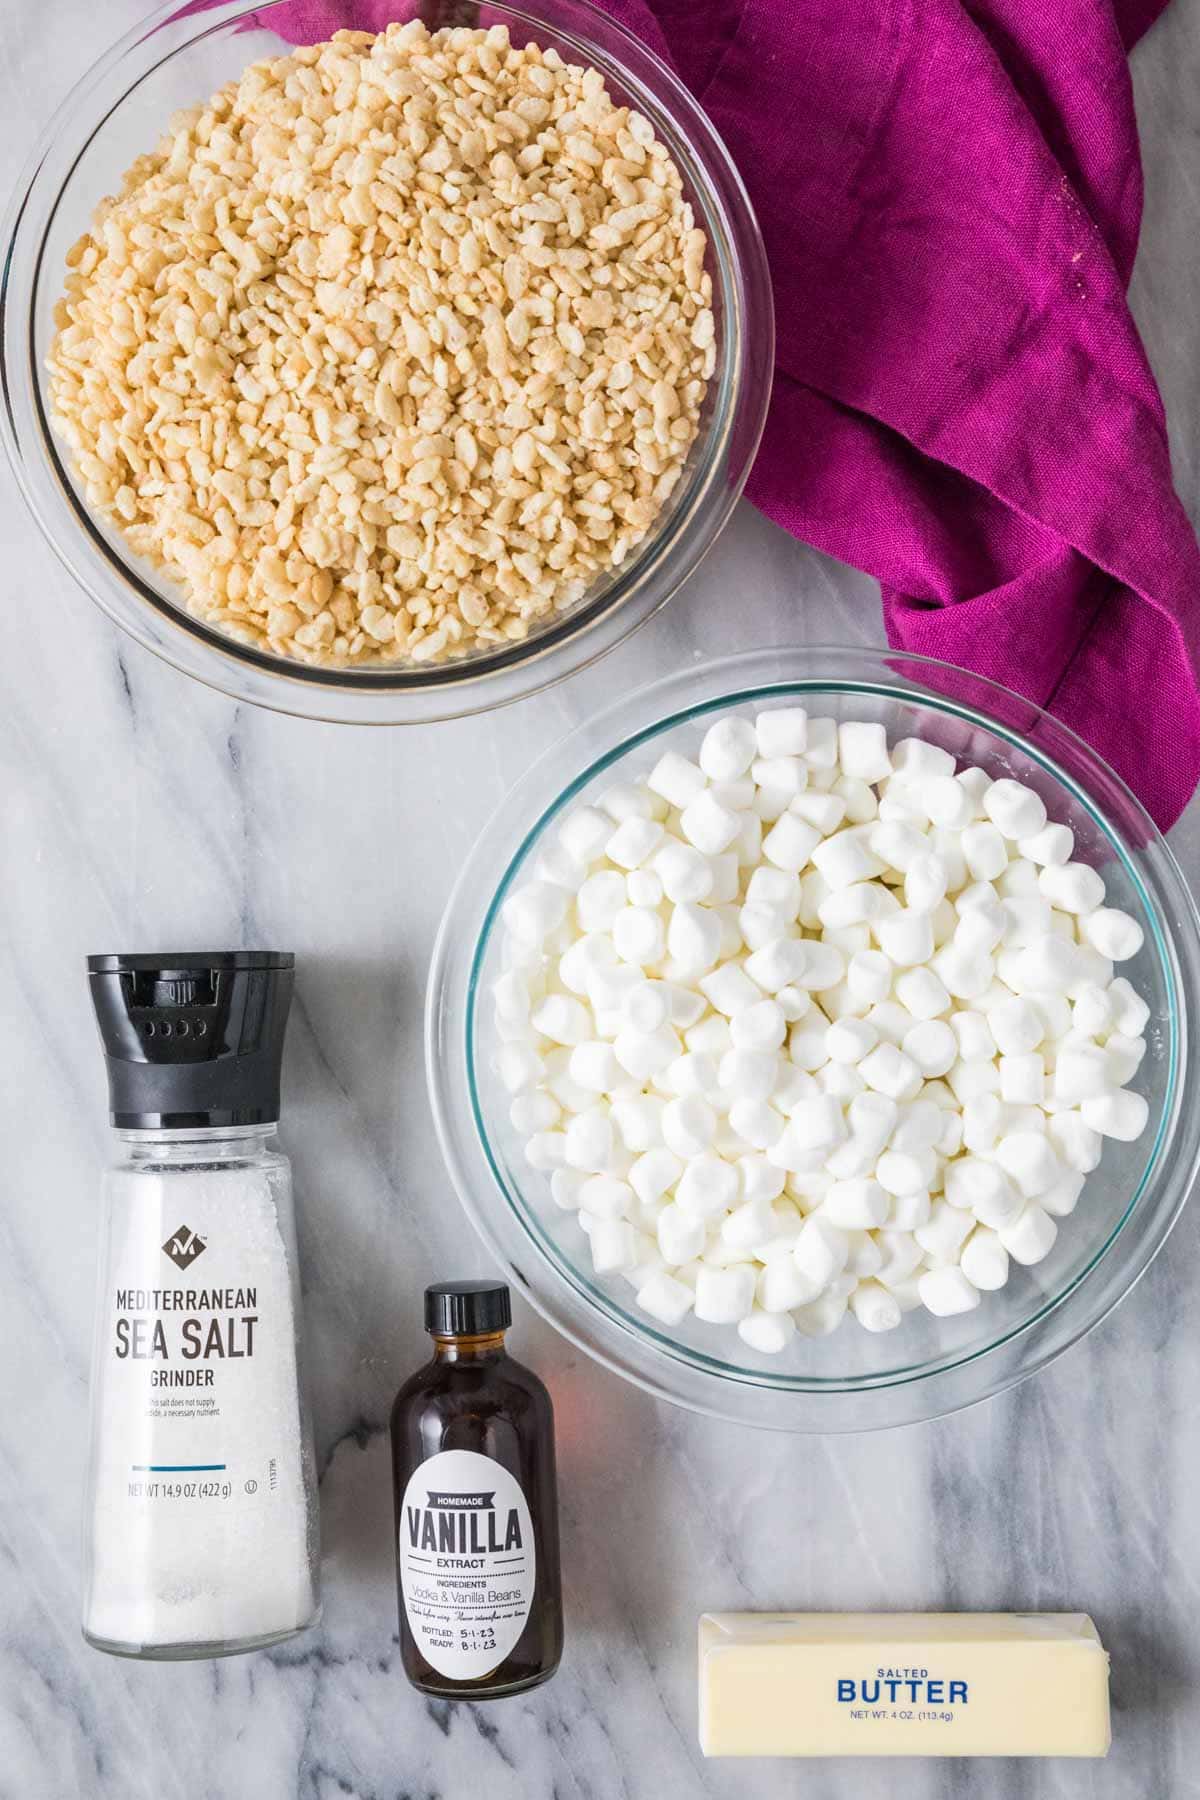
Just 5 ingredients, and none of them should surprise you!
Butter. Just like when making my classic rice krispie treats, I like to splurge for European butter for this recipe too. It’s not a necessity, but it will make your treats taste even more gourmet. Note that unlike many of my recipes, I am using salted butter here. Vanilla and salt. As if brown butter wasn’t already flavorful enough, a pinch of sea salt and a dash of vanilla enhance the flavor of our treats even more! Make sure you wait to add the salt til after the treats have cooled for a bit though. Marshmallows. Stick with plain marshmallows. Mini or regular-sized marshmallows will work just as well, so use whichever you can find. Rice Krispies cereal. The name brand is a classic choice, but really any crisped rice cereal should be fine!
SAM’S TIP: If you only have unsalted butter, you can use that and add an additional ¼ teaspoon of table salt when you add the vanilla and marshmallows. Remember, this is just an overview of the ingredients I used and why. For the full recipe please scroll down to the bottom of the post!
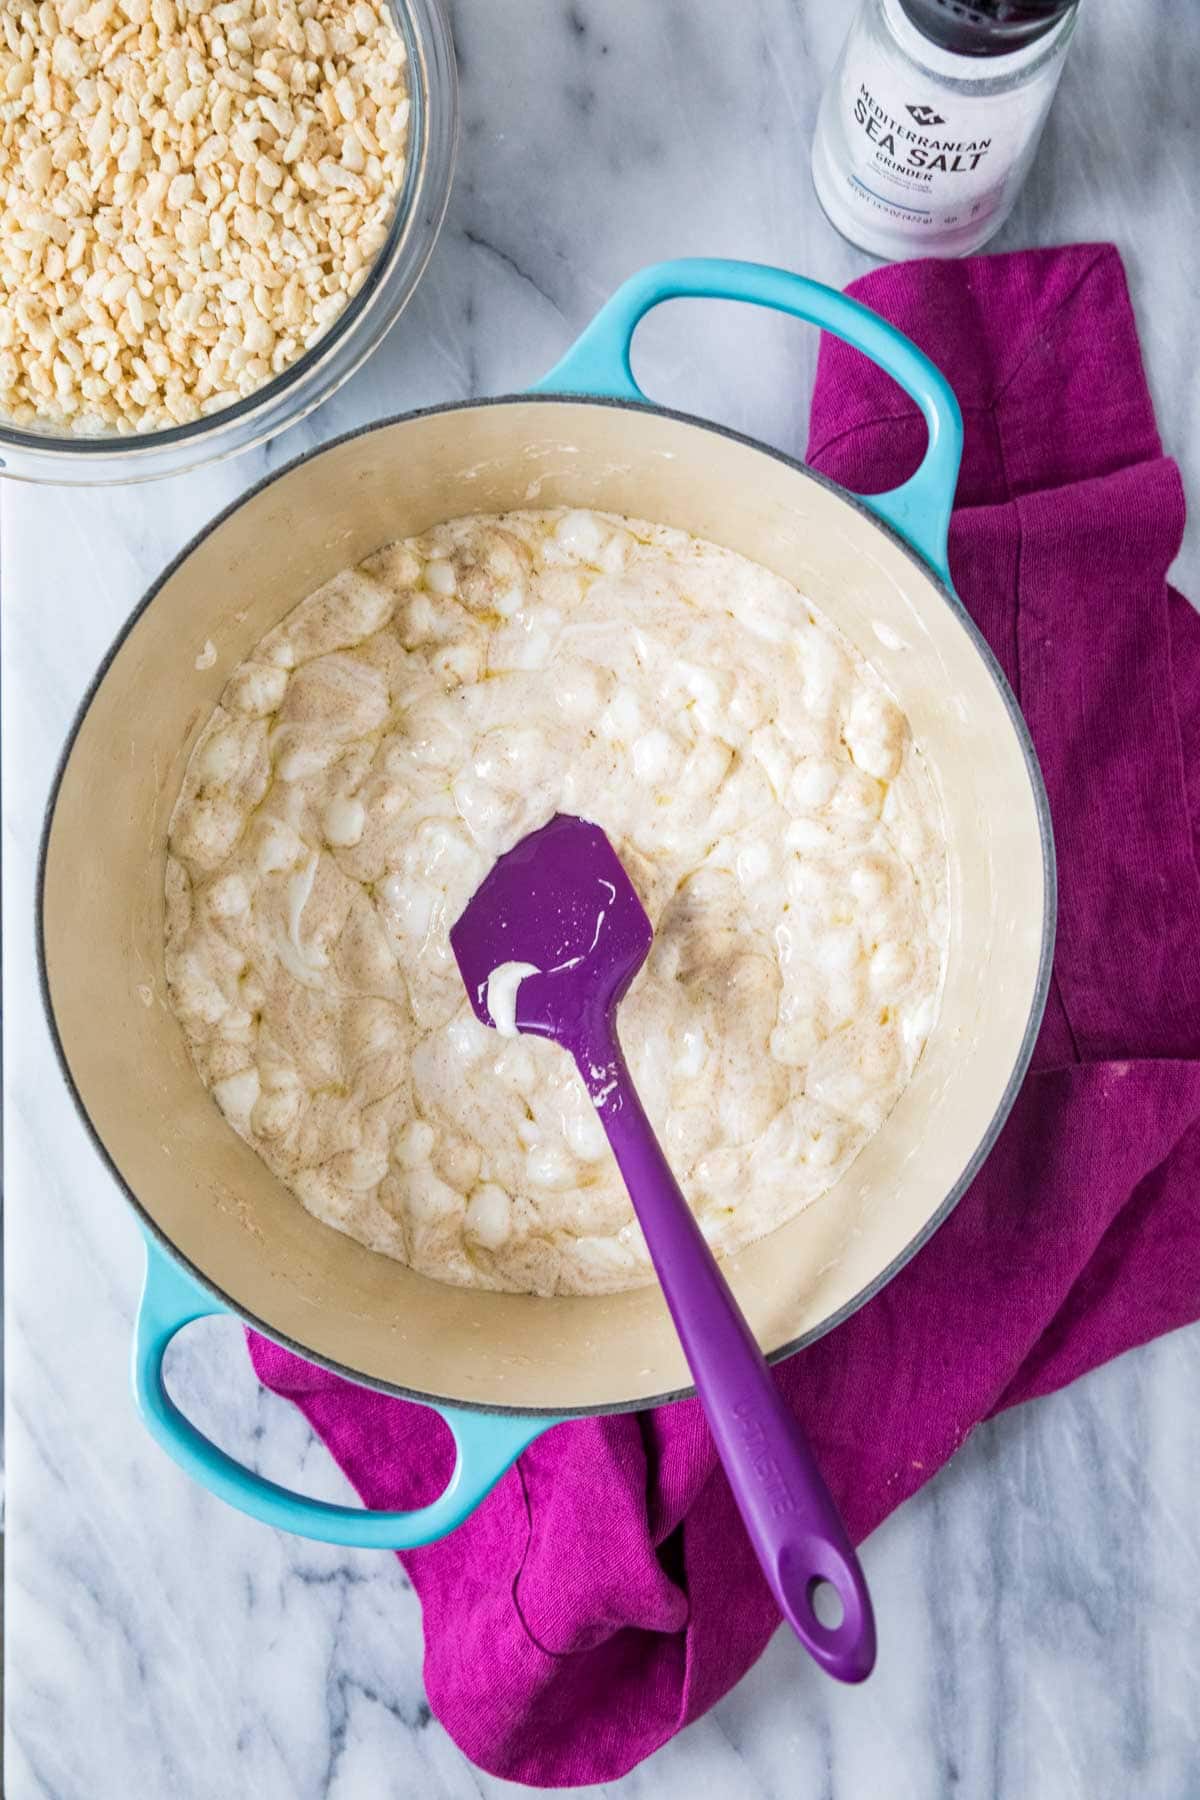
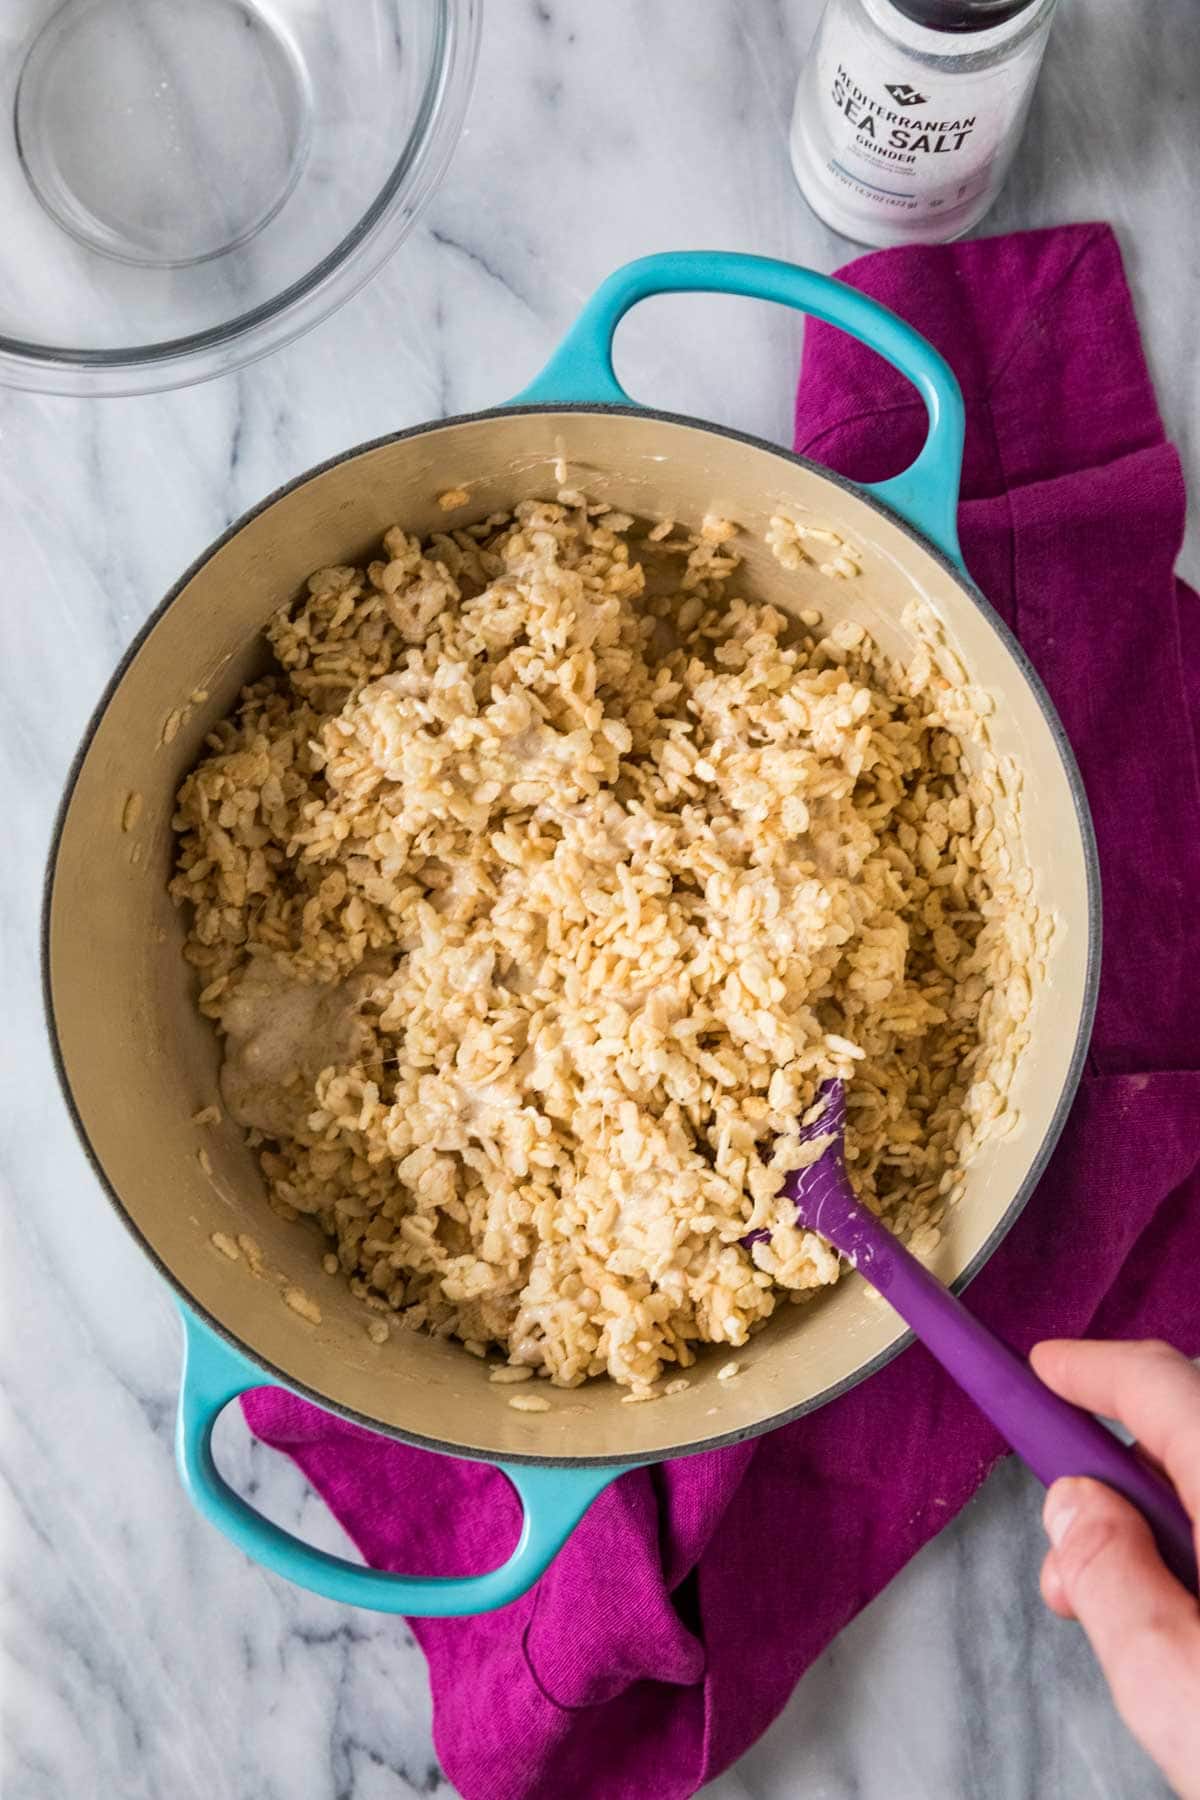
How to Make Brown Butter Rice Krispie Treats
SAM’S TIP: Like when making my cookies and cream rice krispie treats, you want to keep the heat low here. Cranking up the heat during this step can cause your rice krispie treats to turn out hard instead of chewy. SAM’S TIP: A drizzle of dark chocolate on top would be a divine addition. I do this with my salted caramel rice krispie treats, and it really takes them over the top!
Tips
Elevate the flavor
Using a European-style butter (like Kerrygold brand or any butter with a milk fat content 82% or higher) will give you a richer, more buttery flavor. For recipes like this one with so few ingredients, the quality of each one really counts!
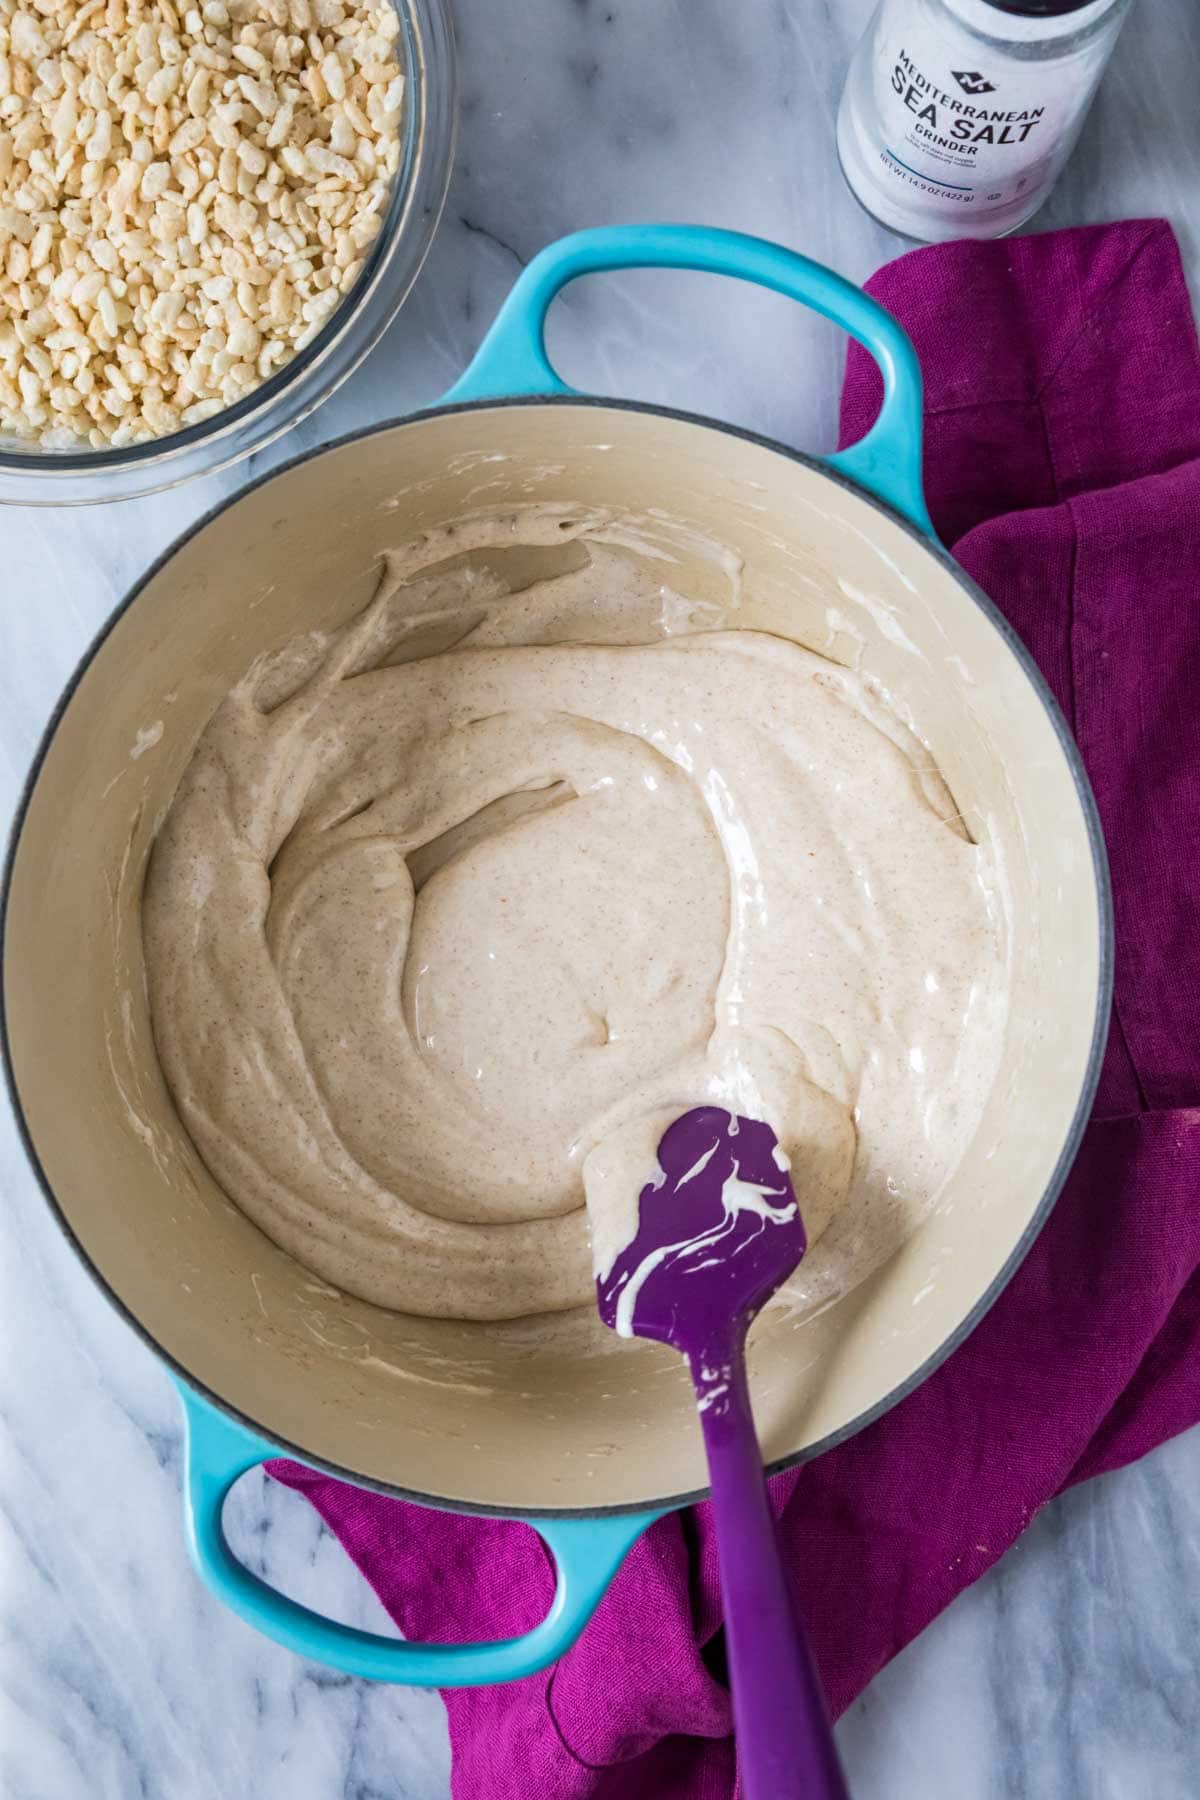
Keep the heat low.
After browning your butter, turn down the heat and keep it low when melting the marshmallows. Sure, a high heat will melt them faster, but it will also make the marshmallows hard when they re-solidify, leaving you with brittle, too-hard treats that crumble.
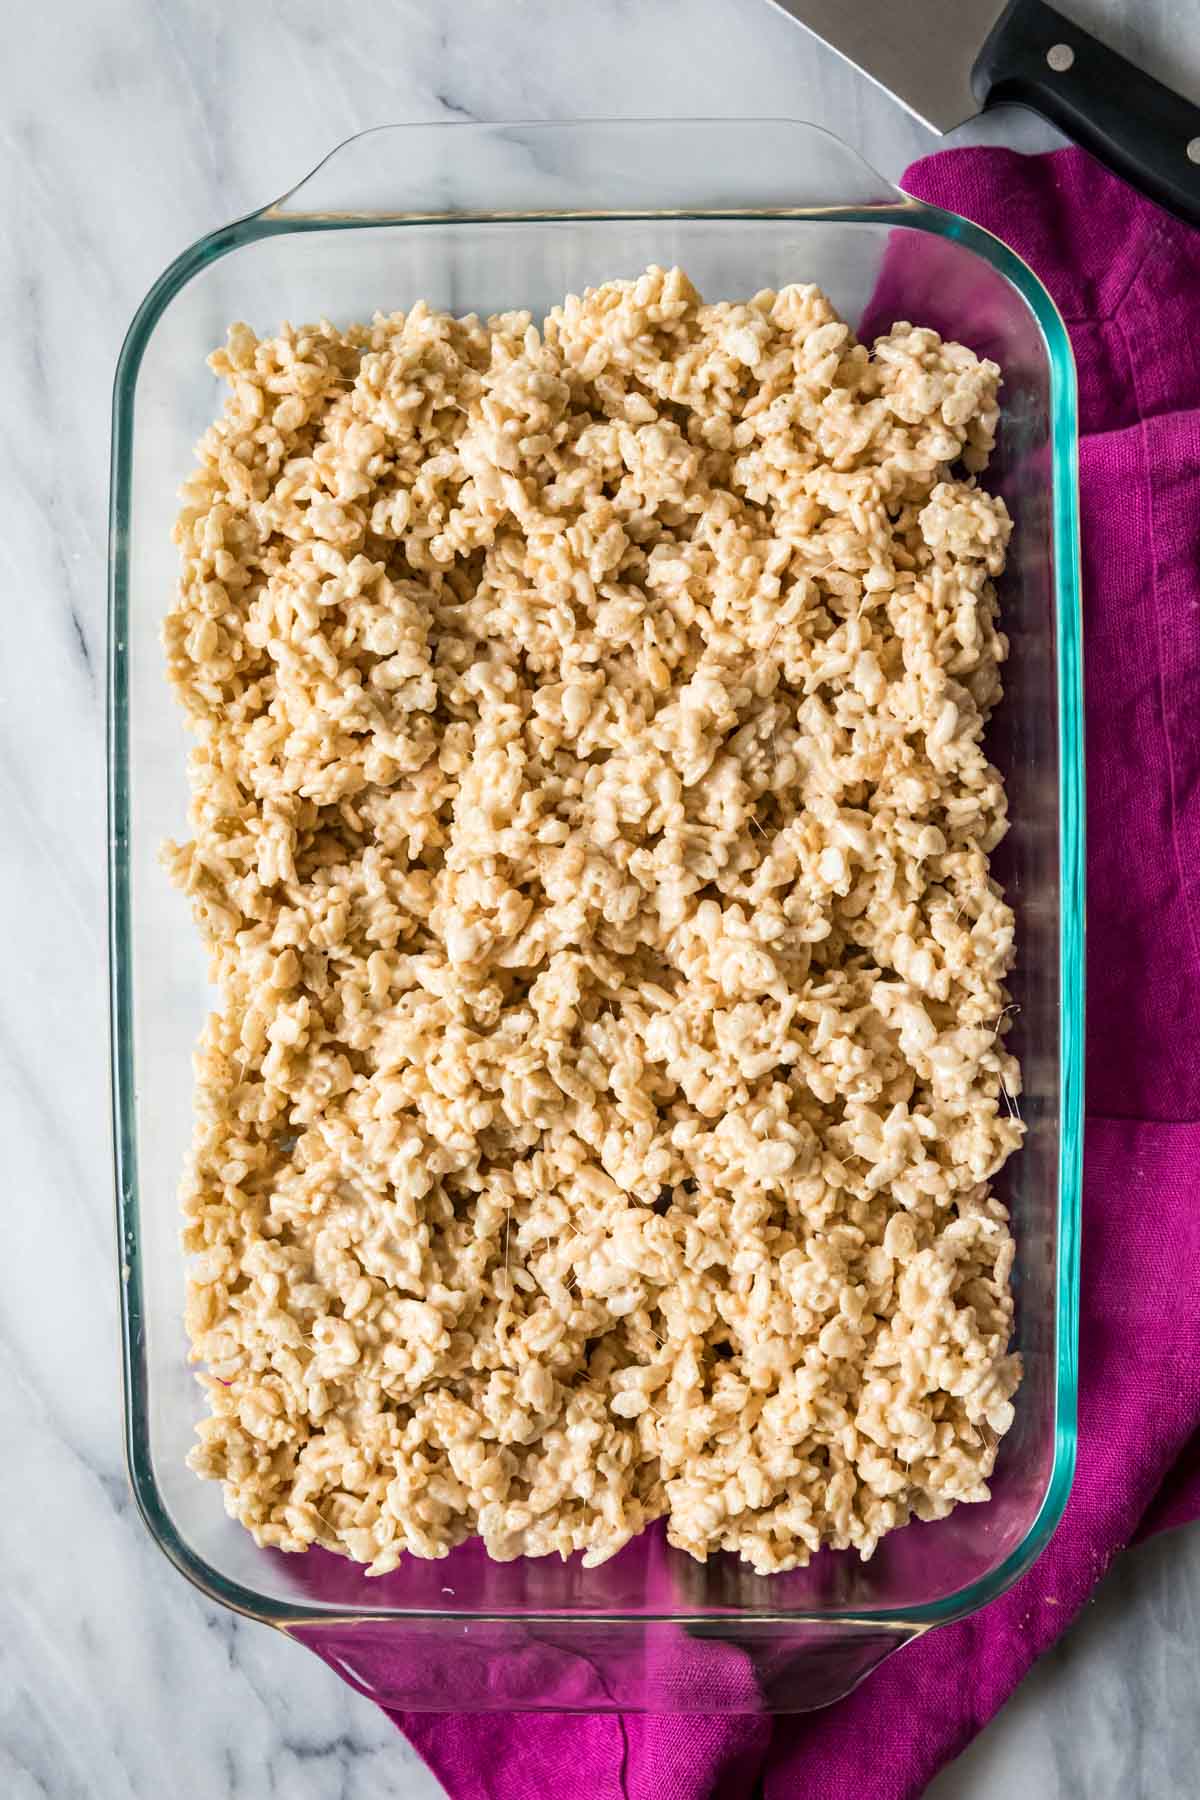
Be gentle.
When spreading the brown butter rice krispie treats into the pan, use a gentle hand and don’t firmly pack them in. This can make them too dense, which makes them firm and tough to bite into.
Don’t refrigerate!
The fridge may be great at preserving most baked goods, but it also dries them out and, in the case of these browned butter rice krispie treats, makes them too hard and crisp (instead of soft and perfectly gooey). Store instead in an airtight container at room temperature for freshest results. If you love cereal treats, try my Lucky Charms treats or puppy chow next! Enjoy! Let’s bake together! Subscribe to my newsletter to be notified of all the newest recipes, and find my free recipe tutorials on YouTube 💜
Related Recipes