How long it takes: about 35 minutes Equipment you’ll need: 3 shallow bowls, rimmed baking sheet Servings: 4 Really, though, you don’t have to be a kid to enjoy this baked chicken tender recipe. Juicy white meat chicken, a crispy coating on the outside, and a dinner that’s easy to get on the table—what’s not to love? Homemade chicken tenders taste way better than purchased ones and they’re less expensive, too.
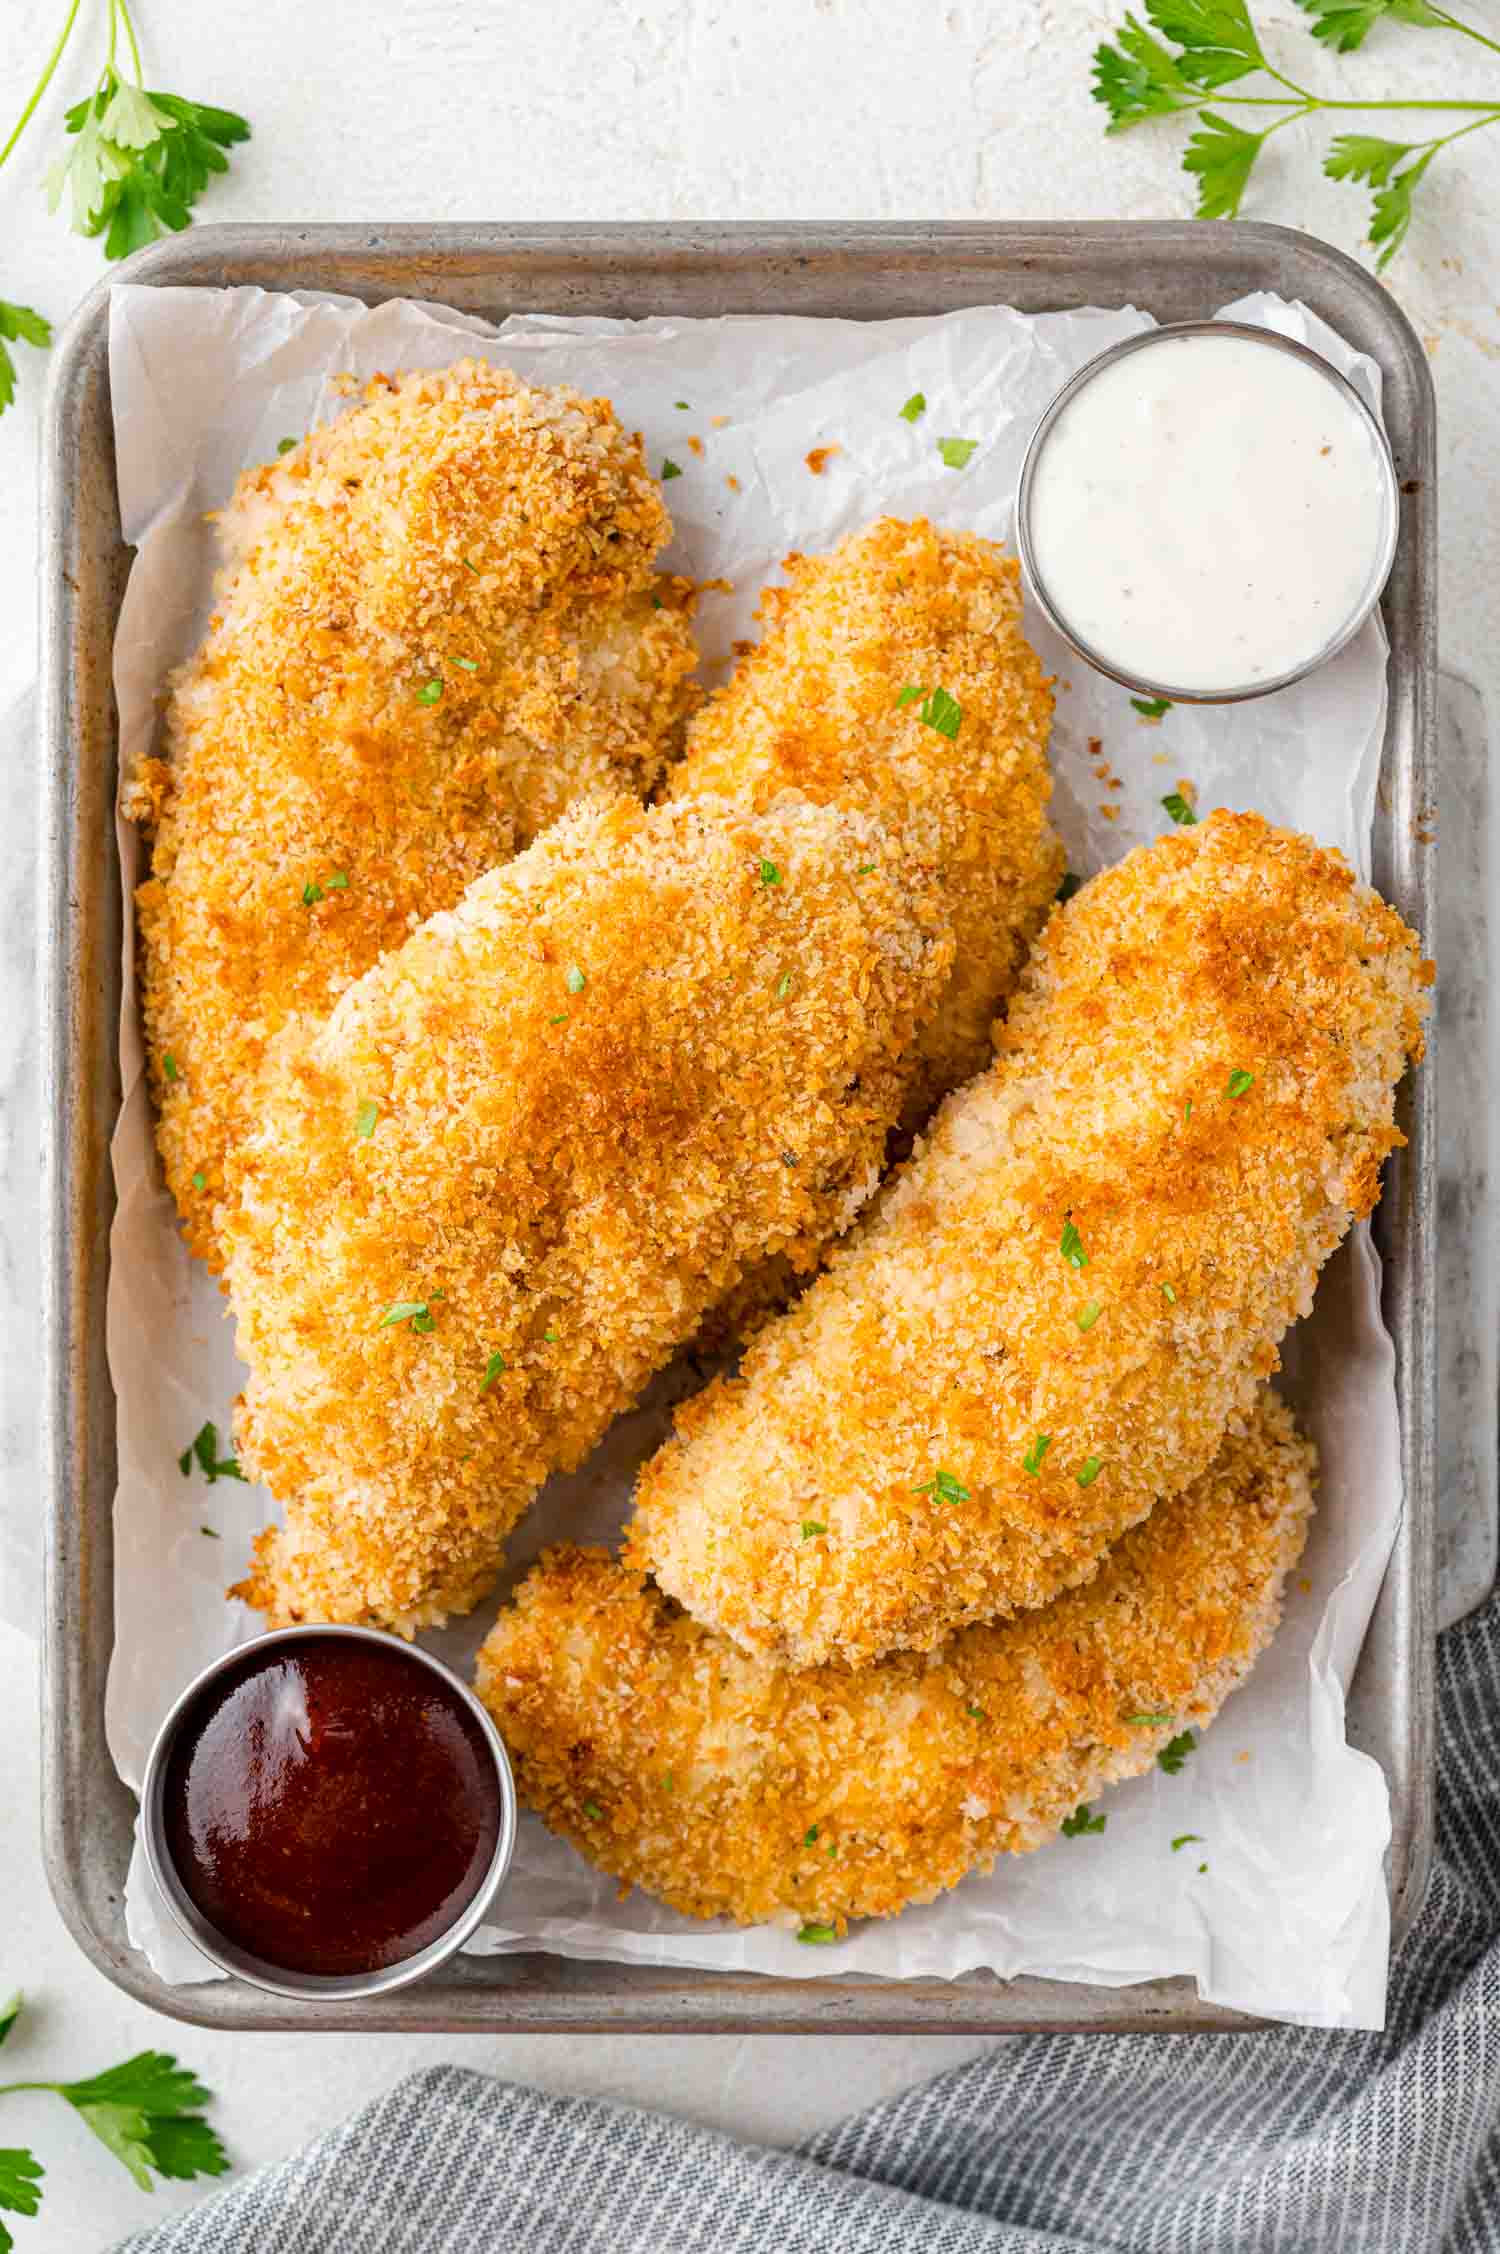
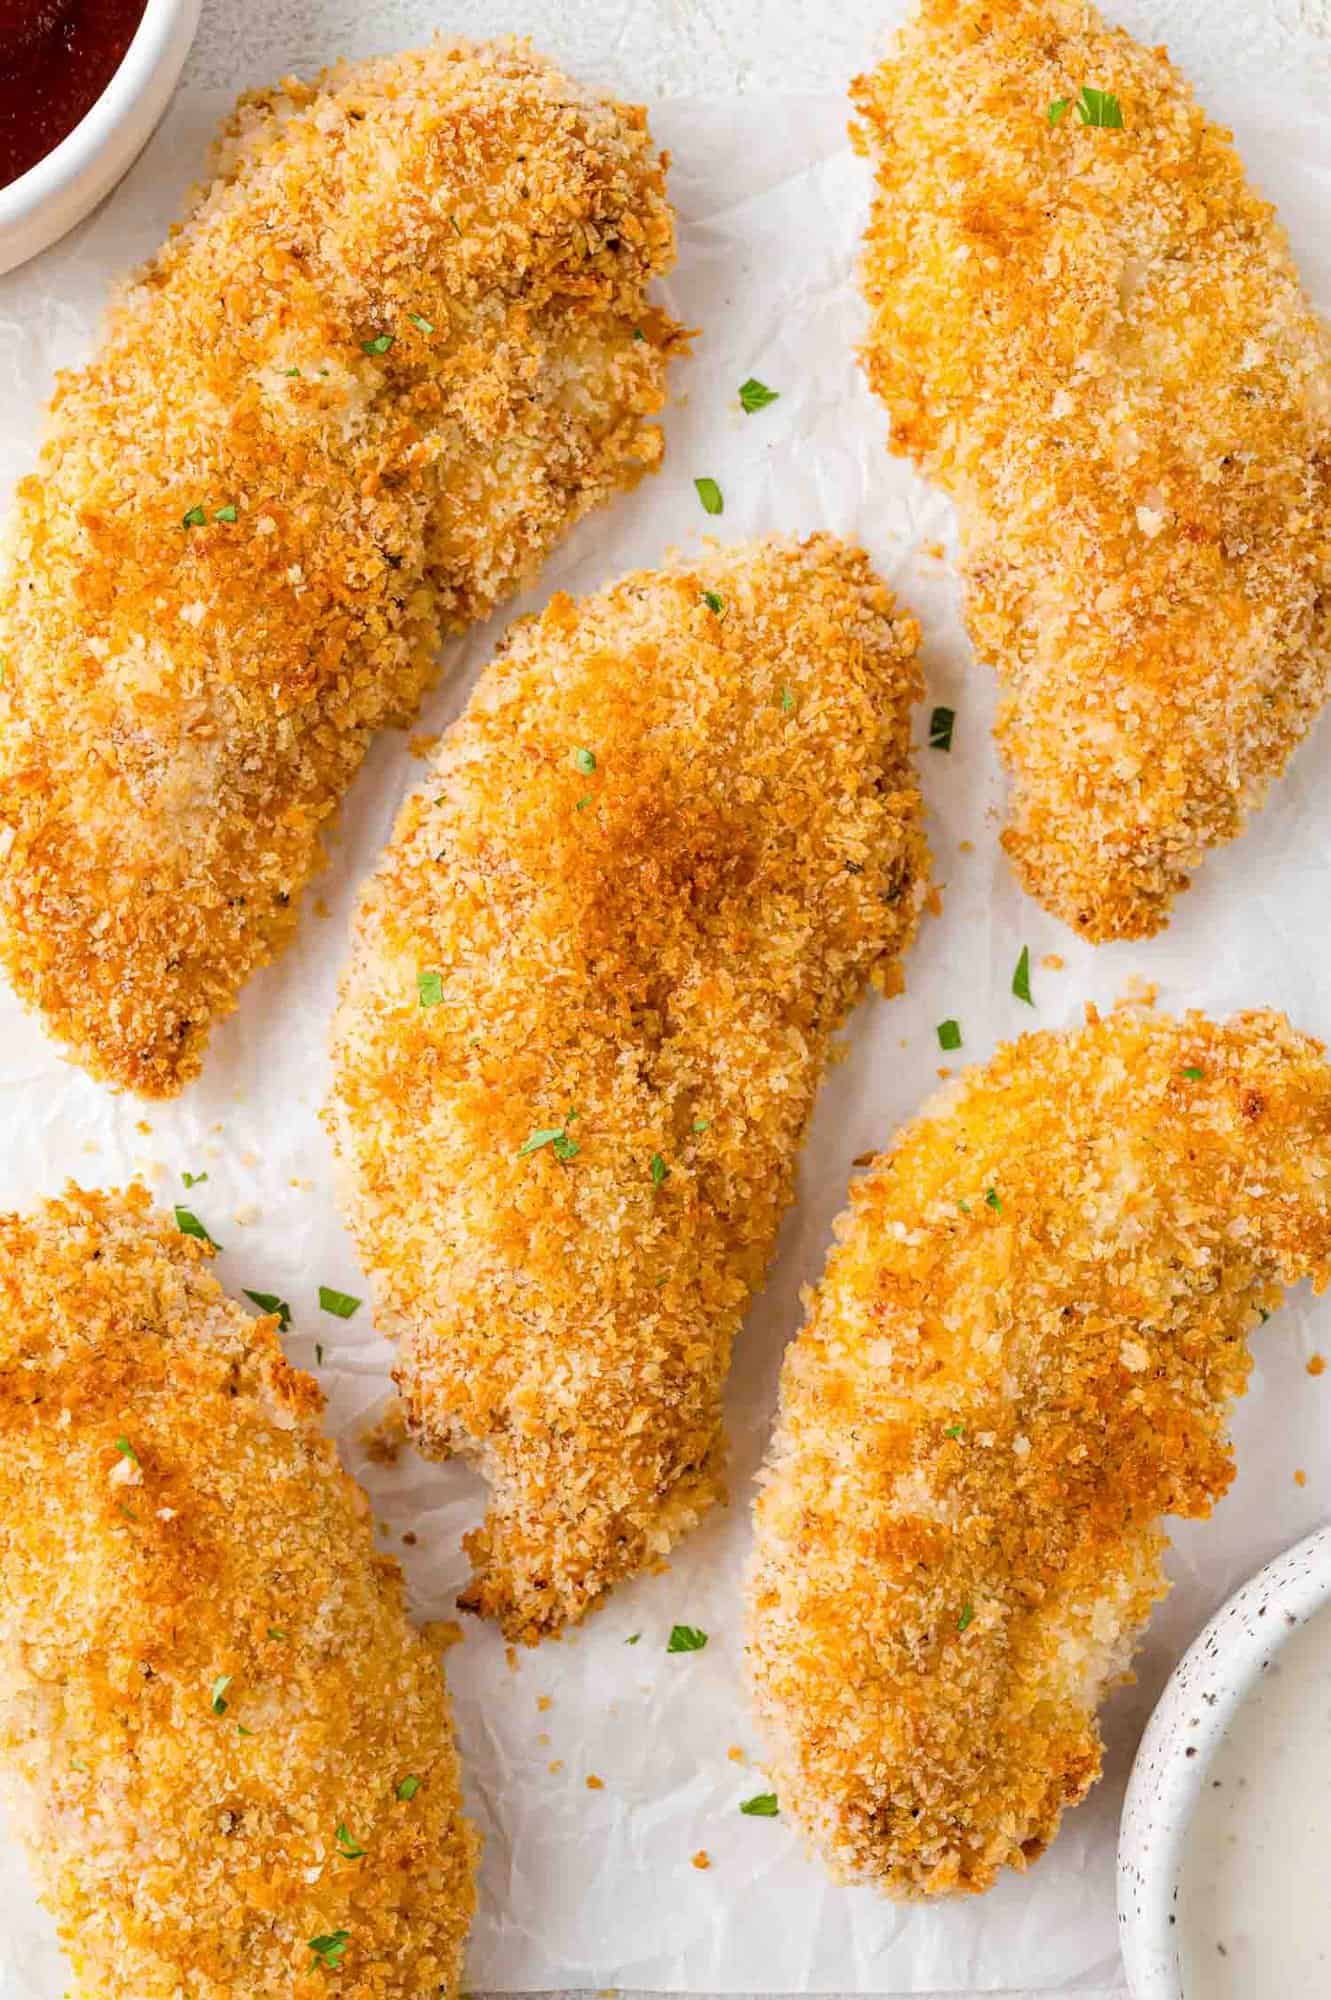
Homemade Baked Chicken Tenders
The perfect crispy coating. Fast food chicken tenders are deep fried, which makes them mega-crispy, but also greasy. These baked chicken nuggets have a panko coating to replicate some of that crispiness. Instead of soaking in grease, these tenders have only a light spritzing of oil. Easy to make. The crispy coating is easy; it’s a three step process. Dip the chicken pieces in seasoned flour, then eggs, and then panko for that crispy-crunchy exterior. No deep frying is necessary! Healthier—but still kid-friendly. Don’t worry, even though these chicken tenders are a lightened up version of the fast food favorite, they’re still a hit with kids (and adults). Not just for dipping. Use your baked chicken tenders as a topping for salads (or this ranch pasta salad), tuck them into wraps, or use them in sandwiches. You have options!
Ingredient Notes
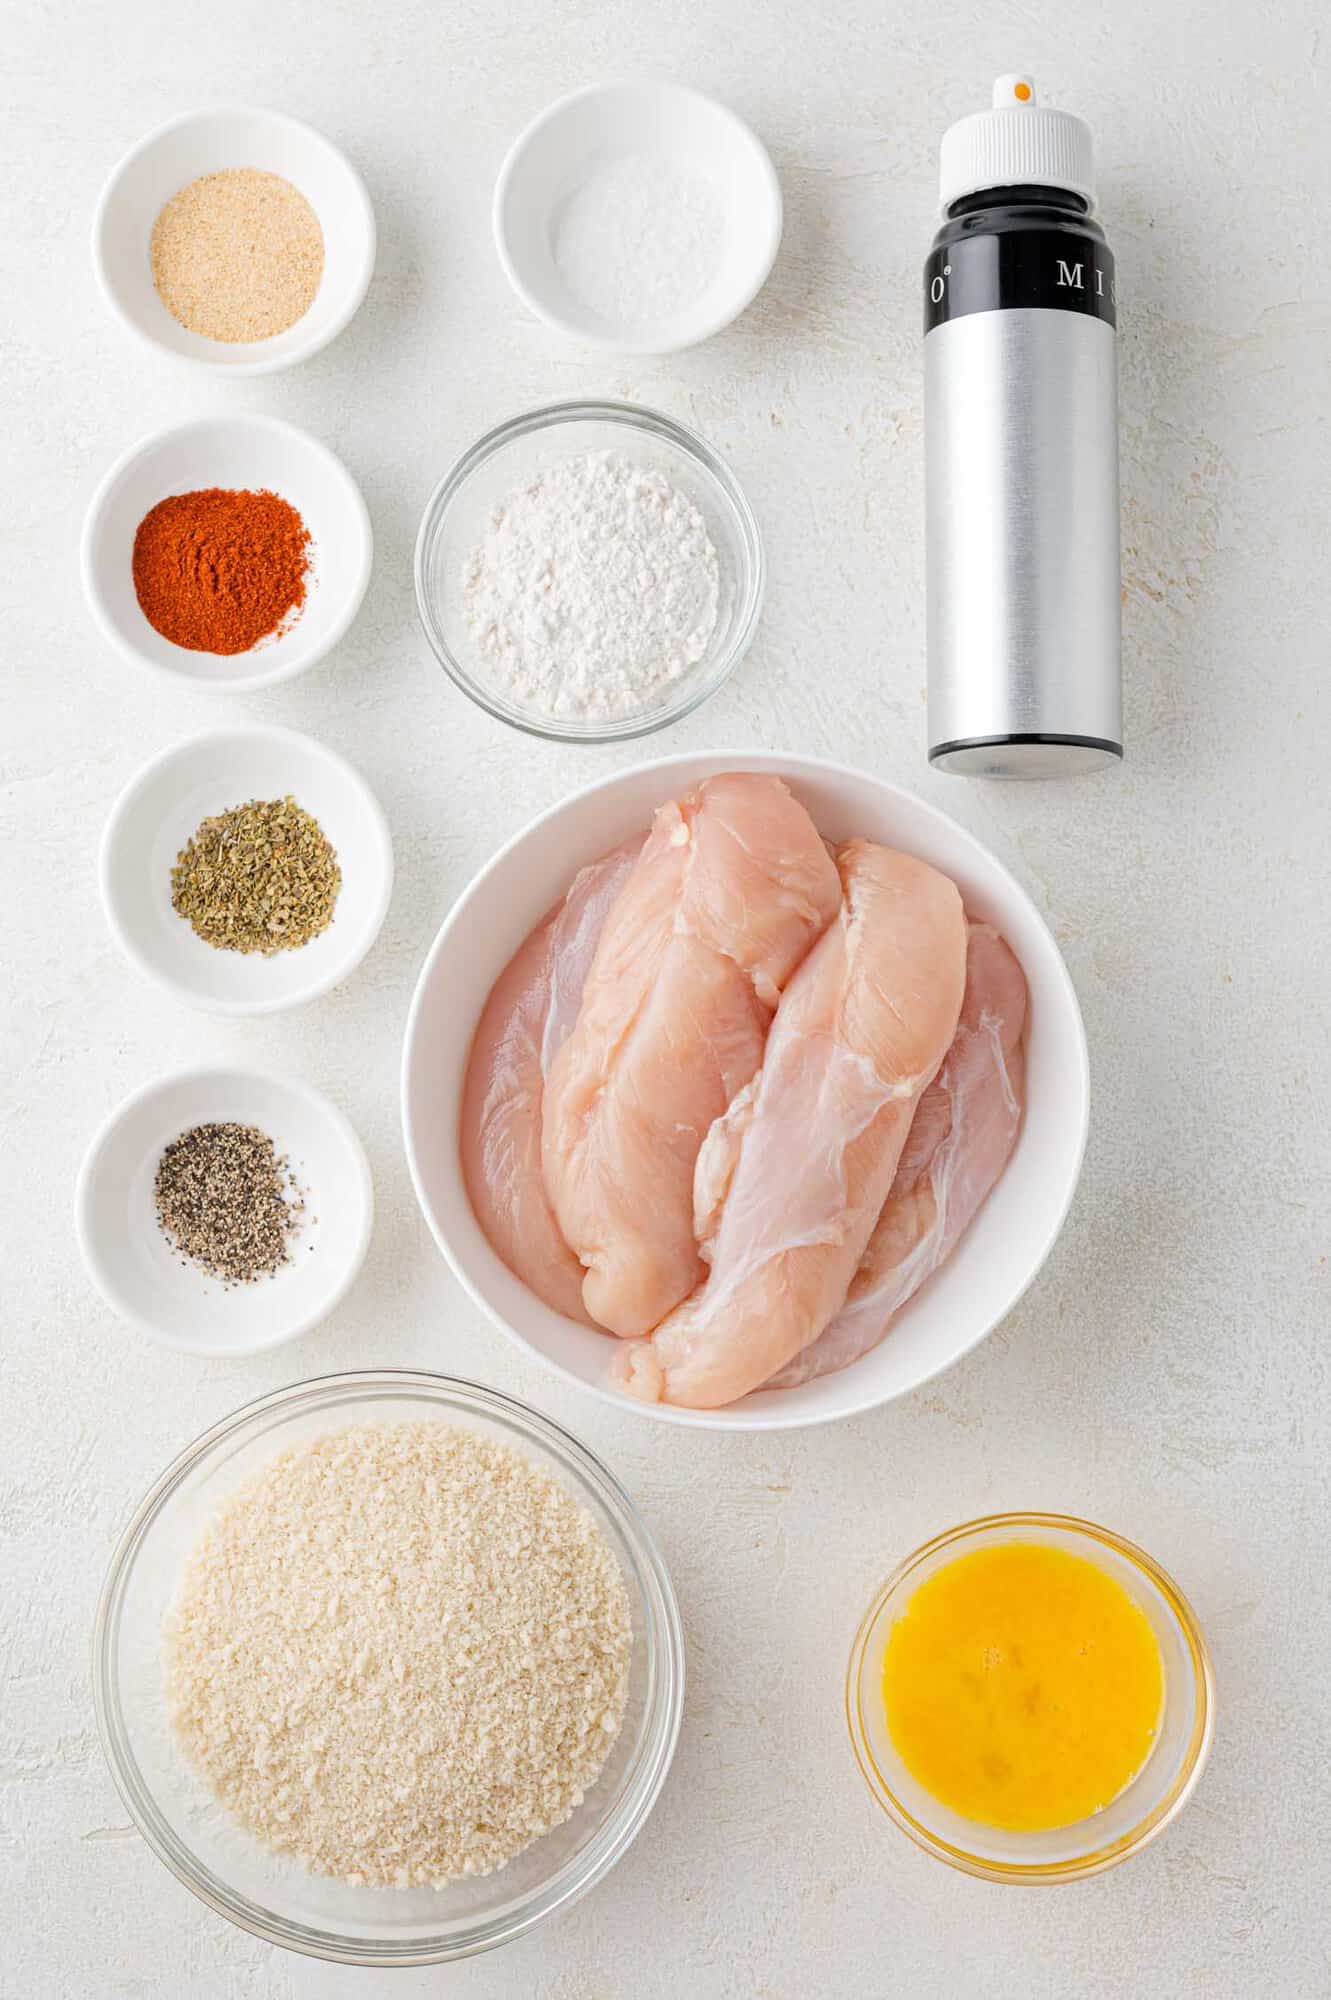
Chicken breast tenders: The recipe is written for 8 tenders to make four servings of two tenders each. For more information about what kind of chicken to buy, see the recipe tip above. All-purpose flour: Coating the chicken in flour before dipping it in the egg helps the egg stick to the chicken rather than dripping right off. Seasonings: I usually use a simple blend of garlic powder, paprika, dried oregano, kosher salt, and coarse black pepper. The seasoning is flexible; use what you prefer. Panko breadcrumbs: Panko has a coarser texture than regular store-bought breadcrumbs, giving you a crispier coating. Homemade breadcrumbs are a great substitute since they are also coarser than store-bought (it’s a great way to use up day-old bread!). Egg: Lightly beat the egg so that the egg and white are completely broken up and blended together. Cooking spray or olive oil: Just a very light coating of oil helps the tenders brown and get crisp. It also adds a bit of flavor. You can use purchased cooking spray or an oil mister that you fill with your own oil.
How to Make Baked Chicken Tenders
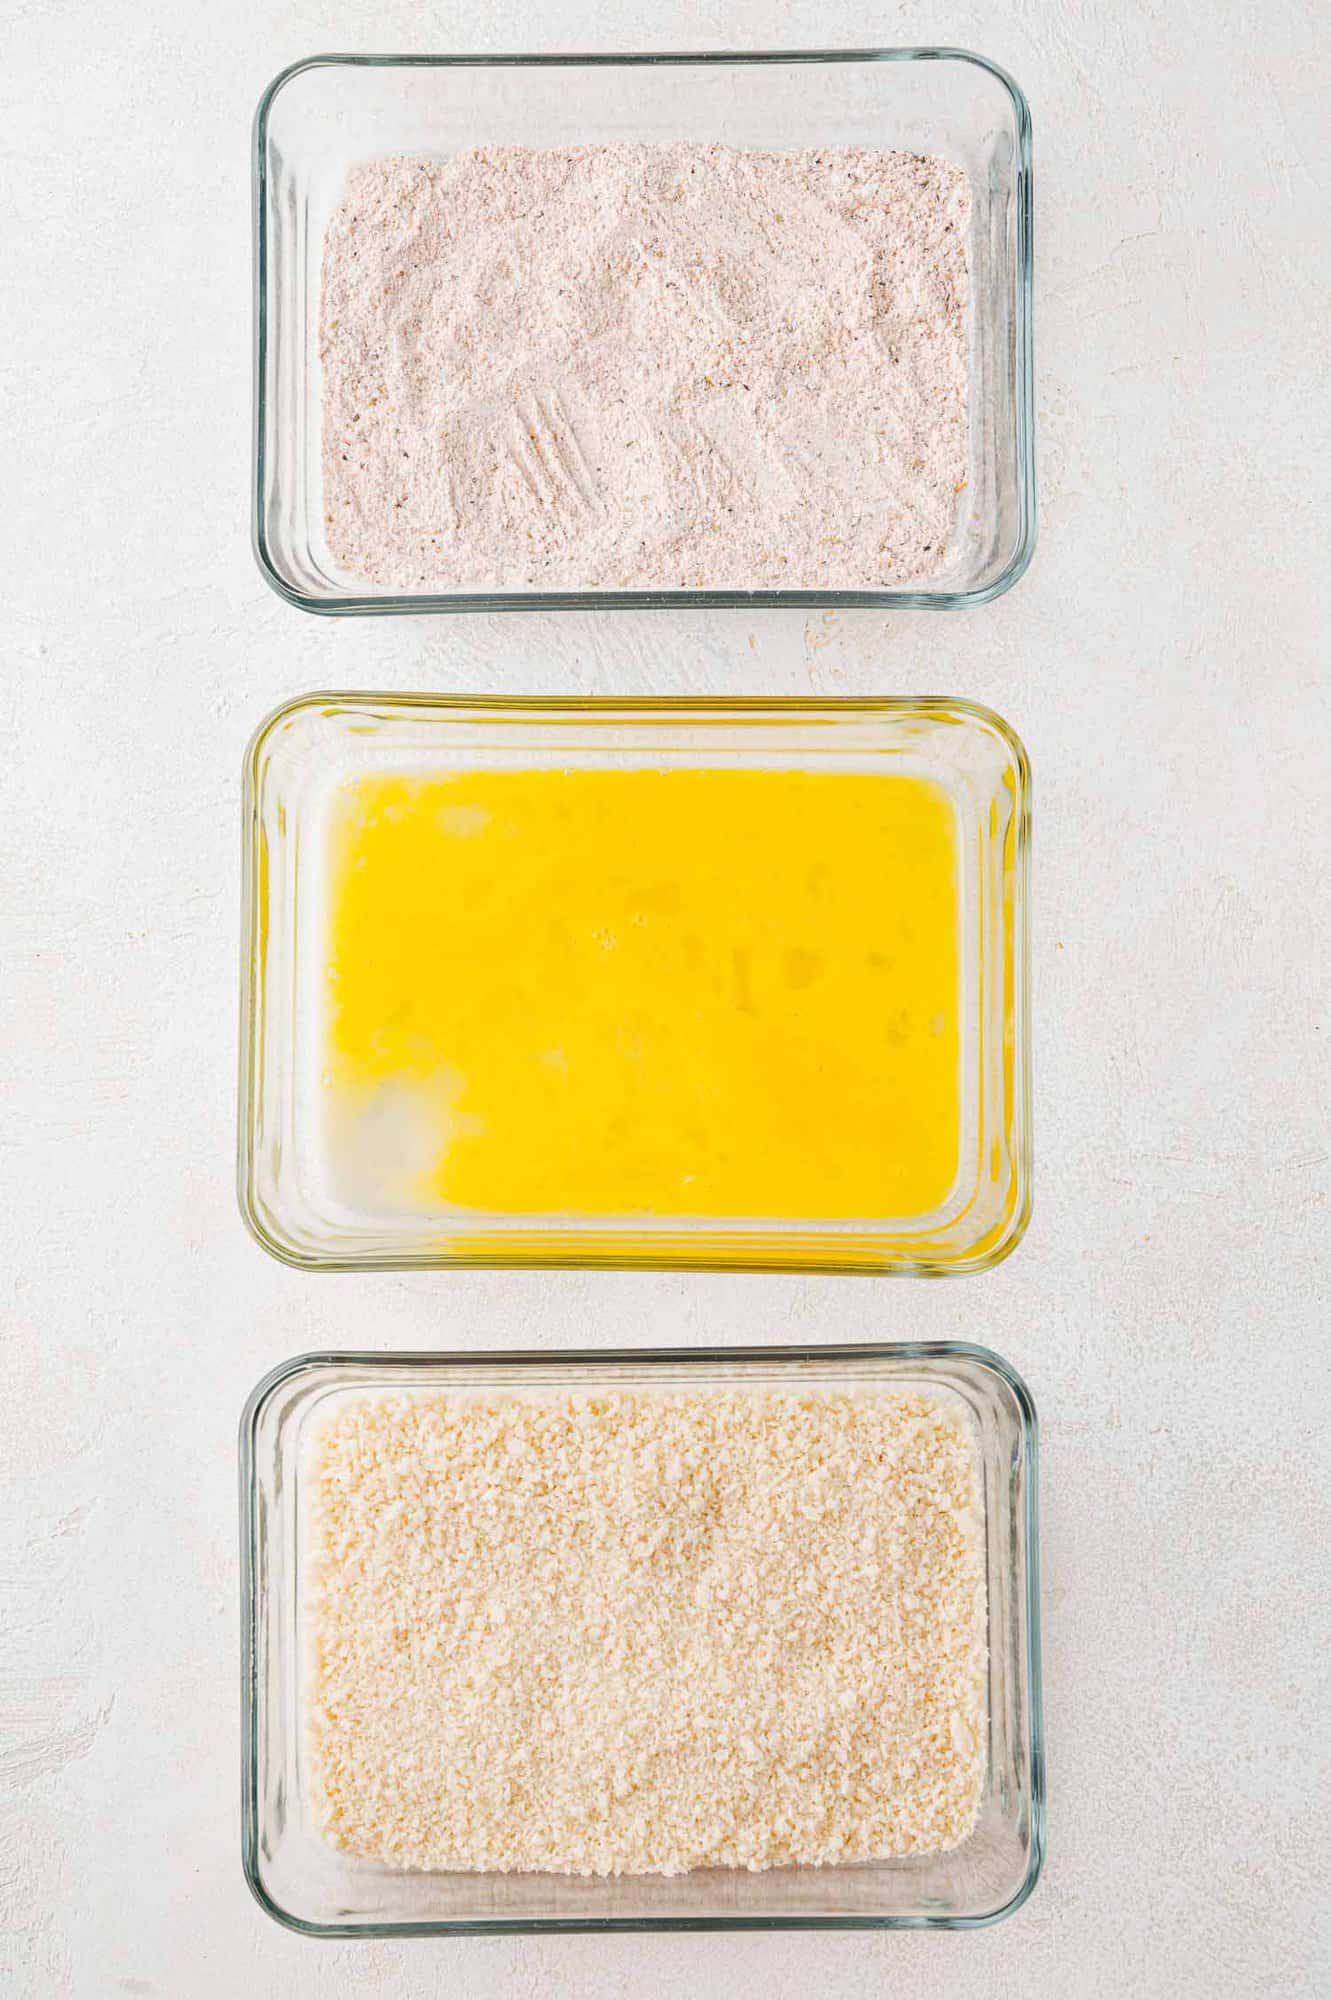
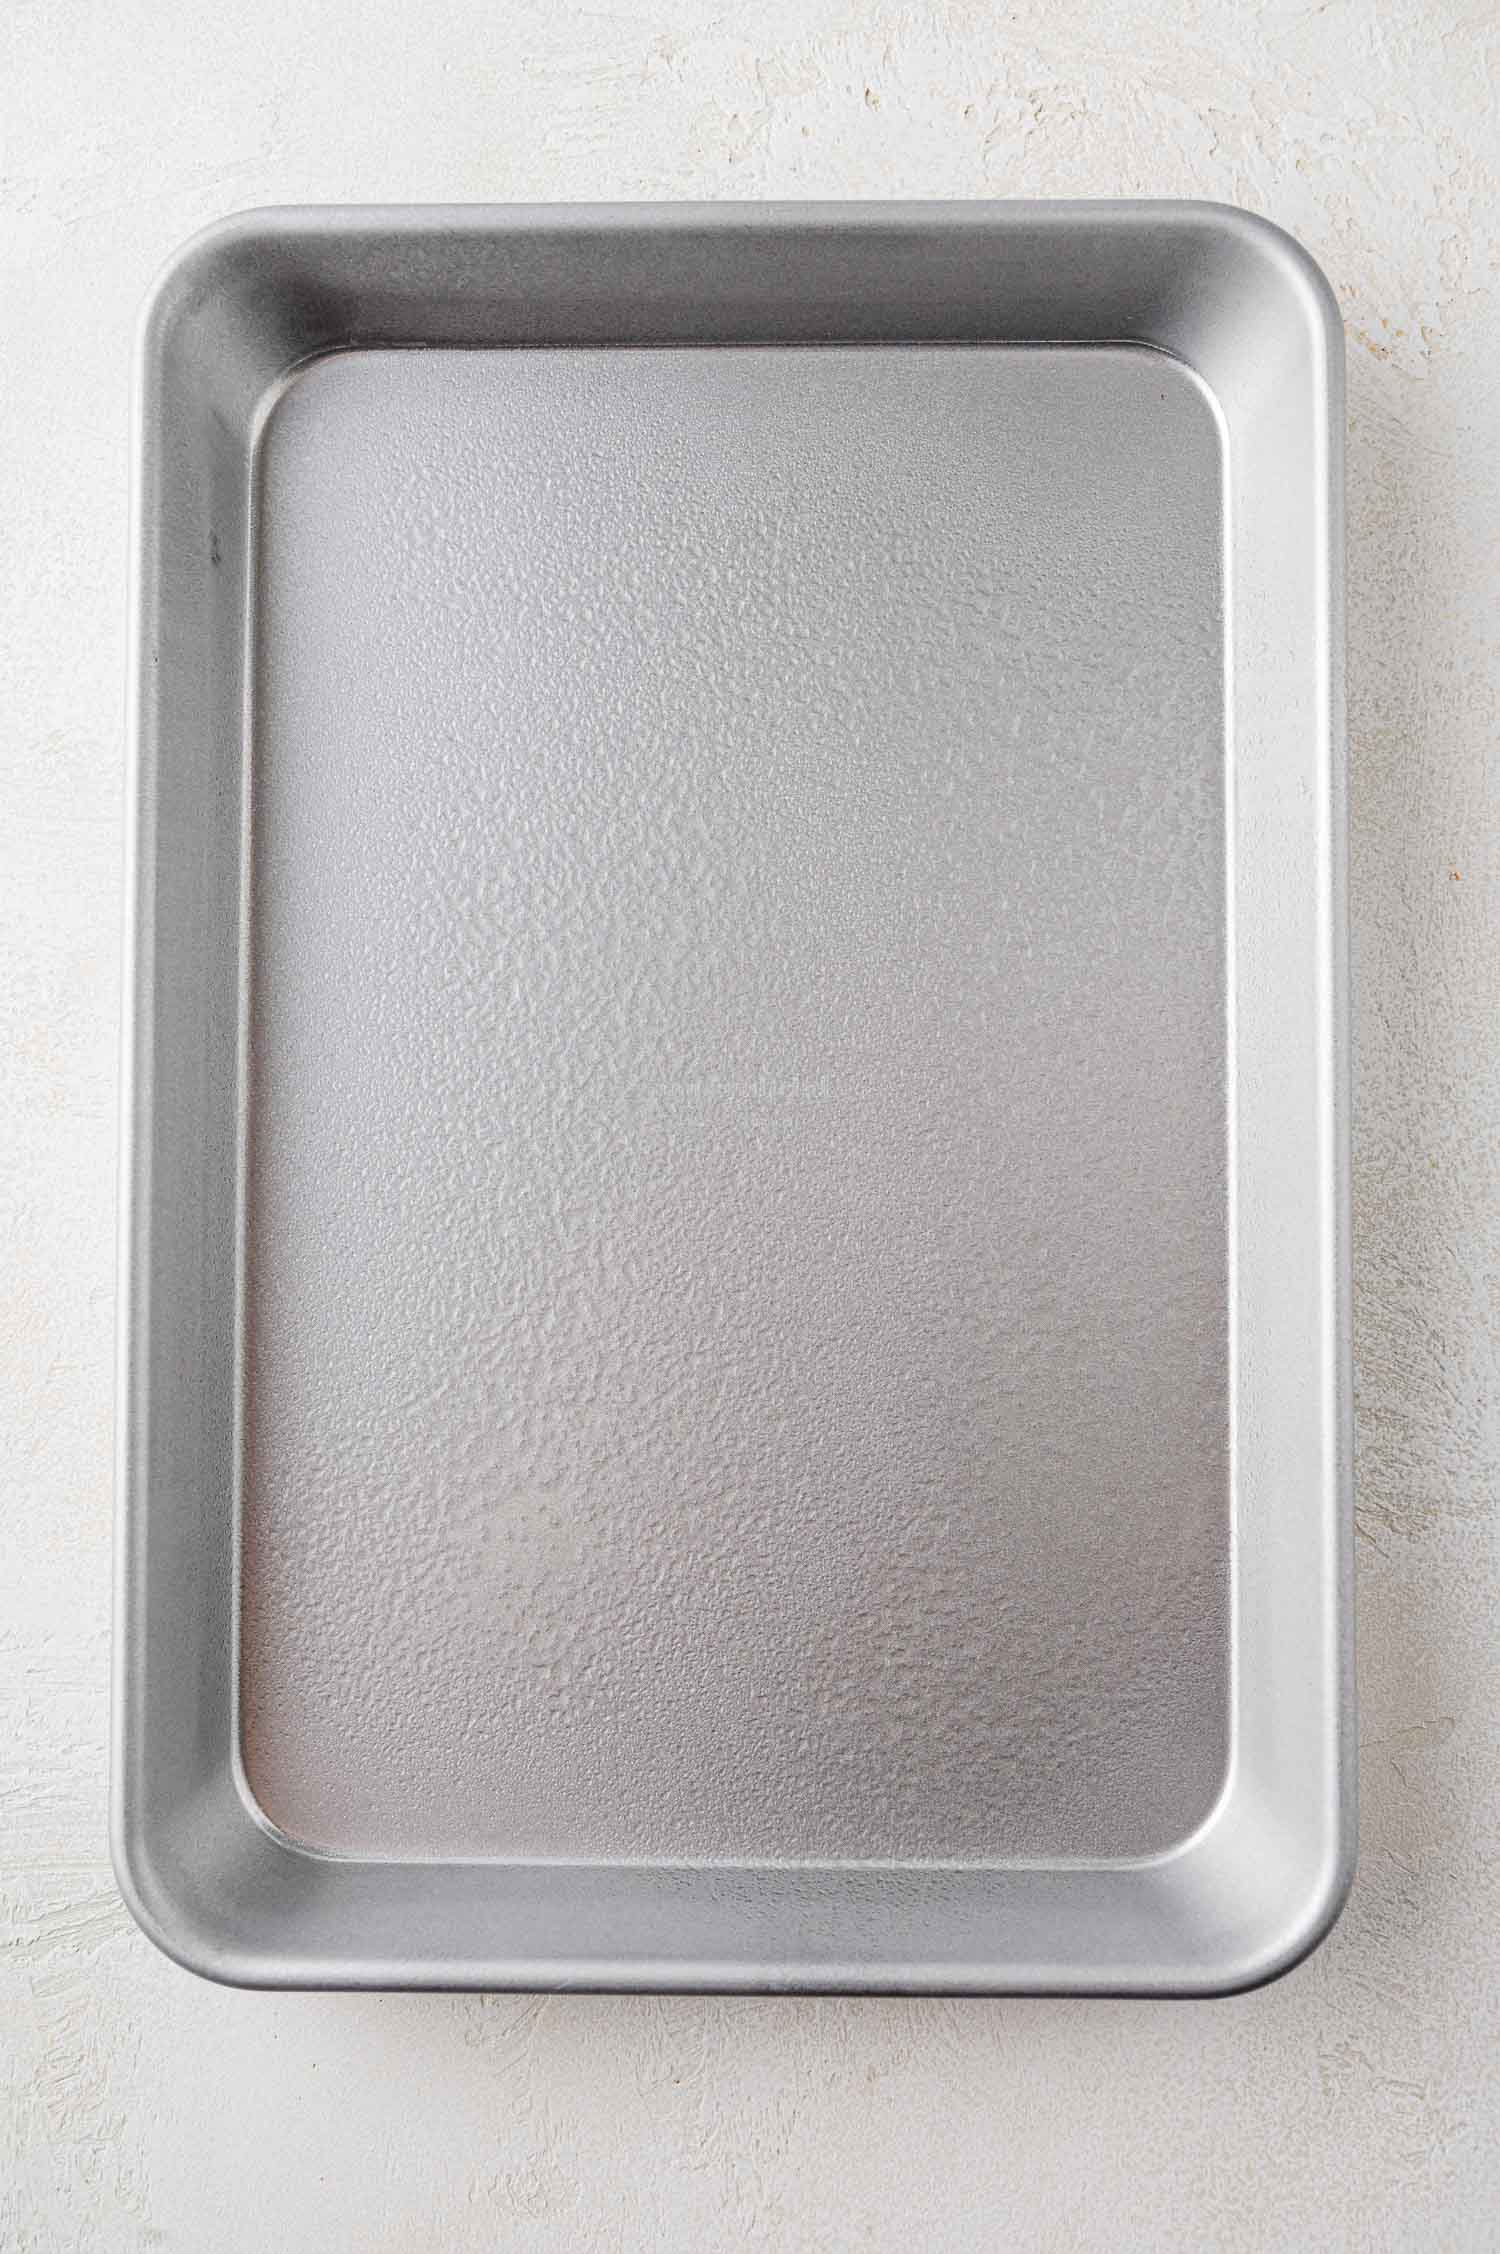
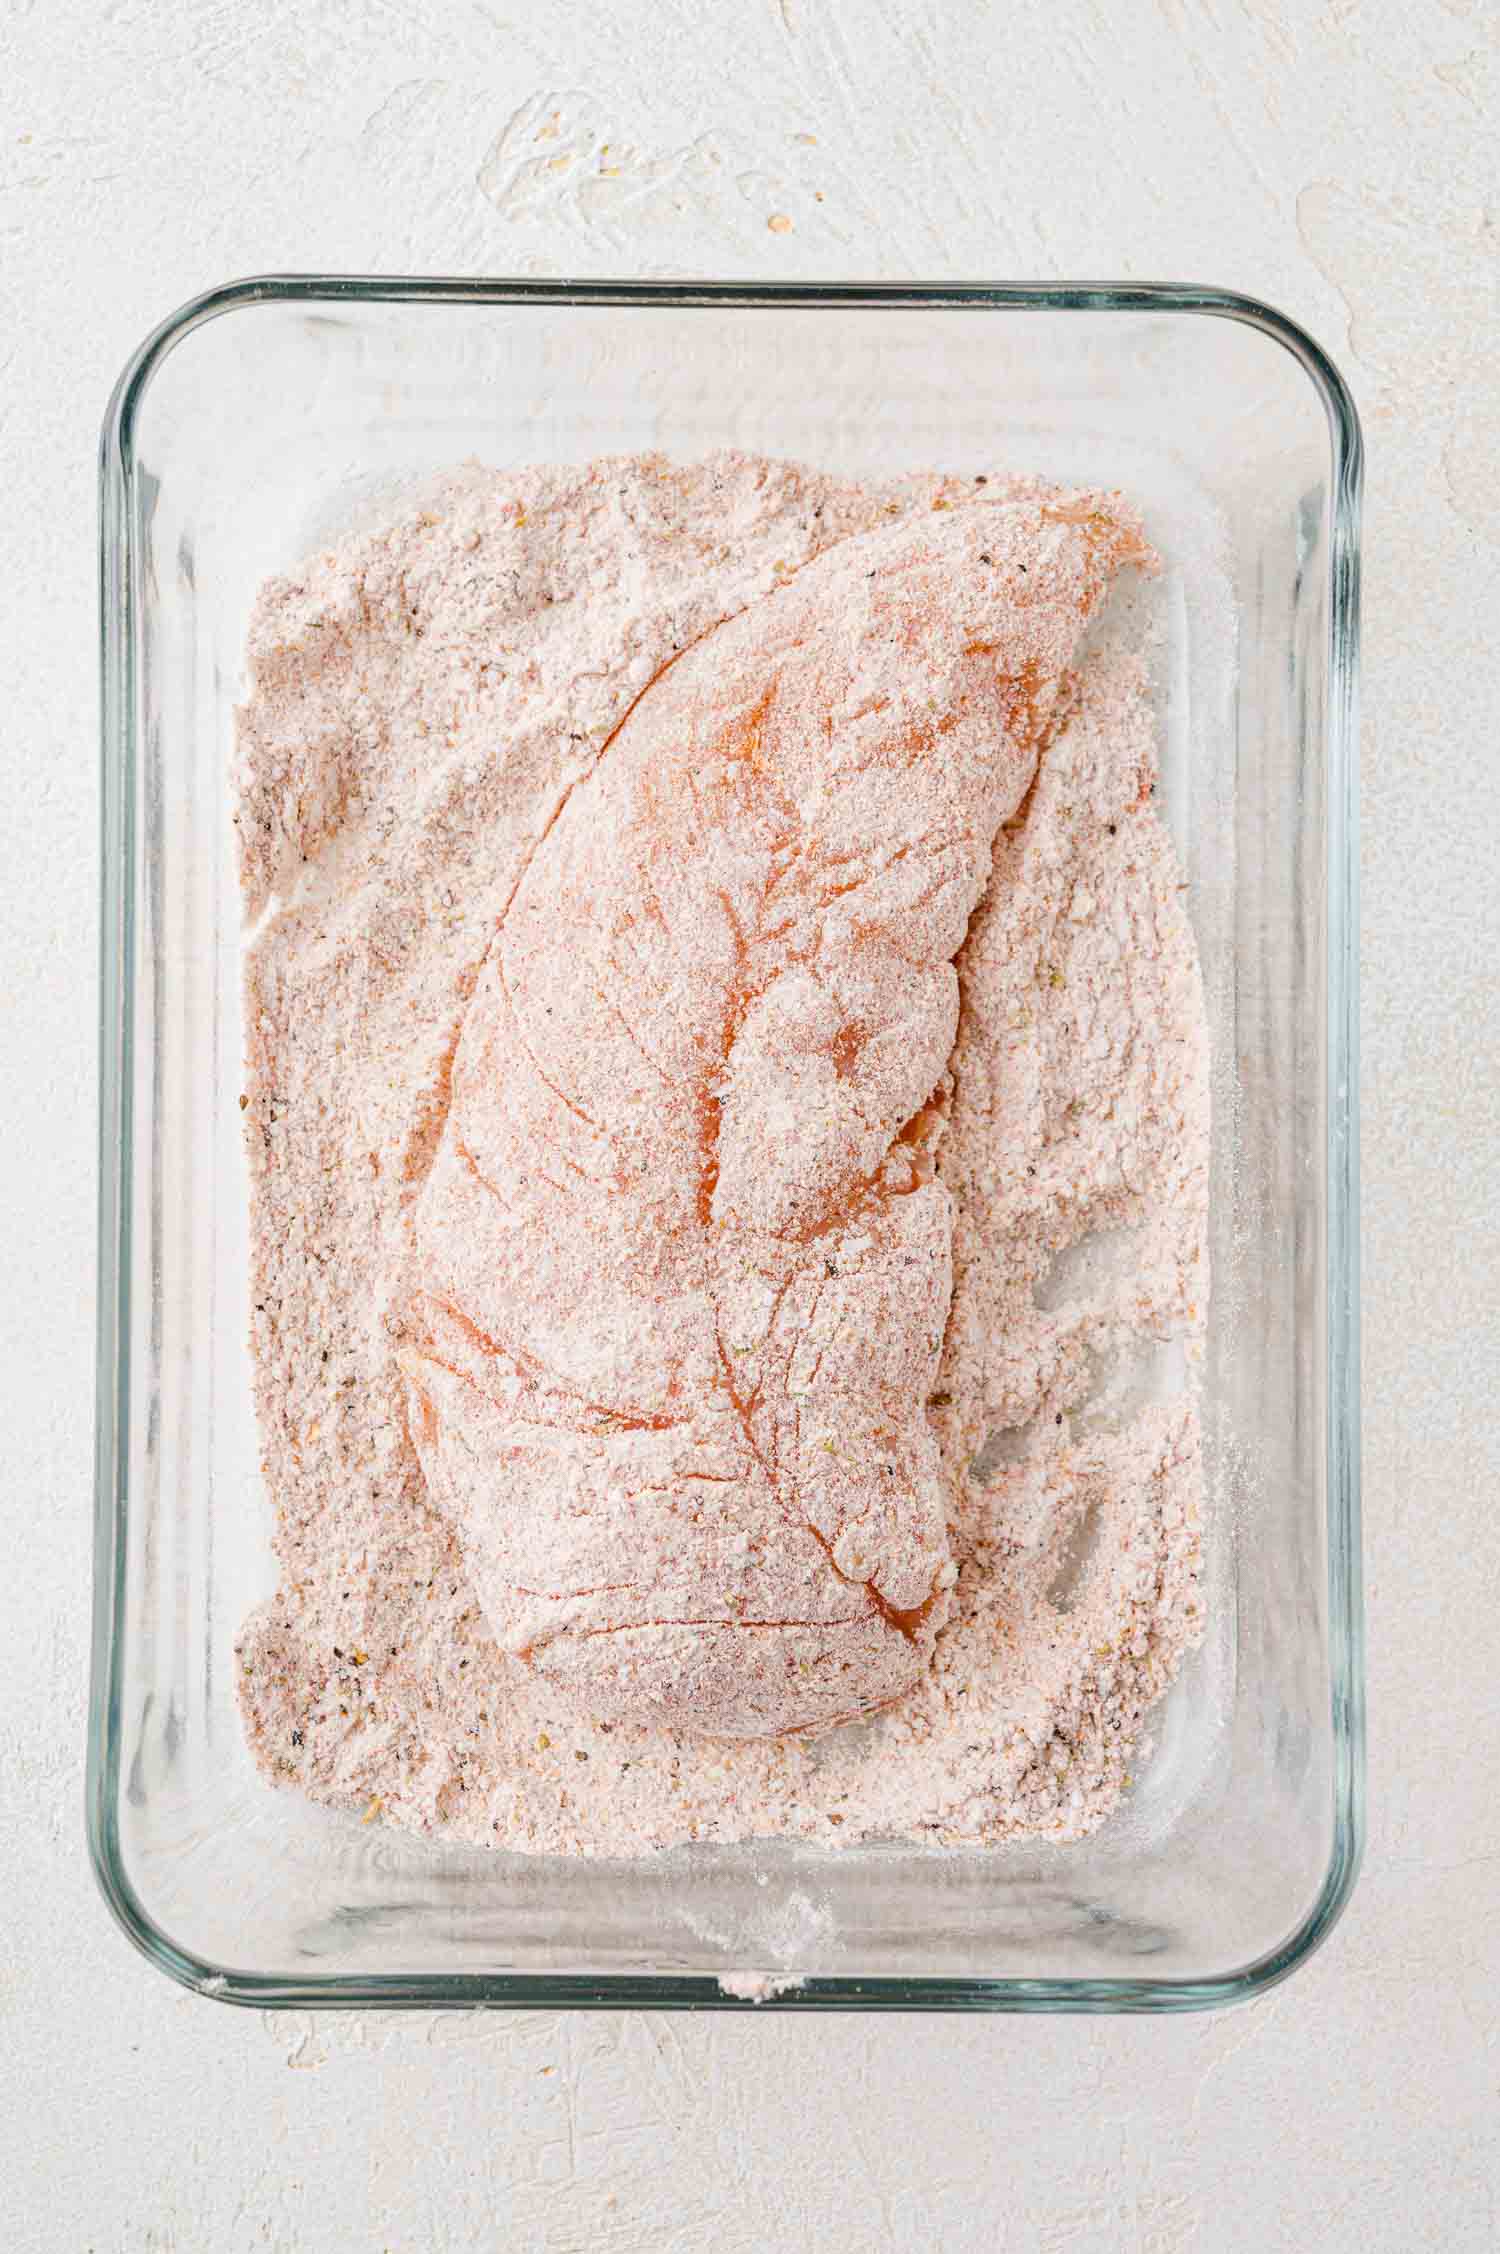
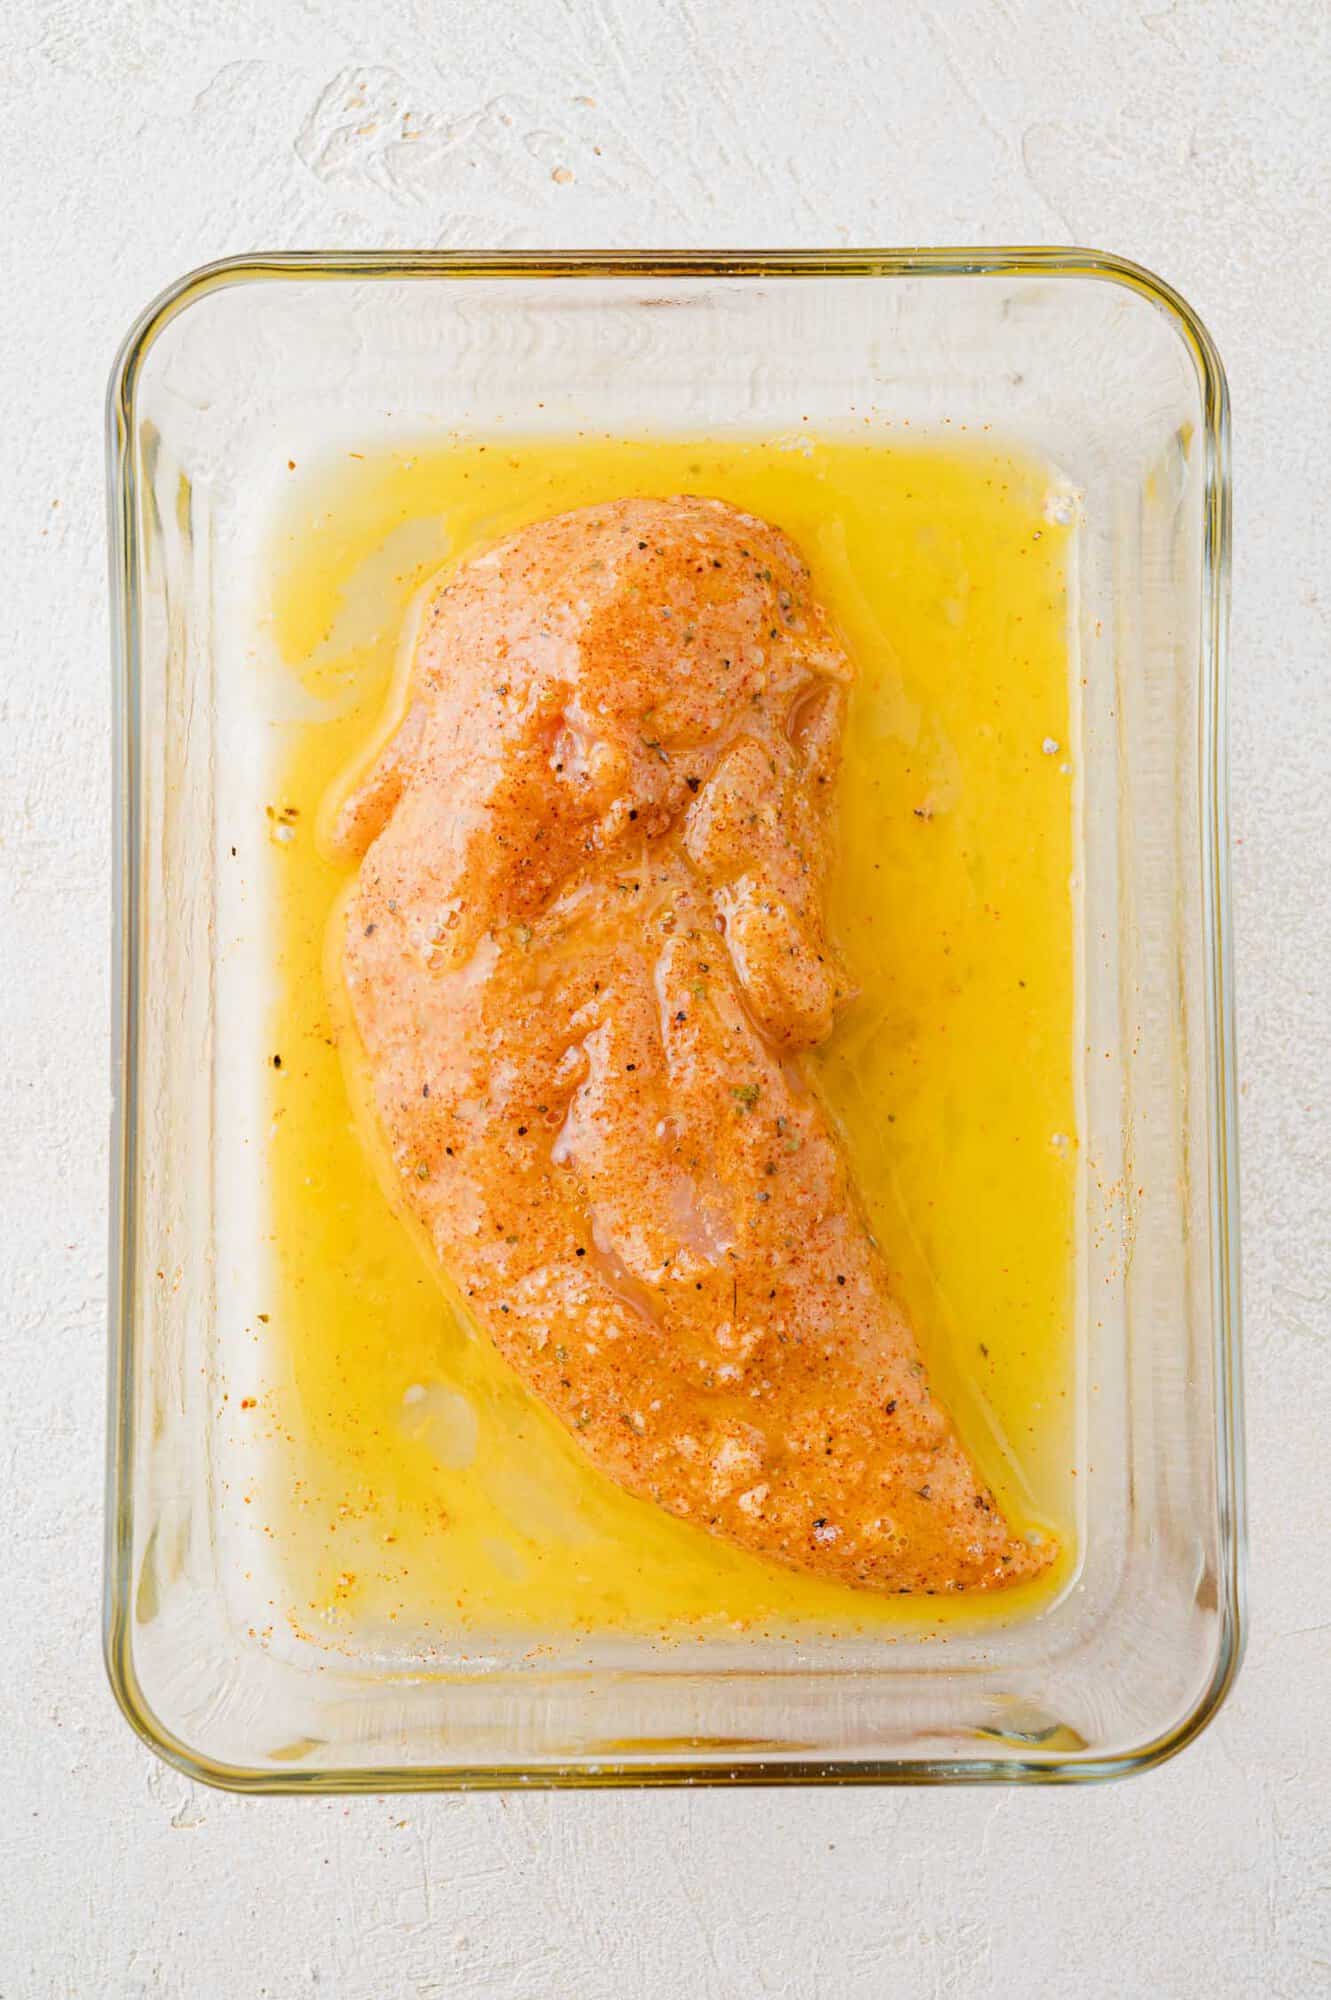
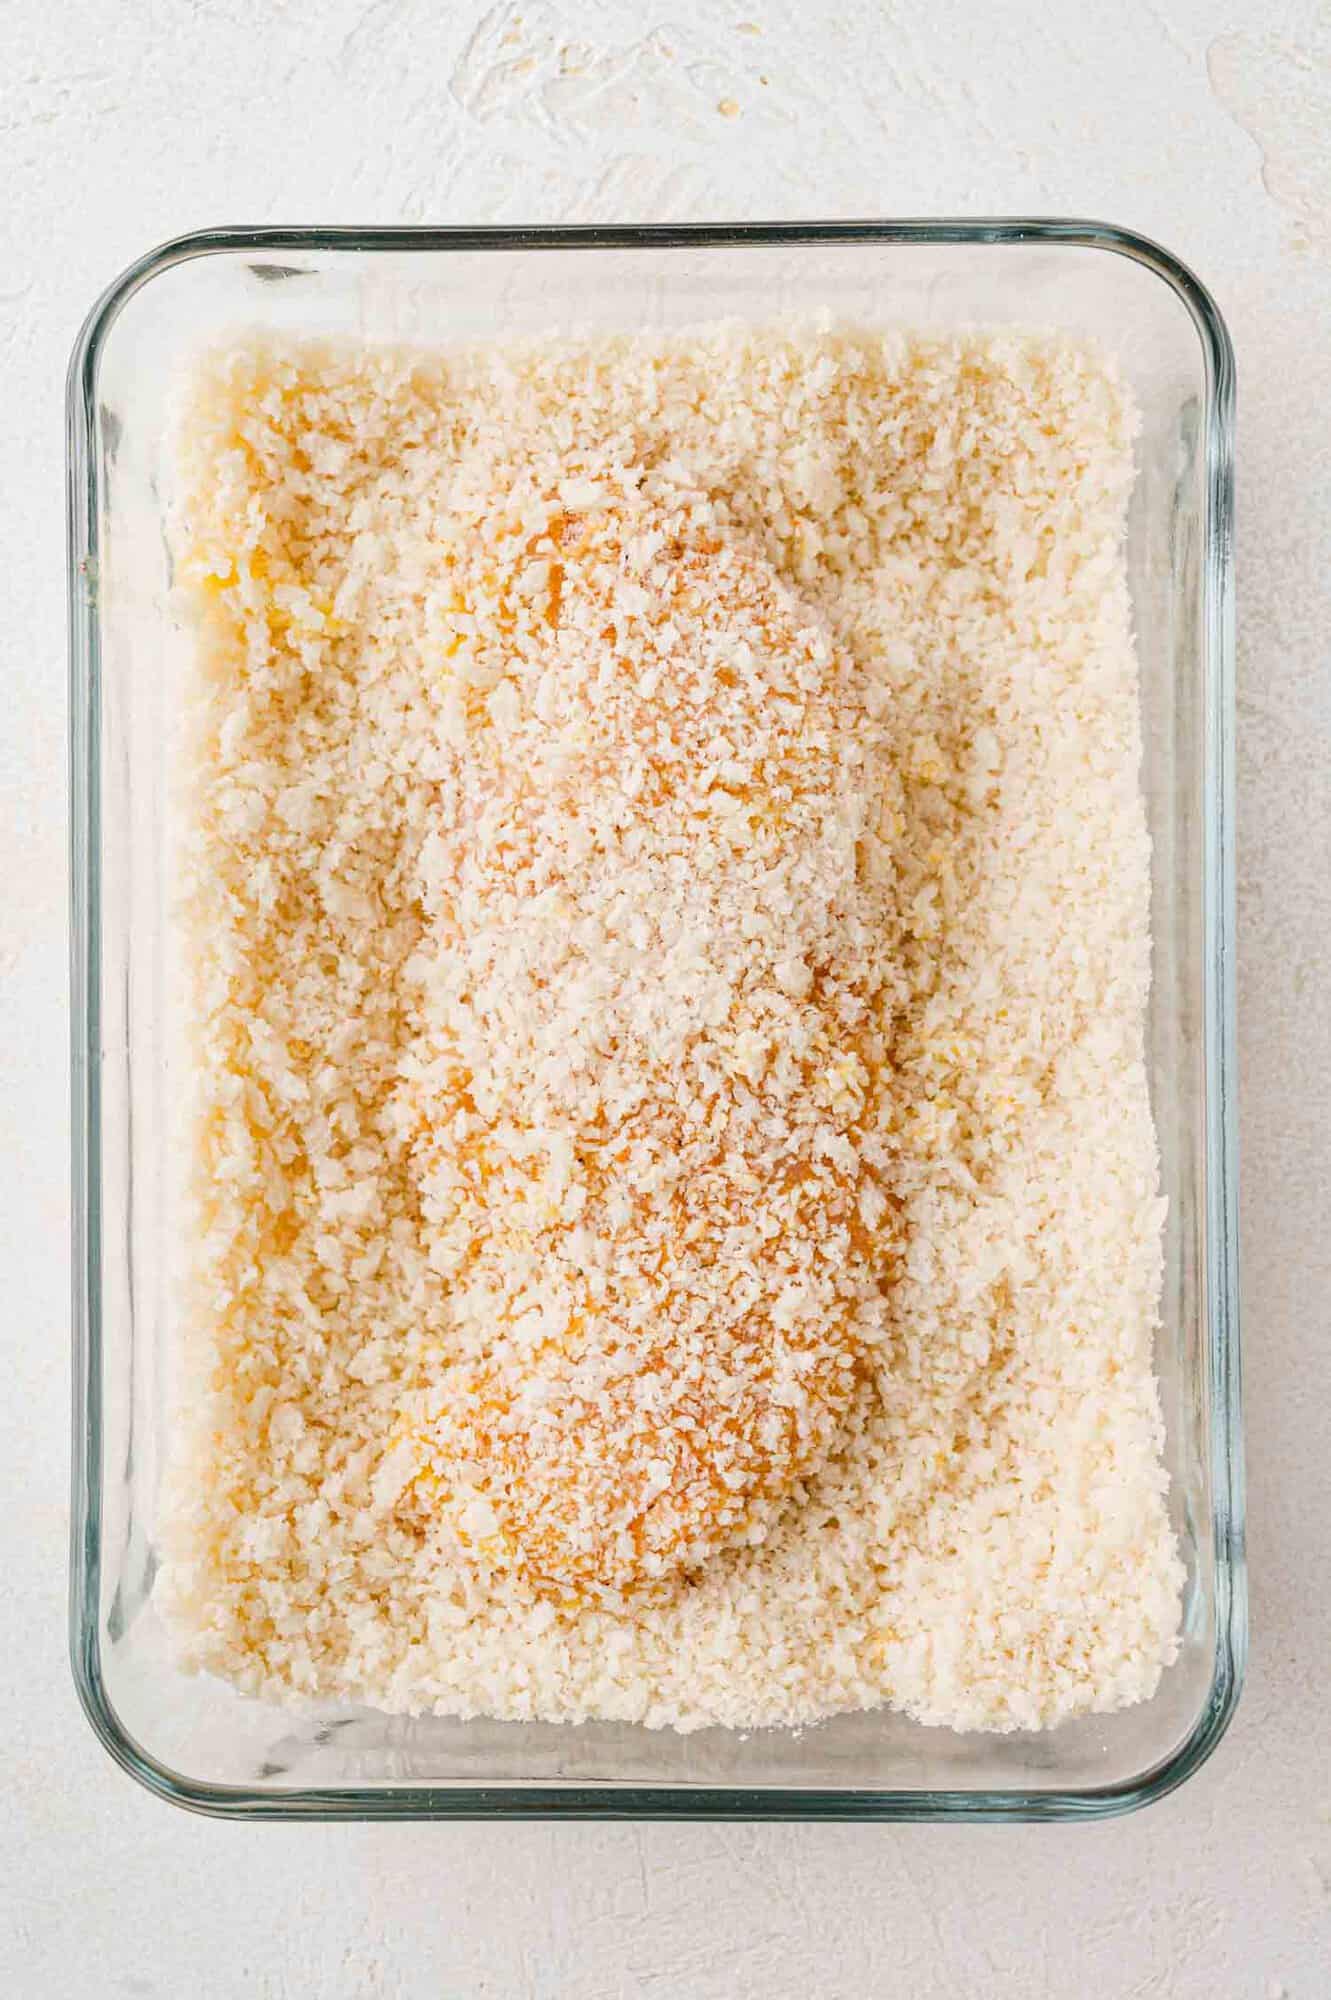
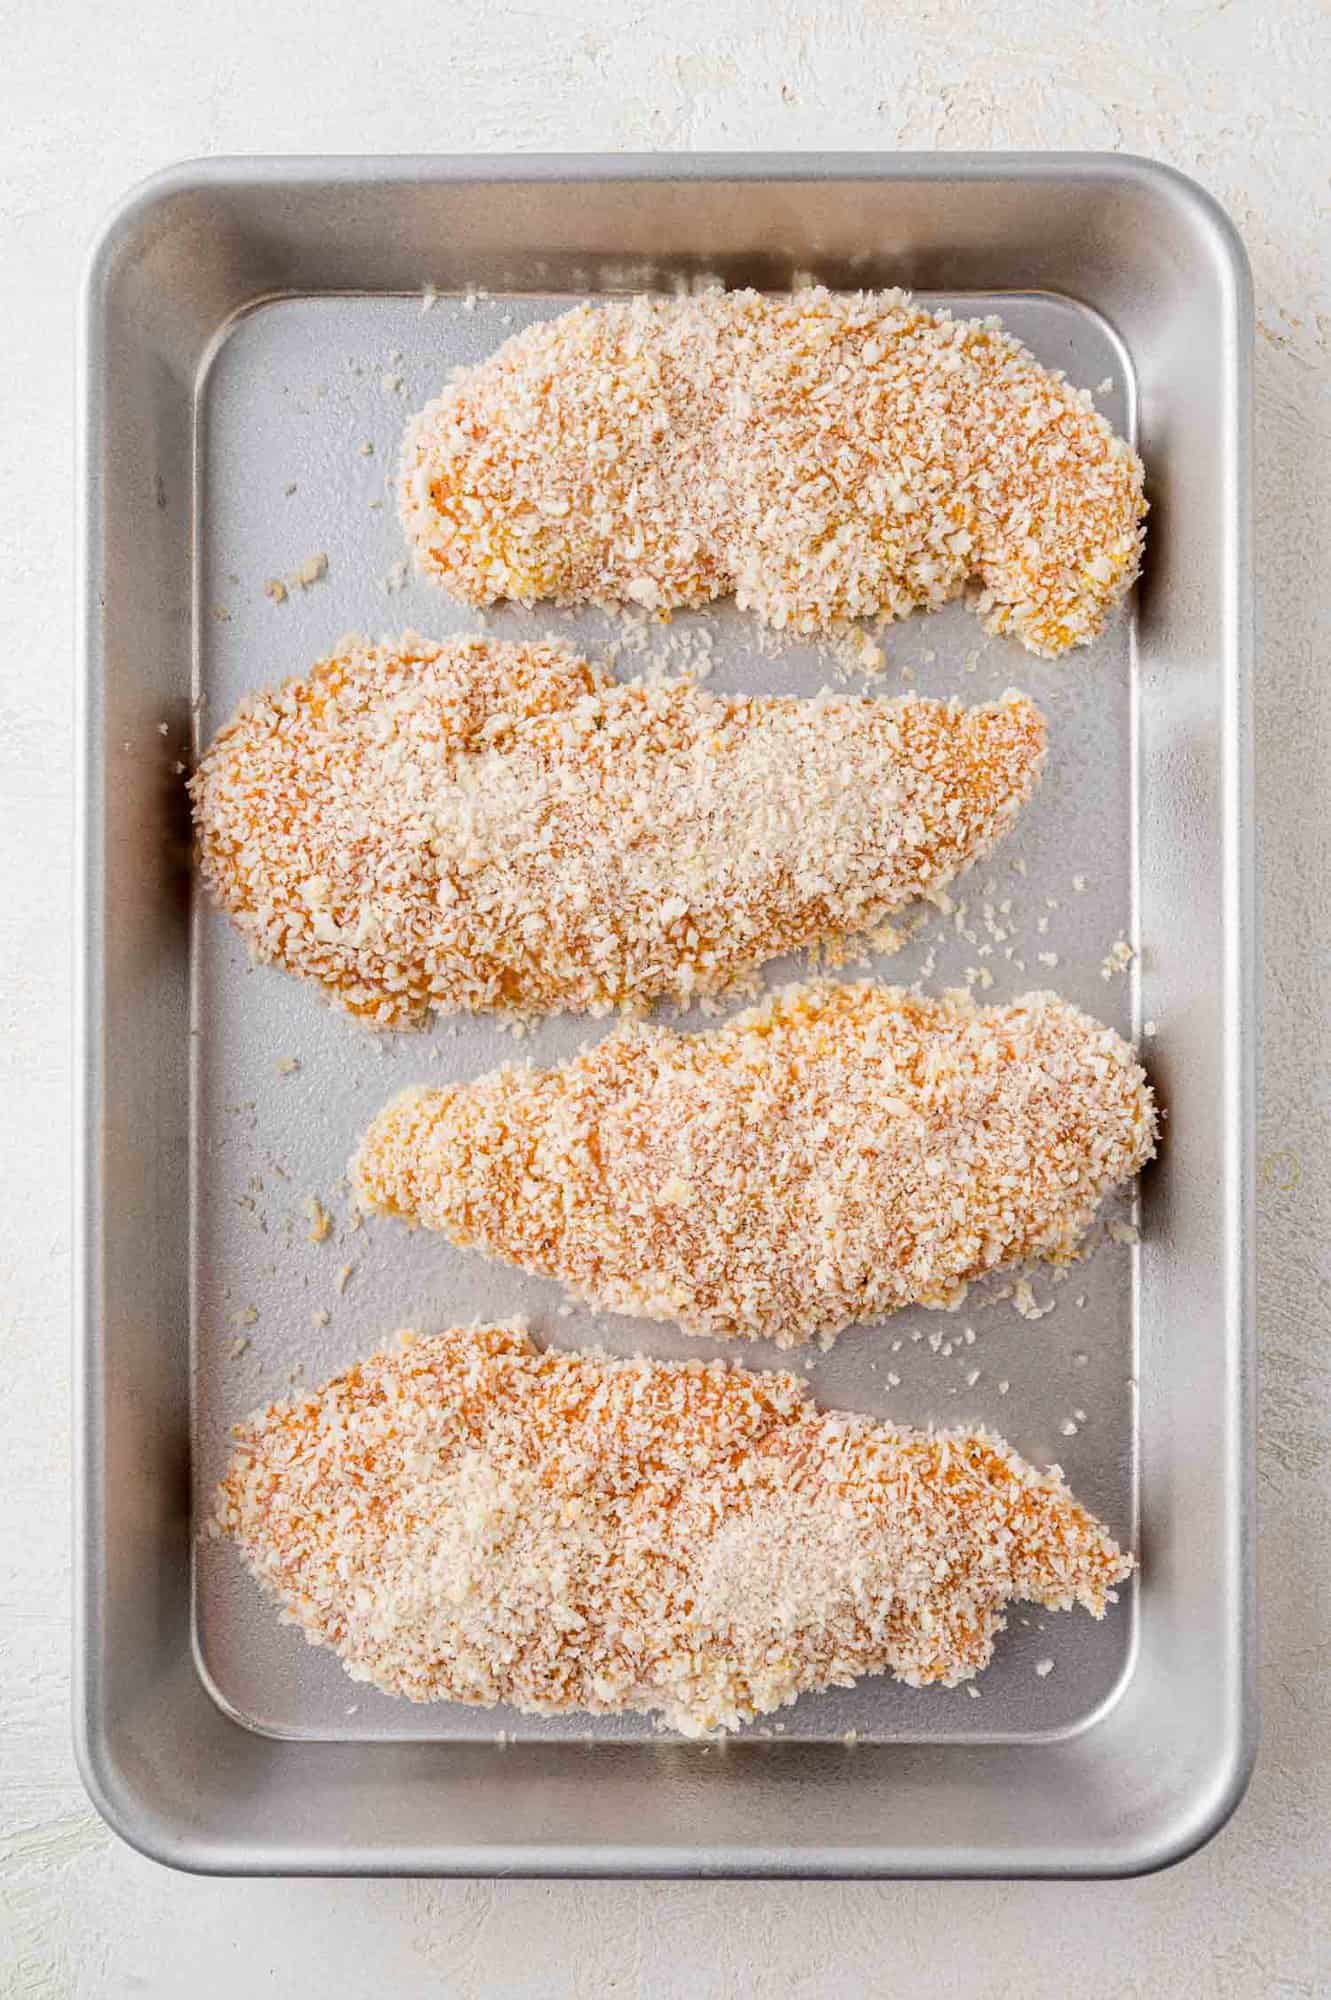
Get ready. Turn the oven on to preheat (400ºF). It’s important to bake the tenders in a preheated oven. Lightly grease a large sheet pan or spray it with cooking spray. We tested this recipe several times, both with and without a wire rack, thinking that a wire rack would provide better air flow for more crispness. However, we found that the tenders turned out best when we placed them directly on the baking sheet. Prep the dredging stations. Whisk the flour and seasonings in one shallow dish, the egg in another, and the panko in a third. Line them up in the order listed so you can easily coat the tenders. I like to think of it as an assembly line with baking sheet at the end. Dredge the chicken. Working one at a time, coat the chicken tenders in the flour mixture, followed by the egg, and then the panko. I like to use chopsticks or small tongs to transfer the tenders from one bowl to the next to keep my hands from getting gunky. Alternatively, you can use one hand for the flour, and the other hand for the egg and panko. Prepare to bake. Place the coated chicken tenders on a greased baking sheet, leaving space between them. If you crowd them too close together, they’ll steam instead of getting crisp. Pat any leftover panko onto the chicken tenders, then spray with the cooking spray or oil. Cook the chicken tenders. Bake in the preheated oven for 17 to 20 minutes, or until the chicken reaches 165ºF on an instant read thermometer. Rest for a few minutes before serving.
Recipe Variations
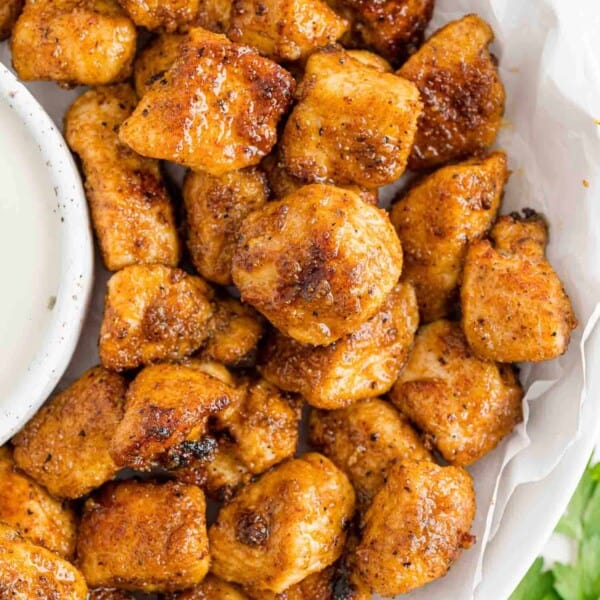
Make them gluten-free. For gluten-free baked chicken tenders, replace the all-purpose flour with a measure-for-measure gluten-free flour blend and use gluten-free panko. Try different seasonings. Don’t be afraid to experiment with different spices and herbs in the seasoned flour mixture. You can also mix in finely grated Parmesan cheese with the panko. Add heat. For spicy baked chicken tenders, you have a few options. You can add a pinch of cayenne pepper to the flour mixture or whisk your favorite hot sauce or cayenne into the egg. Use your air fryer. If you don’t want to turn your oven on, try my air fryer chicken tenders or air fryer chicken nuggets.
Serving Ideas
Dipping sauces. Honey mustard, ranch dressing, and barbecue sauce are the classics, or go with kid-friendly ketchup. We also love this homemade French fry dipping sauce. Fries. Air fryer French fries and air fryer sweet potato fries are both good options for an at-home fast food dinner. Veggies. Roasted green beans are practically French fries! (At the very least, they’re a pretty kid-friendly vegetable.) Salads. Use baked chicken tenders in a Cobb salad or to give a simple salad (like this arugula salad) a protein boost. They go great in a southwest-style chopped salad like this southwestern BBQ chicken salad. You can also add them to bagged salad mixes for an easy entrée.
Storage & Reheating
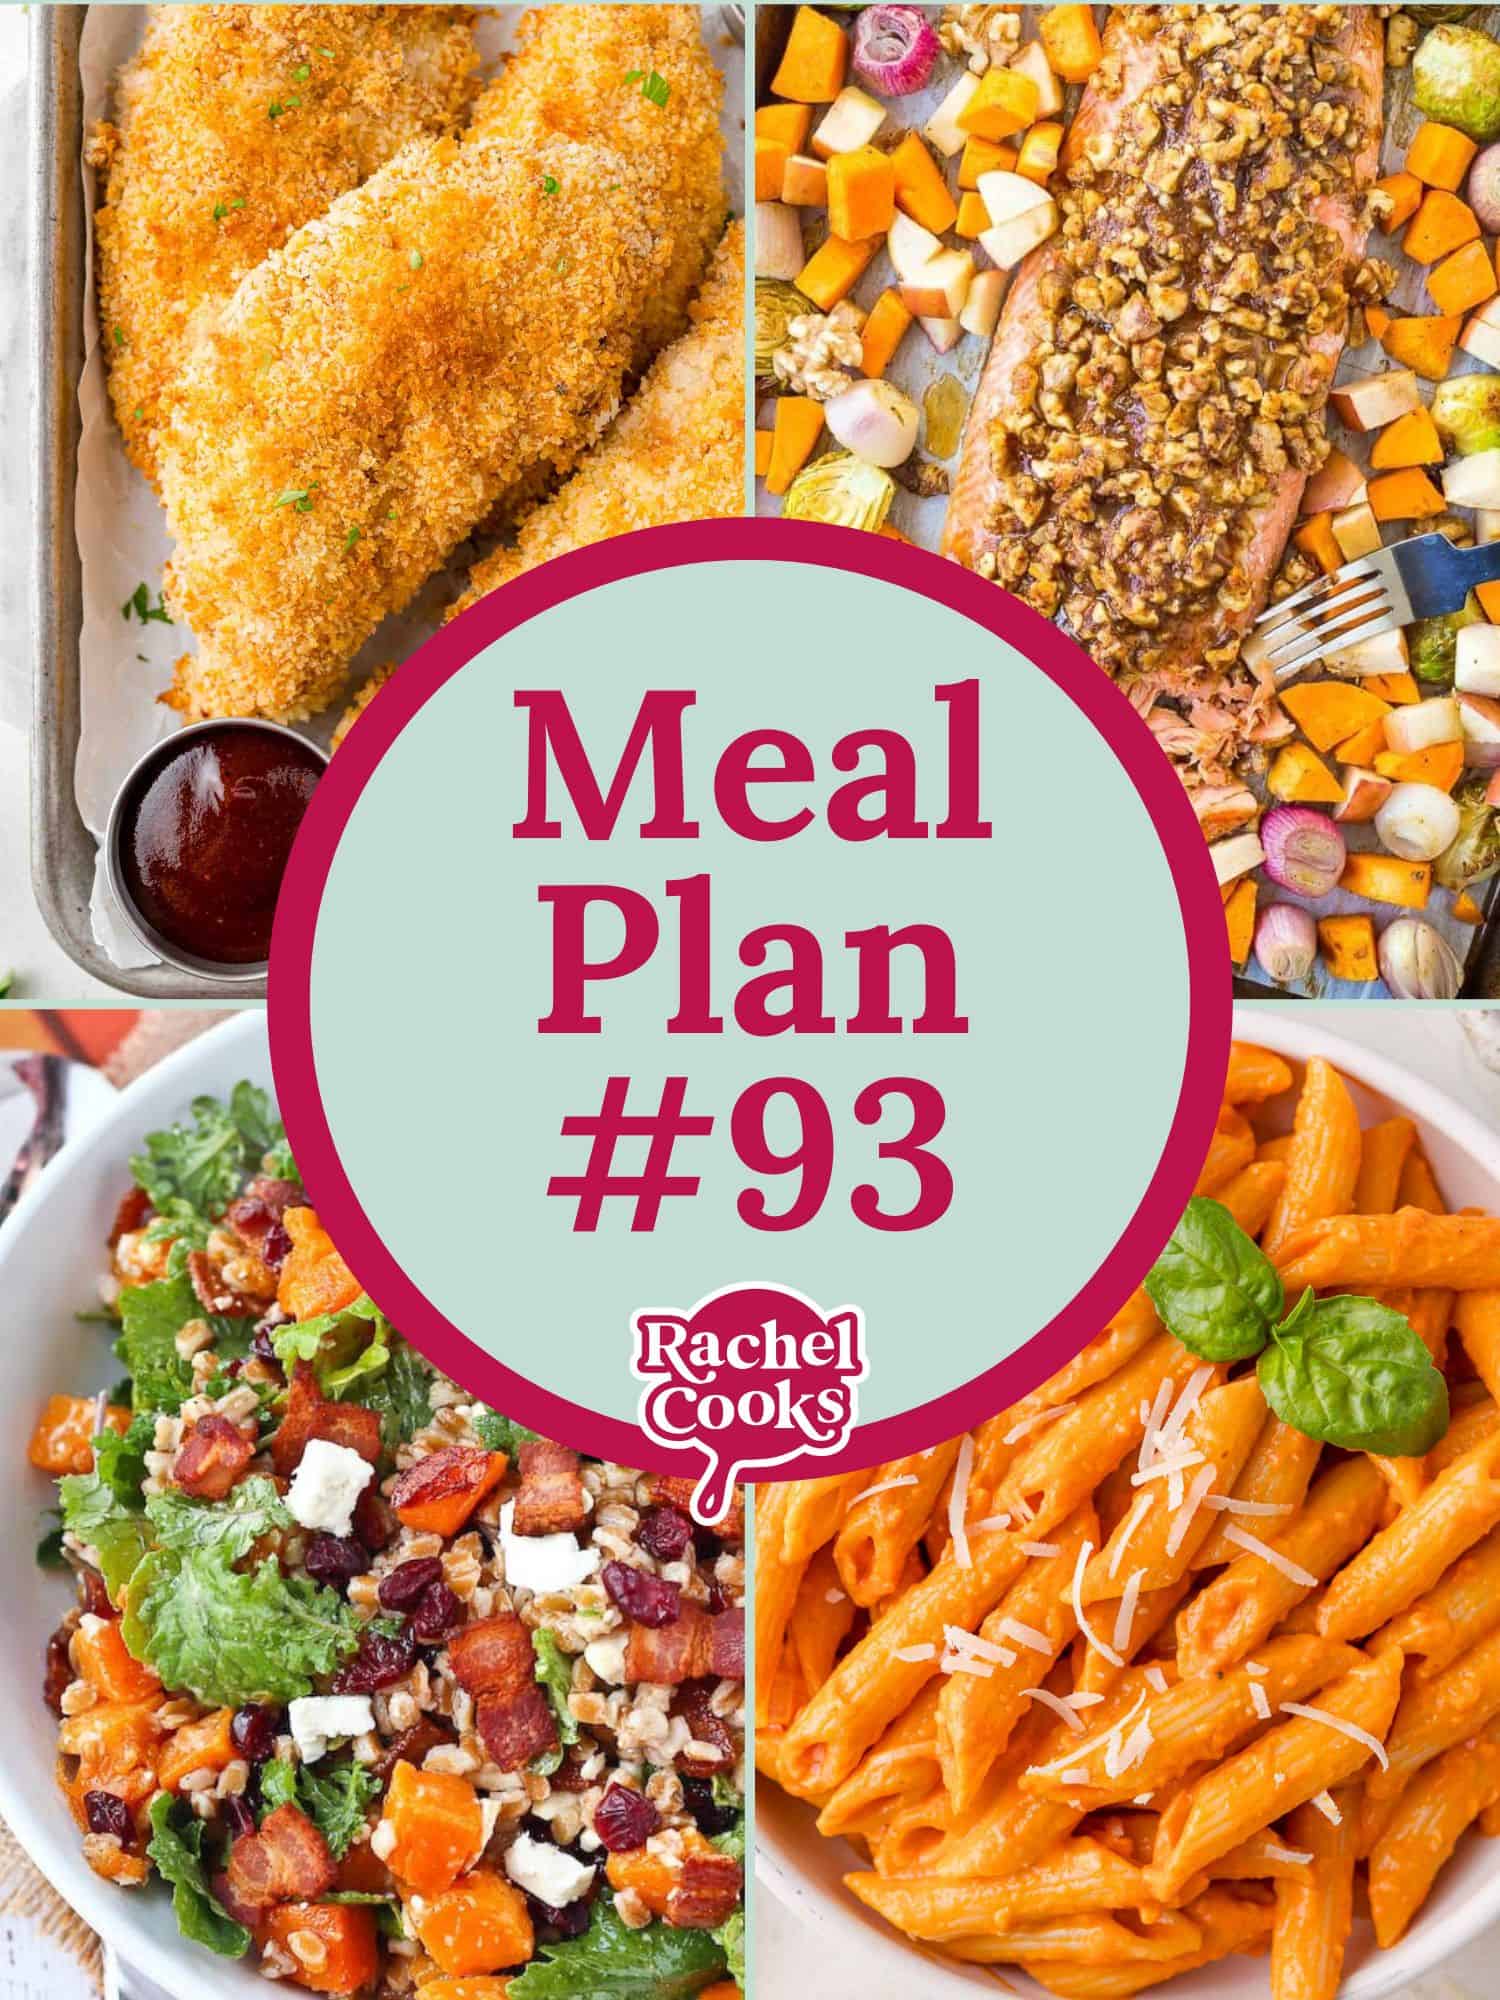
Refrigerate: Leftover baked chicken tenders can be stored in an airtight container in the refrigerator for 3 to 4 days. Freeze: Place the baked chicken tenders in a single layer on a baking sheet and freeze for about an hour. Once frozen solid, transfer to an airtight container or freezer bag and store for up to 2 months. Reheat: Preheat your oven to 350°F and place the frozen or refrigerated chicken tenders on a baking sheet. Bake until heated through. You can also reheat them in an air fryer. Heating them in the microwave is okay but they won’t be as crispy and are more likely to overcook. Interested in a weekly meal plan that includes this recipe? Take a look at Meal Plan #93. You’ll find a wholesome recipe for each weekday plus a categorized grocery list. We add a new meal plan weekly.