You all know how much I love simple grab and go breakfast dishes. Be it porridges or overnight oats or fruit-based smoothies; I love them all. As kiddo’s lunchtime got changed, I started making some substantial breakfasts in the morning like dosa, upma. So that he can sustain until his lunch break, but you will still find smoothies and porridges on my meal planners because I love them.
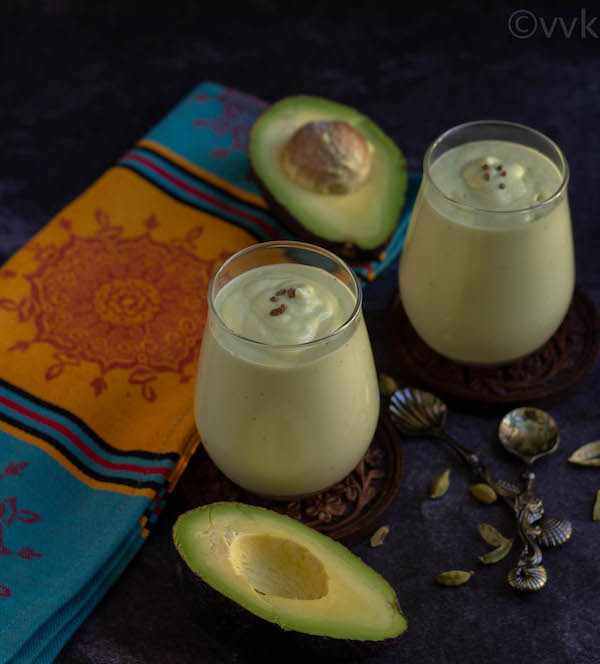
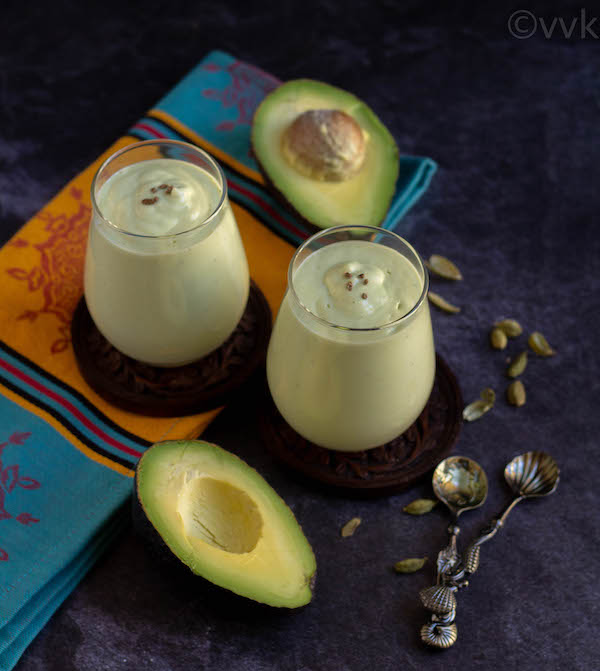
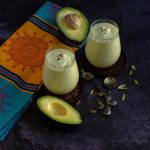
Avocado Lassi | Avocado Yogurt Smoothie
As you all know, lassi is a popular yogurt-based drink from the Indian Subcontinent. There are different varieties of lassi. And you can find a few on my blog as well like spicy tamarind lassi or ice-apple lassi. Call this as avocado lassi or smoothie, but this beverage is really filling for sure. I tried this recipe for the first time in a festive food stall in San Fransisco. It was super thick, and the flavors were terrific, of course satisfying. This drink is perfect during those hunger pangs also. I made a mental note to try it at home, and I did. :-)
Ingredients Required for the Avocado smoothie:
All you need is yogurt, avocado, sugar, cardamom, and water. That’s it. Now let’s talk about every ingredient in detail. Yogurt – I would recommend thick Greek yogurt for this recipe. I used reduced-fat Greek yogurt. Avocado – A medium-sized semi-ripe avocado would be perfect for this recipe. I tried adding two while recipe testing, but it became super thick. So one should be sufficient. When chopped it was approx ¾ cup. You can use a big avocado too. Extra few pieces won’t hurt, but two avocados is a bit much. Sugar – We need a sweetener or sugar for this smoothie. As avocado is mellow and buttery, we need to add some flavors. You can add honey, agave syrup, or your preferred sweeteners. I used raw sugar for this recipe. Cardamom – This is an optional ingredient. As I mentioned above, just with avocado and yogurt, this smoothie will be bland. So we need some flavor enhancers and cardamom is one option. You can add rose syrup, vanilla essence, maple syrup, etc. You can even make it rich by adding saffron strands. Just soak few pinches of saffron in the ½ cup of water and let it sit for 15 minutes. Reserve the saffron strands to garnish and blend the saffron water along with the smoothie. If you are using cardamom, break the cardamom pods (you can crush them like garlic with the back of the knife) and take out the seeds. We need seeds for this smoothie. Don’t discard the green cardamom skin. You add it to your tea or plain drinking water for added flavor. Water – You can add ½ to 1 cup of water depending upon your consistency preference. I know, I am repeating this. But this smoothie is very thick. So water helps to thin it a bit.
How to make Avocado Lassi:
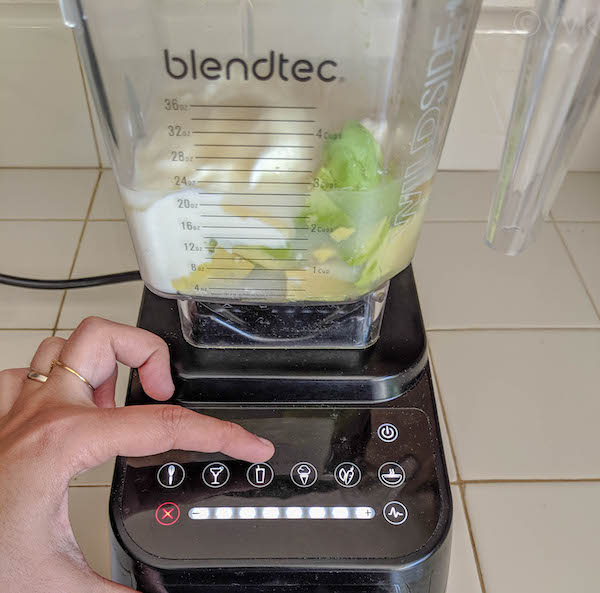
Now we know all the ingredients that we need. Just blend them in a blender and tada, your smoothie is ready. This summer, I bought a Blendtec blender (Blendtec Designer 650) and oh boy I simply love it. Just with a press of a button, you can make smoothies, batters, soups and many more. Stay tuned for some exclusive Blendtec recipes. :-) For this avocado lassi, I just pressed the smoothie button and Blendtec did its magic. Now here the avocado lassi recipe with step-wise pictures.
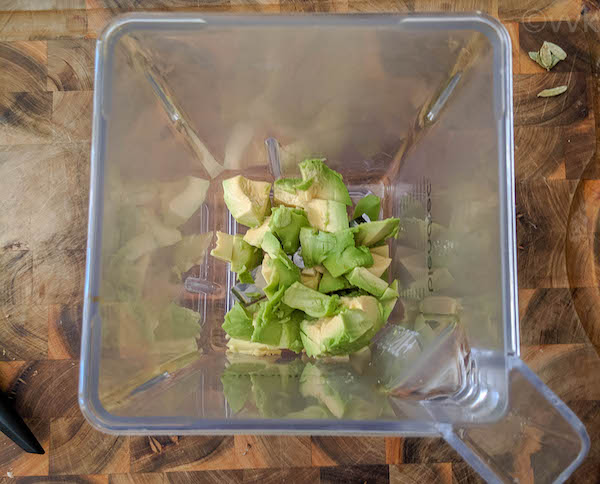
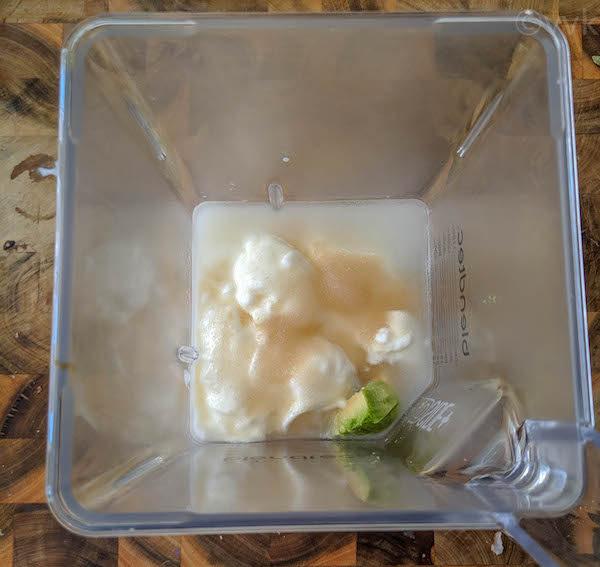
Chop the avocado into chunks.
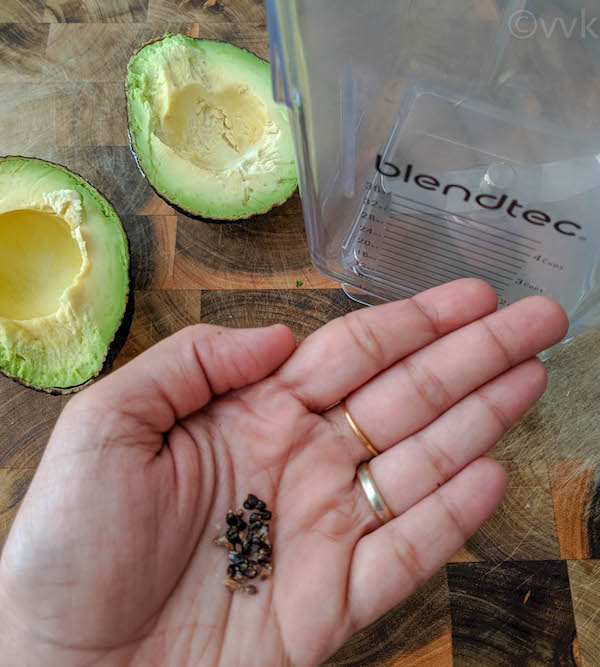
If you are using green cardamom, break the pods with a back of the knife, like how you crush the garlic. Remove the seeds.
In the blender jar, add the avocado, yogurt, cardamom seeds, sugar, and water.
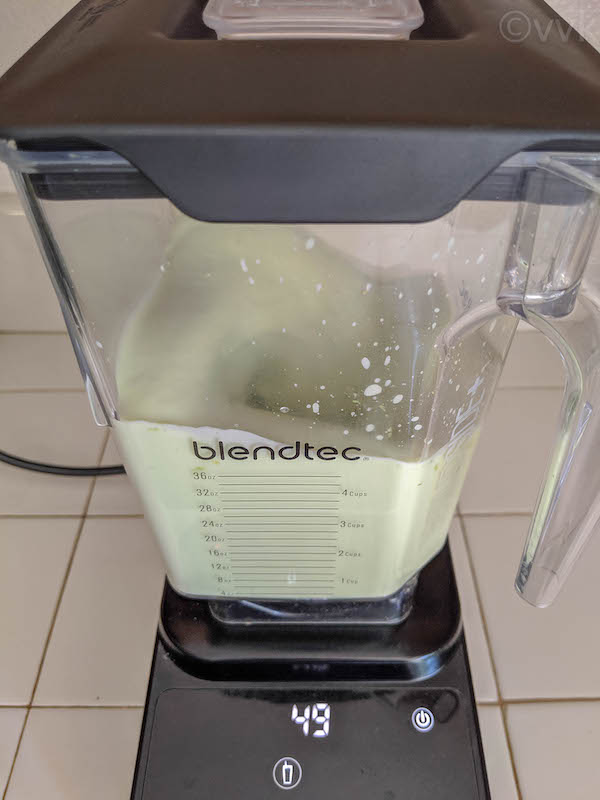
Blend it until smooth. I just pressed the smoothie button.
And let the Blendtec do its magic.
That’s it. Avocado lassi or the avocado yogurt smoothie is ready. Relish it fresh.
Recipe Notes-
I did not add any ice cubes. But you can add two to three ice cubes for a chilled beverage. I have refrigerated this smoothie for up to 4 hours. But I would recommend enjoying this fresh. Instead of cardamom, you can use vanilla essence or rose syrup or other flavor enhancers, or you can skip them as well. Instead of avocado, you can add 1 cup of mixed berries or mango. Adjust the sugar according to your preference.
📖 Recipe
Updates Notes: This post was originally posted in 2016, but updated now with new photos, ingredient details, step-wise pictures.